Editorial
Budget Bicycle Buying: Braving The Used Dropper Post Market
The Budget Part
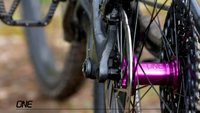
I've installed a fair few dropper posts over the years. I've also removed them, sent them in for service, and then re-installed them. And seen the service bills. With that in mind I'd like to take a minute to differentiate between a great dropper post, and a great dropper post to buy used if you're trying to stick to a tight budget. For this discussion I'm going to use two of the most common OE-spec posts, the Fox Transfer (AKA Race Face Turbine R) and the X-Fusion Manic, which is also sold under house-brand monikers - like Rocky Mountain's Toonie Dropper.
Generally the Manic is sold on less expensive bikes than the Transfer but there is significant overlap from one brand to another depending on where they prioritize spec. dollars or their preference for a certain post design. Specialized and Rocky Mountain make for a good juxtaposition. Specialized specs the Manic up to a price threshold and then the BikeYoke Revive from there. Rocky Mountain specs the Manic (Toonie) to a lower threshold and then switches over the Turbine R/Transfer, and the factory-level Transfer with a Kashima shaft as you climb up in price. Specialized is clearly prioritizing access to the 34.9 post size as a well as ease of service. The Manic and Revive are among the easiest posts on the market to keep running yourself, and the cheapest to have your shop sort out. Rocky Mountain is bringing smoother and faster dropper post action to a lower-priced bike, since Specialized is using the X-Fusion post through more of its lineup.
If you were buying a used dropper post, then either companies' choices could be great, but with a mind towards min-maxing a used dropper post, independent of the initial condition or cost of a product, serviceability is the key. Is the product user-serviceable? Is it dealer-serviceable? If it's being sent to a manufacturer-approved service center then what's the average cost and how often will it need to be done?
If a two hundred dollar dropper post purchase is going to turn into a five hundred dollar purchase within two years then no matter how well it works it wasn't the best buy.
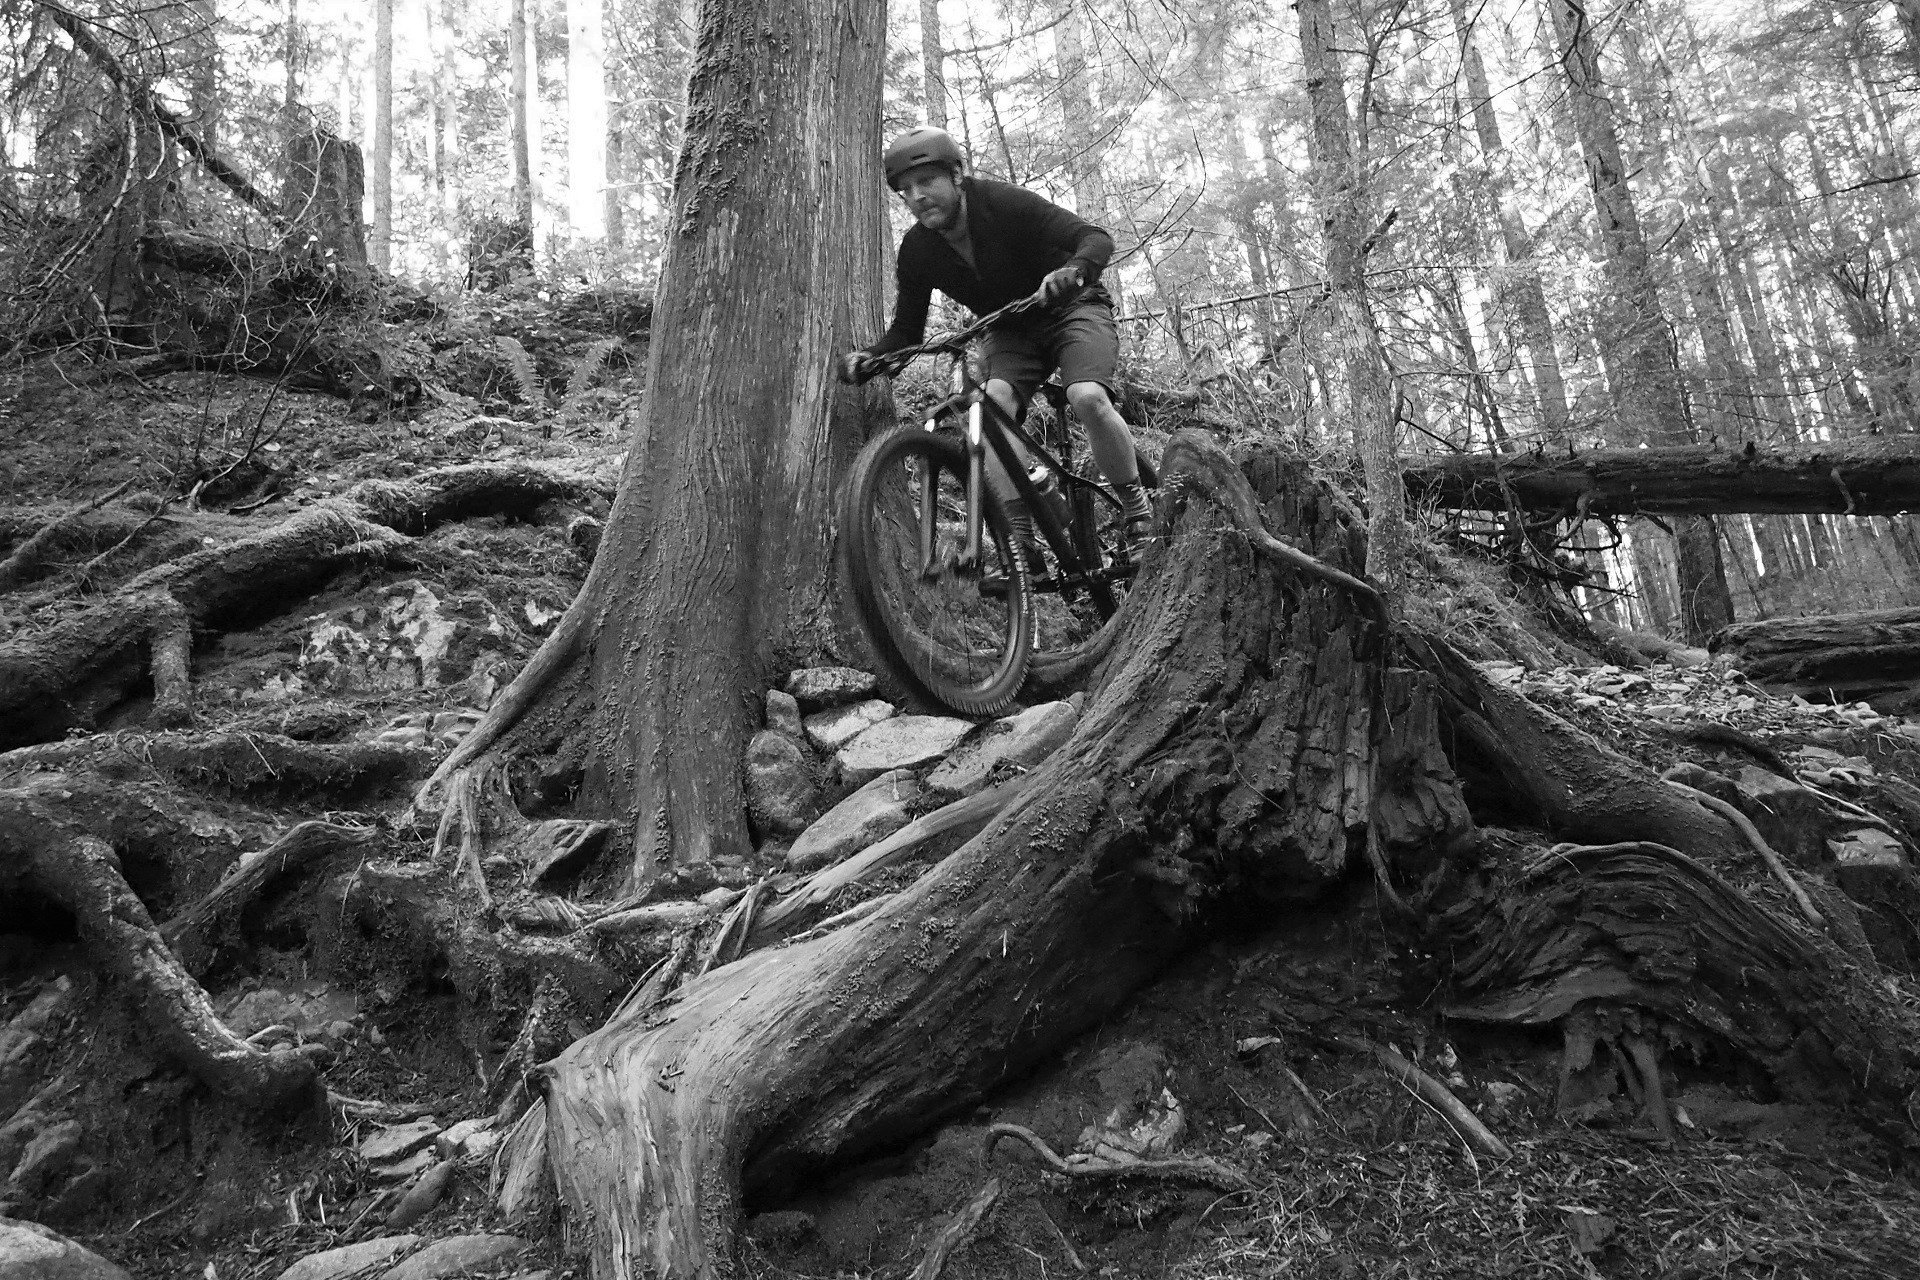
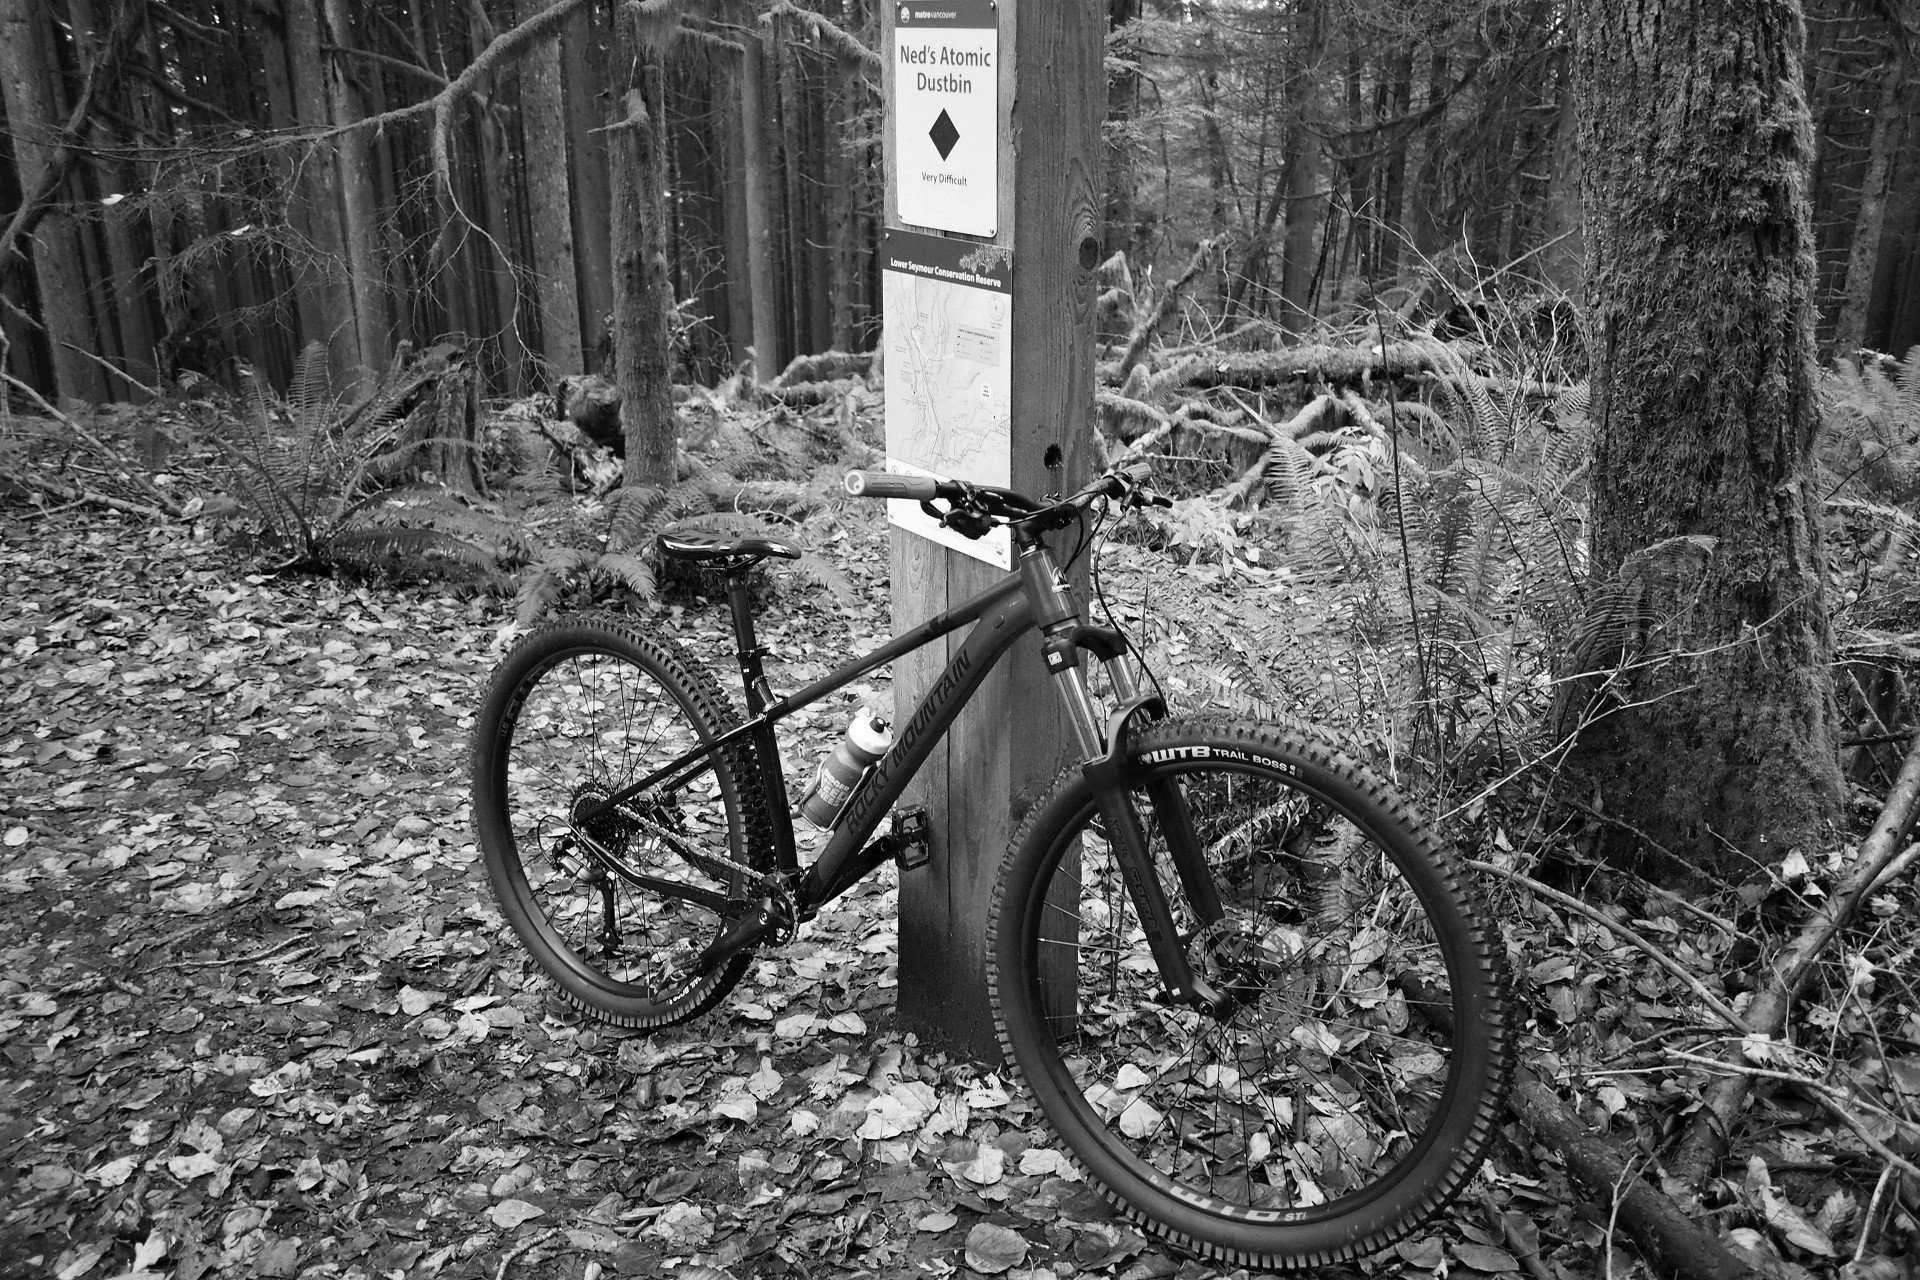
I have plenty of relatively recent experience going without the 'Game Changer.' I can happily mountain bike with a good quick release and rigid post. Photo: Mr. Lungtastic
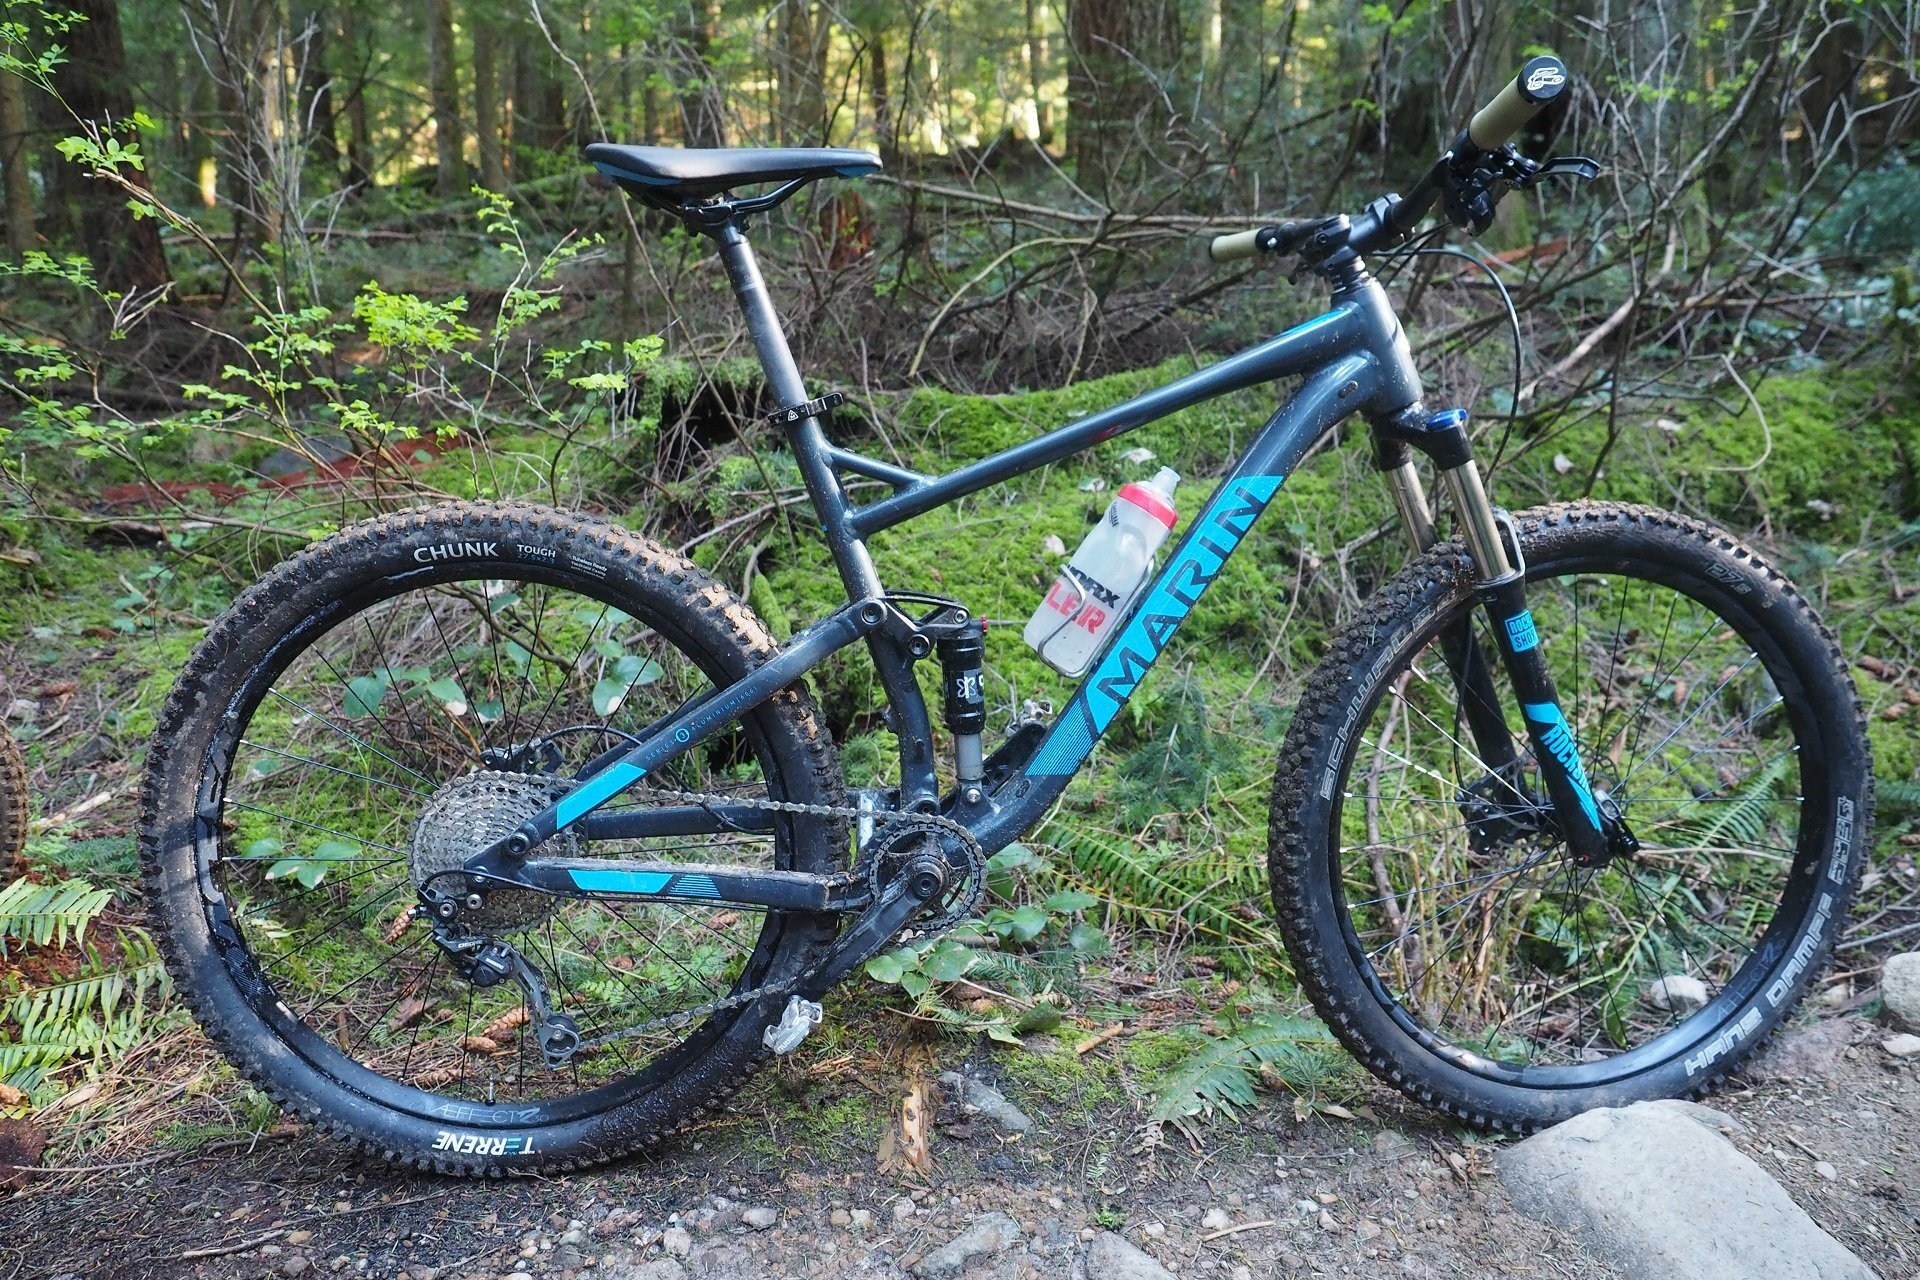
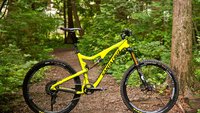
Well, maybe except for on a dual suspension bike. Undulating terrain on budget suspension bike, like the Hawk Hill that was 1500 USD in 2017.
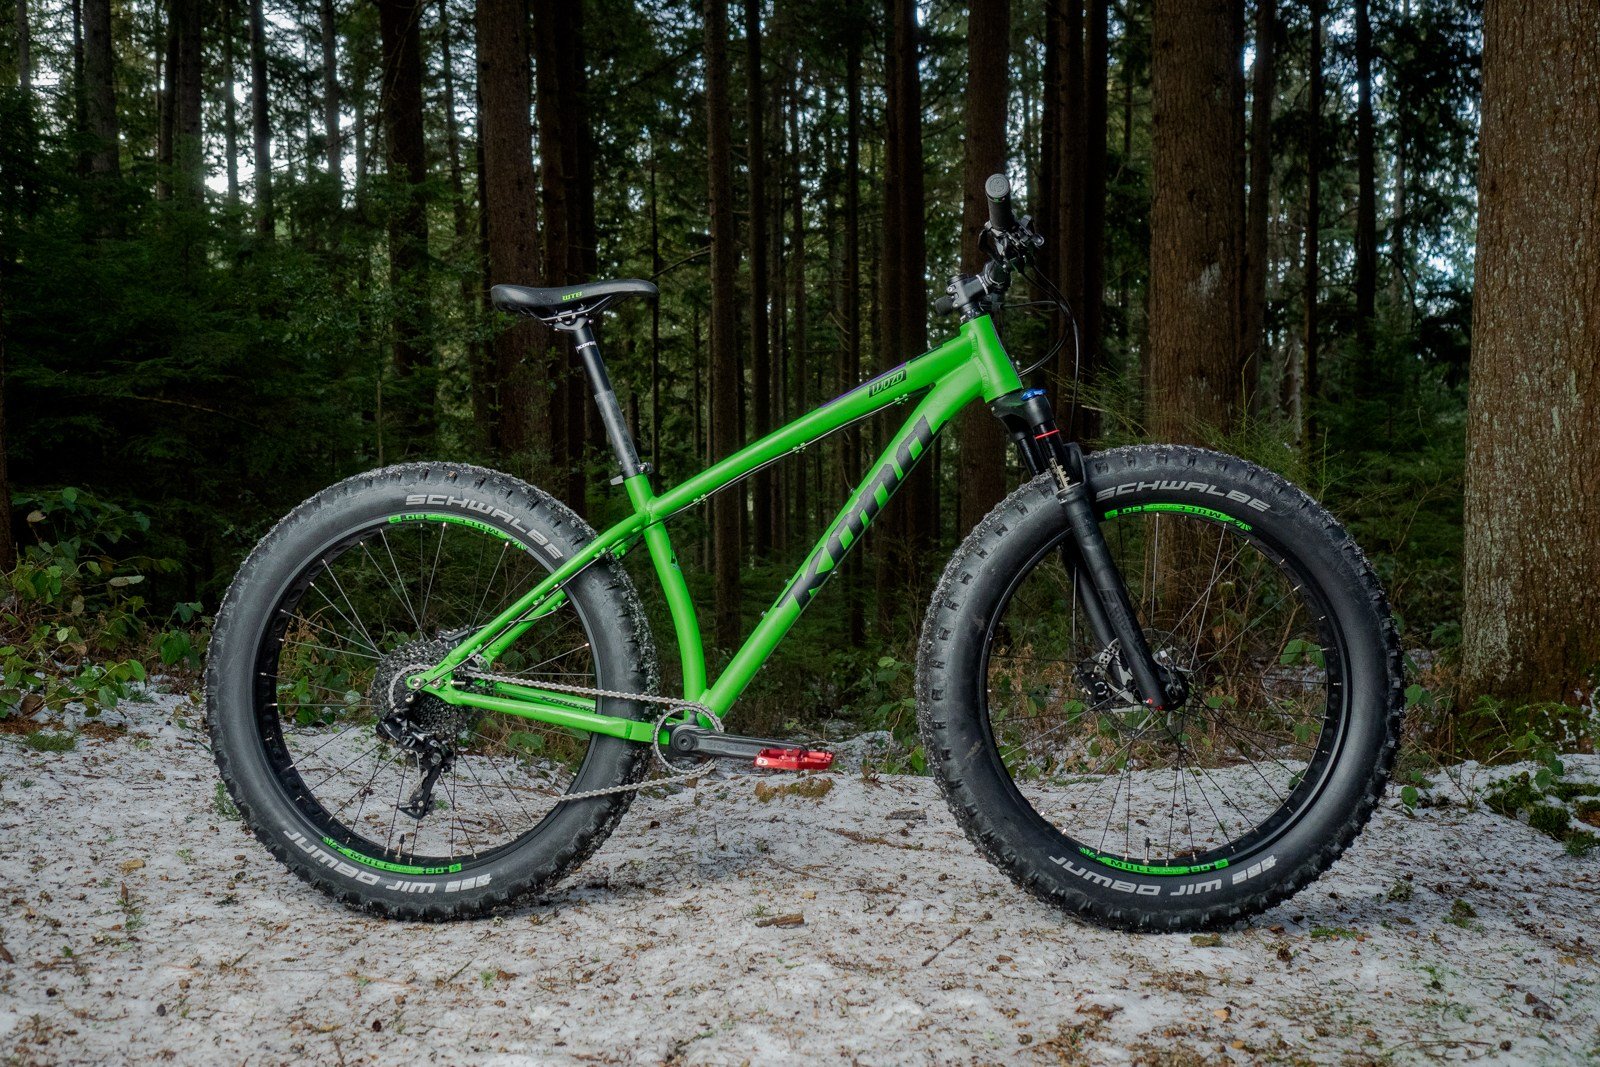
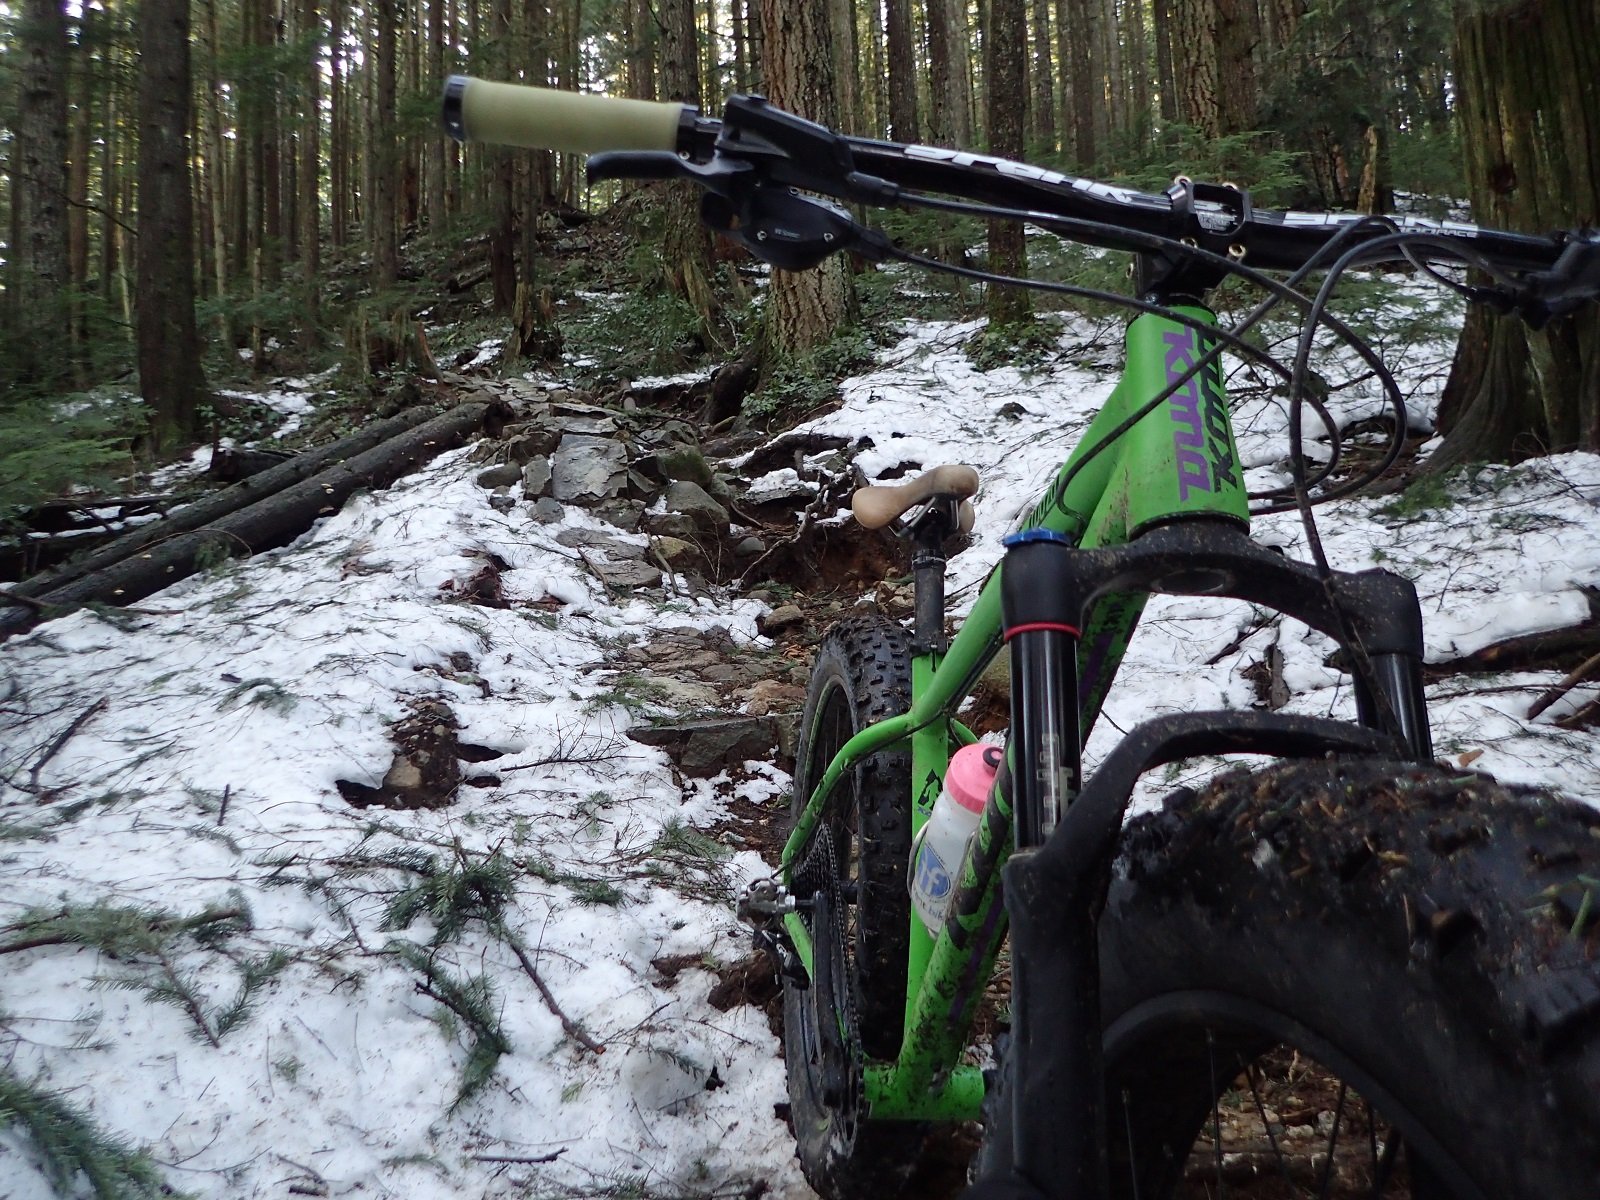
My Wozo experience was fun downhill with the post slammed and it climbed fine high-posted. It still ended up being worth the effort to install a dropper. Especially for climbing in snow or technical terrain where I liked to drop the post about an inch and power. Photo: Dave Smith
I never did get around to putting a dropper post on the 2020 Growler 20. I mostly took it on pedal-and-plunge rides anyways, though there's a chicken vs. egg argument there maybe. Would I have ridden more Shore XC on it with a dropper?
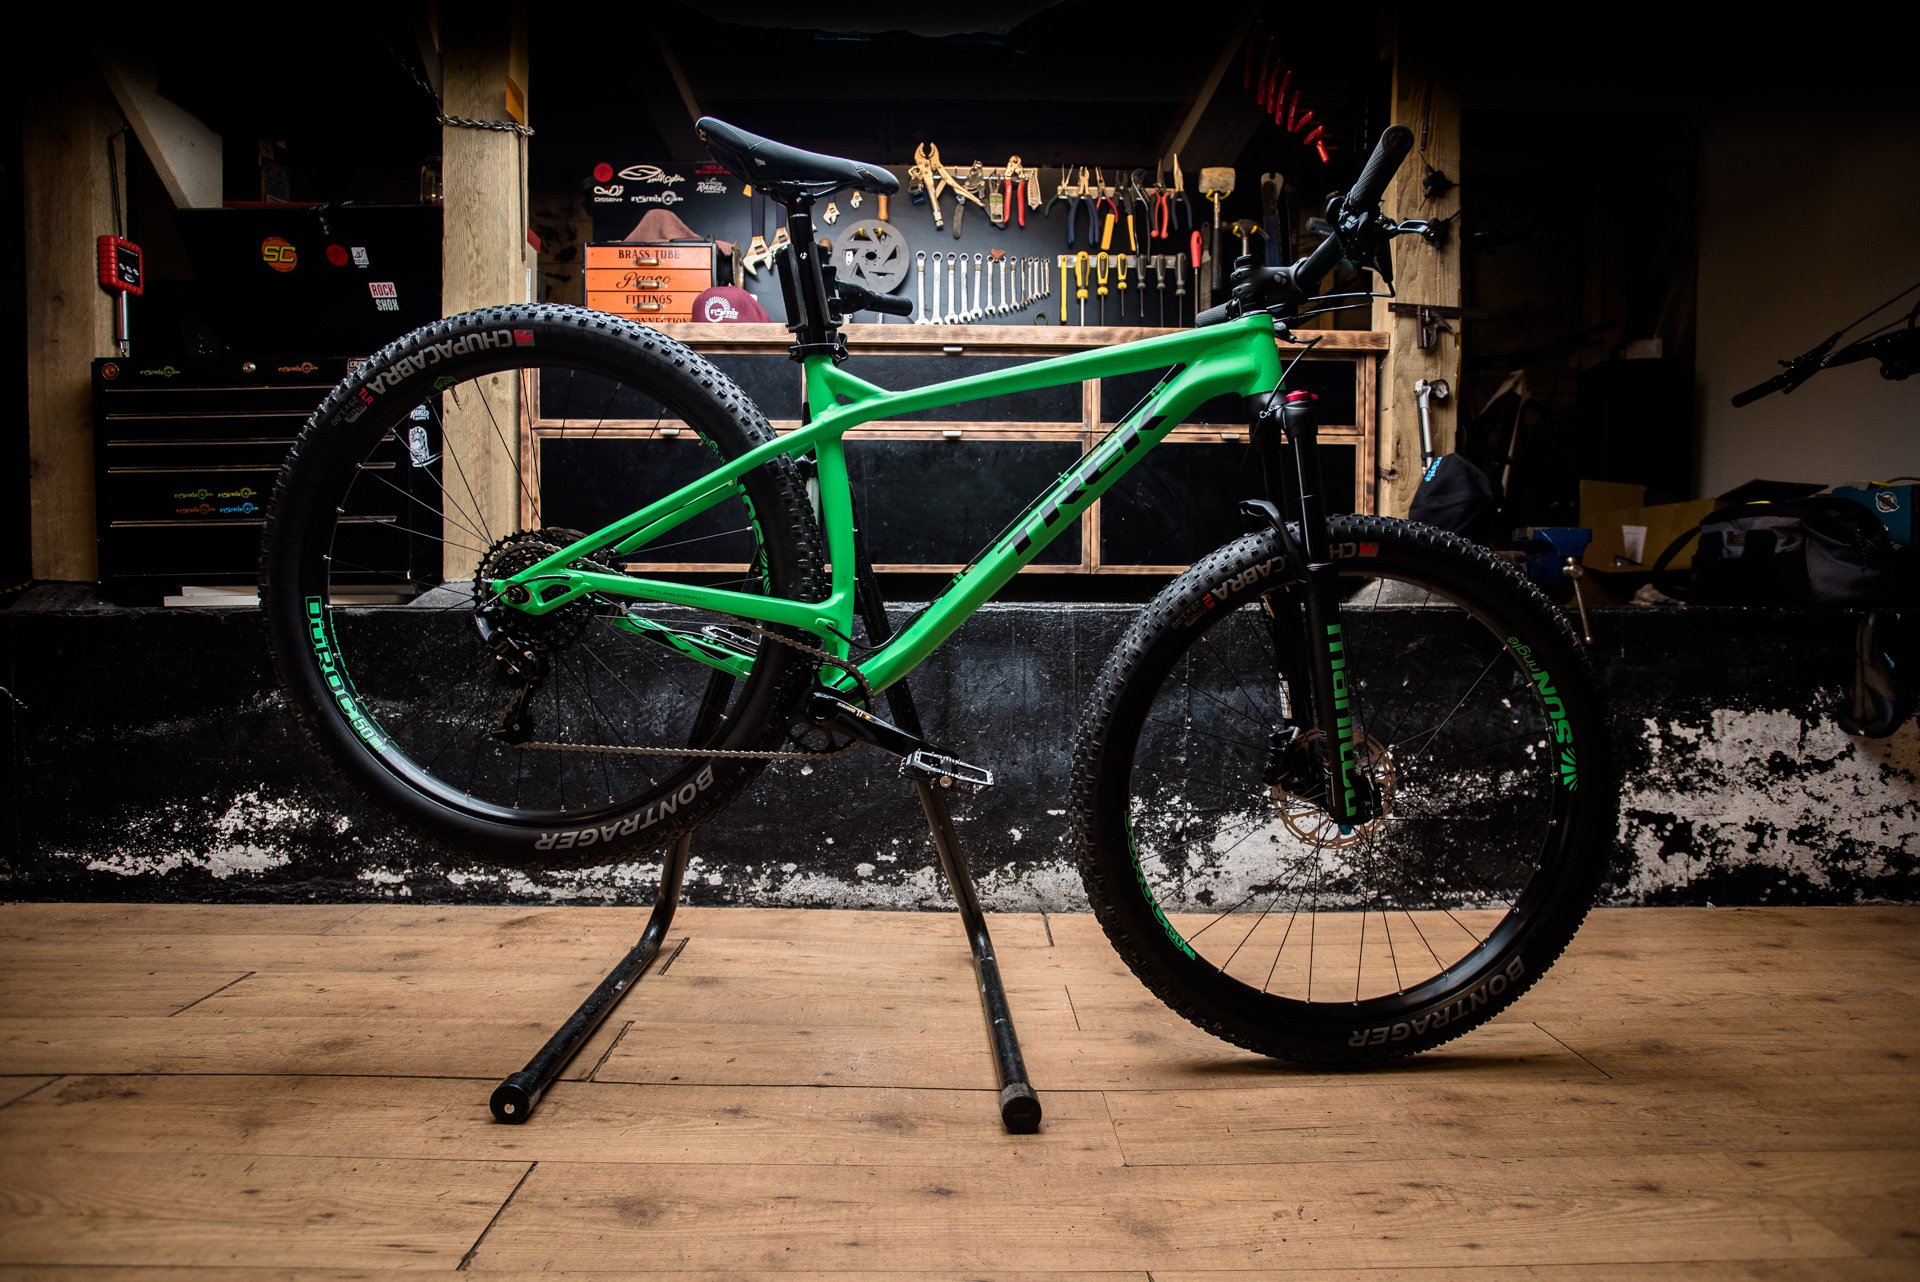
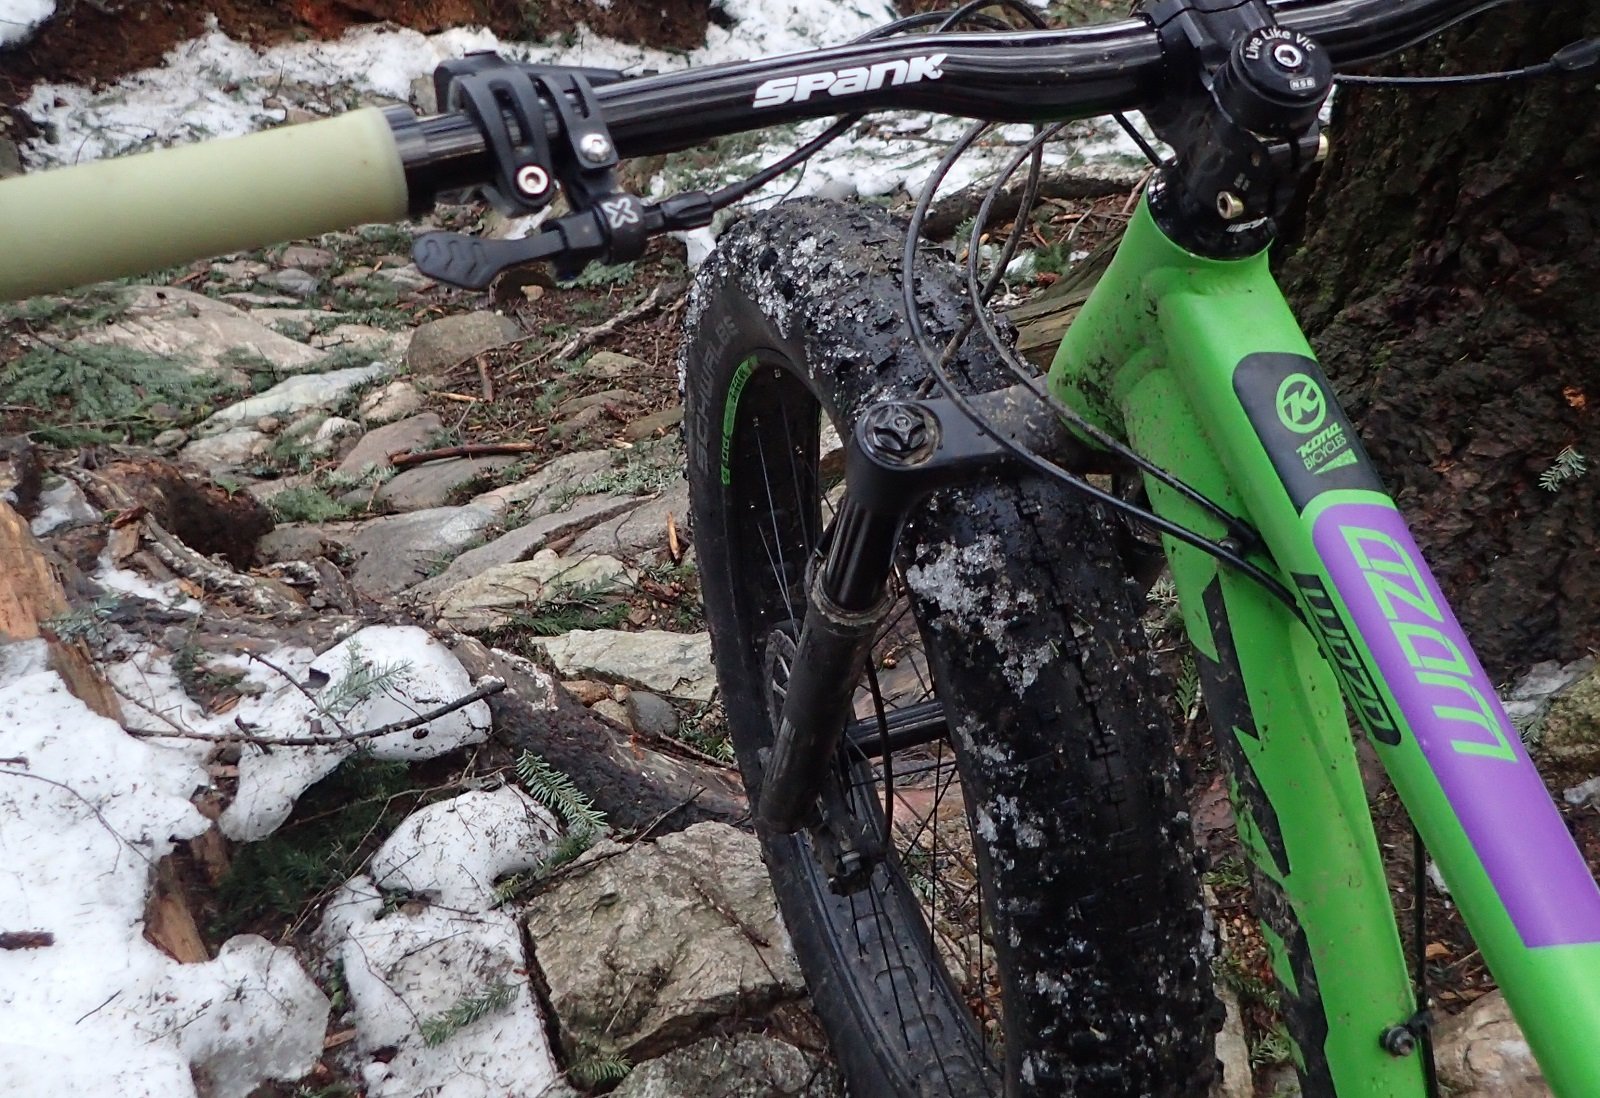
I changed a lot of stuff on the Trek Stache 29+ through my process reviewing the bike. It ended up wearing the same X-Fusion Manic dropper as the Marin Hawk Hill and the Kona Wozo. A dropper made a big difference for the type of terrain where the Stache was most fun. Photo: Dave Smith
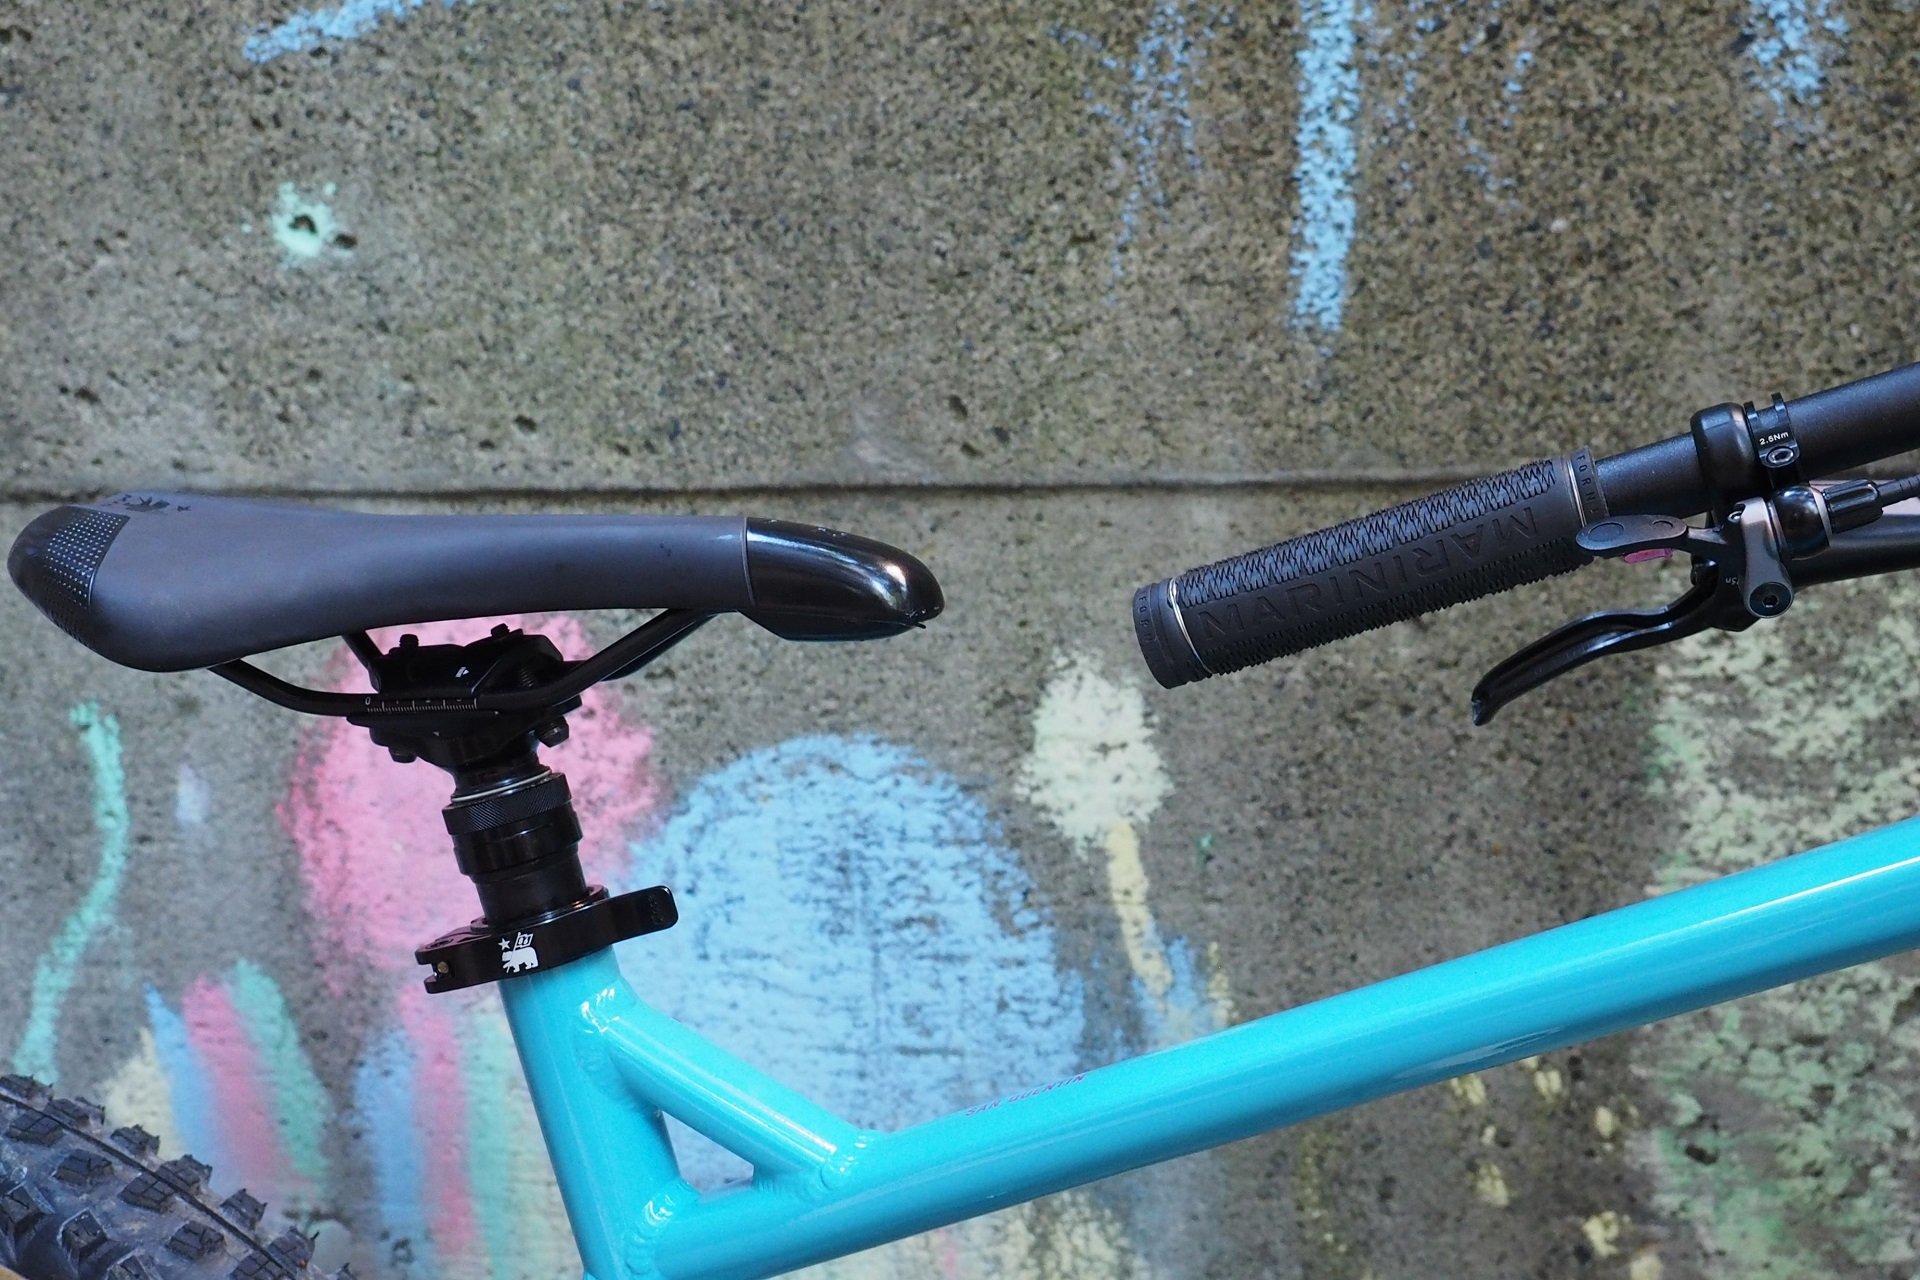
I've been pedaling the San Quentin 1 around without a dropper post for a little while now. It's totally doable and I certainly don't want to suggest that mountain biking isn't fun without the uppy-downy post at my thumb's command. But I am more excited to ride it with a dropper post installed, which sums up the product perfectly.
Why Sell?
I have three acquaintances who recently bought new bikes and immediately flipped the stock dropper posts unused. Wrenching in a shop, this is not uncommon and the reason is almost always either a desire for more travel or brand preference. These are brand new posts but the 'take-off' smell of OE spec items combined with the new-but-no-warranty factor meant they all went for what I'd consider wins for the buyer. It may still be a sellers' market for rear derailleurs and shocks, but for dropper posts there is no shortage of options.
The breakdown:
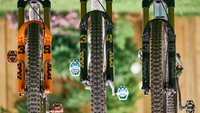
- X-Fusion Manic (34.9 x 175mm) with remote. Swapped for BikeYoke Revive
- X-Fusion Manic (30.9 x 170mm) no remote. Swapped for 210mm OneUp V2
- Fox/Face Transfer/Turbine R (30.9 x 175mm) no remote. Swapped for 210mm OneUp V2
I have a buddy who bought a used 200mm Turbine R recently but in that case the seller had put their old dropper back on their bike to sell it, and was selling the 200mm post separately to maximize return.
It's very common to see great deals on 150mm and 170mm-ish dropper posts. If you're looking for a shorter option, 125mm posts still show up a lot as short(er) riders flip their stock post to maximize drop. Riders with longer travel posts, especially in the most common 30.9 and 31.6 sizes, generally know that supply v. demand is in their favour unless they're looking for a quick sale. From a best-on-a-budget perspective this could mean a tall(er) buyer needs to settle on a shorter than optimal dropper, but 170mm of drop versus 200mm+ of drop is academic when you don't currently have a dropper post.
The post I've installed is an E13 Vario. It's well used but it's still tight thanks to massive keyways. It comes up and stays up. It goes down and stays down. It stops anywhere in between. It's had a relatively noisy cartridge since new - and the replacement was no better - but it functions fine.

It's a full 180mm post but it's easily adjustable in 5mm increments. It has quite a lot of insertion depth (there's a lot of iceberg under the surface) but that's not a problem for a large hardtail with straight seat tube. A replacement cartridge is 50 USD if/when needed in the future. A used one, in good shape, should be in my price range.
One Hundred Dollars CAD
Lets roll backwards and start with buying the uppy-downy post first. Sorry sellers, I've pegged it at 100-125 CAD for a post in good shape sans remote and 125-150 CAD for the same with a decent remote. That may sound low if you're looking at the median used post price on the internet but I'm only trying to buy one dropper post not a hundred.
Folks currently trying to sell their used, or take-off, dropper post for two or three times that amount may be wondering something like "who's ass did you pull that price out of?" but that's why I listed the three take-off posts above. Keeping in mind that the X-Fusion Manic is easy to clean and lube and if the cartridge dies down the road, without a warranty, it's easily replaced at any dealer and only costs 50 USD | 65 CAD. Keeping in mind all three posts are brand new.
- Manic with remote sold for 150 CAD
- Manic no remote sold for 125 CAD
- Transfer/Turbine-R no remote will still be available in 2032 unless a significant price drop happens
From the push of a button brand new on the shop floor I won't disagree that the Fox-Face post is the better performing, more polished, product. They're great dropper posts. But with a significantly higher cost of ownership and without the benefit of warranty coverage what some folks are trying to get for these, and other premium posts like the Reverb, is silly beans. The reality is that SRP purchase price and resale price don't have much correlation.
The X-Fusion Manic, or a white label equivalent like Rocky's Toonie Dropper, is a value leader. Easy to service, replacement Wintek cartridges are 50 USD, and a new post is about 215 USD including a very usable remote. It's a great value. And a patient rider can pick up a used one, or a take-off, for much less.
Some folks don't love that the cable head sits at the remote end as it is a bit more difficult to set up. The post is light action enough that it works well enough with any trigger style remote on the market, so you can always just cut the head off the cable and crimp it at both ends with a different remote.
I've used the 125mm, 150mm, and 170mm versions and worked on a fair few bikes that had them installed. They are not a BikeYoke Revive, Reverb AXS, or Fox Turbine Factory, but they're reliable, smooth, and fast enough. They do the basic dropper post job well enough that I think anyone could be happy using one even if they prefer something else.
It takes ten, maybe fifteen minutes to fully service a post and if you're curious about the guts, James at SuspensionWerx helped me with a teardown back in 2017. Other than adding more lengths and the 34.9 post size they haven't changed much since.
Best On A Budget
We're a few beers, and a mountain bike ride short for some proper philosophising about amortizing our lives even just in context of dropper post value but I'll give it a shot. Whatever post your friend has in their spares bin that stays up or down on thumb-command, doesn't rattle too far side to side, and provides enough drop that you wouldn't be better off with a fixed-post and a good quick release, that's the best value out there. You know, never look a gift Reverb in the rebuild price.
Before the Bike Yoke fan club comes hunting for me, I'm also open to the idea that with the ample keyways, easy service, and smooth performance the Revive/Jack deliver make it one of the best values on the market despite the higher initial cost, and apparently high resale value for used posts. It could very well amortize out to being one of the cheapest posts around depending on how long you have it for and how many hours of riding you put into it.
Preamble aside, I do think the best used option for the least money, both upfront and ongoing, is a cartridge based system. They're very easy to service - clean & lube - with minimal tools and the Wintek cartridges tend to last a long time. That's particularly true on the slower Crankbrothers posts that use a lower charge, but in general I know riders who've gone years on their X-Fusion Manic before having to buy a replacement, non-rebuildable, cartridge.

I made the assumption we're putting a post on a bike with stealth (internal) routing. No need to buy new rubber grommets.

A little lubrication for installation. The Field Theory is for me, a spritz of rubbing alcohol on the rubber grommets makes them a bit easier to install.
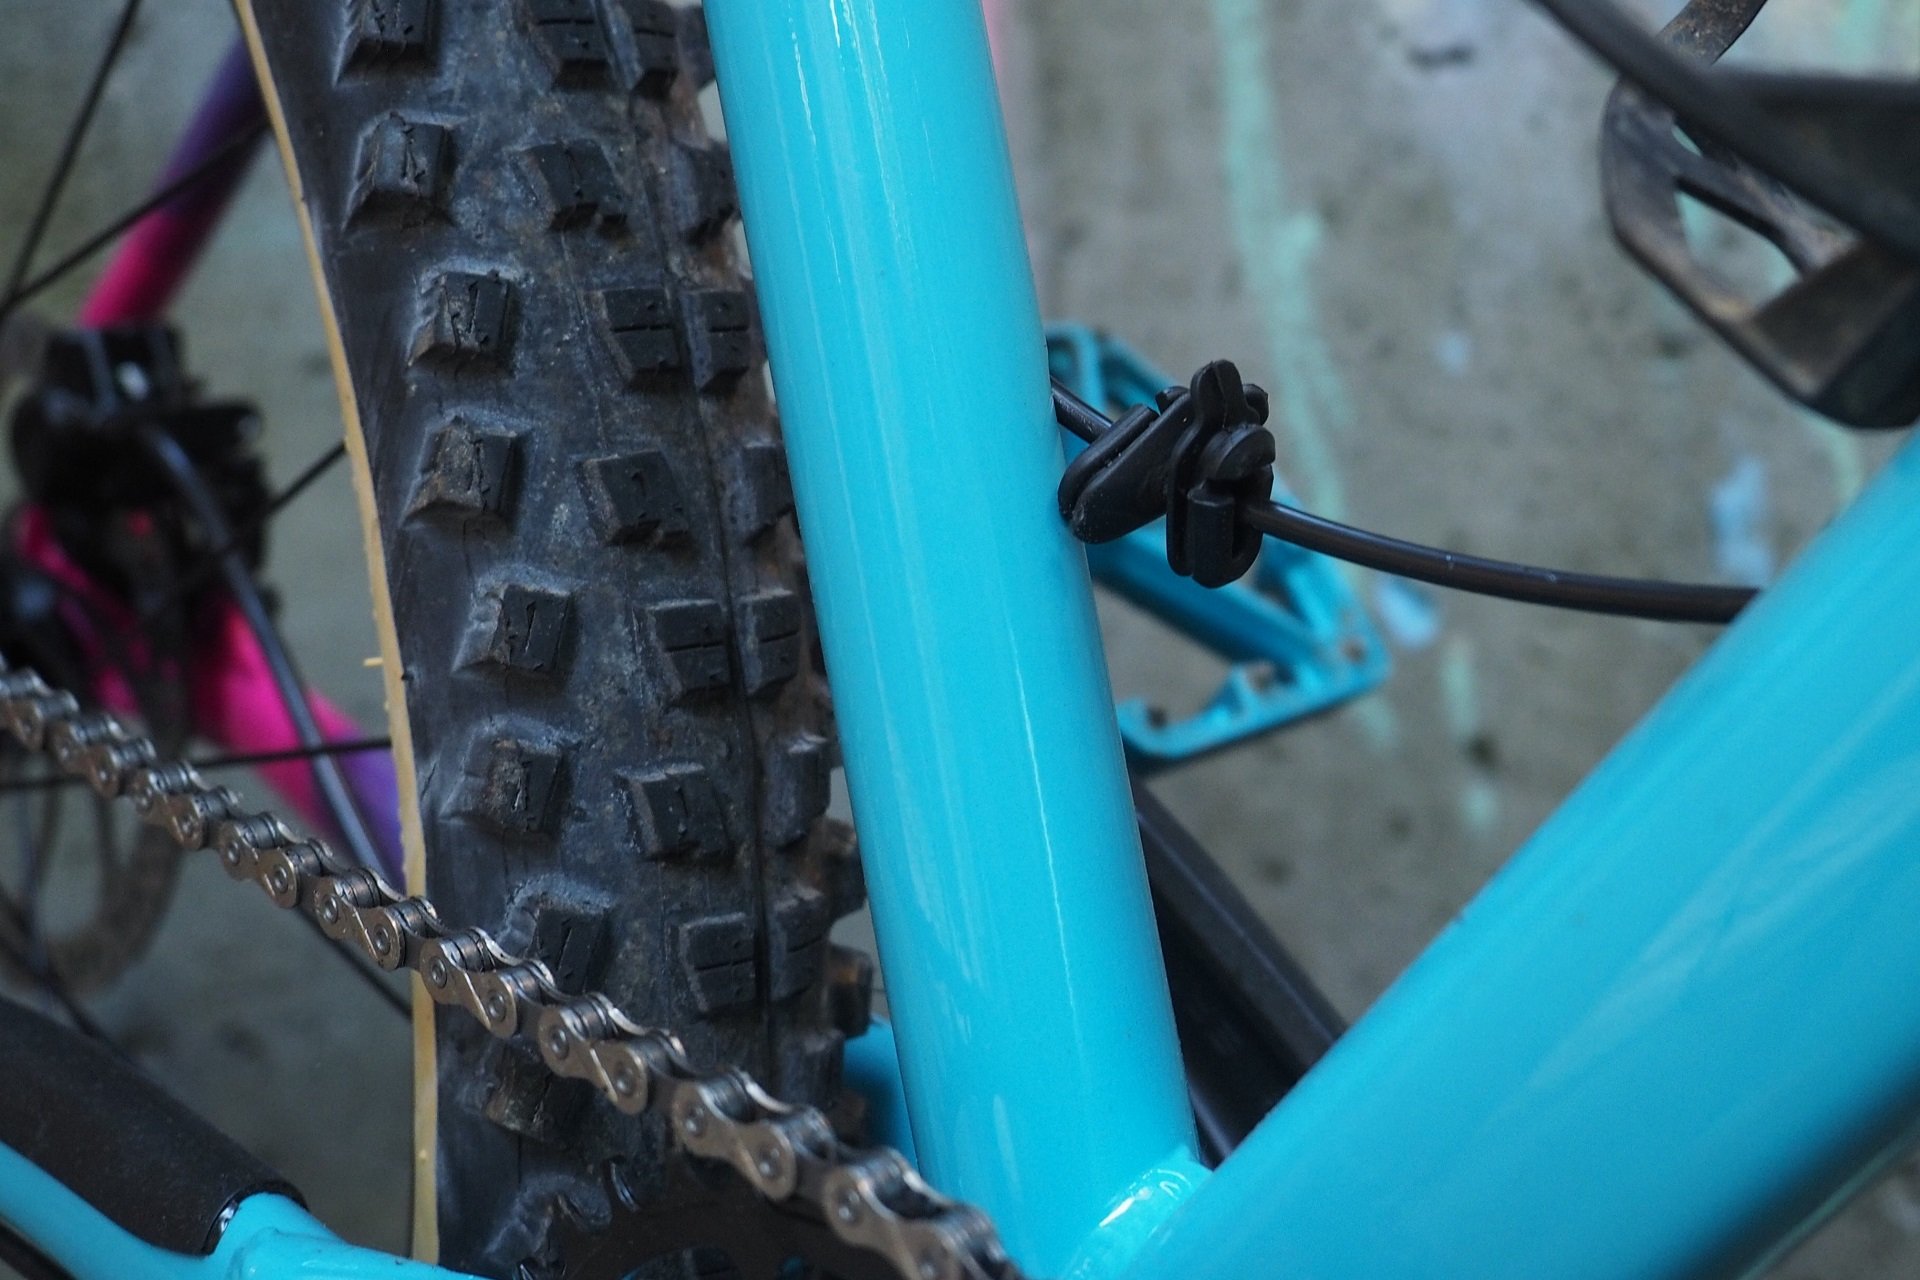
I love how the home-holed grommets fit much tighter on the cable. More weatherproof and it runs quieter too.
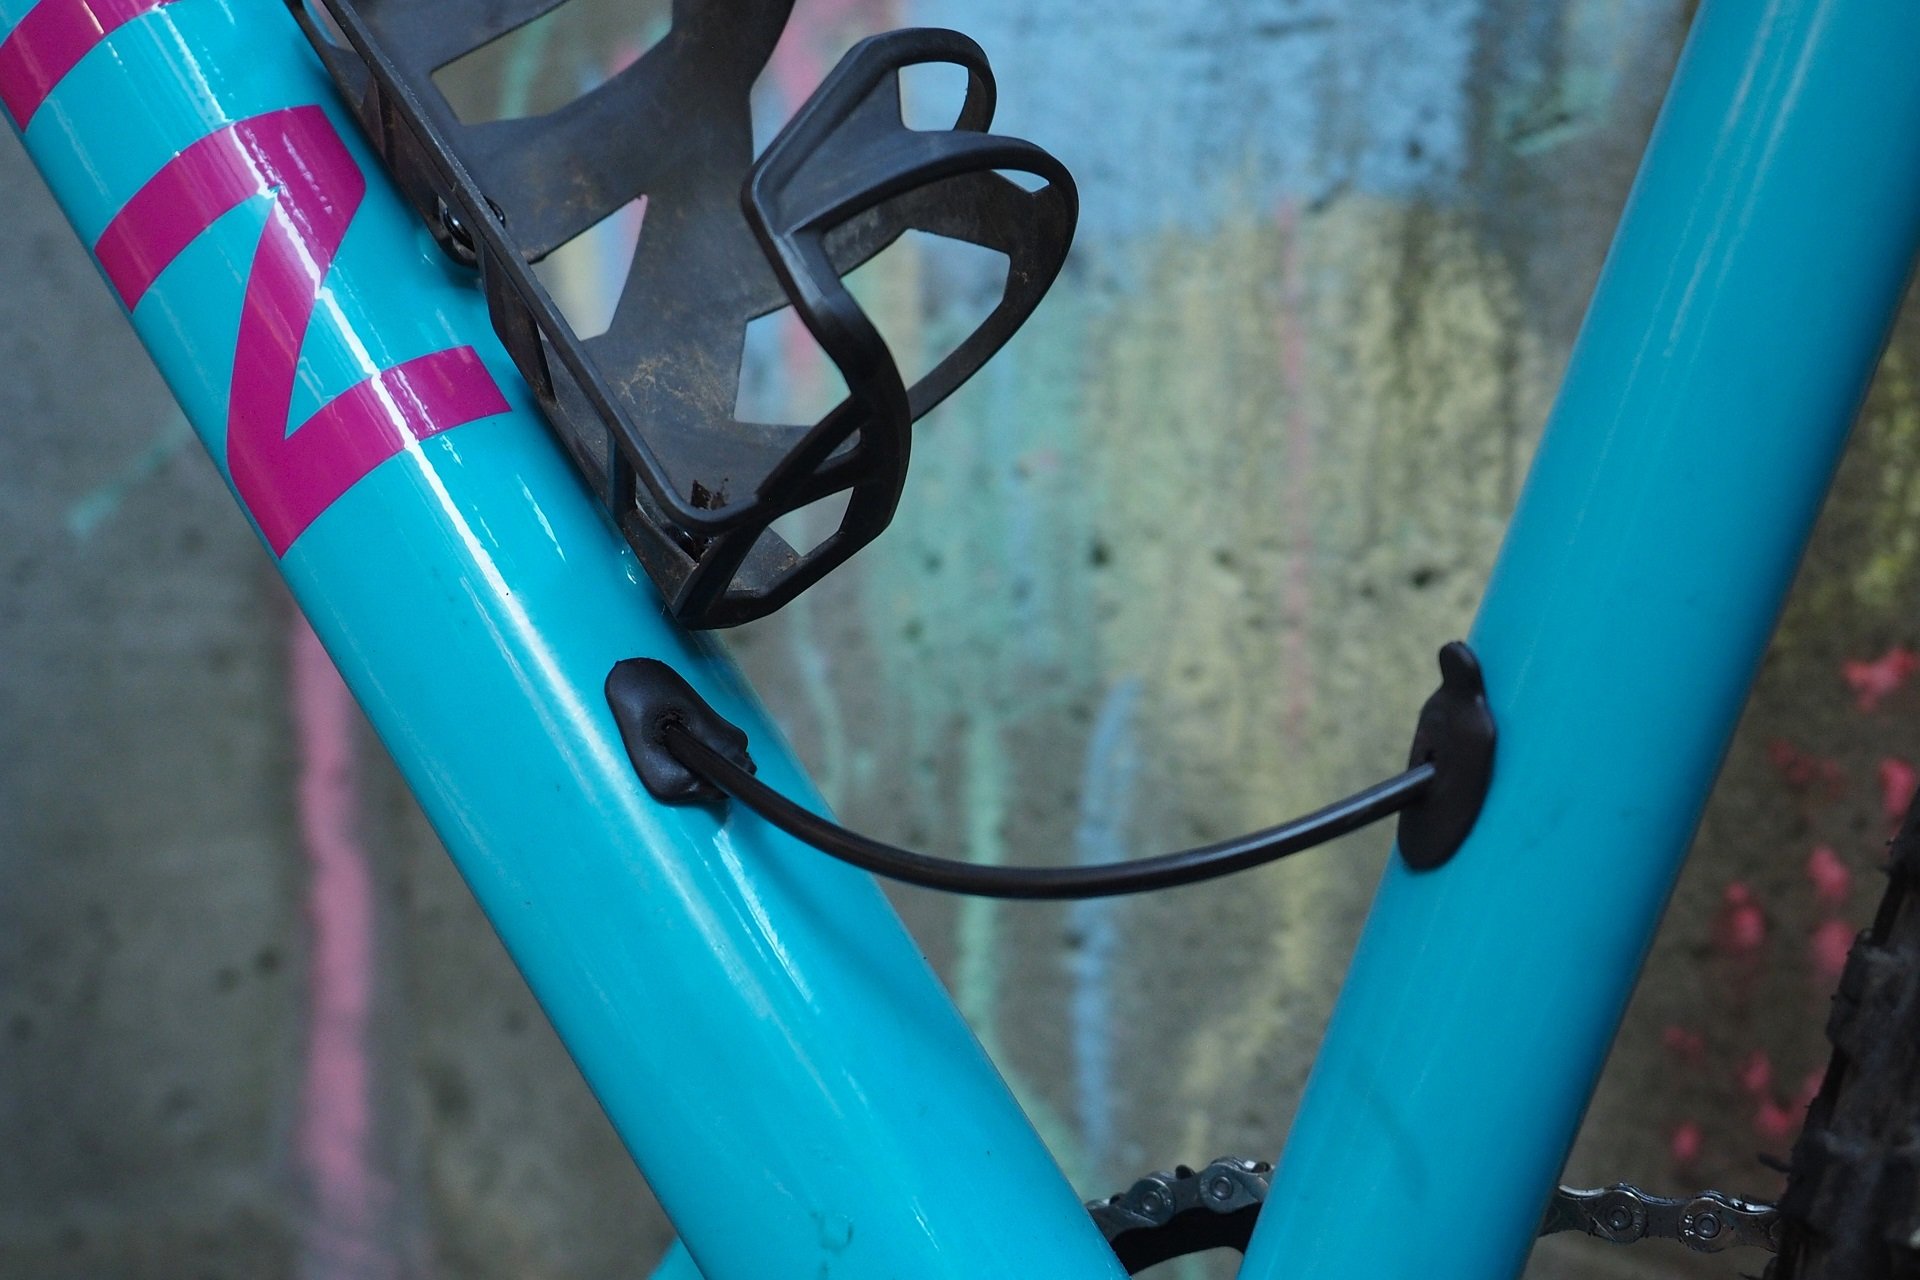
It means manually pulling through the cable when raising or lowering the dropper post though.
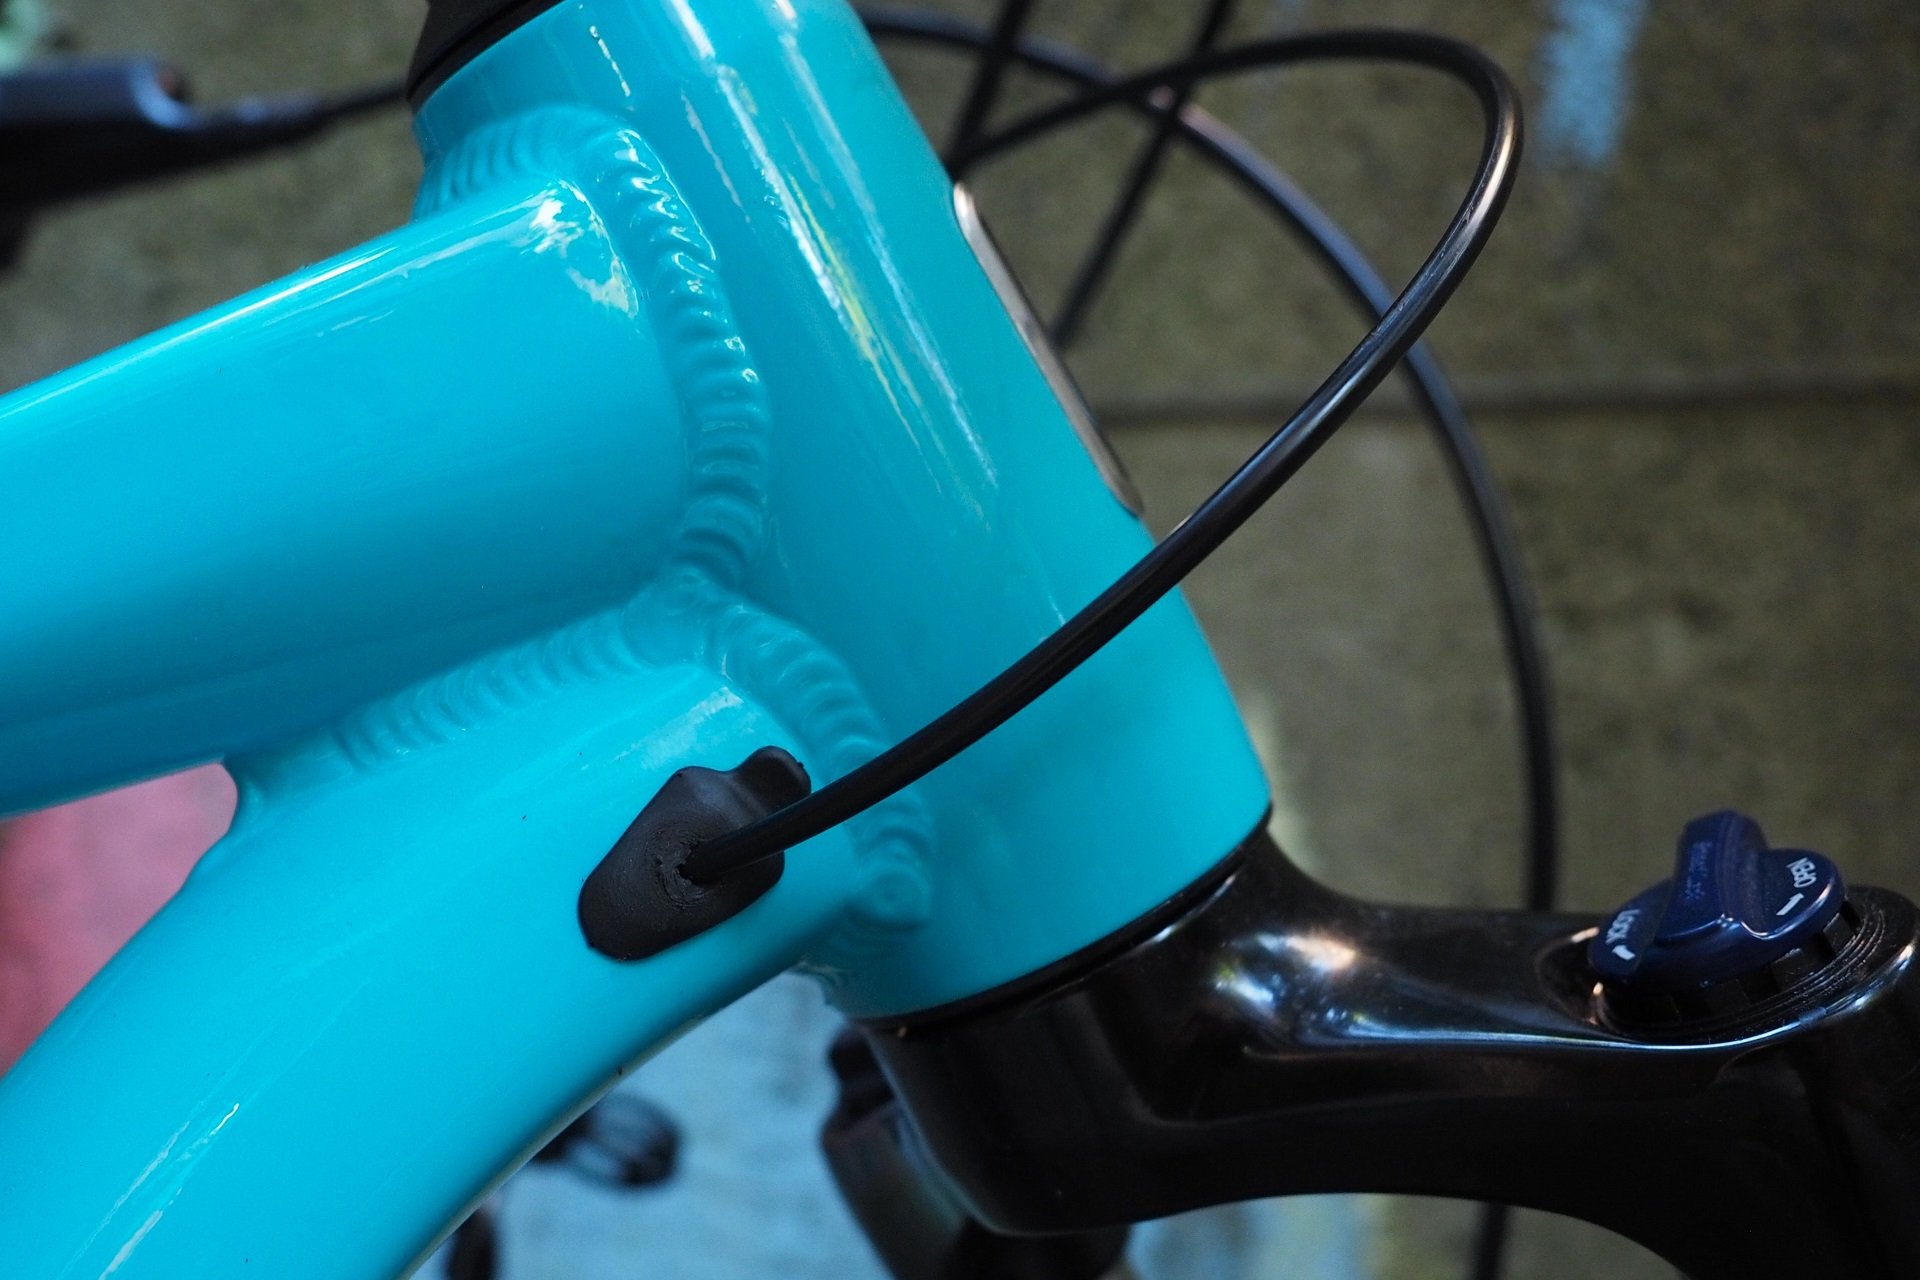
For frames without stealth routing there are external post options, or get out the drill/dremel if you have an older frame and are confident in what you're doing.
Companies sell replacement Wintek gas-cartridges for a range of different prices and they are not universally swappable in terms of dimensions or mounting, so before buying a post it is worth checking on the replacement cost. For example, both E13 and X-Fusion charge 50 USD for their Wintek cartridge but many brands charge more. Be aware that not all Wintek-equipped posts are equal. Some giant brands that use a Wintek-cartridge design have such sliding surface, sealing, and actuation issues that no amount of cheap cartridges or ease of replacement make them worth more than their scrap value.
They tend to carry a much higher up front purchase price for used examples, but OneUp's V2 post cartridges are also very easy to replace and they sell for 70 USD. Unlike the Wintek units they're also technically serviceable. The posts are also easy to work on. So for the right initial purchase price that could also be a good contender.
In my searches though, I don't think on average that you'll beat the value of a take-off or lightly used X-Fusion Manic, or a white label equivalent like Rocky's Toonie Dropper, so that's where my search would start. These also tend to be a very good value-buy for a new post especially when you consider they ship with a decent remote where many more expensive dropper posts do not.
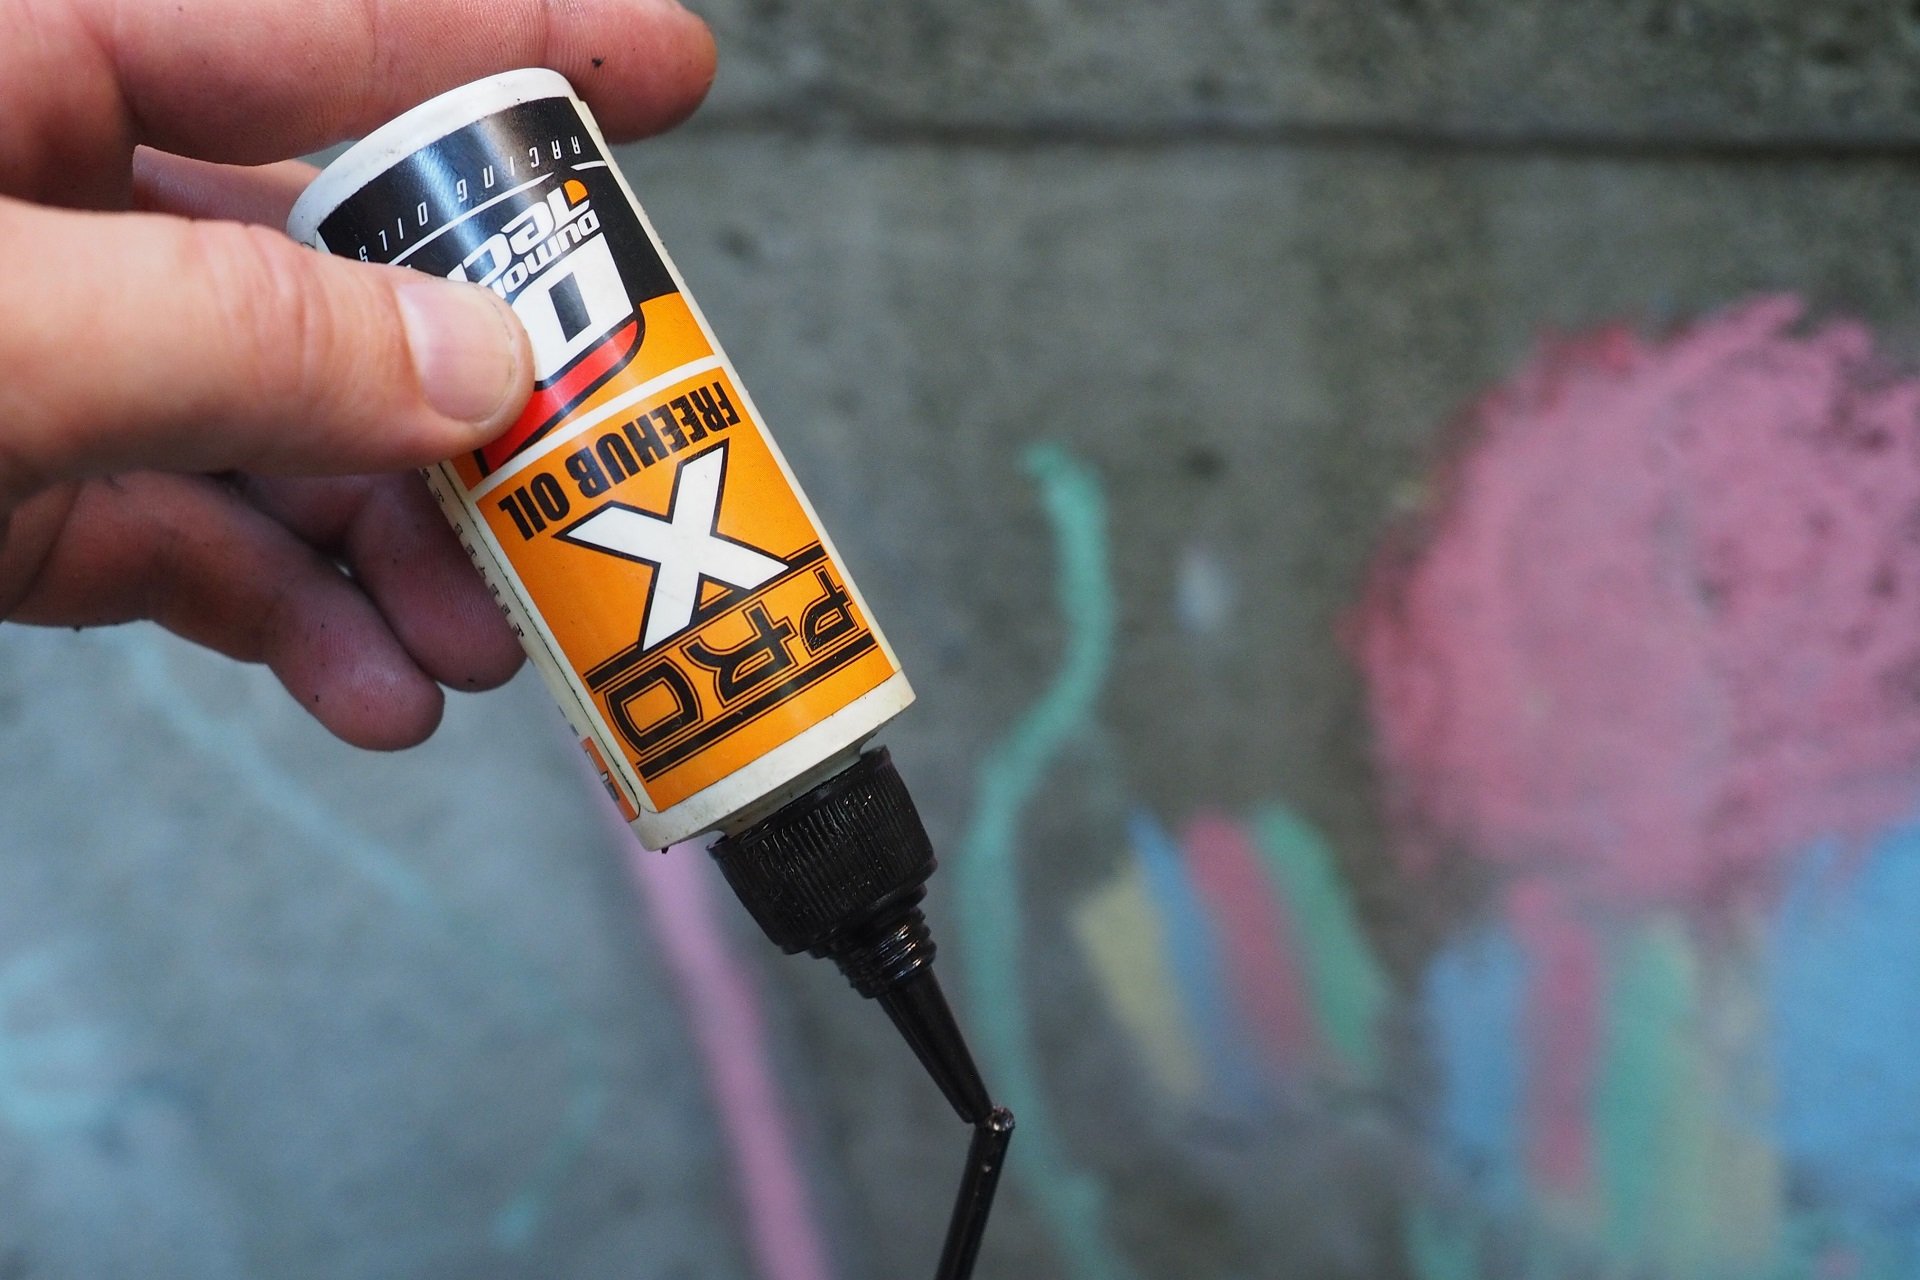
Yeah, so this is the good stuff I service my pawl hubs with, but a few drops into my dropper cable housing make it run smooth significantly longer. Any heavy wet lube does an okay job. So if you bought some slimy sludge and realized it means more time spent drivetrain cleaning than riding at least you can upcycle it for dropper cables?
Remote Talk
Sticking with the X-Fusion for a moment, don't get maniacal about the cable capture point being in the frame. First of all, it's really not that hard to manage a dropper post where the fixed cable end is at the remote and the crimp end is at the post. It's a little trickier than the alternative, which is why most posts have the fixed end at the post now, but it's not rocket surgery. Second, if it really bothers you, just pickup a remote that has a cable clamp and cut the fixed head off the cable. You just tighten the cable crimp at the post, run the cable through your housing, and then set the tension when you capture the cable at the remote. As easy as anything just with one extra cut to make.
The subject of which dropper remote to buy is an important one, assuming the used/take-off post doesn't include one or you'd like to switch to a remote with a cable crimp. When I first started writing this piece the obvious choice, to me, was the Crankbrothers Highline remote. It's easy to setup, has a hinge clamp, is widely adjustable, and it's okay to use while also being significantly inferior to at least a handful of other options. There are so many Highline owners out there running a Wolf Tooth ReMote, PNW Loam Lever, E13 Vario, and etc., etc., etc., remote with a cartridge bearing that, despite some shops trying to sell them new for 60 USD, it's really easy to track one down for not a lot of money.
Don't read that as a criticism of the Highline post; it's a great Wintek option that's smooth and reliable. I still have a first generation Highline that I reviewed in 2016/2017 going strong on my commuter bike - with the original cartridge. Crankbrothers just needs to update their remote, also from 2016, to be competitive with the current competition if they're going to ask that much money for it.
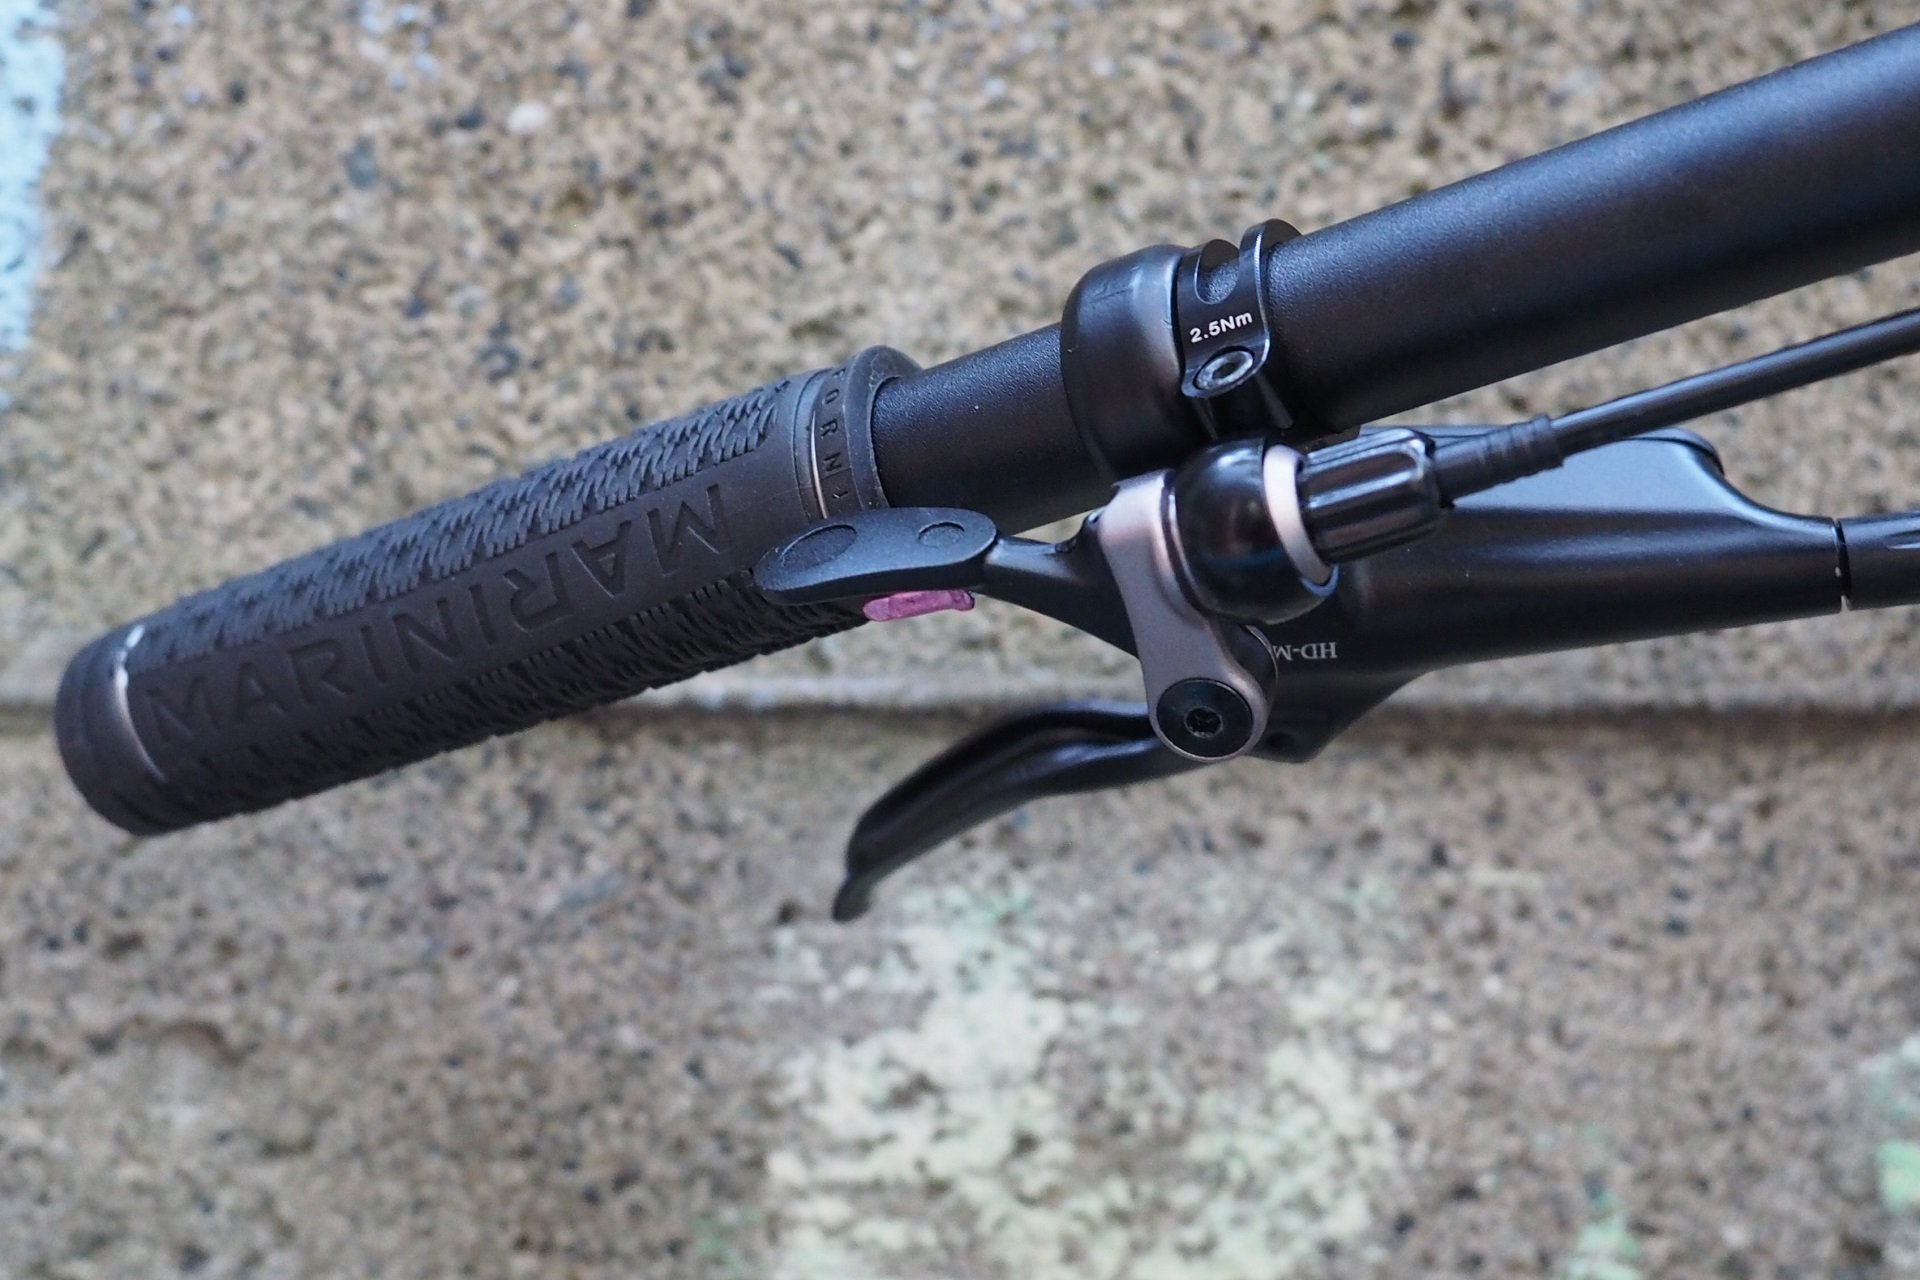
The Crankbrothers remote is expensive relative to its performance at full SRP, but it's a solid option that works well if you can find one used or take off. For the right price.
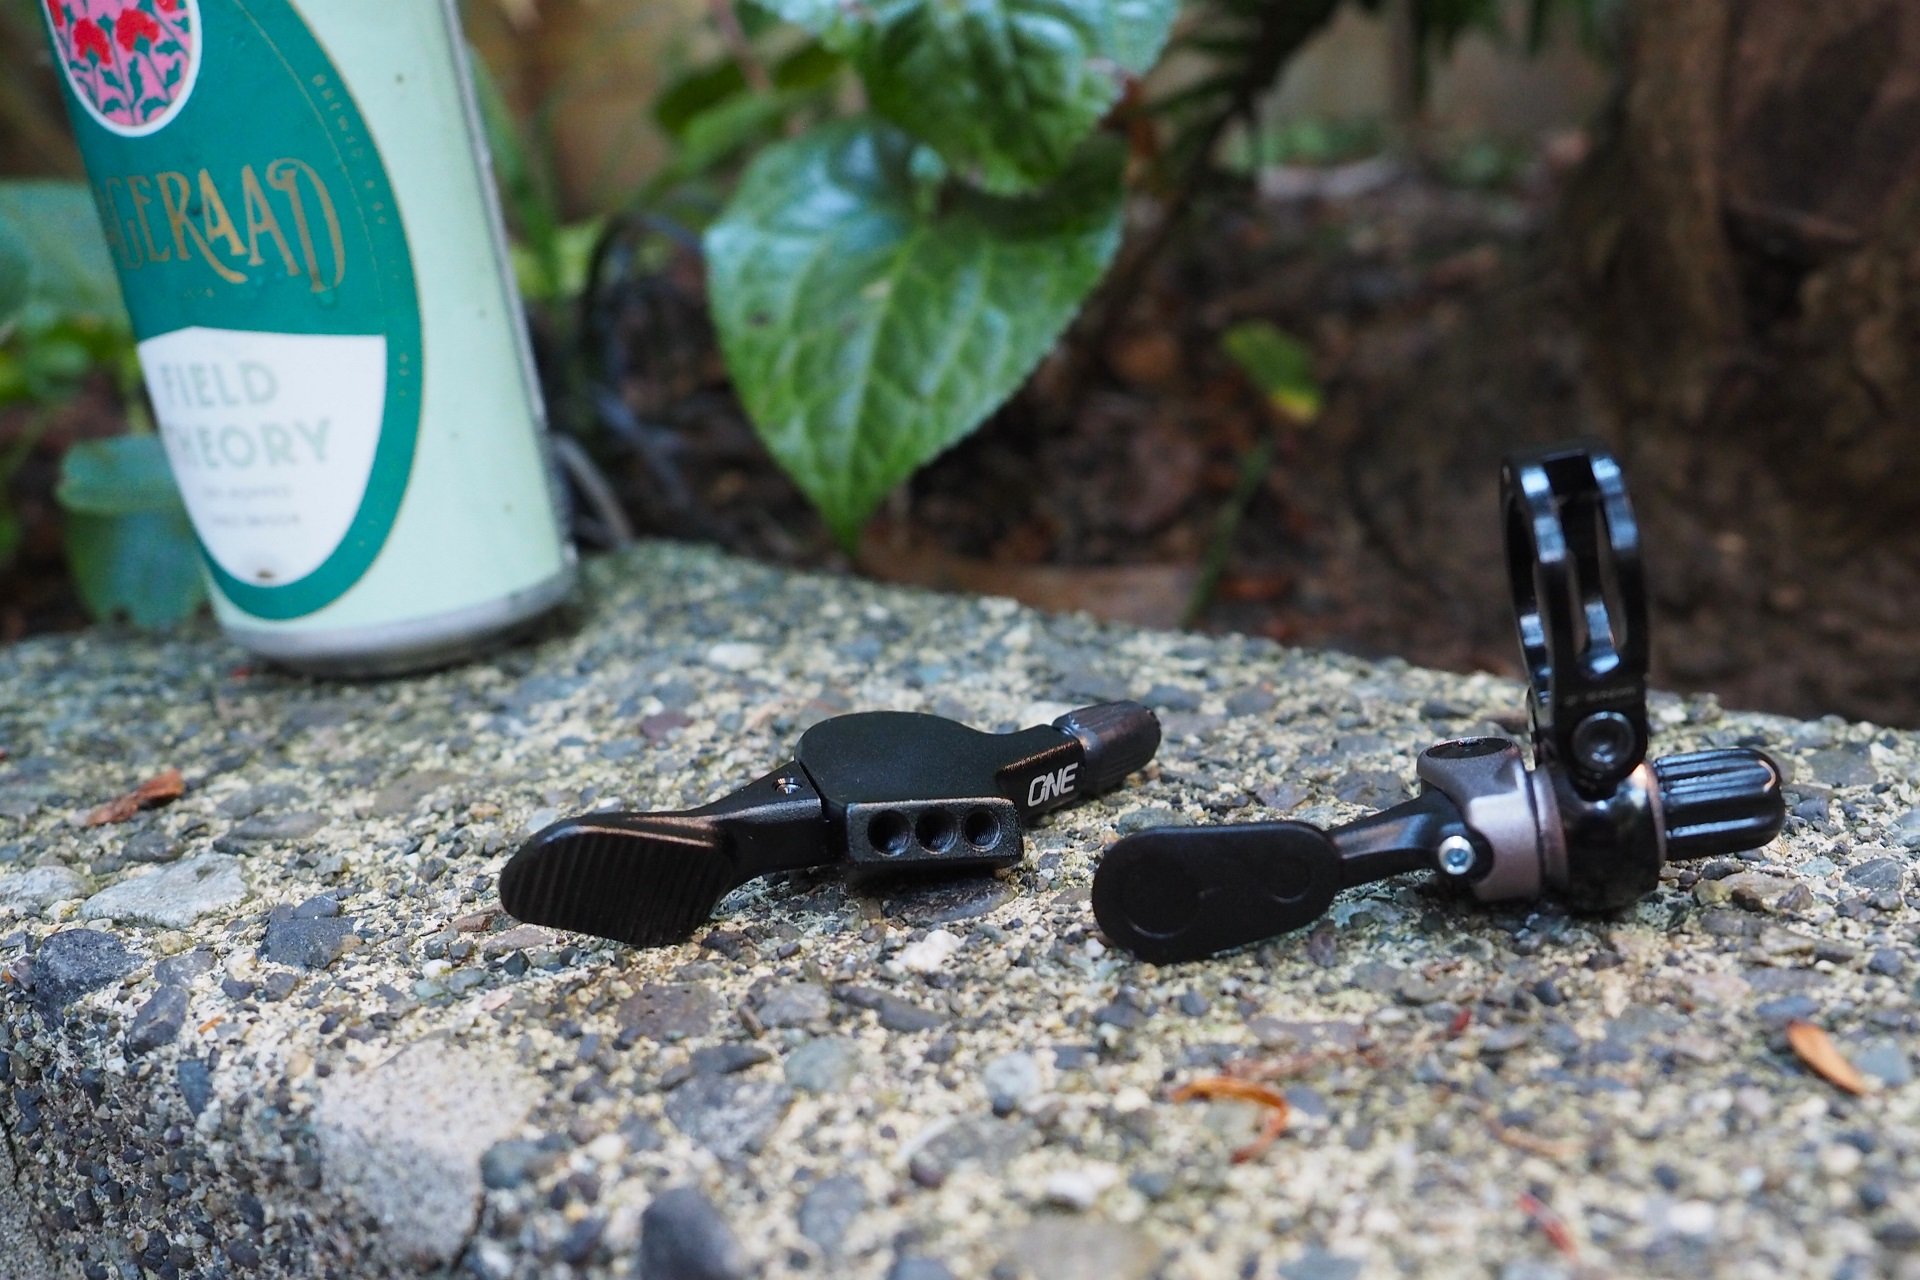
While OneUp's new V3 dropper lever is a significant improvement over the V2 (shown), a used V2 could be a great budget choice. For the right price.
My remote recommendation changed on Monday, July 25th, when OneUp released their new V3 remote. The V3 remote is notably better than the V2 variety, but the V2 remote is perfectly usable, easy to install, and has a cartridge bearing. And, if the number of OneUp dropper post users that I know personally who are ordering the new remote is any indication, it's going to be a buyers market for all the V2s that are currently making their way to getting lost on a tool bench, or in a box or drawer.
I confirmed that I could easily score a cold four-pack of delicious Chop Wood, Carry Lager for the Clairebarian's used V2 remote, without a clamp, so I'm going to peg the used value around a twenty-spot in Canuckbucks for a quick sale. I'm guessing the more patient re-seller could sit on theirs for years at 30-35 CAD, but maybe I'm reading the market wrong.
On the used market, I'd expect a Wintek-equipped setup like this, in good condition, to sell for around 125 CAD | 100 USD for the post and remote. As I said earlier, that probably sounds low if you're looking at the median used post price on the internet. But, I'm only trying to buy one dropper post not a hundred of them and if folks want to sit on their used posts indefinitely that's on them.
Up, Down, Slickoleum
Obviously, or at least I assume it should be obvious, the used dropper post market is like anything else with mountain bikes. It should be approached with a health dose of buyer beware. At the same time, a dropper post is clearly not a rear shock or a suspension fork. Does it go up and stay up? Does it come down and stay down? Does it feel smooth in both directions? How's the side-to-side play? Unthreading the main seal - usually by hand, sometimes with a strap wrench - and adding a gob of Slickoleum will resolve most friction issues.
If the post does hit those criteria it's always worth a quick search to make sure it's easy enough to buy parts. Especially the cartridge kit inside but it's also nice to be able to refresh the seal assembly and keyways if it's an older unit. Don't fret too much if you've never serviced a dropper post before. If you're picking up a cartridge-equipped unit then an adjustable wrench and a hex-key set are all you need and it's honestly no harder than changing a shifter cable. Okay, once in a while a stubborn post may require a rubber strap wrench, but if you don't already have one, they're cheap and I use mine regularly around the house.
And, if you're still not certain about tackling the job yourself, bookmark PNW Refurbished and check back on it once in a while. Products sold there are more used than a brand new take-off post and less used than a lot of clapped out stuff folks are trying to flip for significantly more money. I'd love to see more brands offering a refurbishment program. A rebuilt Loam dropper post (125mm, 150mm, 170mm, 200mm | 30.9, 31.6, 34.9) for 120 USD (no remote) is a great deal when they come up in your size.


Comments
araz
1 year, 10 months ago
+1 for PNW's refurbished posts. I got a 200mm loam that's been great. The only sign of use was a little wear on the anno on the seat mounting bolts -- showing that someone had mounted a seat to the post -- otherwise looked brand new. Hard to beat for a little over 100 bucks. I've had great experience in the past with PNW customer service too.
Reply
Andrew Major
1 year, 10 months ago
Such a great value even before you factor in their excellent reputation for customer service.
I’m curious, would you have considered a user dropper otherwise, or would you have definitely bought new if not for their reconditioned option?
I’d really like to see other brands doing this with their returns.
Reply
araz
1 year, 10 months ago
I don't think I would have searched out a used post otherwise. I checked out the PNW refurbished selection and they happened to have the right size for me to try out a longer travel post for cheap. I was out a total of something like $20 after selling my old 170 post.
I think I'd just spend the extra money to get a new PNW or One up over buying a used post from Craigslist or the buy and sell though.
Reply
Andrew Major
1 year, 10 months ago
Thank you.
When I was deciding whether to write this piece or not, my challenge was deciding who the actual intended audience was going to be. I mean, the intention is to make it easier for a rider on a tight budget to add a dropper post to their rig but is it the bikes owner looking for information or their more experienced friend?
That’s why I finished with the PNW link - something for everyone.
Reply
araz
1 year, 10 months ago
It's awesome that you're writing this stuff for people on tight budgets! When I started riding a decade ago, I scoured Craigslist for replacement chainrings and such and bought sale bin take-off tires, because I didn't have much spare cash at all. Things aren't quite so tight for me at the moment, but I still need to be strategic about where to spend and where to scrimp.
Reply
Andrew Major
1 year, 10 months ago
Thank you. I often wonder if I would have gotten into mountain biking as a teenager if the expectations for gear and bikes then were what they are now. Think about my Dickies from the Surplus, all season flannel, double-thick garbage bag from MEC, and etc.
I like to think there’s a teenager on a shit kicked hardtail, maybe a 2012 Honzo at this point, with a take-off SR fork and ‘unrideable’ tires making it happen in skate shoes and a skid lid who may be in the market for a used dropper post that could find this helpful. I’m grateful that I have nice rigs and don’t have to dirtbag it, and I’m also glad I’ve been the guy grabbing frames, cranks, hubs, etc off the buy-and-sell and making it work. Not looking to go back, but appreciating folks making it happen.
araz
1 year, 10 months ago
I was a skater as a teen -- $100 board, maybe some pads if you were riding big ramps, and that's all you needed. I can't imagine having to spend thousands of dollars as a teen to get into a sport. Though I seem to see more and more twelve year olds on new Pivots and Yetis, which always throws me a bit.
What I find super helpful in these articles is info on user serviceability, parts availability, etc. This info can be hard to find for those of us not directly involved in the industry. Nothing worse than having to bin something because some $2 part breaks and can't be replaced!
Allen Lloyd
1 year, 10 months ago
Never underestimate the awesomeness of PNW service! I ordered the wrong post all my fault and they shipped the right one same day and didn't fret when I waited nearly a week to ship the wrong one back. I also feel their posts feel better than the others.
Reply
Andrew Major
1 year, 10 months ago
I’d argue that Crankbrothers is the smoothest of the cartridge posts and even then none of them is a match for a fresh Revive, AXS Reverb, or Transfer. I don’t think that’s hugely important for most riders. At least not over other features when you think of the percentage of after market sales locally which are OneUp posts.
Reply
Skooks
1 year, 10 months ago
PNW posts and customer service are great. Their dropper posts and remotes work very well, last a long time, and are reasonably priced. PNW and OneUp are the only posts I will buy. Cartridge posts are cheaper/easier to buy and maintain, and perform just fine.
Reply
Andrew Major
1 year, 10 months ago
The only thing I’d say contrary to this is that the BikeYoke/Manitou Revive/Jack is the easiest post to teardown and fully rebuild. It’s also smoother for those who care. They’re quite delightful to work on and ride.
But from a budget (initial and overtime) perspective I agree, both new and used. Cartridge posts are the best option, especially combined with great service as in your examples.
Reply
Brian Tuulos
1 year, 10 months ago
Best used budget post is a reverb. Yes, over time they develop the dreaded reverb squish. But I've never had to purchase new seals. I just disassemble the posts per RS videos, and re-assemble with old seals for another 1-3 seasons of use. Caveat being you need to be pretty handy to tear into these posts and have all the tools.
You can find people selling saggy reverbs for $50
Reply
Andrew Major
1 year, 10 months ago
Interesting take. My buddy actually got a 150mm stealth Reverb for free and figured it was a pretty good deal with the $120 service (I was thinking not really given that’s far from a one time or multiple year fix). But for the rider doing their own service it’s arguable that would be a great deal.
Reply
Velocipedestrian
1 year, 10 months ago
Those giant companies selling junk is right. I remember the shock of finding the keys were a moulded part of the stanchion. The cartridge lasted longer than the sliding surfaces. Awful.
Reply
Andrew Major
1 year, 10 months ago
The absolutely mandatory and minuscule ‘hat’ for the cable head / post actuator is a titanic piss-off as well, but, as you note, those posts are generally massive turds.
Better value to ship bikes with fixed posts and force riders to acquire their own uppy downy solution.
Reply
Jake Smith
1 year, 10 months ago
I was just installing a KS post that uses the annoying cable crimp assembly at the post end the other day and I was absolutely baffled by how much I struggled, and it wasn't even the first time I've installed this post. There is absolutely no reason that a crimp should be utilized in such a low clearance area that is inaccessable once the post in in the bike. You are forced to either bend the cable at the crimp and force the additional length into a small area with a tight radius bend that makes it difficult to even get the cable crimp stop into its seat of the actuator (which is also has a shape that is downright painful to pry open with your finger to do so) or you have to completely abandon the option of test fitting and adjusting your housing length and cut the cable to length with some serious confidence. It is completely asinine for those of us who end up making small adjustments to the housing length to get it just perfect. If I had a remote with a cable clamp I would have just clamped and superglued the crimp at the soldered end of a new cable and cut off the fixed stop at the opposite end so that length adjustments can be made at the remote end as they should be. I might tap some threads and add a clamping set screw to my remote and re-do it so that I can do it in the preferred manor.
For those of us with dropper-equipped singlespeeds who want to have as clean of cable routing as possible, it makes sense to run the dropper on the right side (or same side as the rear brake), so that these housings can be married with some heat shrink tubing and run to the same primary set of cable stops/guides or internal ports. In this case the Crank Bros lever is (maybe?) one of the only options in the more ergonomic shifter paddle style that is ambidextrous. This ambidextrous quality kinda limits maximizing the ergonomics of the paddle shape due to the requirement for symmetry, but it seems to me like a pretty good option for this case. There is also the (now discontinued) X-Fusion Bat and Yep Components JoyStick that satisfy this, but the Bat was too plastic-y for my preference and the JoyStick isn't readily available for me. I'm currently using one of these style ones, but I'm not really happy with the aesthetics of the cable noodle. If anyone knows of some other ambidextrous paddle-type options I'd love to hear em, I'm almost considering remove the ratchet mech and one of the levers on a trigger shifter but really don't like the bulk of that option.
Reply
Andrew Major
1 year, 10 months ago
Do you exclusively ride single-speed or do you ride multi-speed bikes as well? I rode almost exclusively single-speeds for a few years (didn't own a multi-speed bike) and set up my dropper post remote as you suggest for the same reasons.
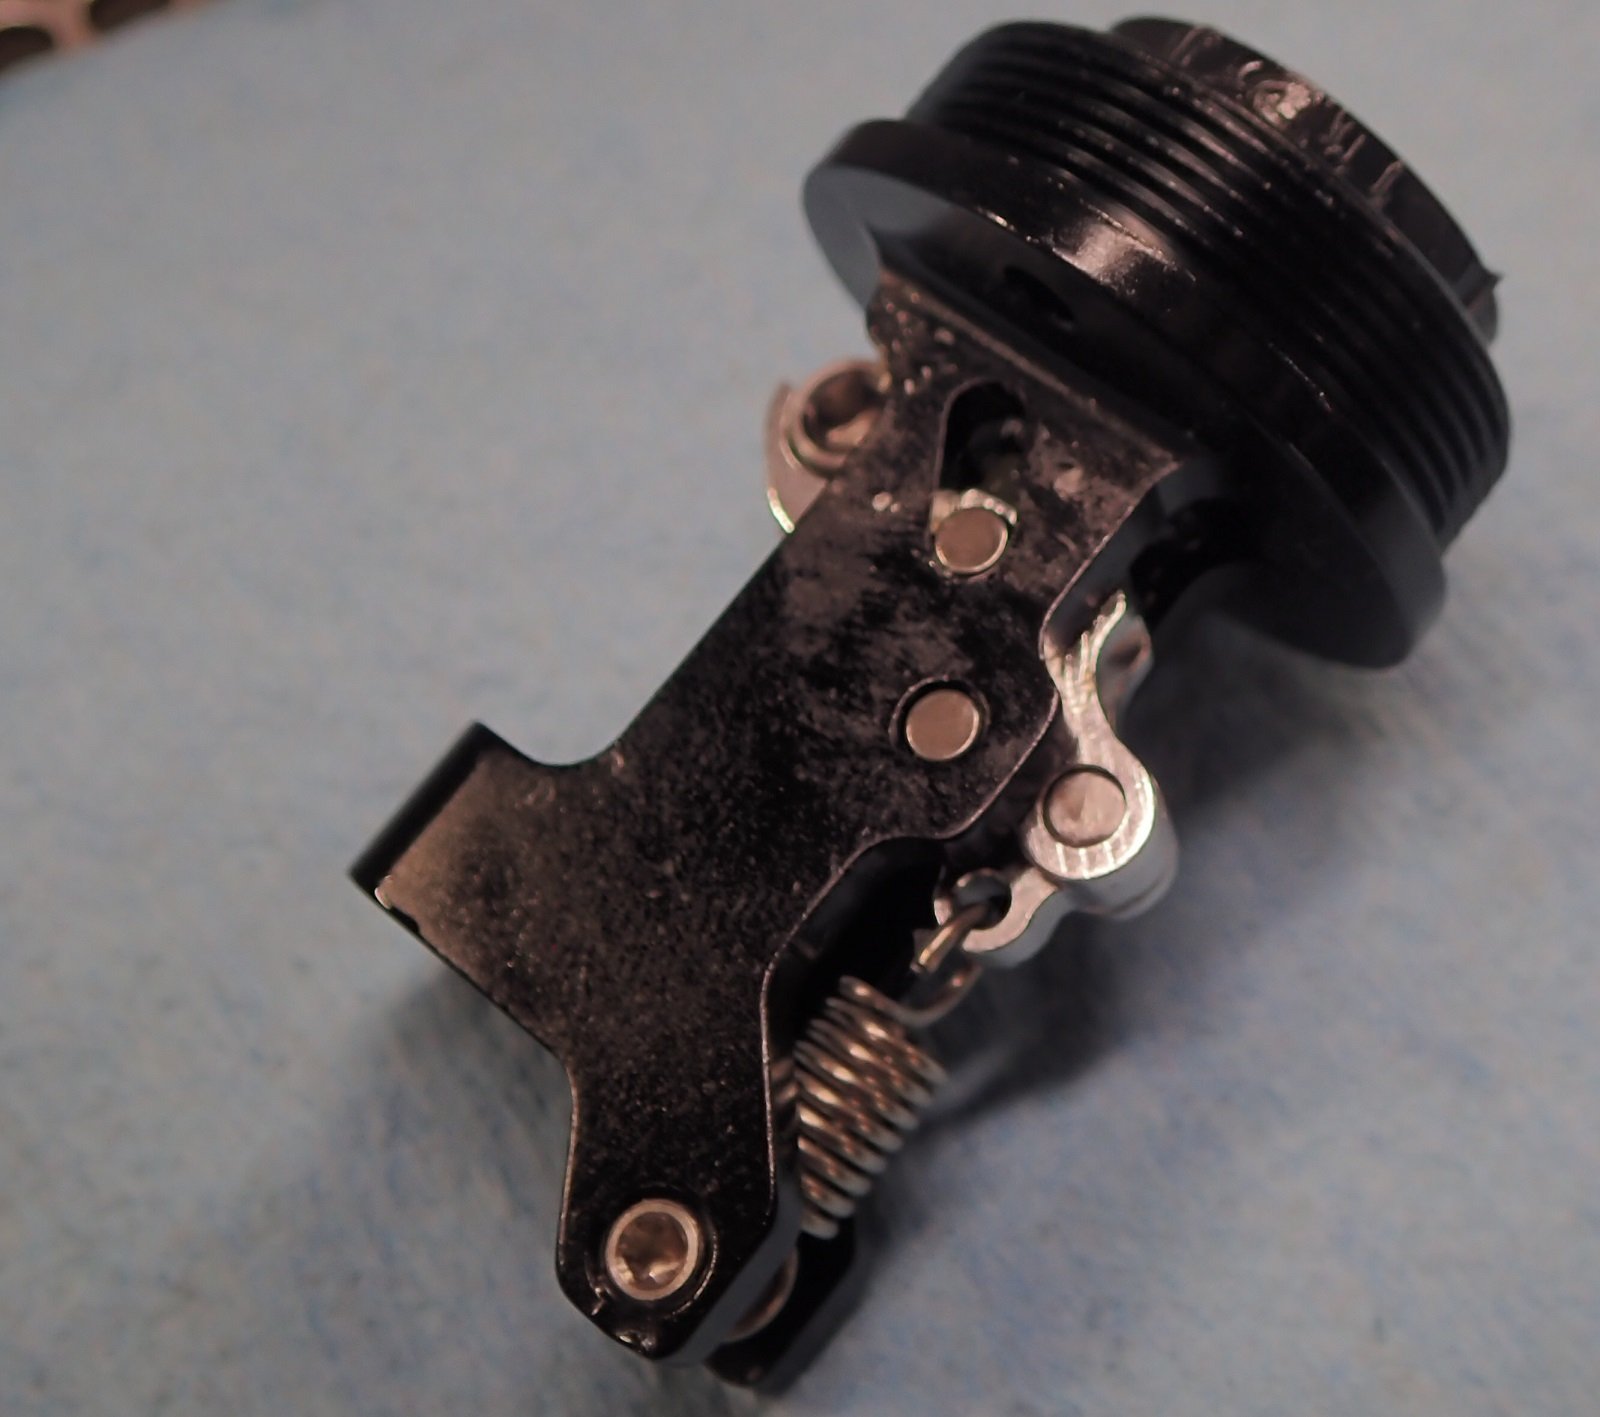
[Aside] Both the Fox DOSS and Crankbrothers remotes I use can be run top or bottom on either side of the bar - vary adaptable. The DOSS doesn't technically capture the cable at the remote end; however, I've been running a ghetto fix for five years or more that's been faultless. Photo at the bottom. [/Aside]
Anyway, I was so into the right side actuator that when I had my titanium frame drilled for stealth routing I had the exit port for the dropper put on the left side. So clean. Then I started regularly riding multi-speed bikes again and friends did ask if it was weird having the dropper remote on one side of one bike and the opposite on the other. No, not really, never had an issue (forgot to knock on wood clearly).
One day I'm riding up a steep paved road after a long day of mountain biking. I'm exhausted. Just sitting down and grinding away when I decided to grab a gear. Put in a big two-gear push on my shift lever and my saddle collapsed underneath me. My bike pulled hard to the right and I just barely managed to get things under control before flying into an open ditch.
As soon as I arrived home I switched to always running the dropper on the left-hand side.
Crankbrothers Remote on right side:
Fox DOSS Remote w/ cable captured at remote:
Reply
Jake Smith
1 year, 10 months ago
I've got a couple singlespeeds and a few geared bikes at the moment, and I certainly still frequently make "ghost shifts" where I try to reach for shift lever that isn't there, kinda funny that I have this habit despite having spent faaaaar more time on singlespeed than geared due to it being my drivetrain of choice on my commuters. Funny enough having the lever for the dropper post on one of the SS bikes seems to have helped minimize this subconscious attempt to want a lower gear, even when I'm pretty gassed at the end of a ride.
I'm leaning toward the CB remote, and maybe considering a custom machined copy of the X-Fusion Bat, or maybe a modified SRAM adjustable-clamp shift levers on a bearing and cable stop assembly directly mounted to my cheap old avid cable brake lever via some new threaded holes.
Or maybe I'm overthinking it and should just run the mini thumb paddle I have and find a better cable noodle (or bend up some tubing) that suits the radius I need to get the housings mated neatly into the heat shrink. If I'm really itching to do some machining and metalworking I'm sure I could make a new lever that fits the bar clamp/pivot component to get the alignment and adjustment I want.
I actually setup a nearly identical clamped-cable-at-cable-end-stop as that DOSS lever, for the externally routed actuator on the KS e10 post on my partner's bike. Just took a few minutes of rummaging through the bolts and nuts drawer at the co-op but I'm not as satisfied with the looks, maybe I just need some anodized washers and more deliberately selected bolts though.
Reply
Andrew Major
1 year, 10 months ago
Since the Highline (and remote) came out I've been saying Crankbrothers needs to make it maybe 2cm longer. It just needs a bit more leverage. Then all the good remotes came out with a cartridge bearing and I started saying they really need to switch to a bearing. But all that aside it's a genuinely usable remote. I have one on my commuter rig.
You should be able to pick one up CHEAP given how many people have swapped theirs out for a Wolf Tooth, or Paul, or E13, or whatever?! I'm almost certain you know someone who has one in their toolbox.
Yeah, the anodized bolt and washers help make the bodged bolt look a little more deliberate. There are cleaner cable crimping options out there but I've been happy with this. If I REALLY cared I'd swap to having the cable head in the remote and capturing the cable at the post end. I'm really not bothered by running a post that way and I even have a barrel that I think would fit the OneUp post.
Reply
Jake Smith
1 year, 10 months ago
Update: Last night I was back at the co-op to make a DIY version of the Wolf Tooth ReMount 22 by hacking off the excess length from an old barend with similar clamp shape and offset, hoping to verify if it provided any better ergonomics and cleaner cable routing with the old style vertical mini dropper remote. In some ways I think it is a good option for those who are trying to tinker with/make the best of recycled parts for the absolute minimum cost. With the stubby KS vertical remotes its a bit uncomfortable on the thumb due to the short lever length, but certainly better than the standard orientation, and hides the ugly noodle housing below the brake lever body quite well with the right bend radius. But it's still nowhere near as nice to operate as the below-the-bar shifter paddle style options, but for the miniscule number of people who want an ambidextrous remote it sure is a hell of a lot cheaper than even a used CBros Highline remote.
I gave it several actuations in the parking lot and then decided to dig through some bins to do one last search for a better solution. I think modifying an old shifter provides an attractive ergonomics:cost ratio for the low low price of a few bucks or an hour or so of volunteer time (if someone has access to a decent co-op) but aesthetically it's quite bulky. But in a stroke of luck (mostly due to someone taking the initiative to organize and dedicate a bin to dropper remotes) I uncovered the X-Fusion BAT that I thought was already freed from the confines of the shop. I rescind my previous comment about it feeling plasticky, my memory has failed me because it is actually a quite nicely machined and minimalist aluminum clamp, and the lever has a pretty svelte profile and reliefs along the length to provide thumb purchase. The omni-directional deflection of the lever certainly is a unique feeling from the constrained planar rotation of a traditional remote, but it does not allow for any slop/play/backlash to develop like a bushing or bearing assembly as long as the cable tension is set properly. The simplicity of this mechanism does dictate the baseball-bat-like shape of the lever (it pretty much has to be symmetrical about the axis) and doesn't feel as nice on the thumb as a wide paddle, but otherwise I think the ergonomics provided by being able to push it in any direction by my thumb or pointer finger are wonderful. Not having a wide paddle doesn't feel great, but a bit of heat shrink helps. Now, I don't really think I would choose to use it on my more serious/capable mountain bikes, but for my singlespeed/townie/rigidfuckaround bike it is perfect and satisfies what I was looking for with right handed actuation, clean cable routing, and minimalist aesthetics. I'm bummed that they discontinued it but it's admittedly "worse" than almost all the current under-bar paddle remote offerings, and the number of cockpit-aesthetic-fixated singlespeeders who demand an ambidextrous lever to install on the same side as their rear brake for the sole purpose of marrying the housings with heat shrink is miniscule.
Now, if I only had a lathe I could really get into some fun stuff with this lever...
Reply
Andrew Major
1 year, 10 months ago
I also want to push back just a little on the relative difficulty of installing a post or cutting the cable on a system, like the KS, that captures the cable at the post. With the caveat that I do have a lot of experience installing these posts.
The secret is to use a tape measure. Install your cable housing exactly how you want it in terms of the length from your frame exit to your remote. Cut the other end of the housing flush with the seat post collar. Measure your post so you know how deep in the frame it will sit. Then pull the housing back through the frame (out at the seat tube) just long enough to cut off the insertion depth of your post.
Perfect cable length every time.
------
Or if you prefer just bolt the cable at the post end - really no different than if you have the cable head at that end - and use a remote that captures the cable. But even then my measurement system will save you time going back and forth.
Reply
Jake Smith
1 year, 10 months ago
I'll admit my installation frustrations were mostly a result of being rushed, inattentive, and trying to multi-task helping a customer at the local co-op while doing this. I did make measurements (I even busted out our newest tape measure and the ultra fine sharpie!) but the mistake I made was lack of confidence making me feel like I needed to leave the cable uncut past the cable clamp, and then when I fit the cable clamp into it's seat on the post actuator I mistakenly put the bent over excess cable "backward" in such a way that it drastically limited my ability to rotate the cable and pry open the actuator lever to get it back out of the assembly. Not to mention the 2 broken drill bits while making the hole on the backside of the direct mount derailleur reinforcement plate (steel) for cable entry into the seattube. I left my good and sharp drillbits at work and was pretty bummed when the co-op staff member informed me that the trashed bits that I was using were from the newest set that we were hoping to keep safe from the more "high wear" tool users.
Now I don't know if the higher end KS posts use a different actuator linkage part, but the one on the budget e10 models has caused me some pretty major frustrations as I have become more experienced with them, but with some measurement and proper order of operations I'll agree that they aren't too bad to install, but having the cable clamp at the actuator is pretty annoying for those of us who are more likely to make several smaller cuts to get the housing length juuuust right. They are a half decent low-budget solution within the limited options for 27.2 posts, but the next time I need a 27.2 dropper, I'm putting down the extra dough for the PNW Components options. Or hell, maybe I'll just use a Trans-X Jump Seat so I don't need to run a remote and cable at all.
Reply
UFO
1 year, 10 months ago
"First of all, it's really not that hard to manage a dropper post where the fixed cable end is at the remote and the crimp end is at the post"
Tell that to Cam who managed to turn this issue into a probable 1000+ word essay, and almost writing off a review bike completely ;)
Reply
Andrew Major
1 year, 10 months ago
I think the metal rasp was to enlarge ports for internally routing a braided steel brake line, nothing to do with a dropper post?
The secret is certainly to still use a remote that captures the cable, then install is not harder than any other post. I get why some folks struggle with the cable head at the remote and trying to capture the cable in the post. Those remotes are a throw-back to pre-stealth posts and should have died out.
Reply
UFO
1 year, 10 months ago
I was referencing Cam's final verdict on the Scor bike, where the too short OEM Manic was seemingly the cause of the whole bike not performing up to his expectations. Well that, and running the bars a couple inches wider effectively on one side than the other side
Reply
cheapondirt
1 year, 10 months ago
Thank you for this. Without guidance, used dropper shopping feels like a roll of the dice.
Reply
Please log in to leave a comment.