Workshop DIY
How to Rebuild Crankbrothers Stamp 7 and 11 Pedals
As someone who works in the "information sector," my efforts can seem disconnected from tangible results. Some pixels have been moved around, some words and images hopefully put in some coherent sequence, but it's all a bit nebulous. This can be very satisfying but it's not the same as building something or, even better, fixing something that is battered and well-used so it works like new. Fixing stuff fills my cup quite nicely, and the ratio of effort to result here is very high. If you have some Stamps (or other CB pedals) this is a simple, worthwhile and very satisfying task.
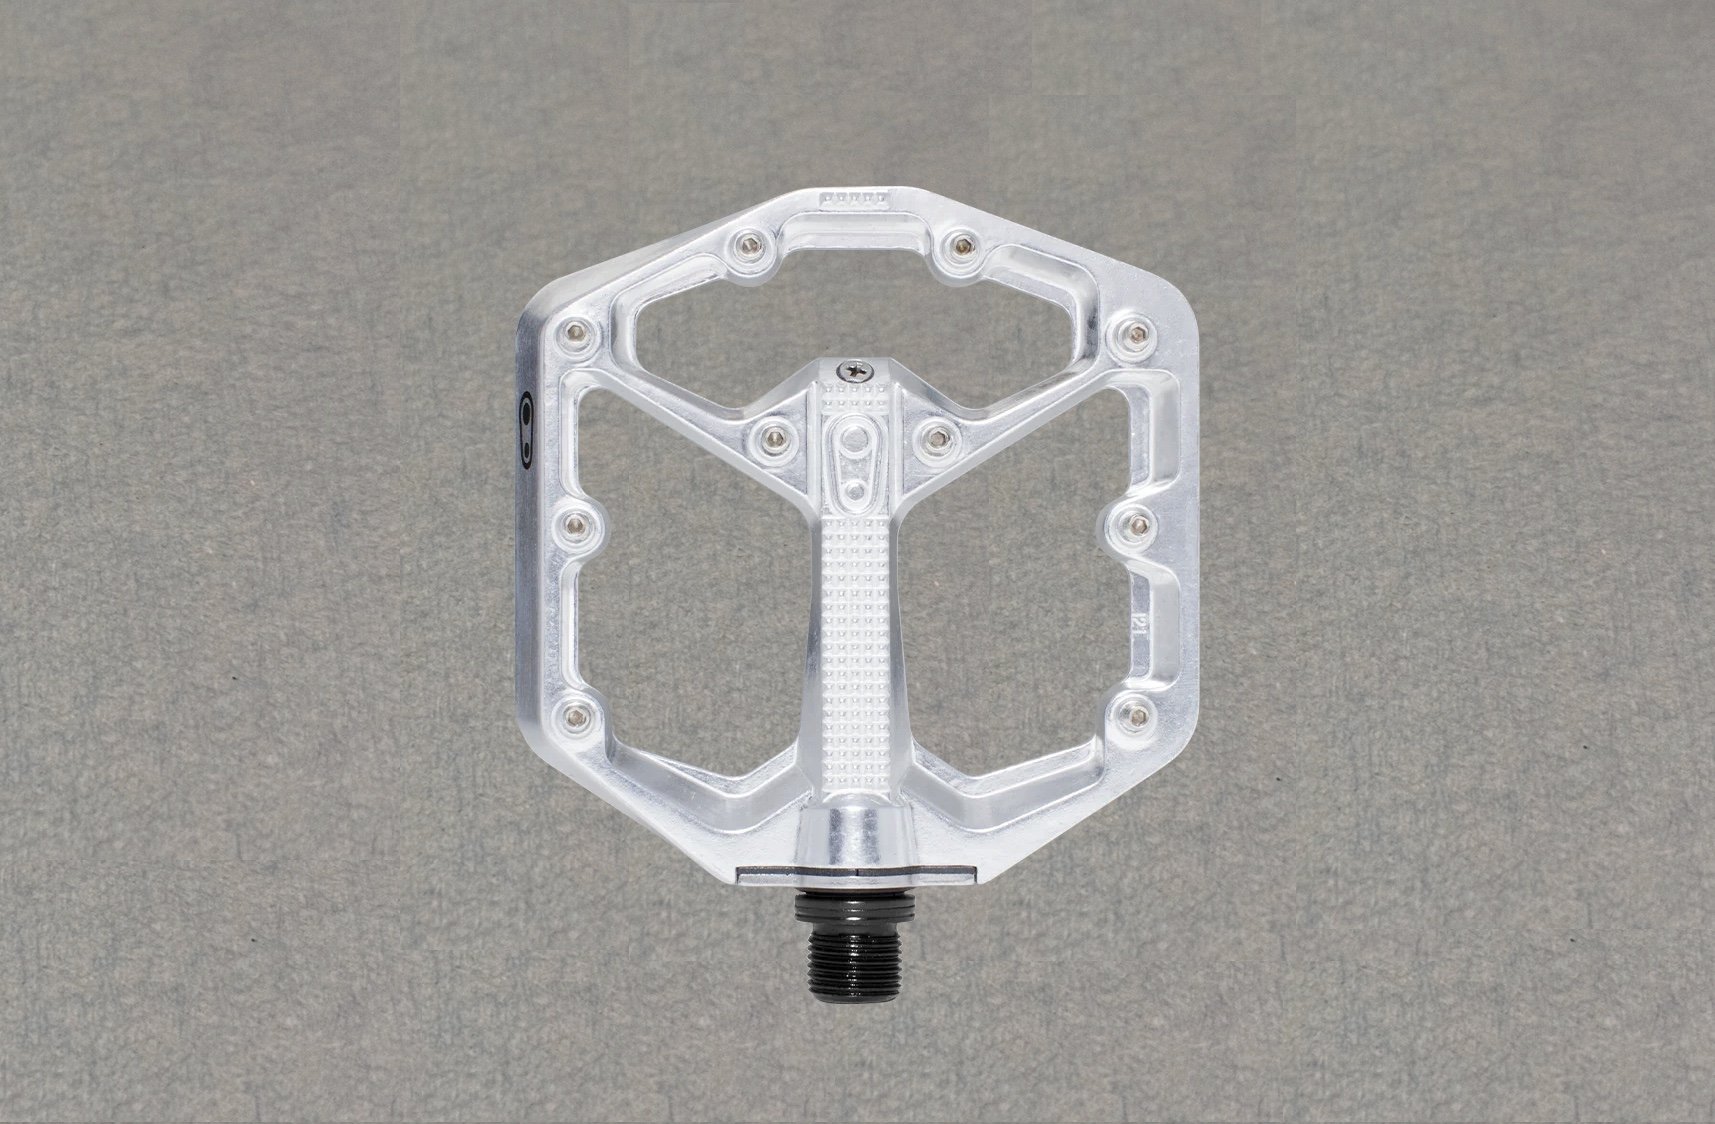
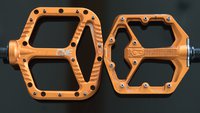
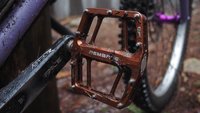
I could be perfectly happy riding these pedals forever but there are some others I'm fond of as well. I'd like to get some silver ones because they have no colour to get scratched off - and they look dope.
I have been running a couple of different sets of Stamp 7 pedals for a few years now and they do the job very nicely. I prefer the small version despite my size 11 feet because I need to drape my foot over the pedal for maximum grip. I don't believe they have ever let me down on the trail.
Tools Required
- #1 Philips screwdriver
- # flathead/slot screwdriver
- 2.5mm hex head wrench
- a pick tool or straightened paper clip
- grease
- thread locker (optional imho)
- a shop towel or rag
- A torque wrench is nice but not essential IMO. 5Nm and 0.5Nm are the values you need to hit.
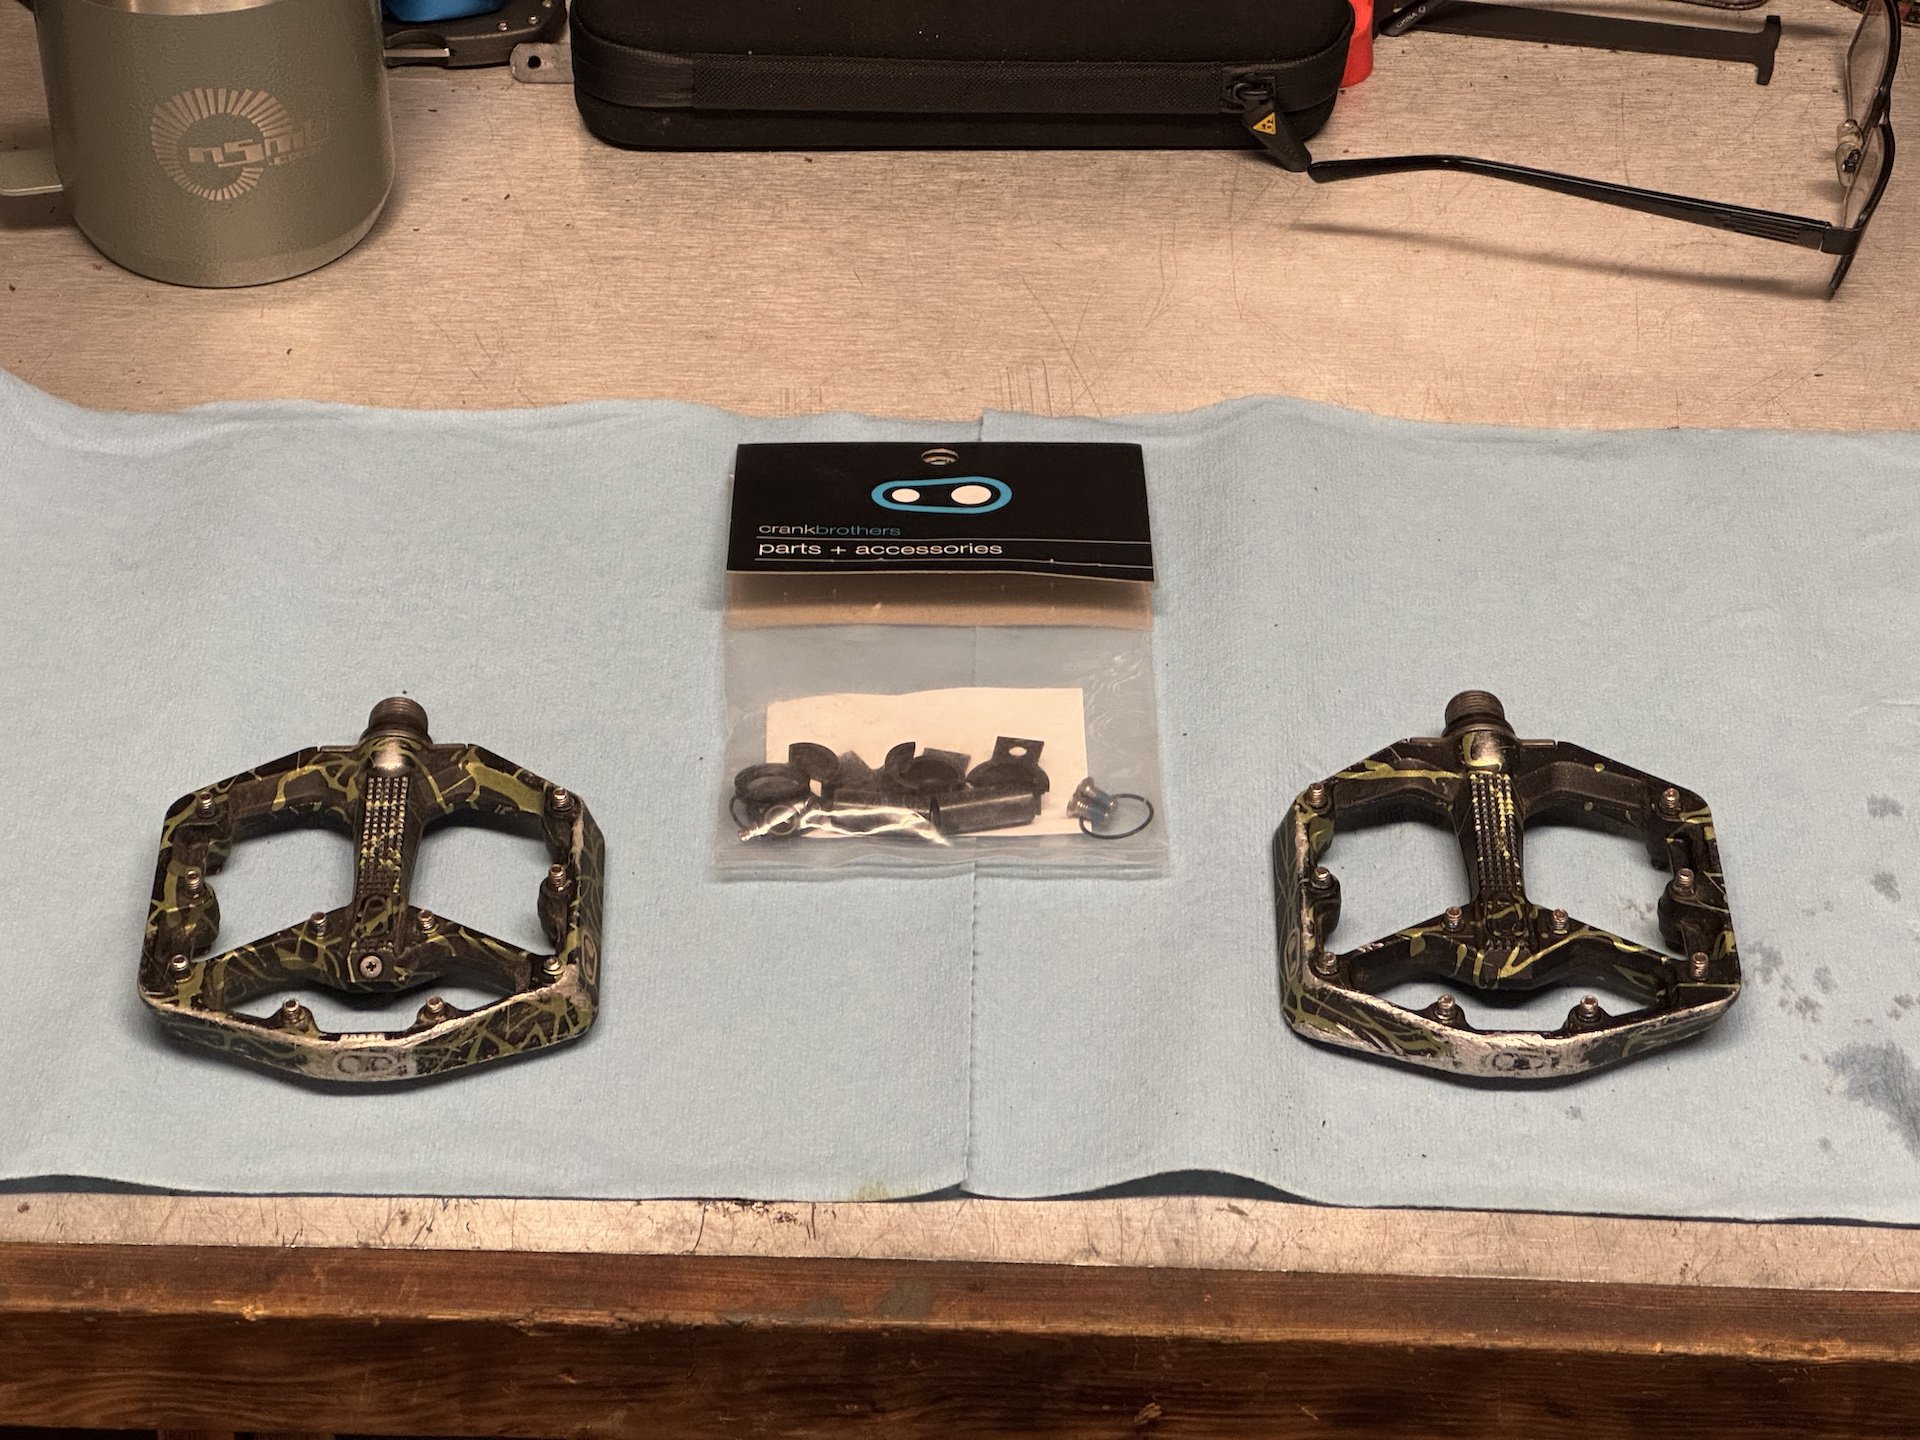
The key to this task, aside from tools, is the Crankbrothers Stamp 7 and 11 refresh kit which costs 25 USD.
If you'd like to just break your pedals open, clean them up and apply some lube, these instructions will work as well, but if your pedals have developed excessive play or they aren't spinning nicely, you'll want to pick up Crankbrothers' Stamp 7 and 11 Refresh Kit for 25 USD.
The kit comes with new hardware, seals and bushings to rebuild both of your pedals, and the process is relatively easy and simple. Did I mention it's not hard or complicated?
Let's assume you know how to remove your pedals with an 8mm hex and move on from there (if not, no shame, none of us knew how to do it before we did - here's a video).
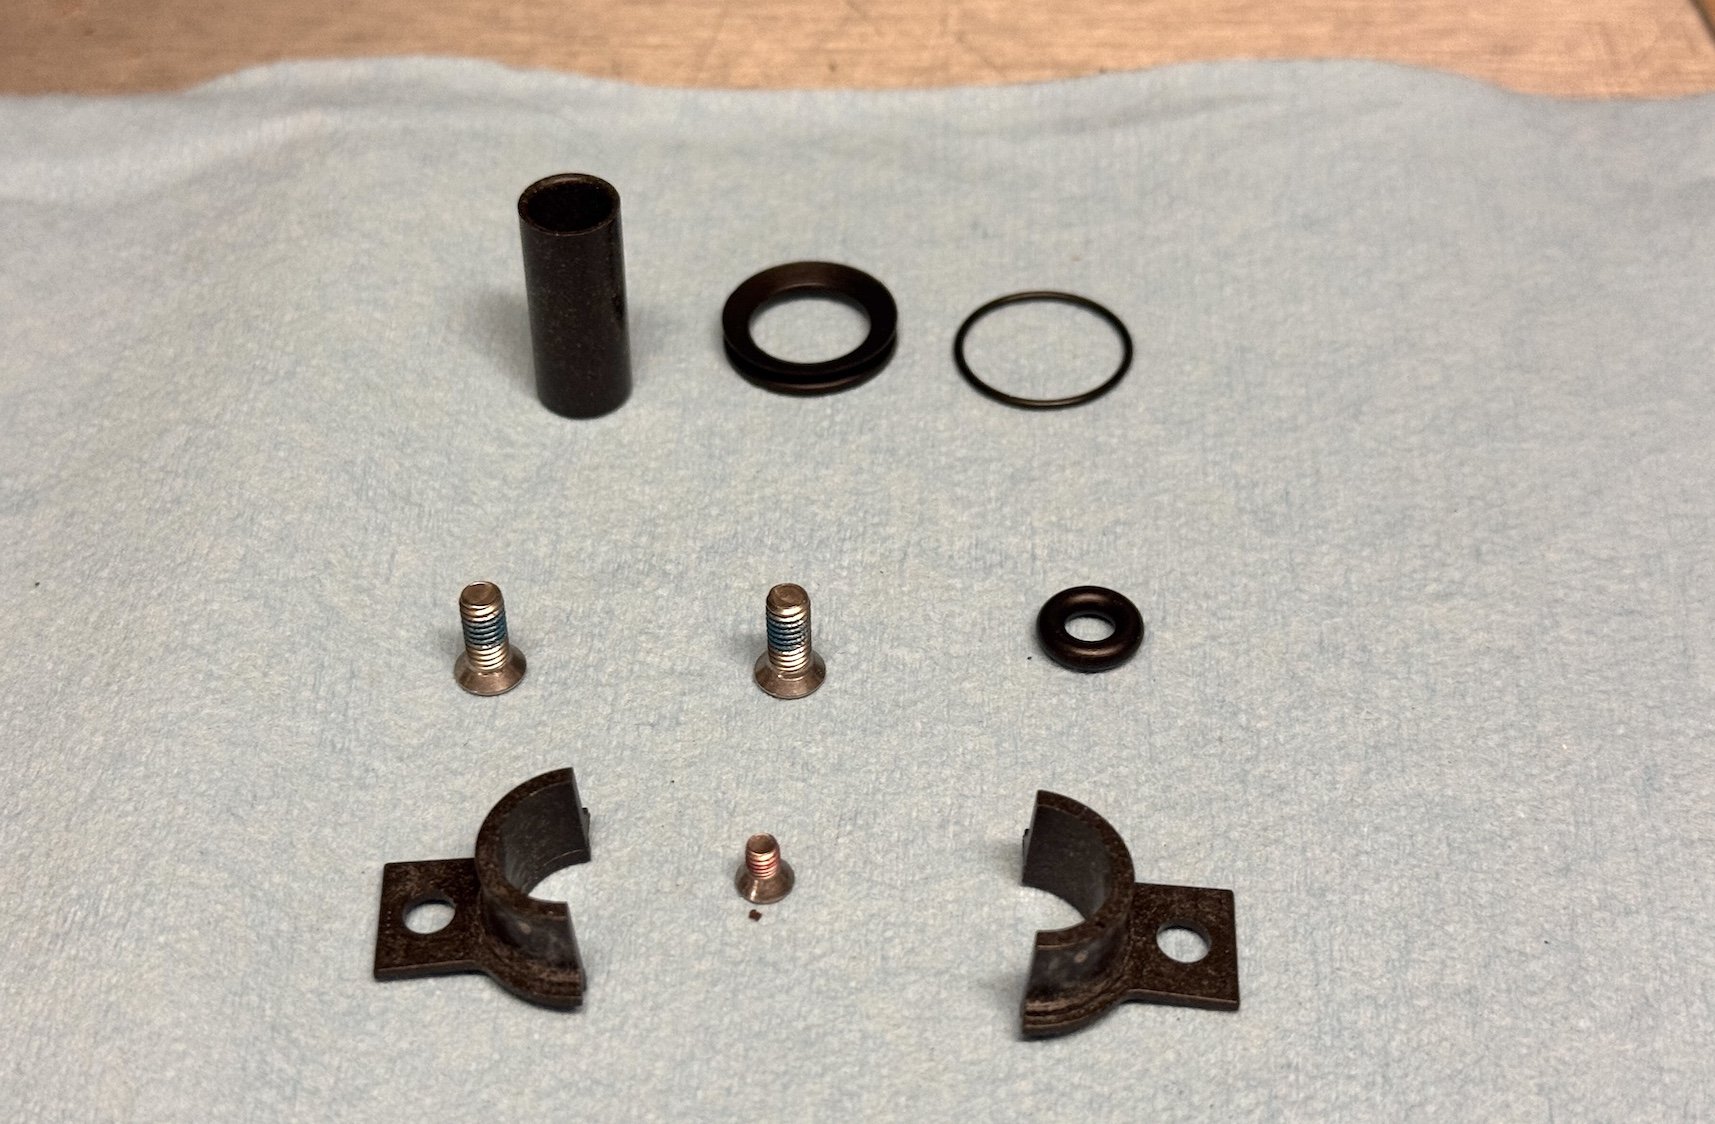
Included in the Refresh Kit:
- Inner bearing o-ring x 2
- Spindle seal x 2
- Outer Igus solid bearing x 2
- Inner Igus solid bearing half x 4
- Bearing Retainer Bolt x 4 (not compatible with Stamp 1 Gen 2)
- Outer o-ring x 2
- Grease port screw x 2 (not used for Stamp 1 Gen 2)
Note from Crankbrothers - Owners of Stamp 1 Gen 2 may use this kit to replace their pedals' internal components, but must re-use the existing D-nuts and hex bolts from their pedals.
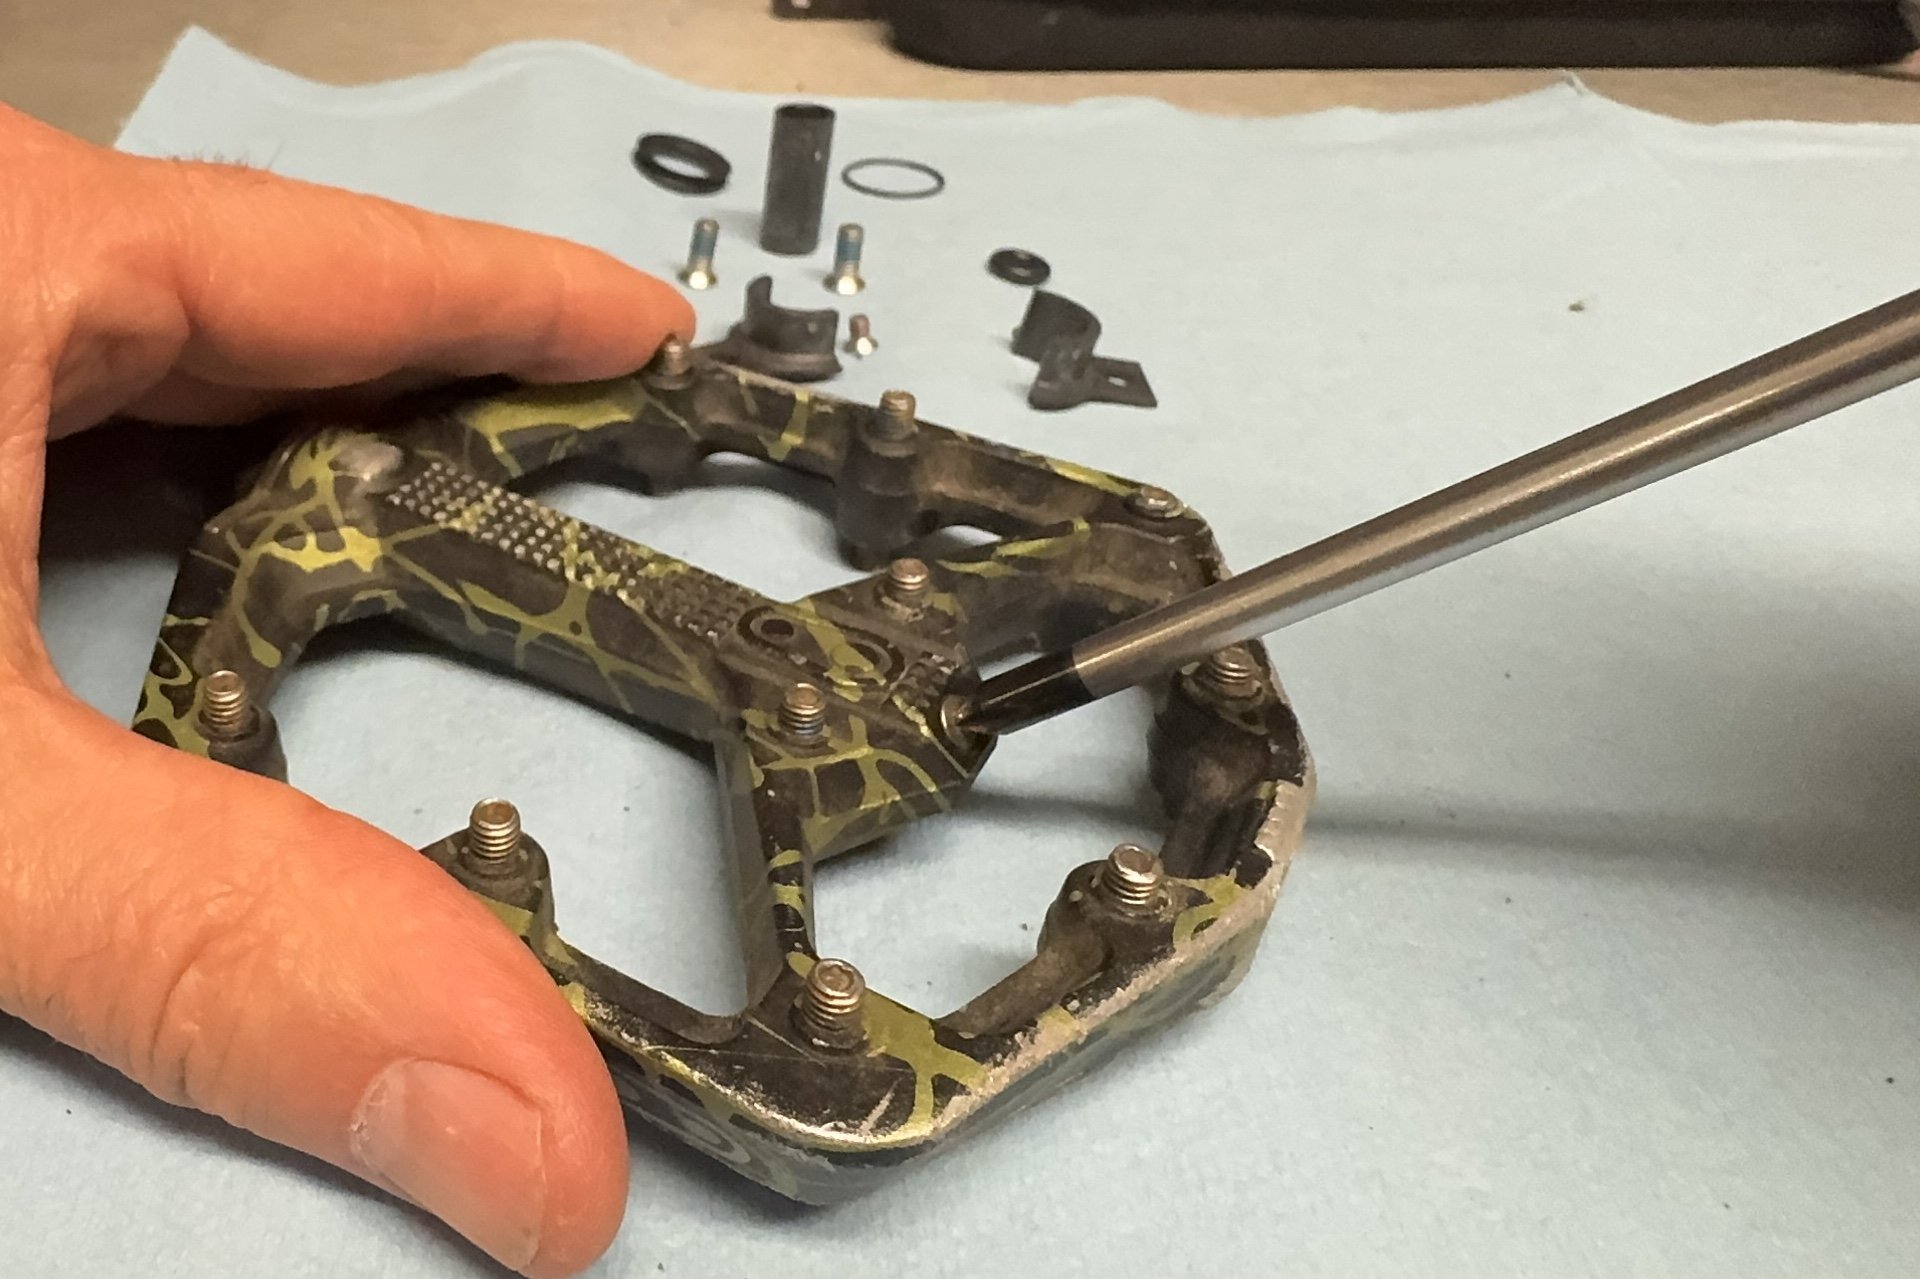
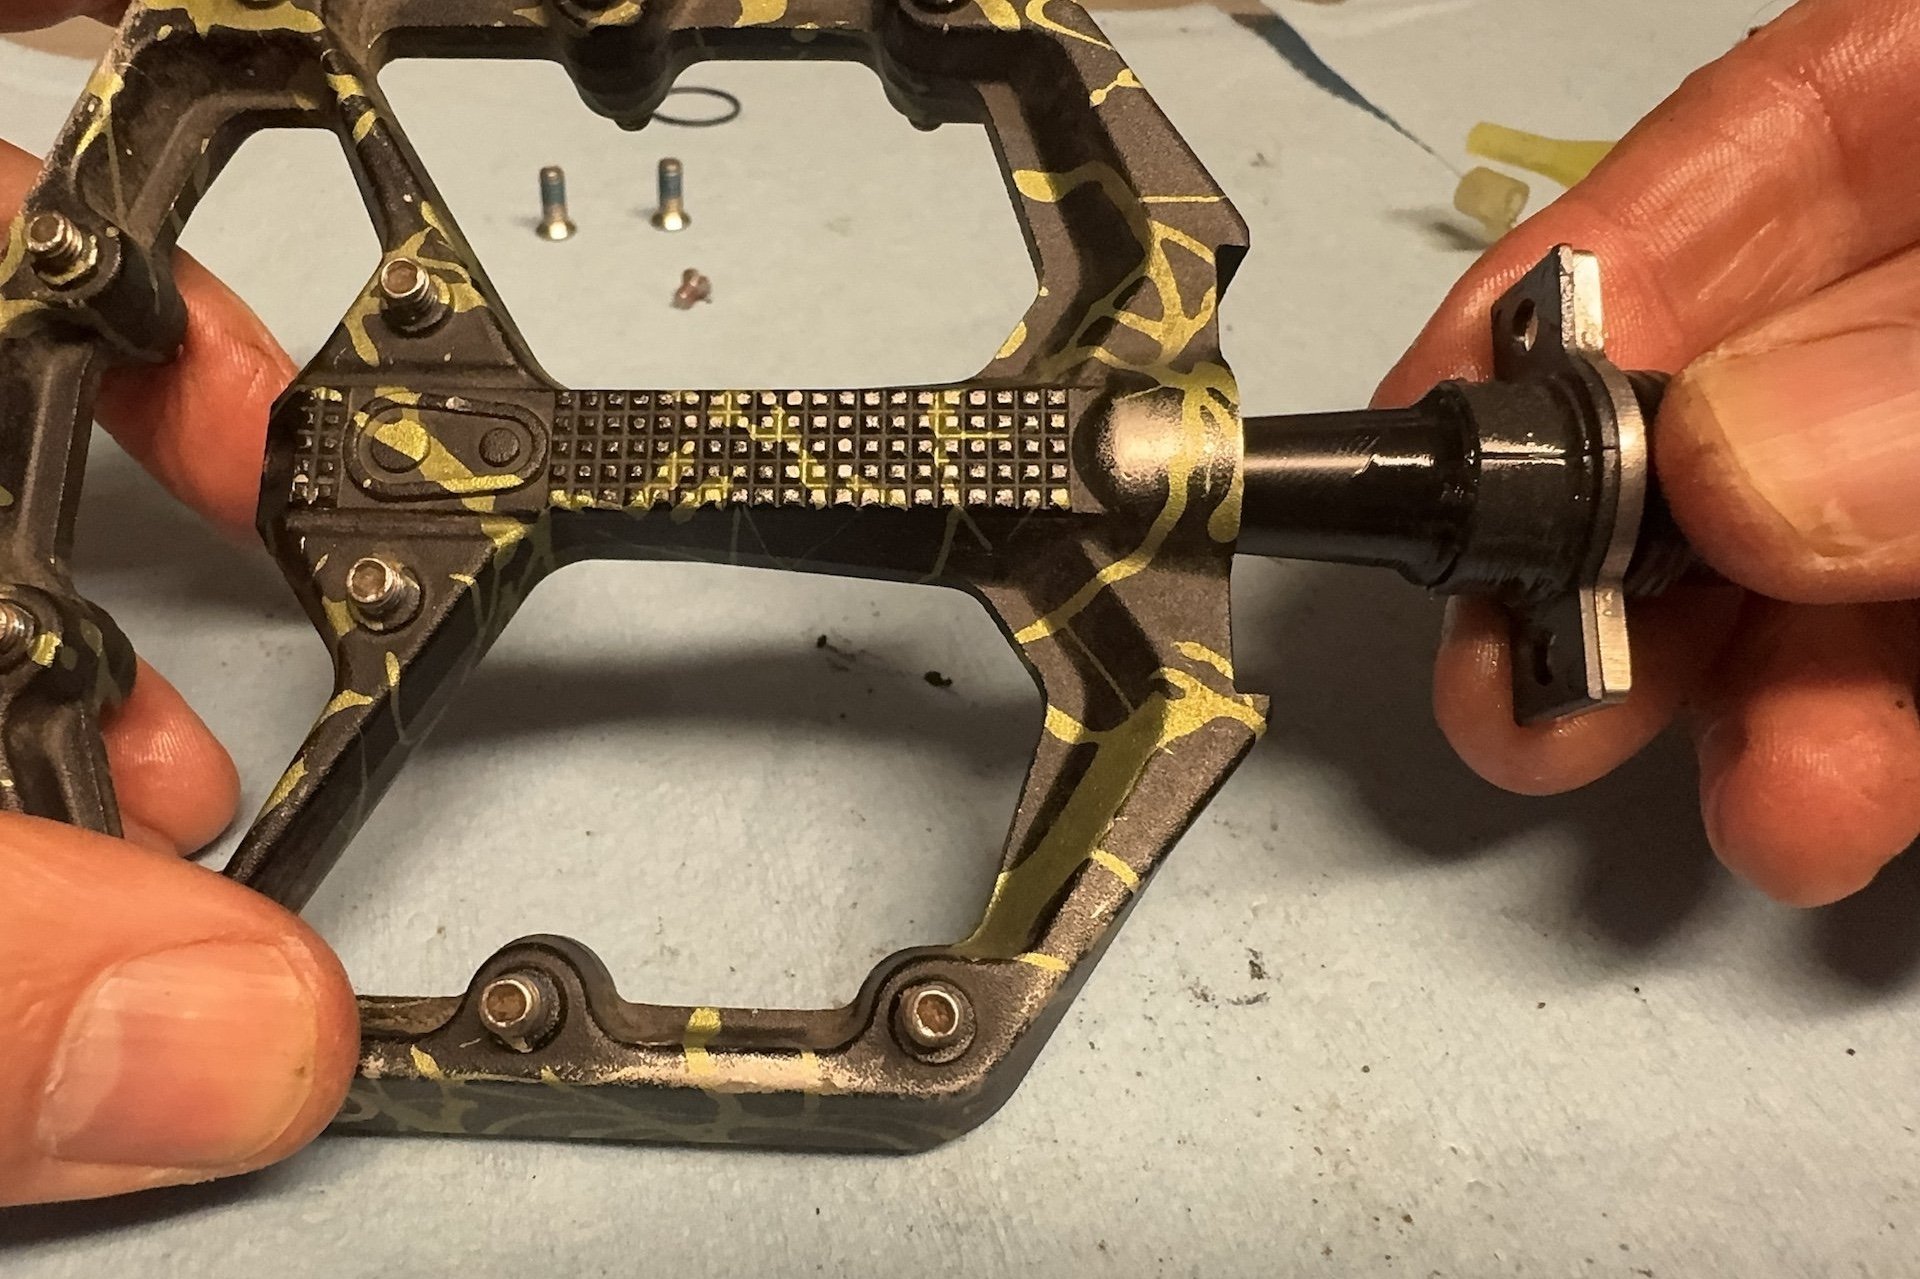
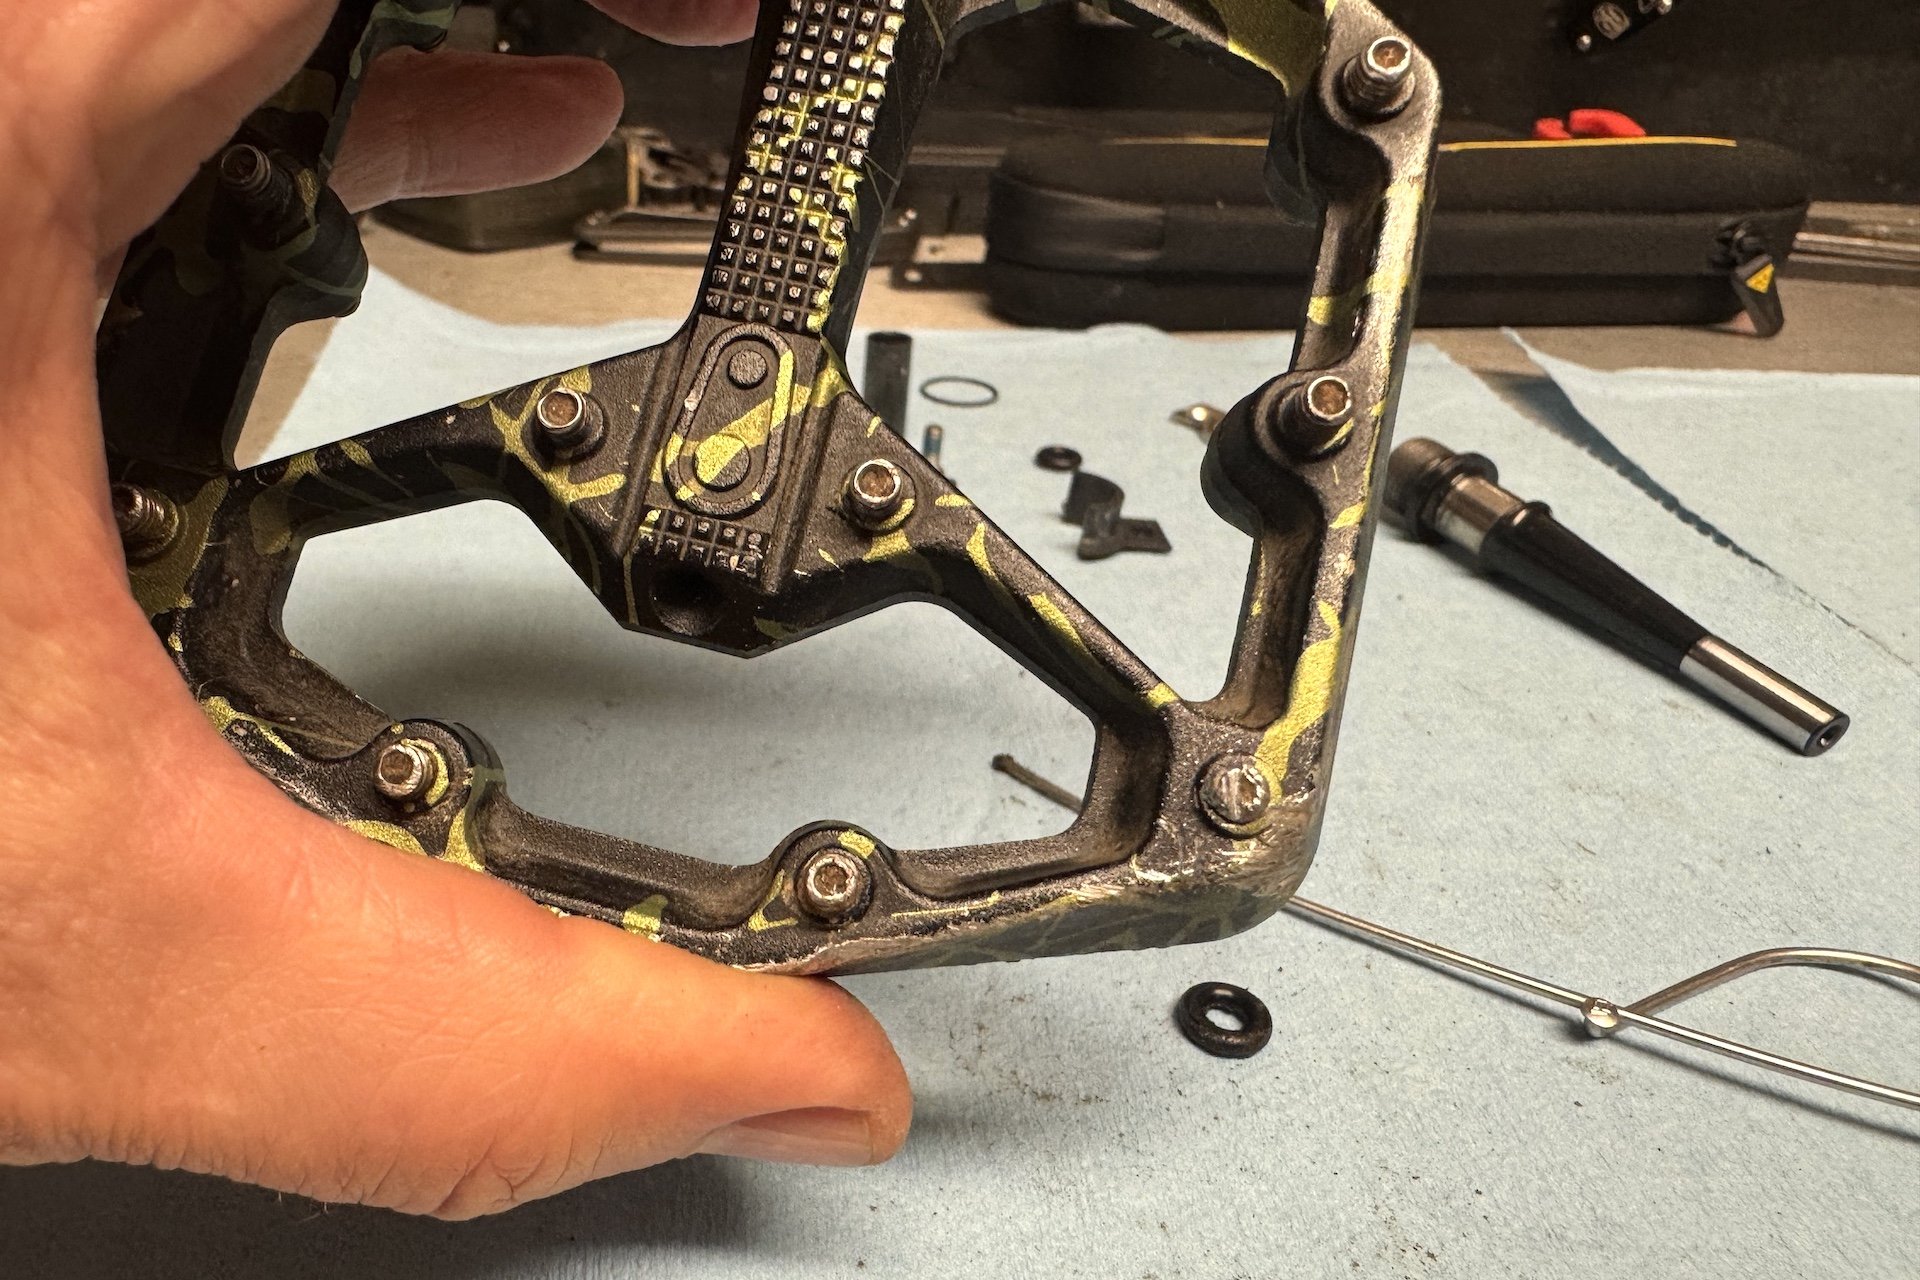
Step 1. Remove the two 2.5mm hex head bolts that hold the bearing retainer in place.
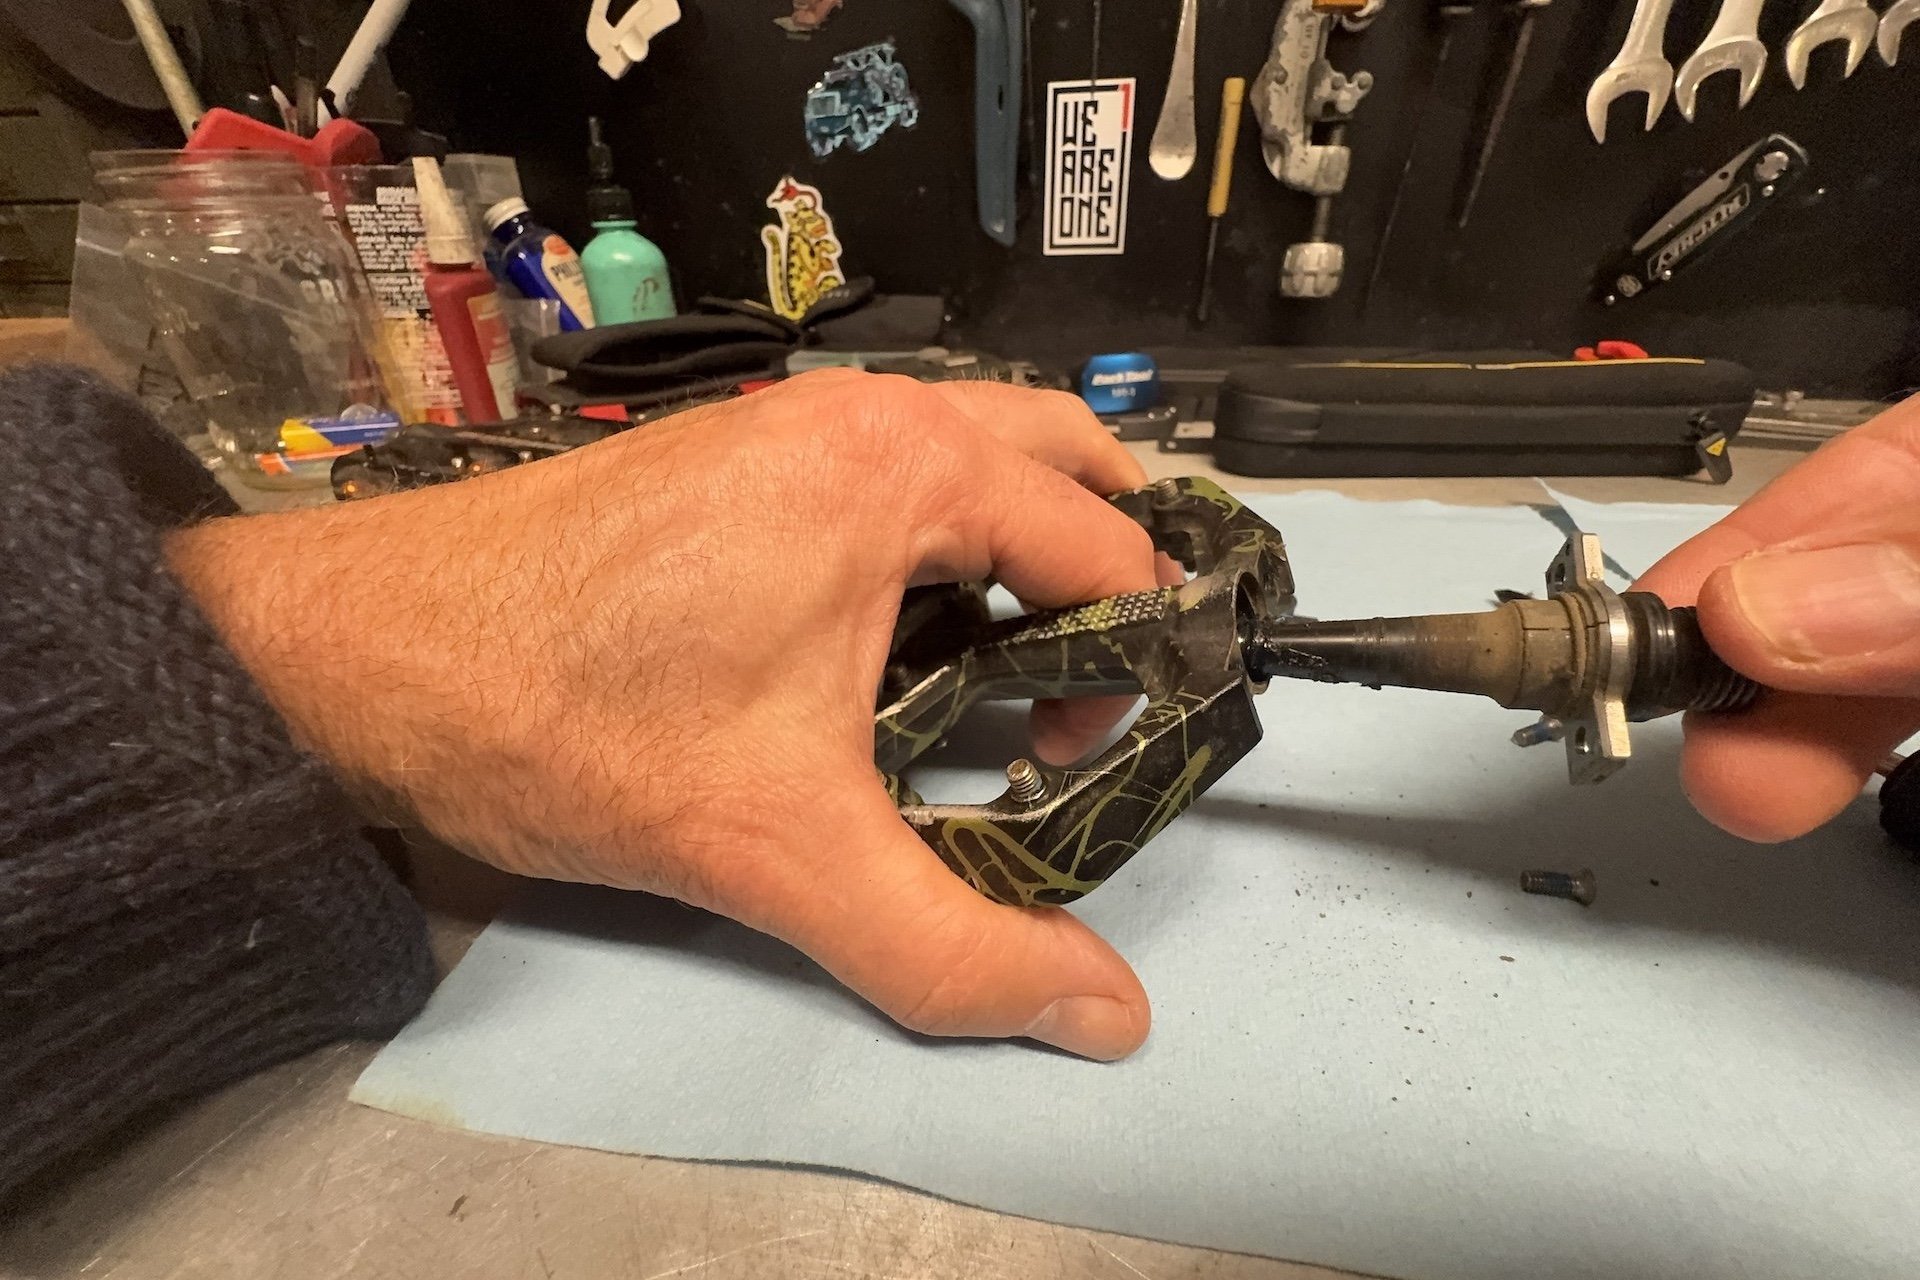
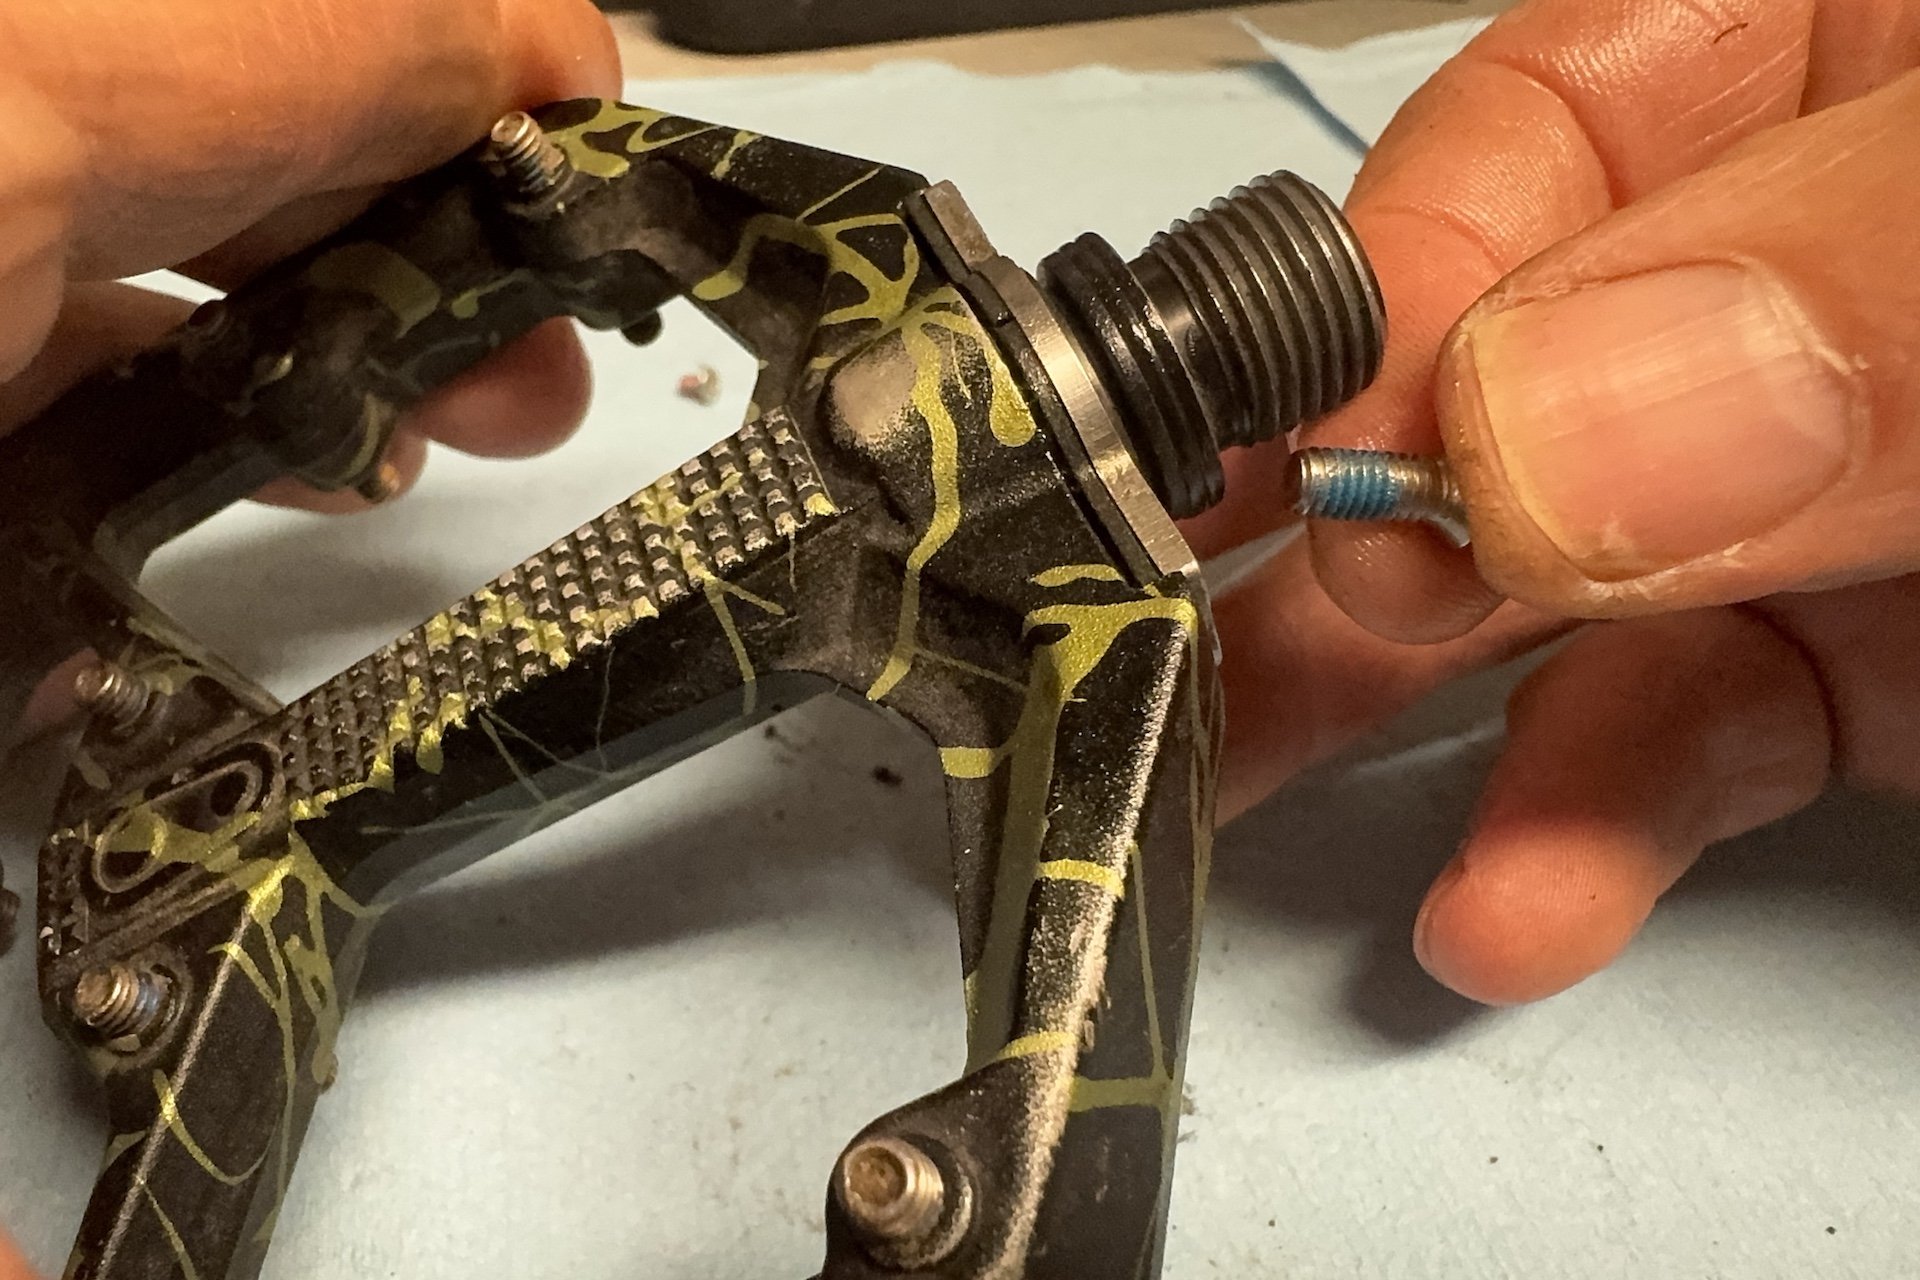
Step 2. Once both bolts are removed you can pull the axle out of the pedal.
Pulling the Axles
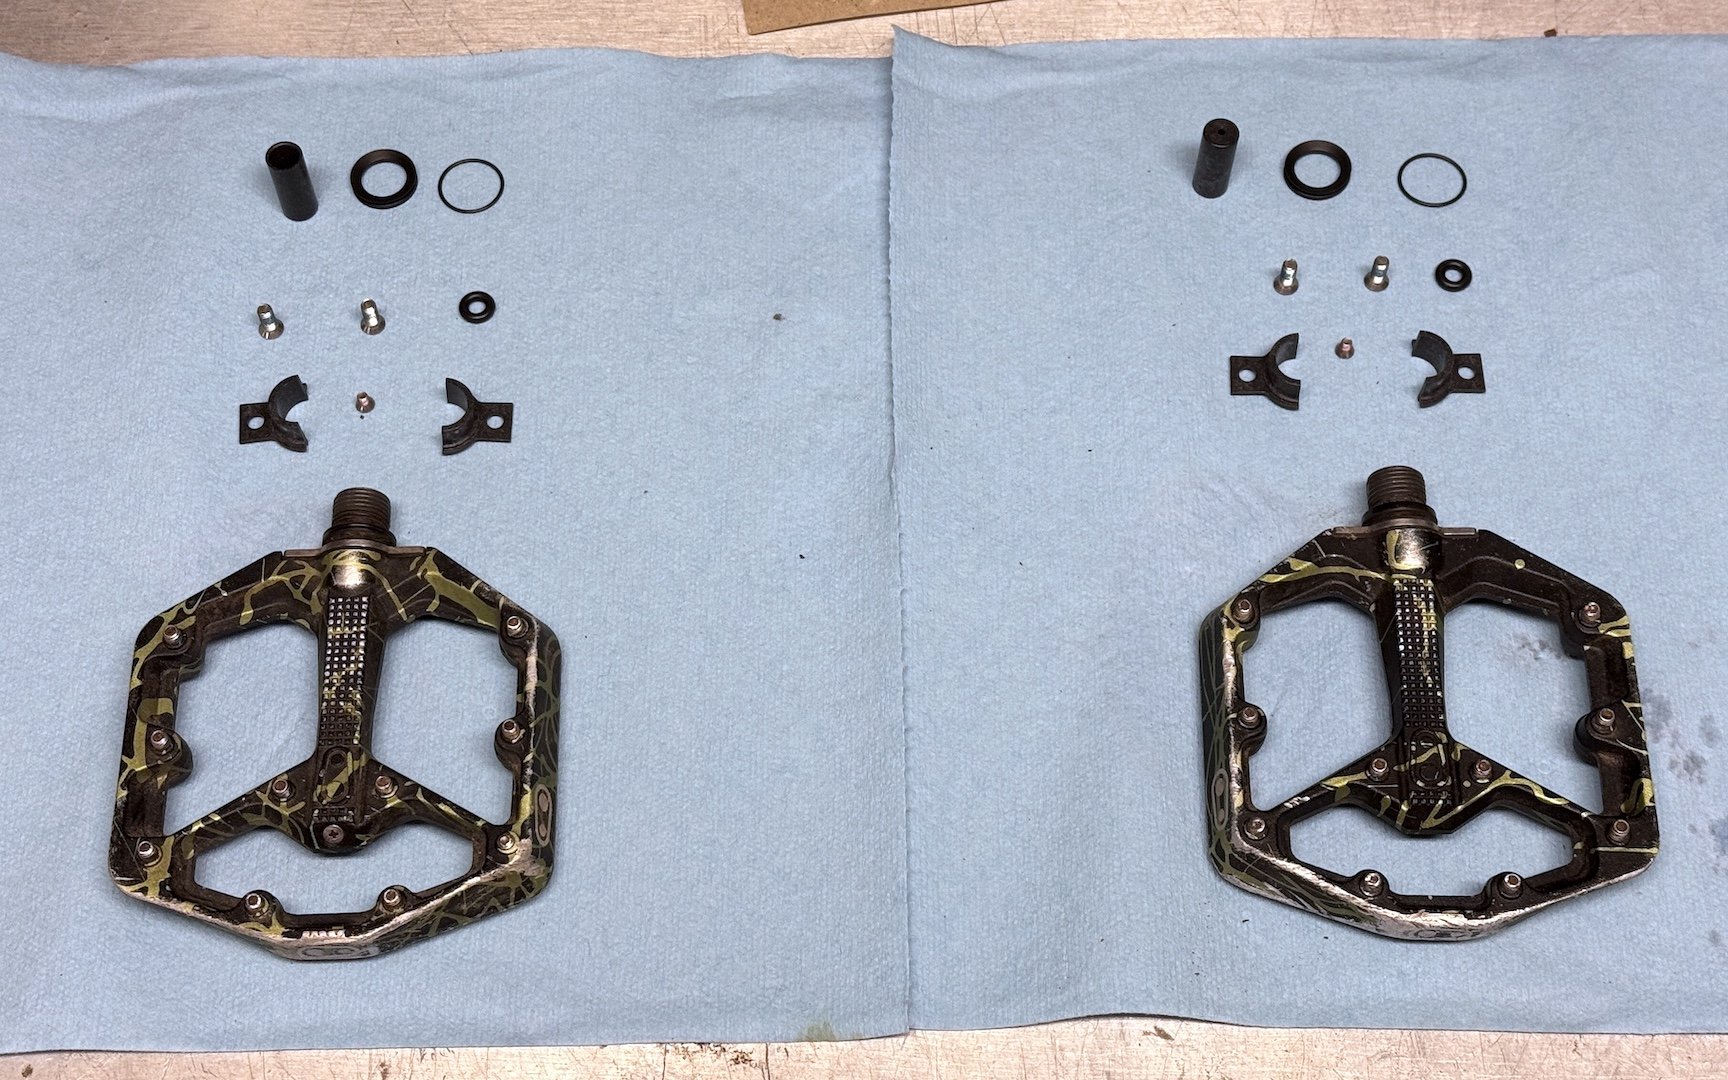
I pulled apart two sets of Stamp 7s; one was just a clean and lube because I only had one refresh kit, and the other is the one you see here. The first axles came out easily but the second did not. If yours are hard to remove, I would recommend threading them most of the way into your cranks so you can gently rock the pedal body back and forth free the axle. You can use something to pry them apart instead, but you will probably break the mounts for the outboard bushings. This is fine if you have a rebuild kit but if you'd like to preserve them, take that extra step.
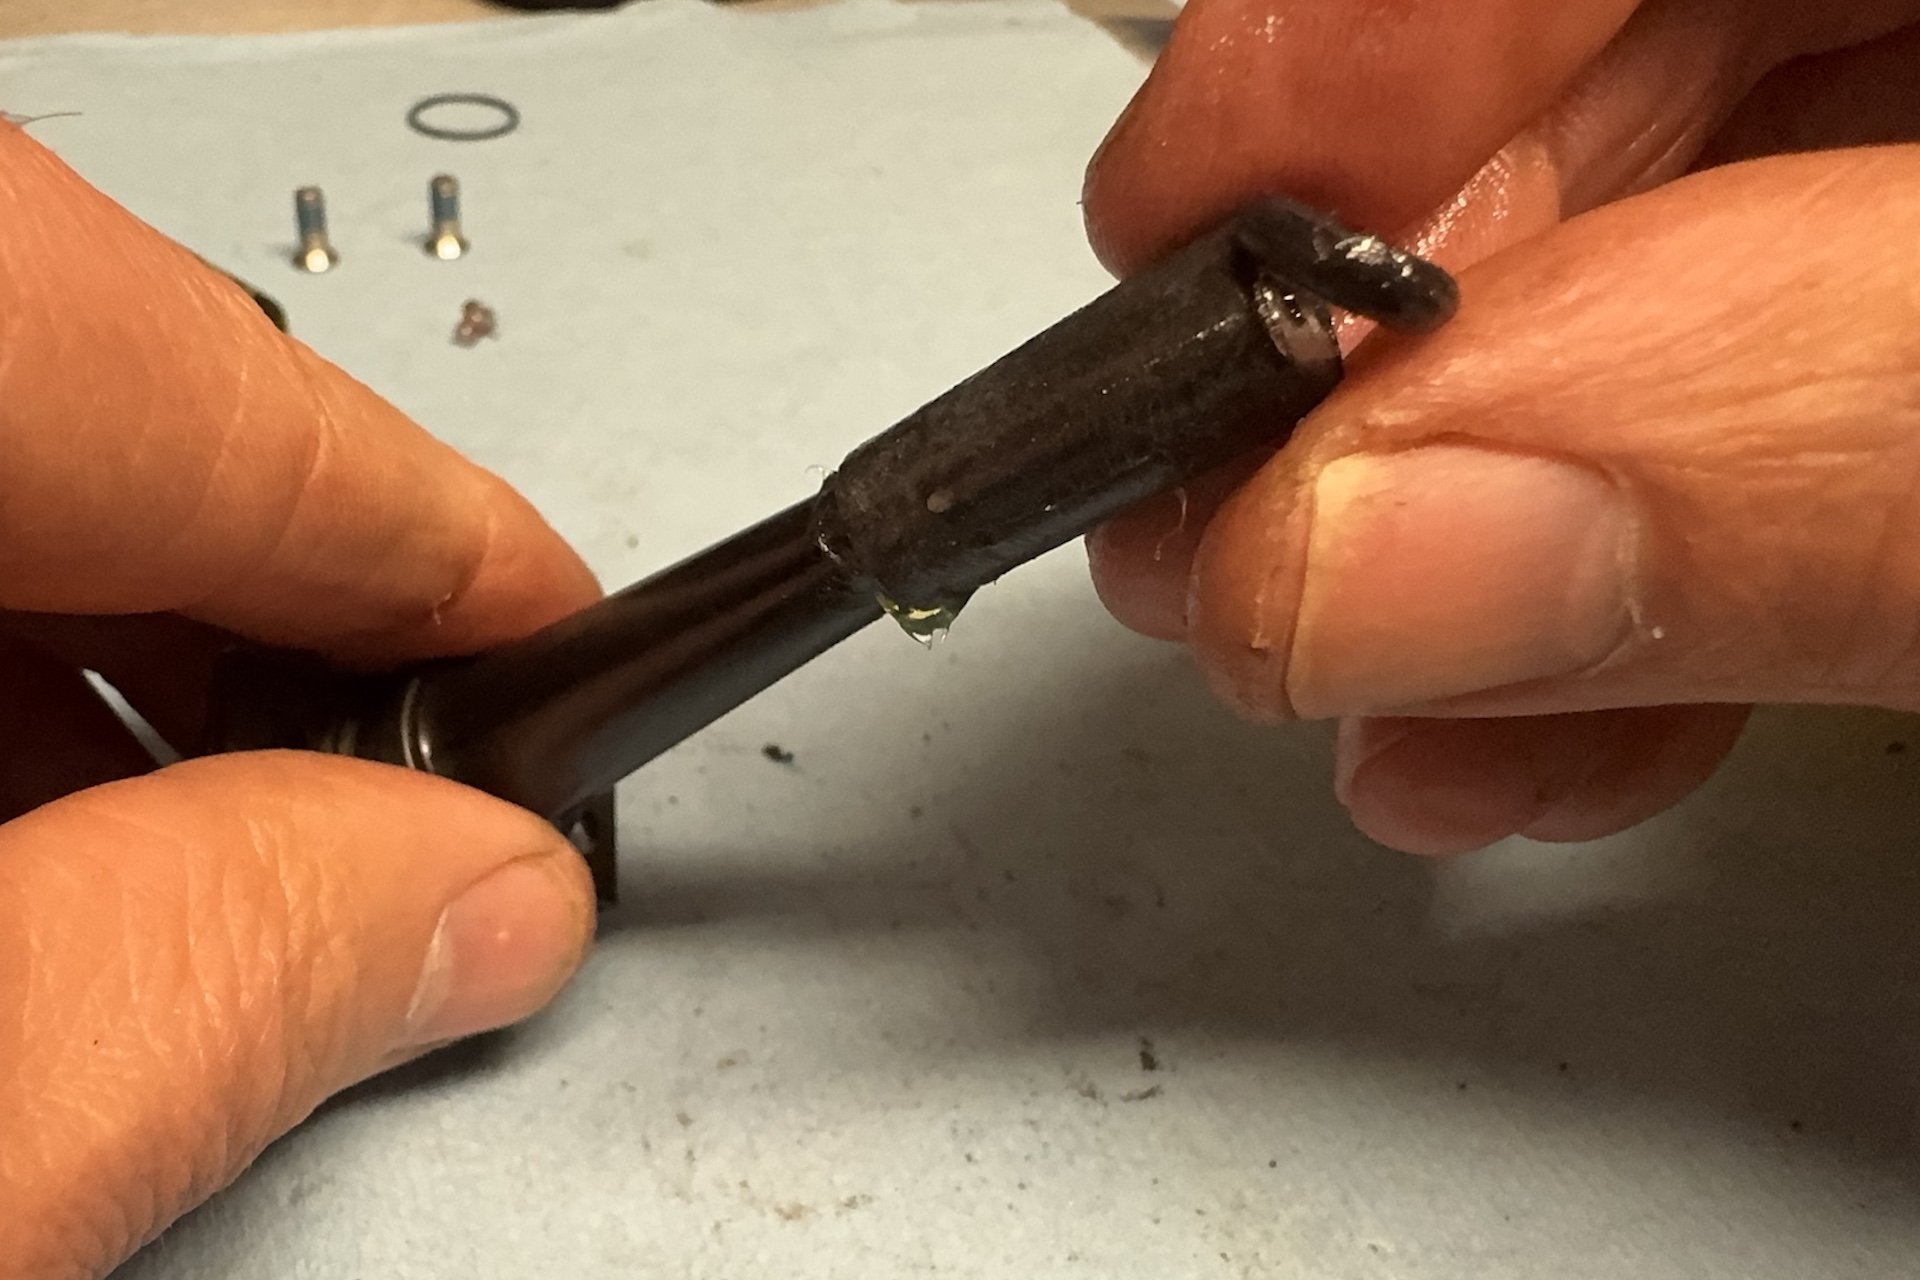
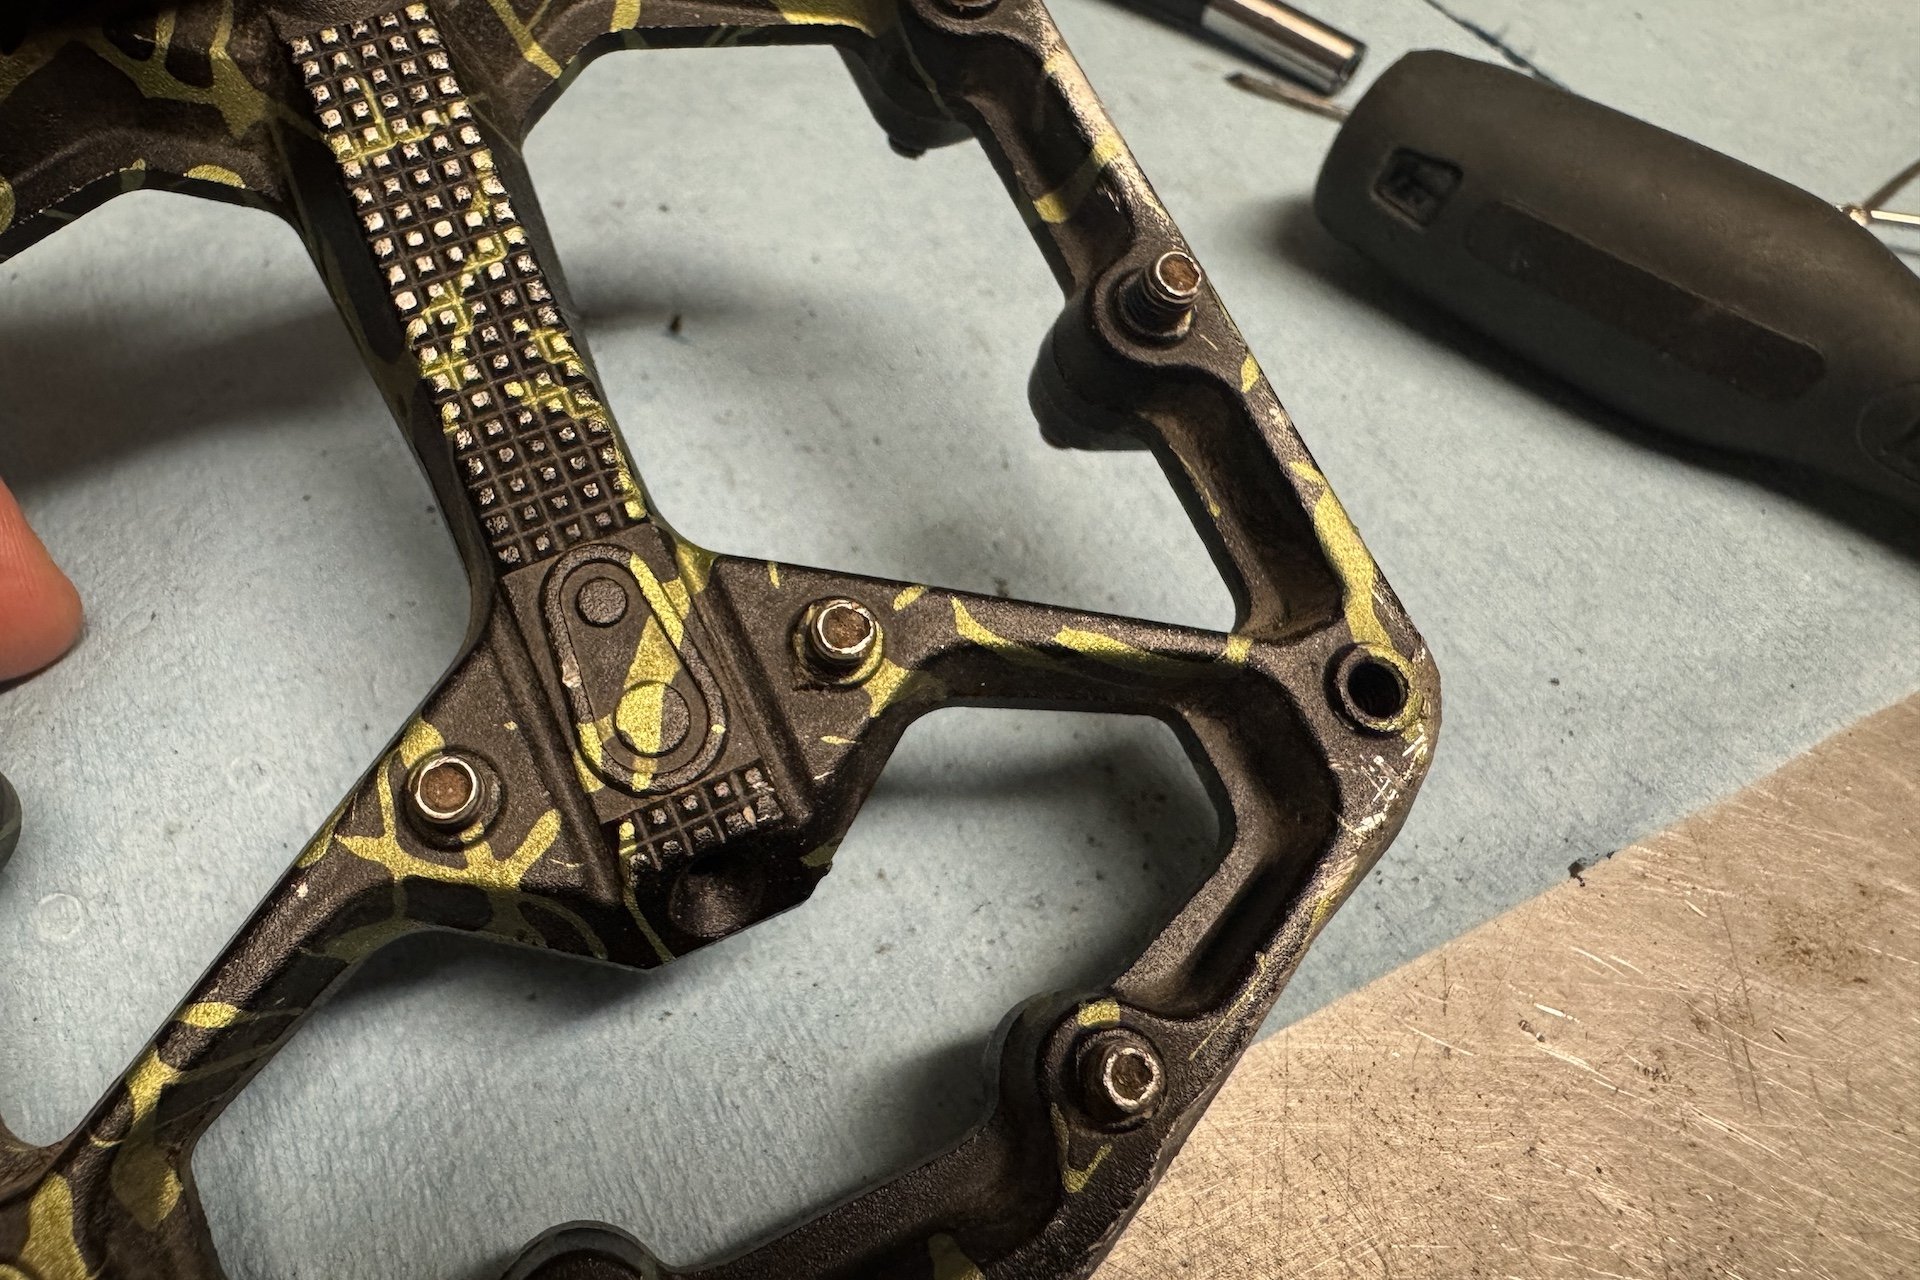
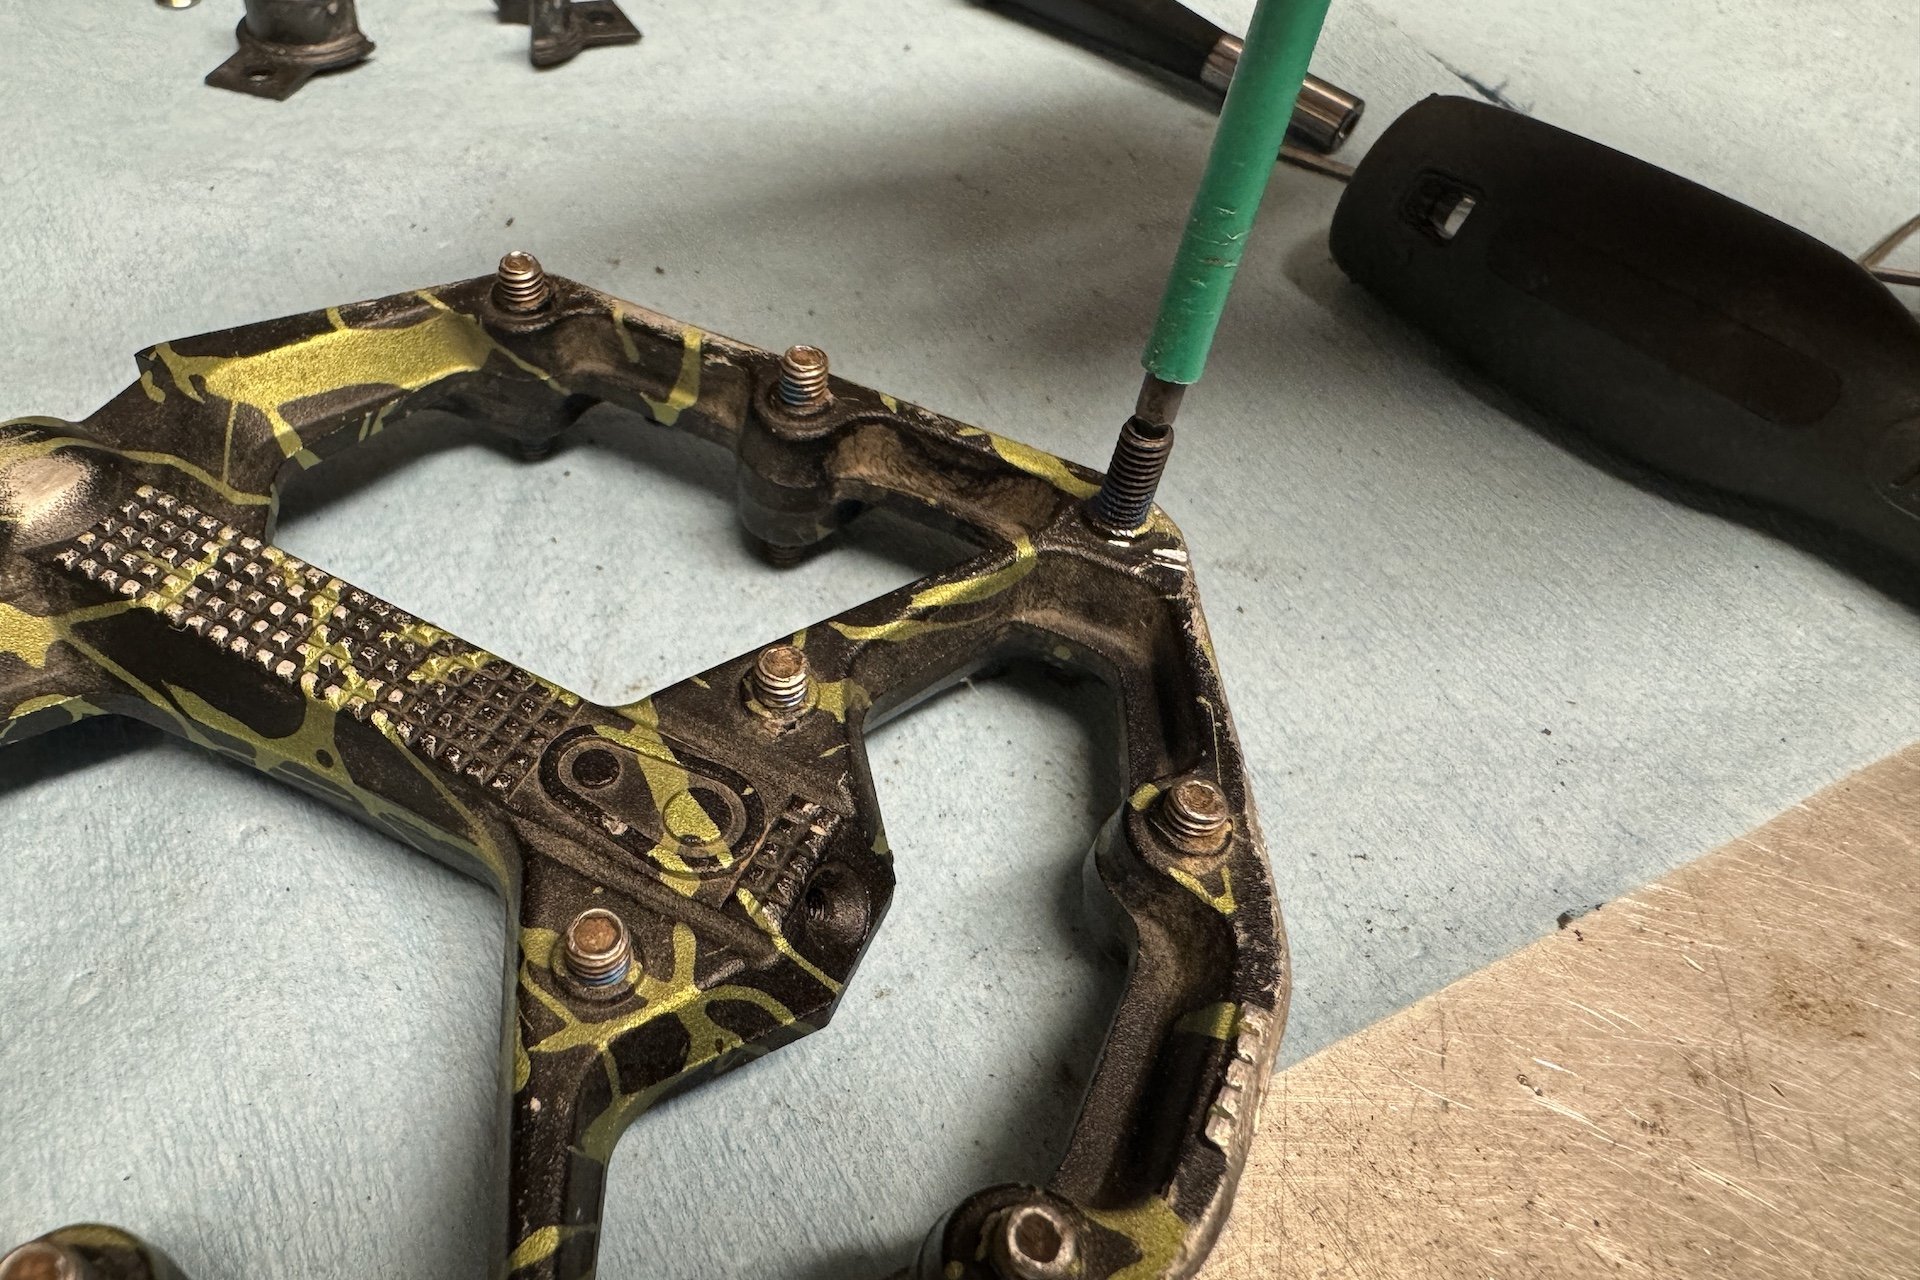
Step 3. Remove the bolt covering the grease port with a no. 1 Philips. Note - while this bolt is small, it may require a larger Philips head than you think because of the pitch of the slot, so check before you twist.
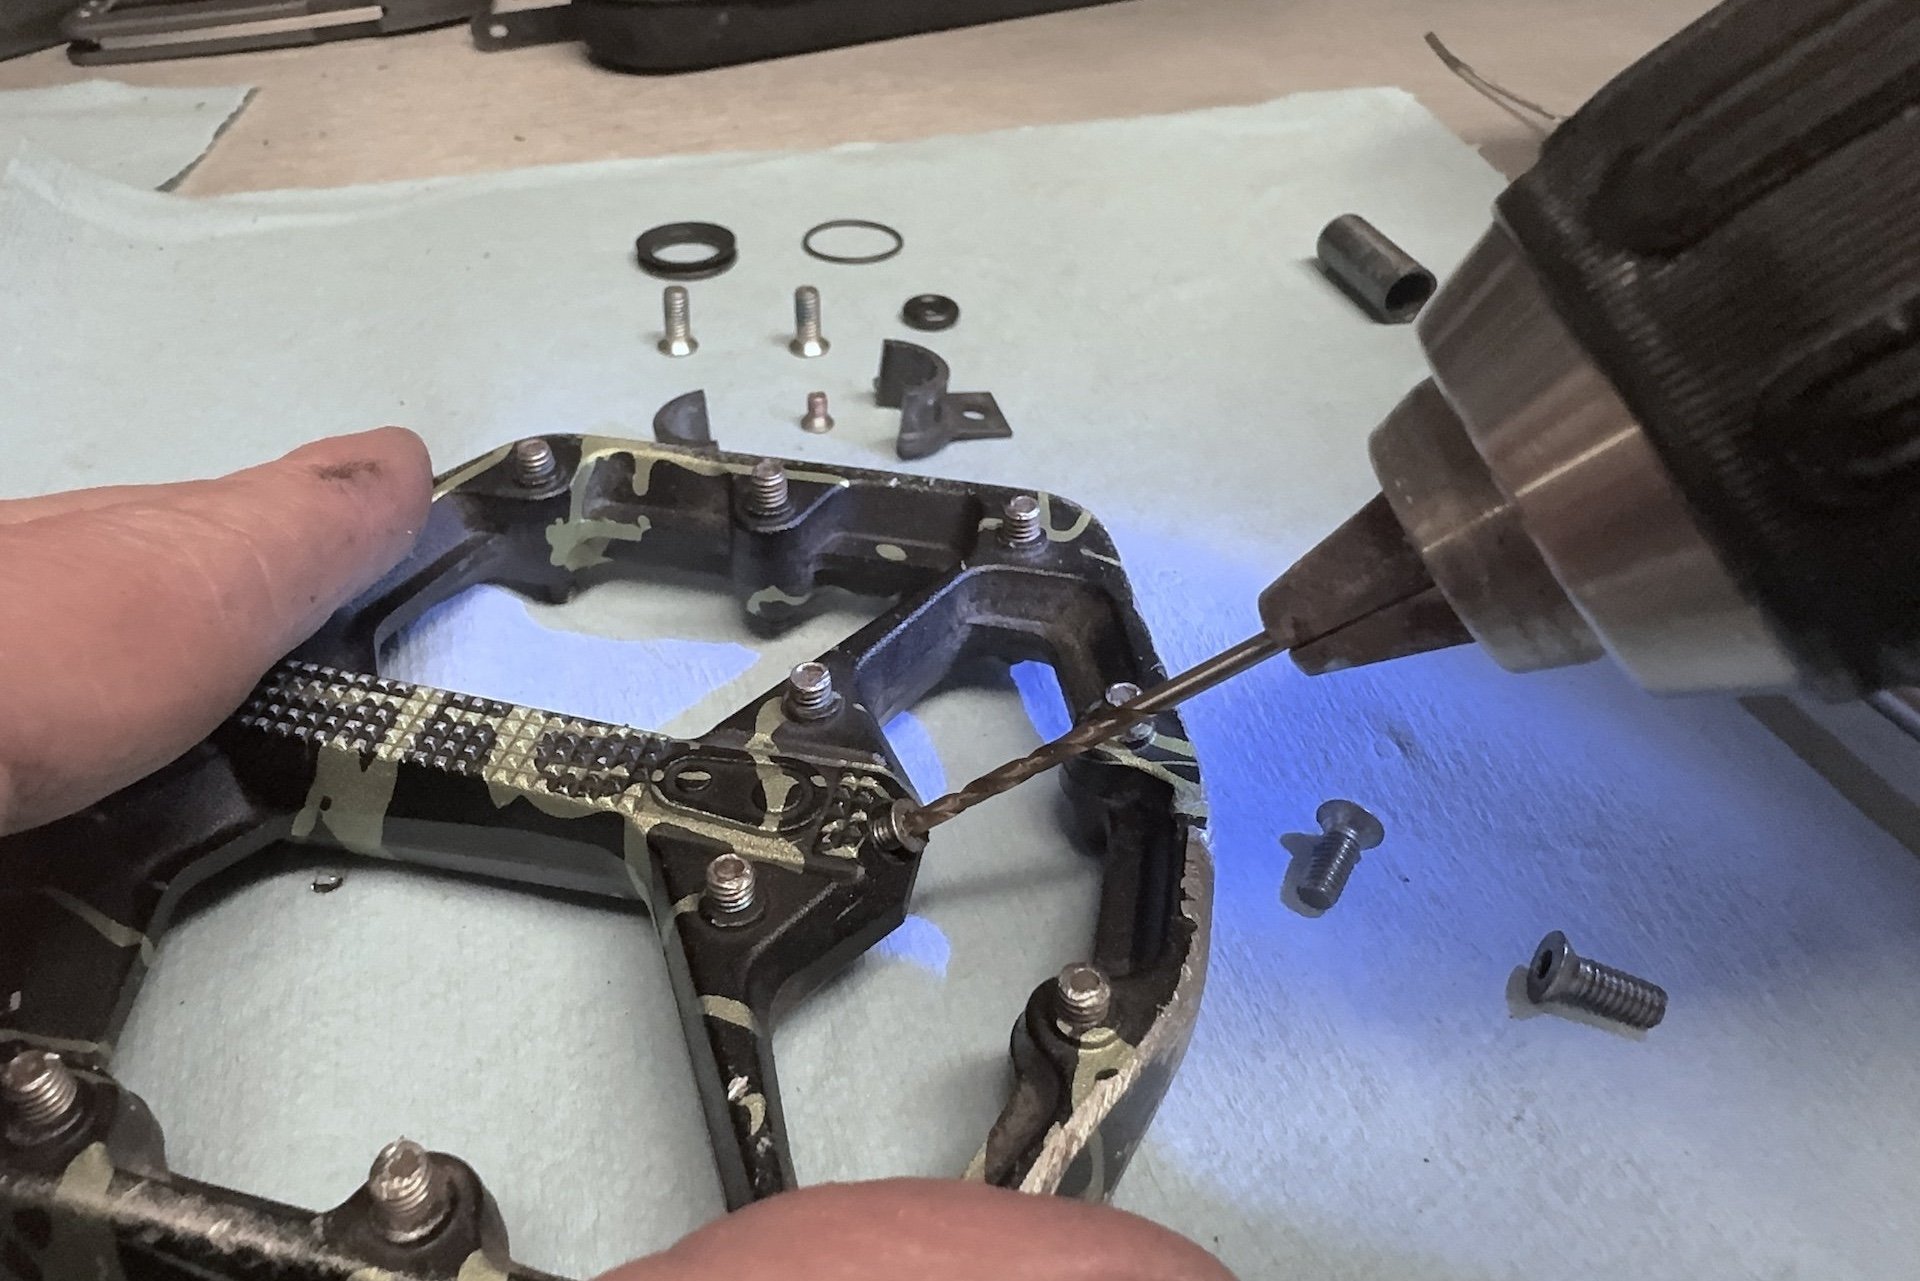
When I went to remove the bolt in the second pedal, the head had become damaged, likely due to a rock strike, and it was completely strippe I drilled it out a little and then reversed the direction of the drill, engaged it slowly with downward pressure, and it came out just fine.
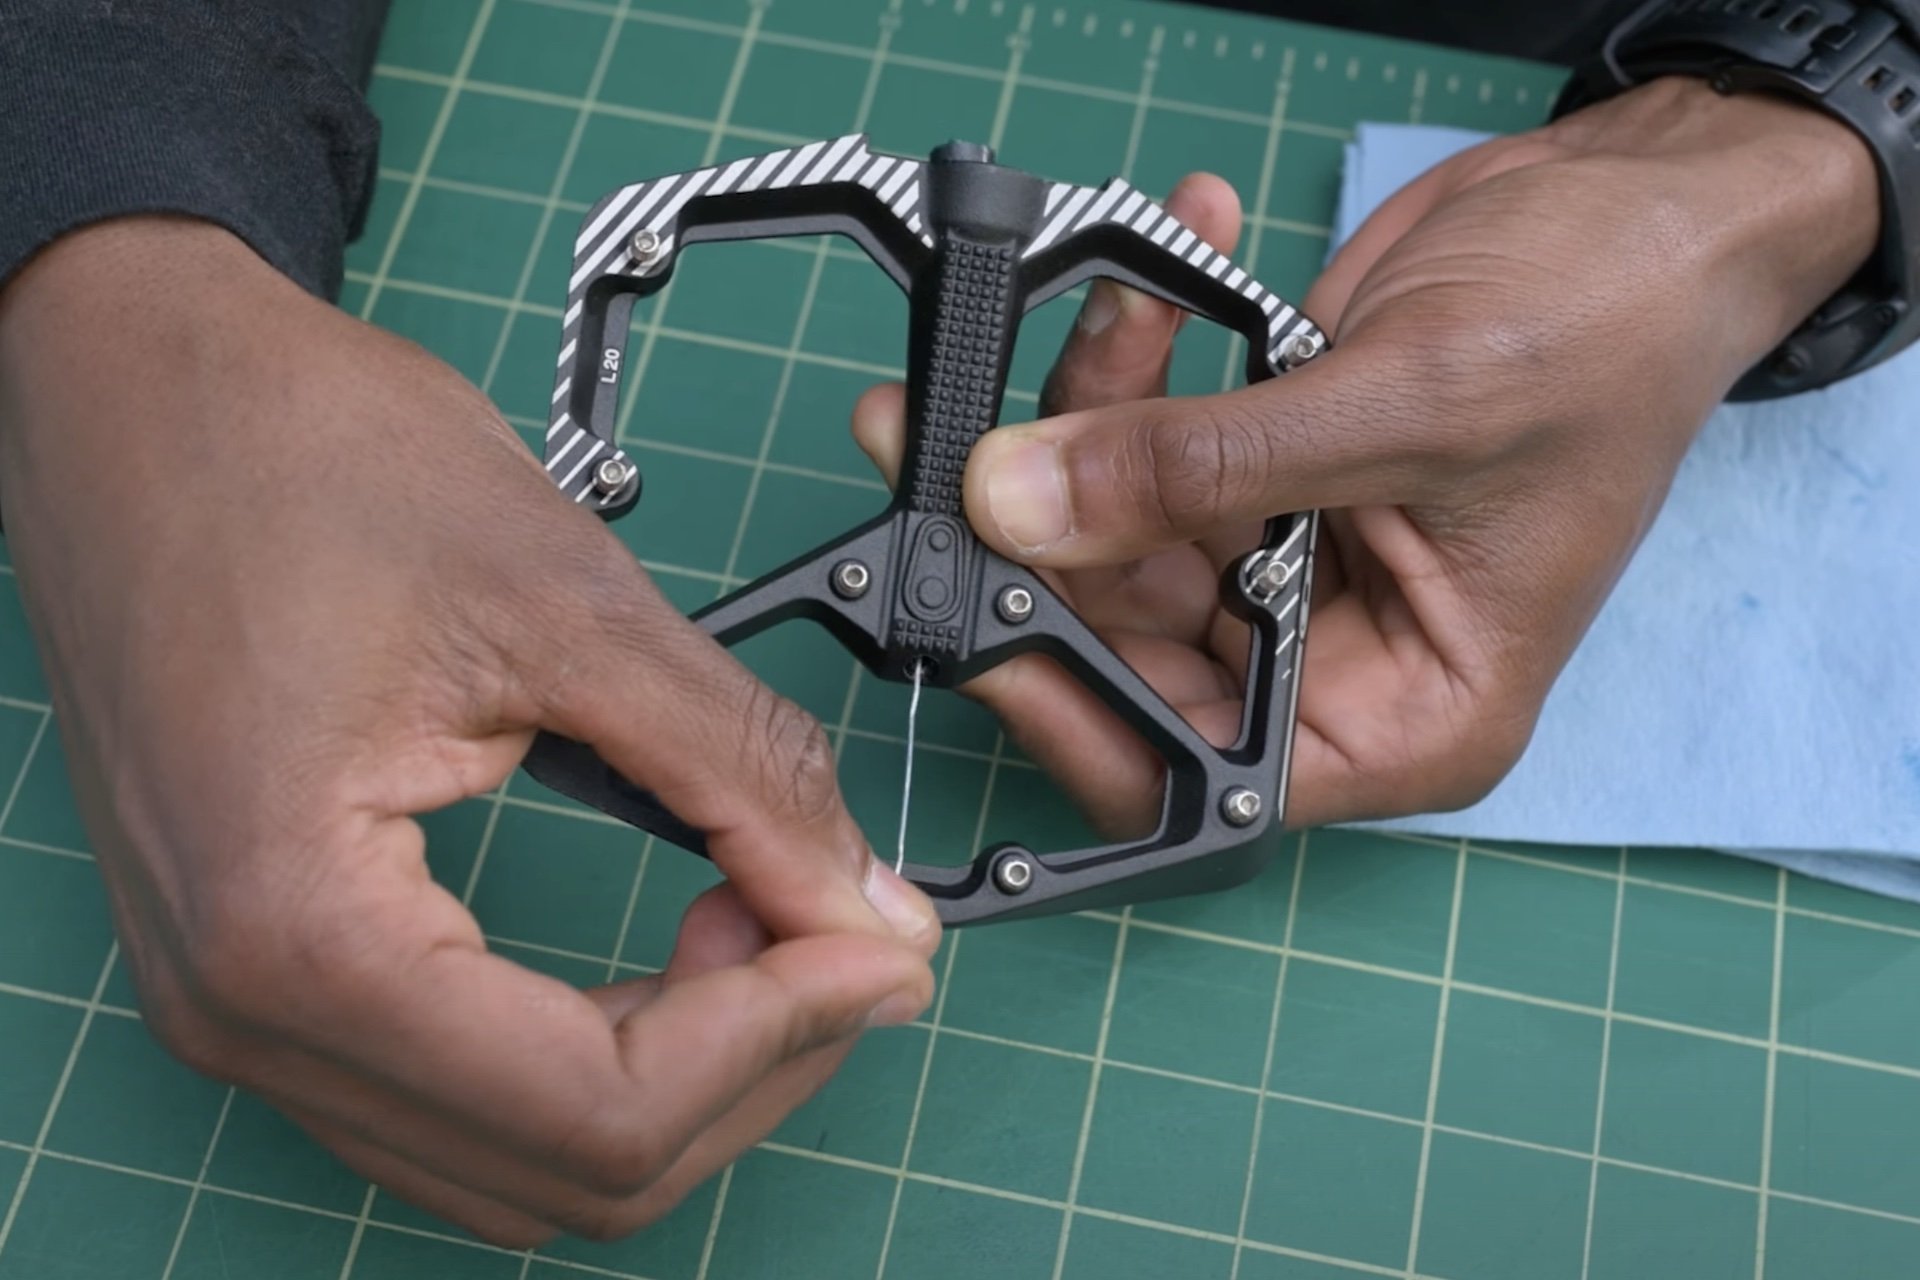
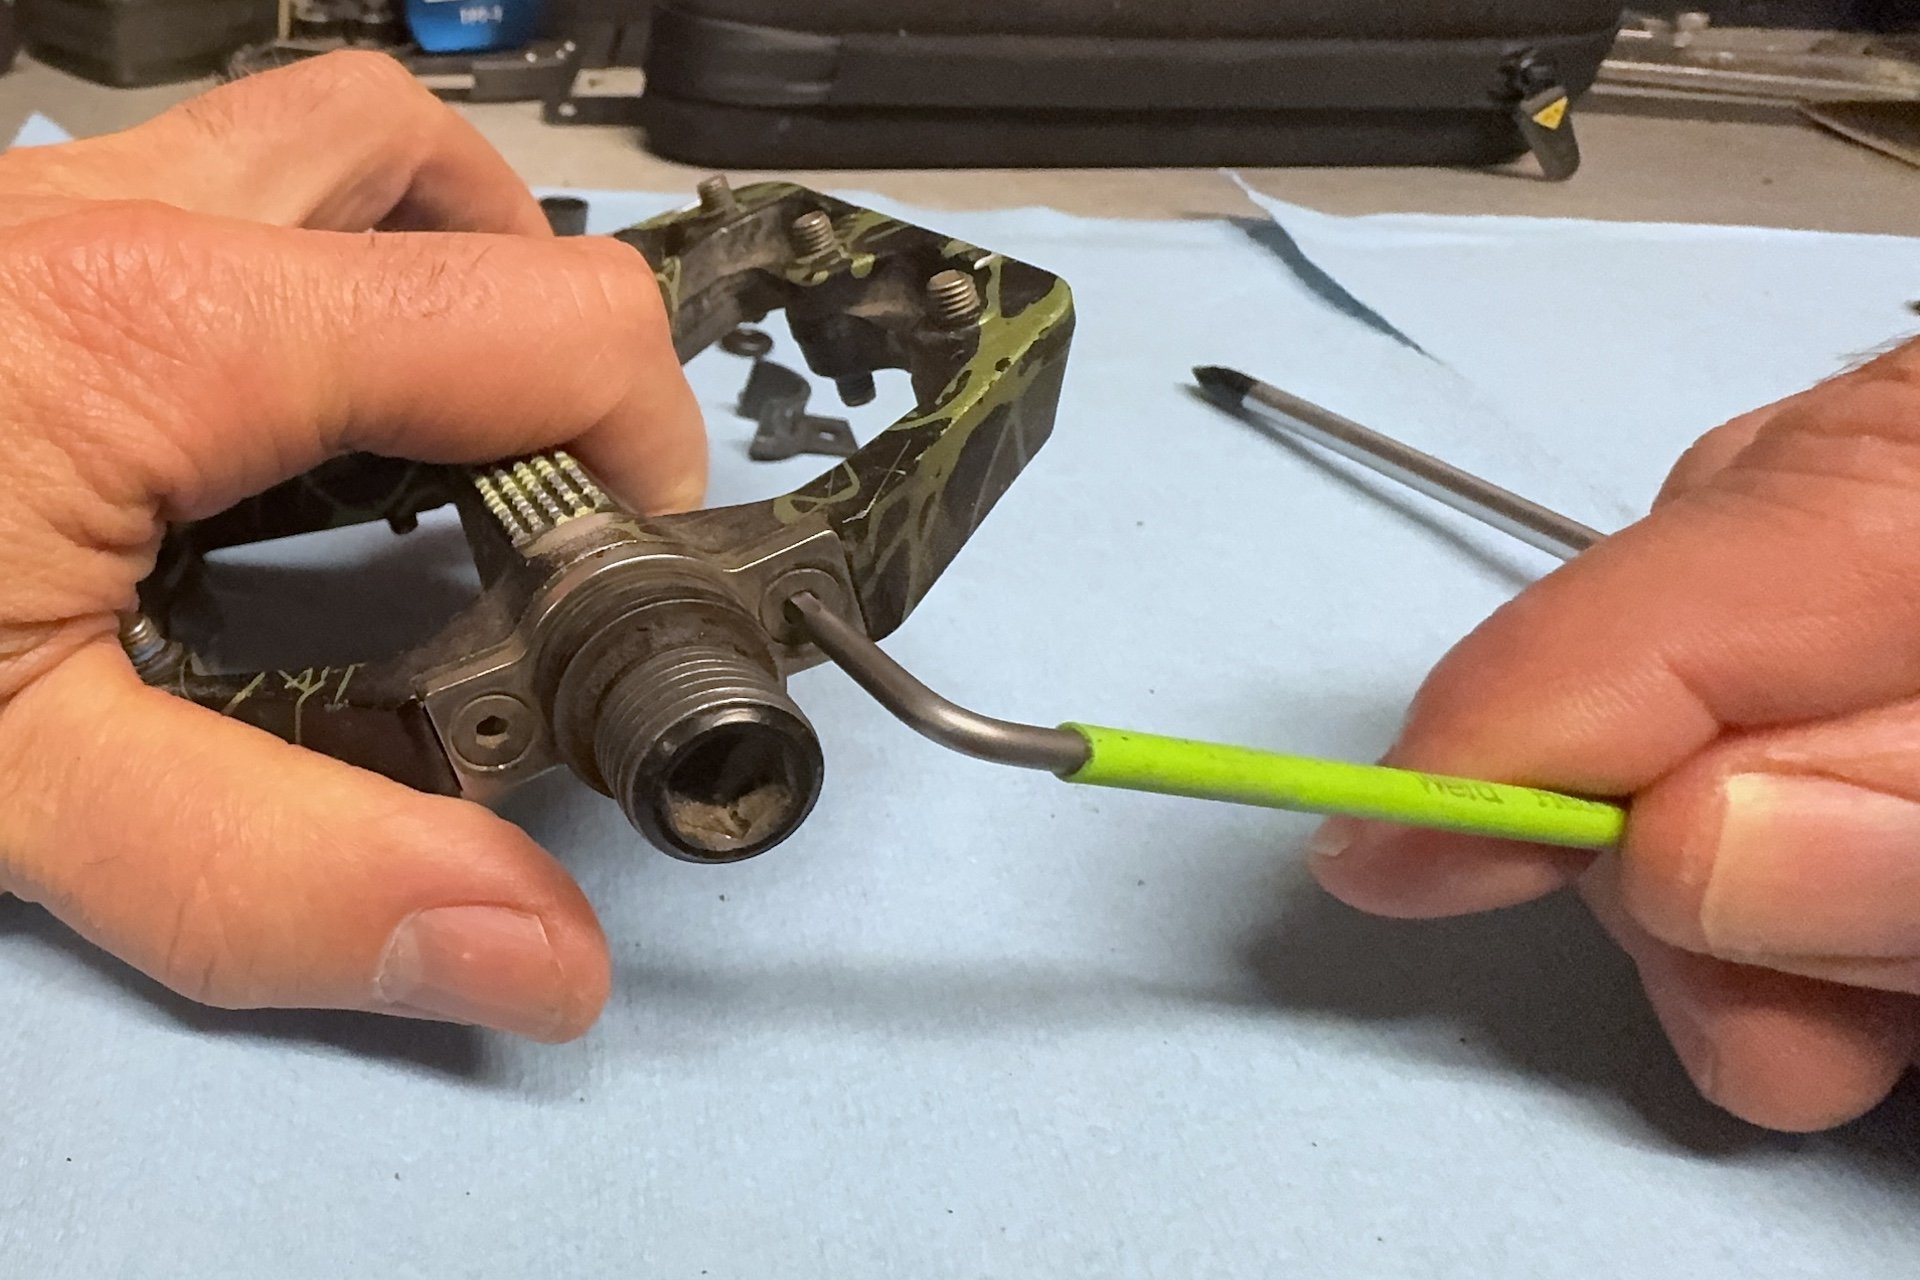
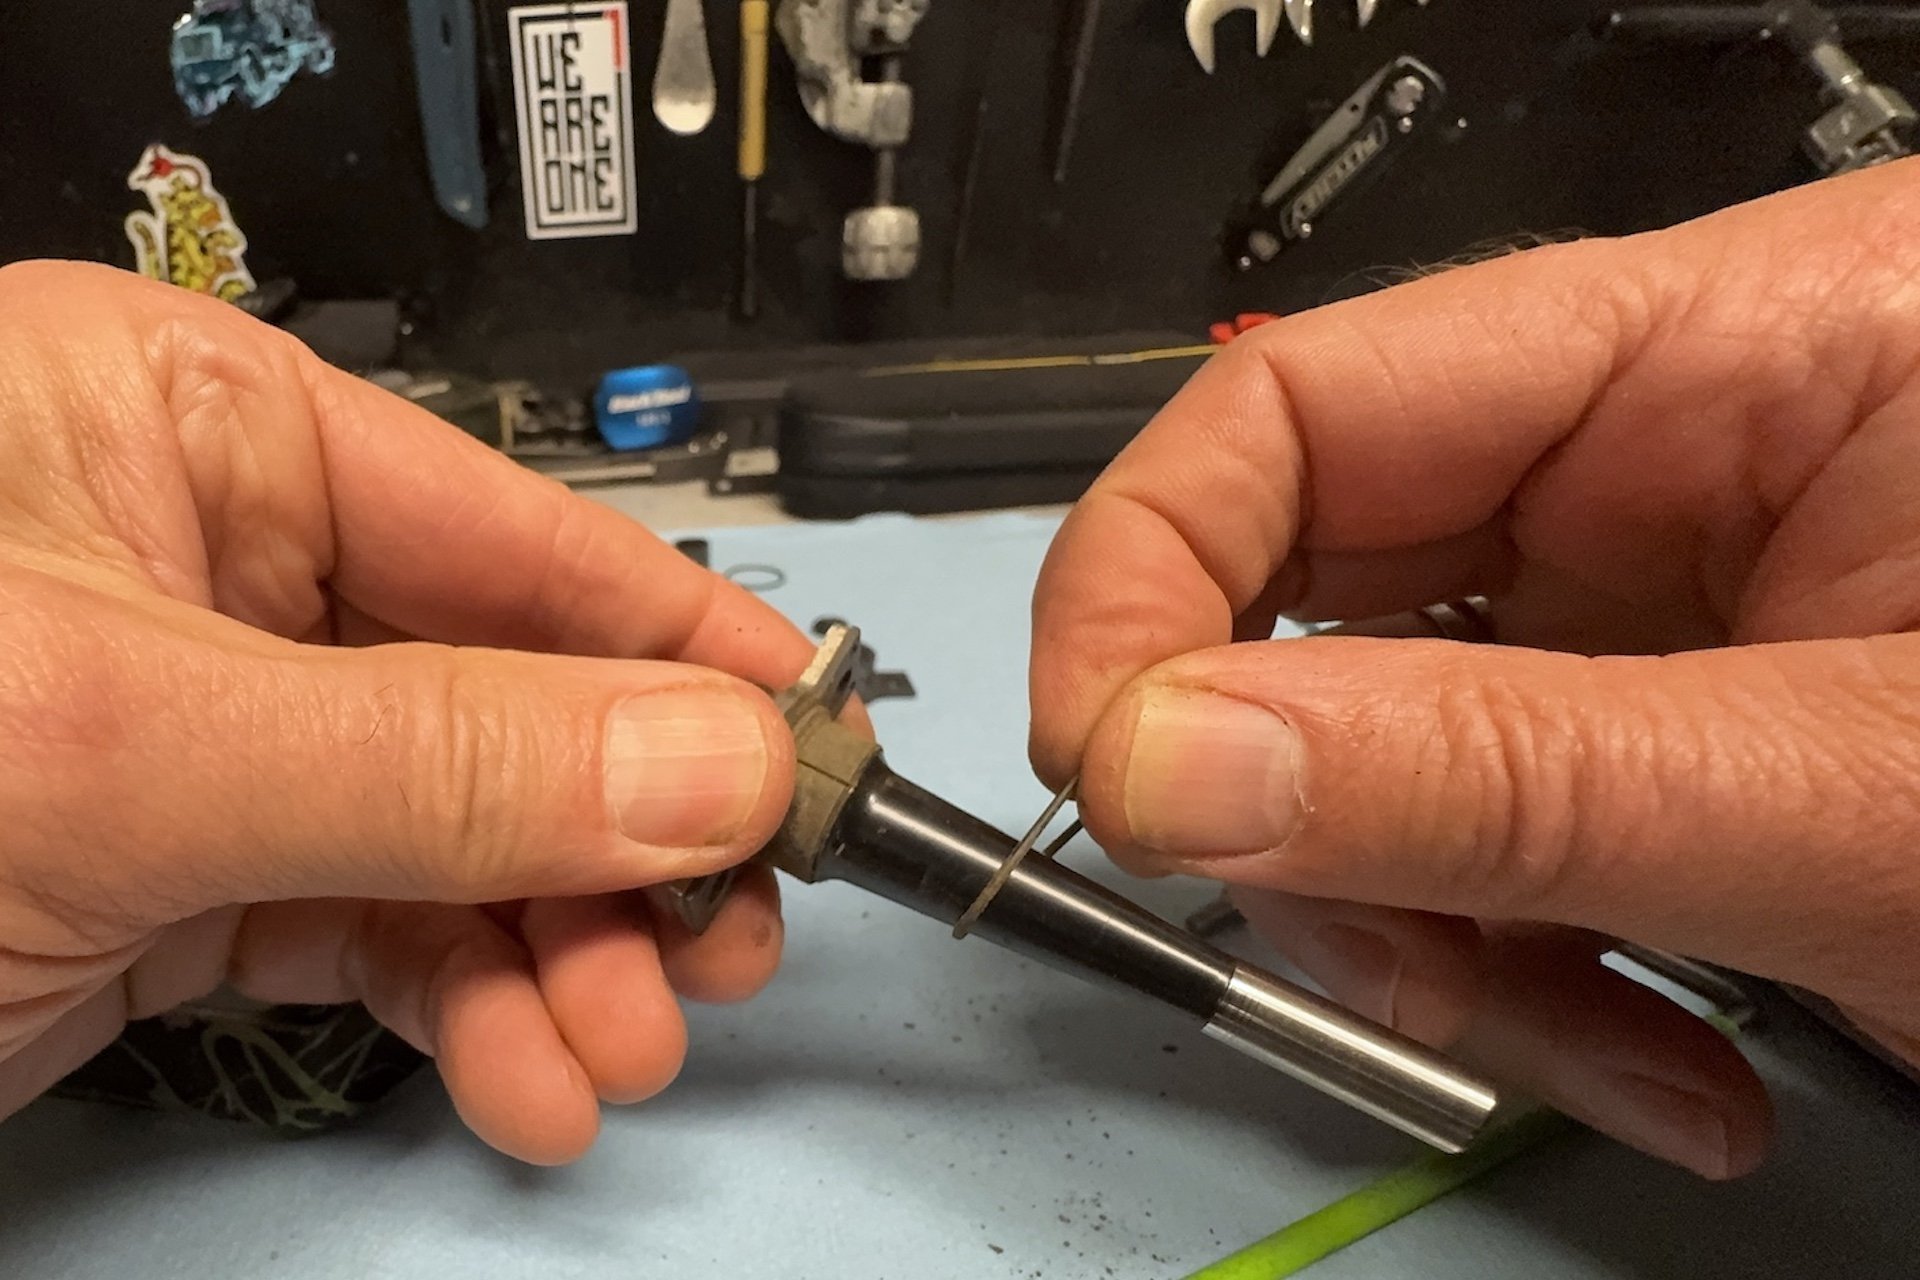
Step 4. Use a pick or a straightened paper clip to push out the outer conical bushing and o-ring toward the opening. Push it as far as you can and then use a small screwdriver (or put a hook in your paperclip) to pull them out the axle hole. Don't forget the o-ring, which sits outboard of the bushing. I use a bent spoke, with a loop for a handle and a sharpened tip, as a pick for these tasks. (Note - those hands belong to Sebastian from Crankbrothers. I stole a screen grab because I forgot to get a shot of this. And yes, he should be the hand model.
Step 5. a. Axle disassembly. First remove the o-ring holding the two parts of the inboard bushing together (in my second pedal this was absent, likely a symptom of overdue maintenance).
b. Rotate the bushings in relation to the inner bearing plate so they are at offset from each other to ease removal.
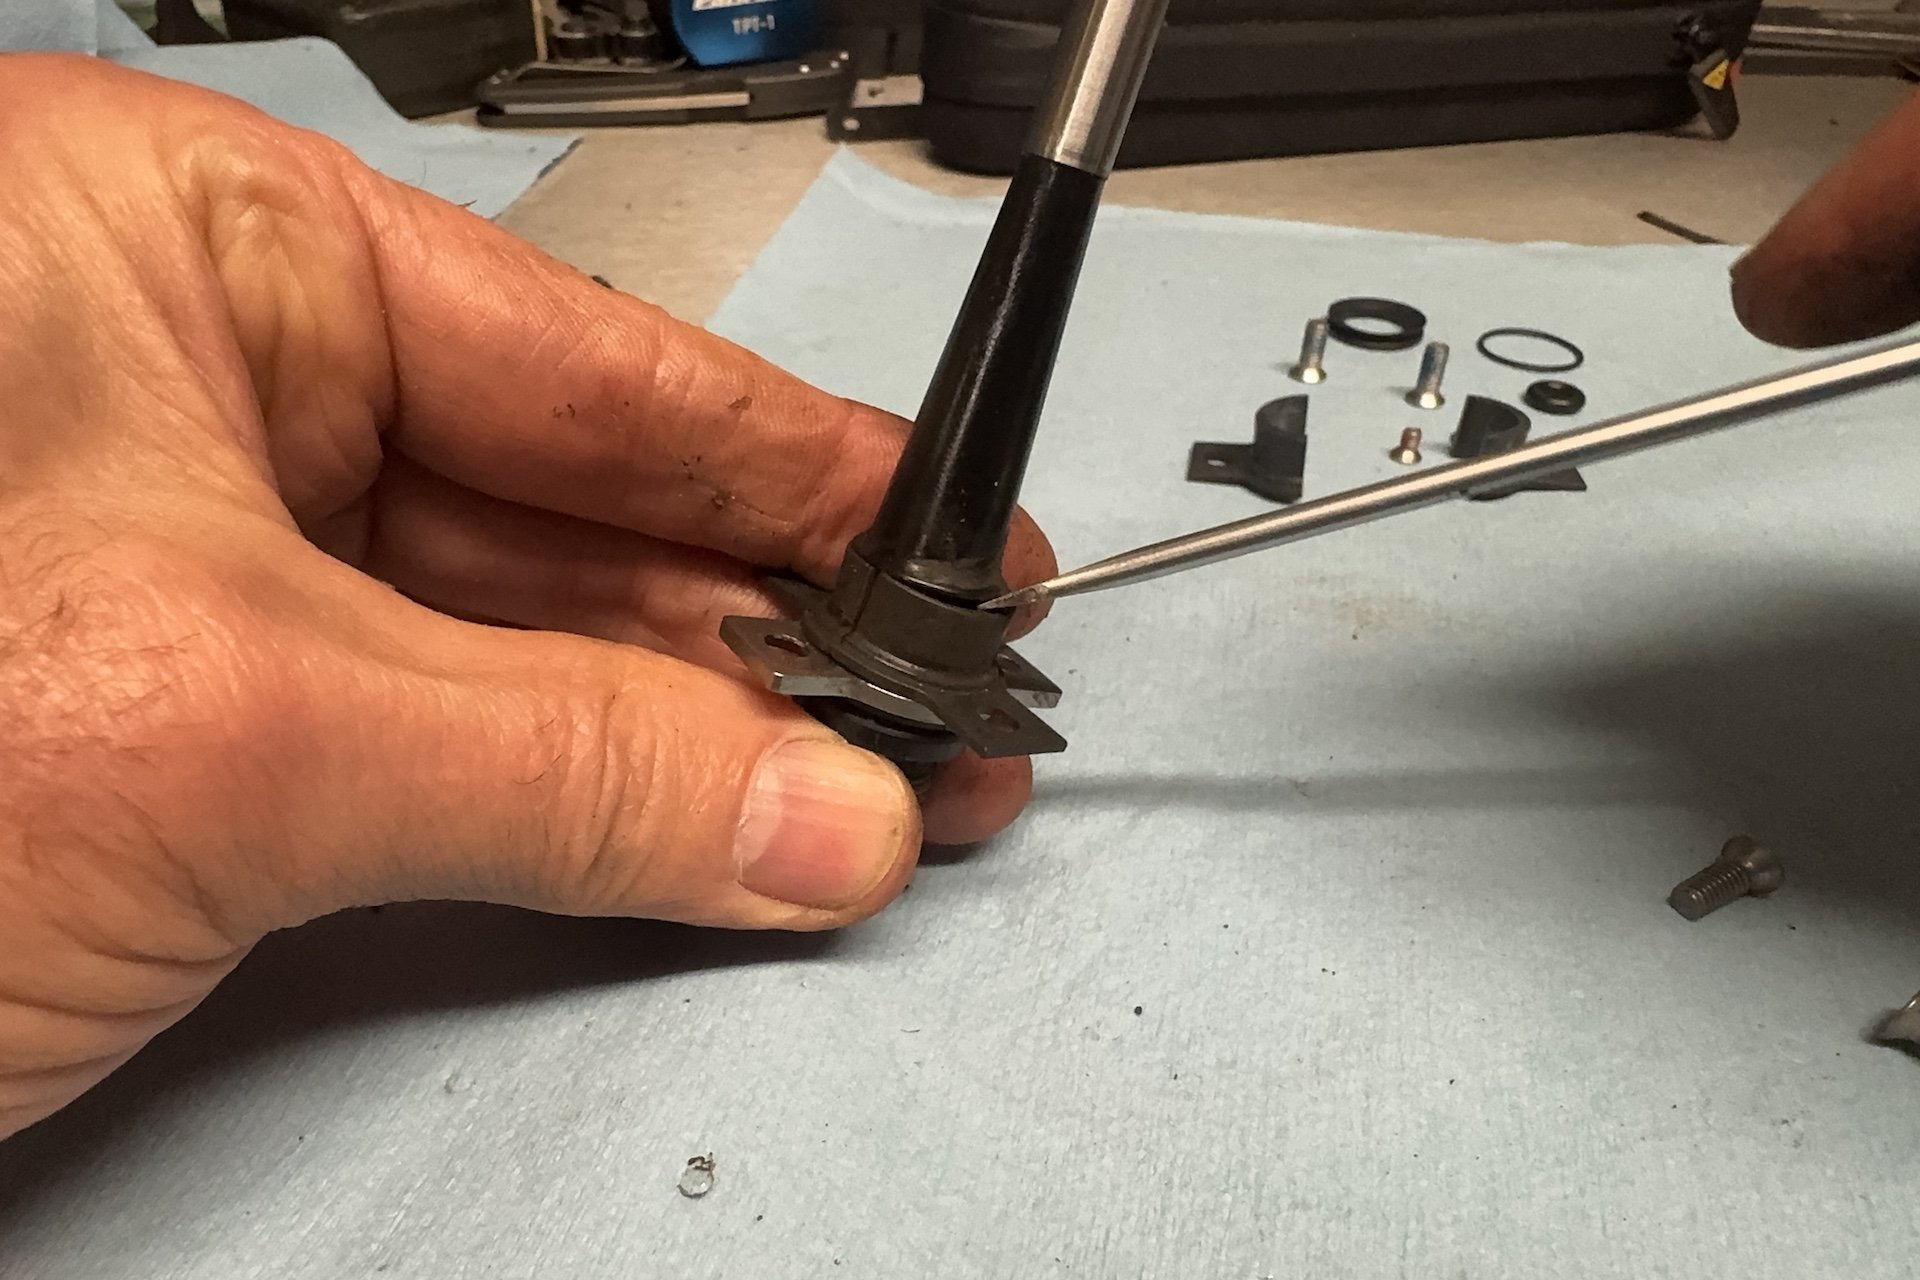
c. Use a small flathead screwdriver to lever the bushings off the axle. They have a flange that is contained by the plate but they should pry away easily.
d. Remove the remaining outer seal.
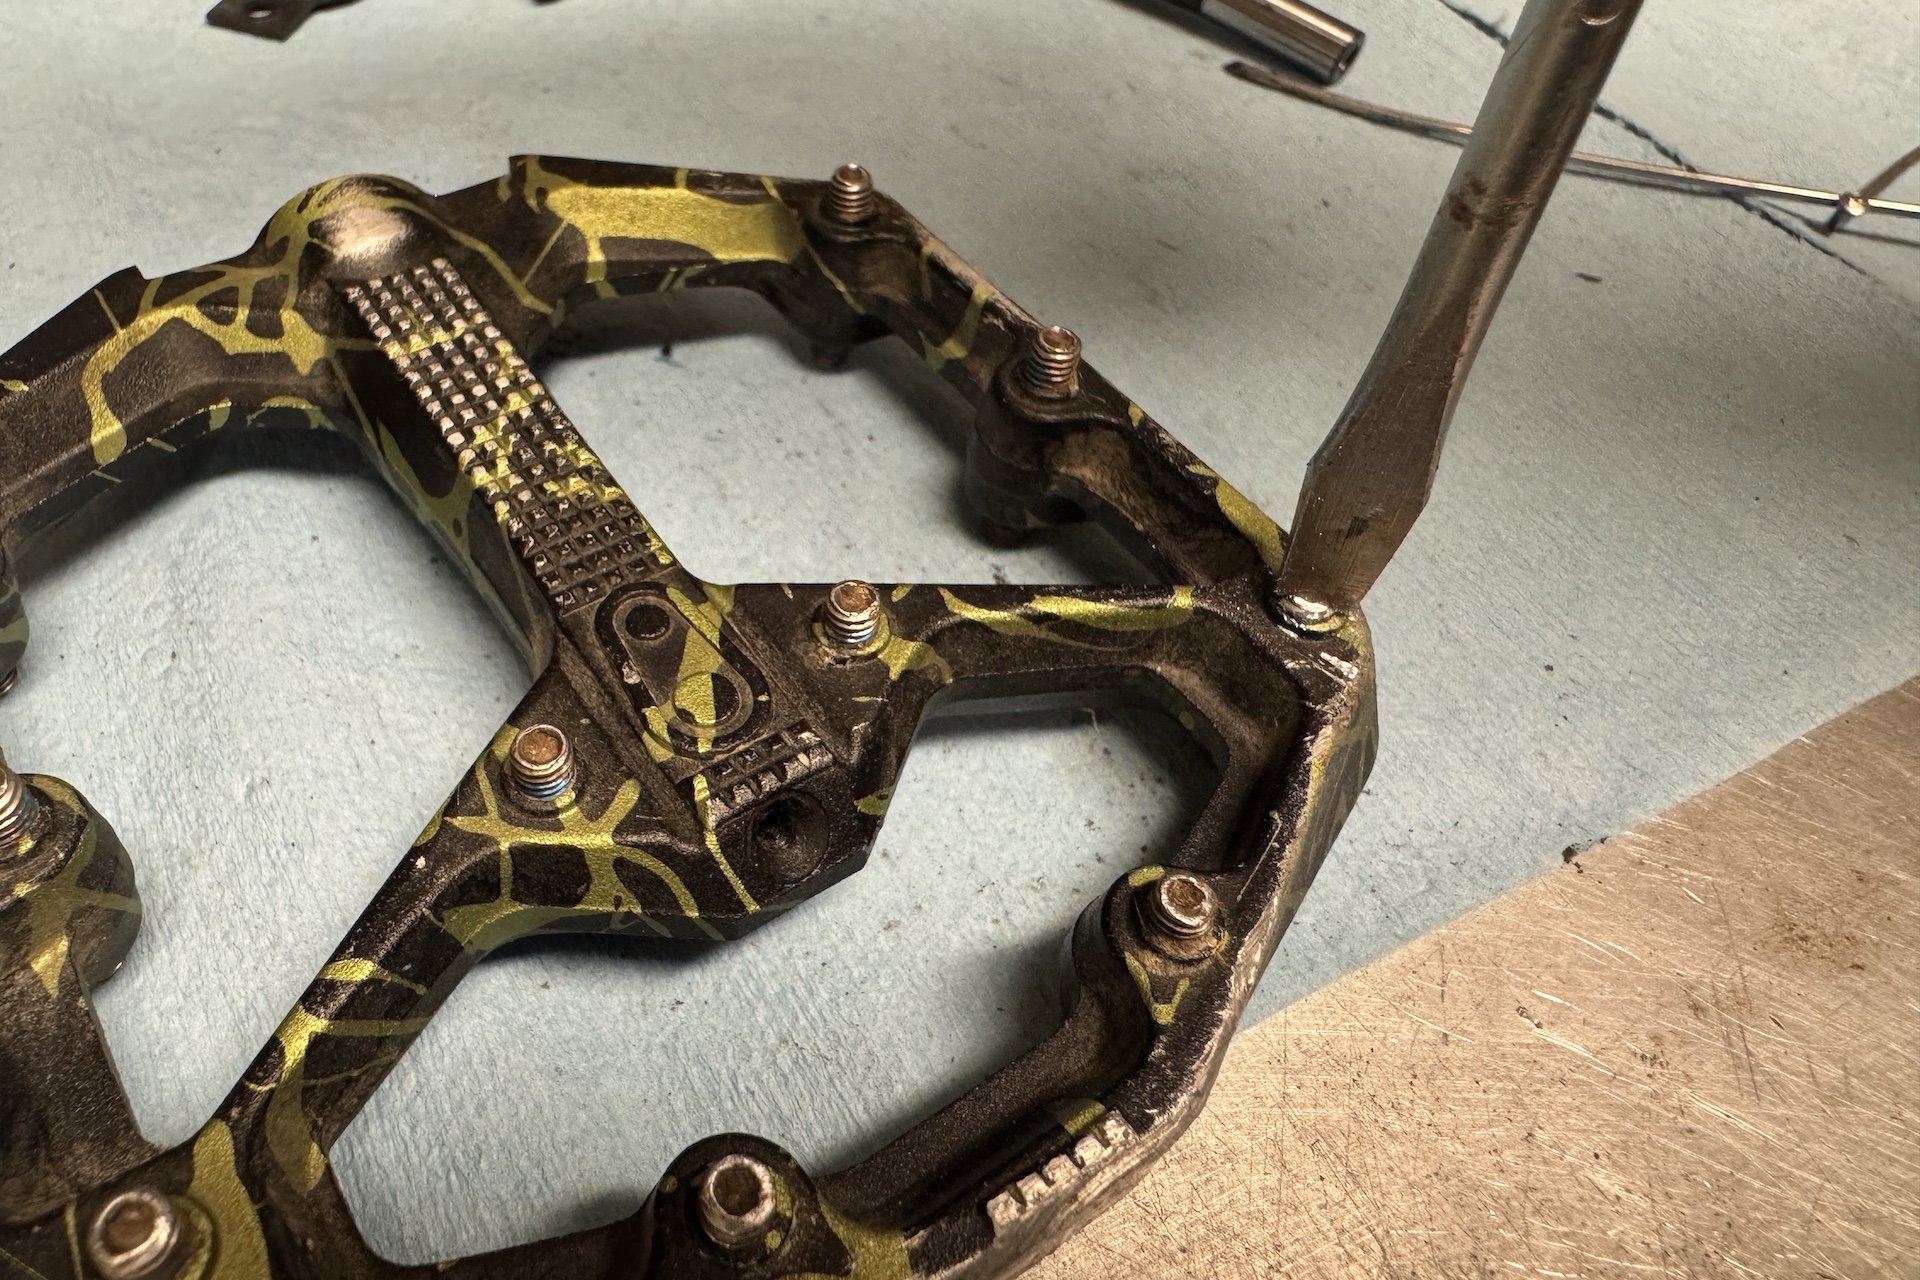
Step 6. Clean Everything Up
If you are like me, your pedals may not look very nice once their innards are laid bare. There was a little rust and some grease deeper along the axle, but the inboard bushings were very dry.
The first axle was easily cleaned with a shop towel but the second had some corrosion that was addressed with a Scotch Brite pad. I then sprayed some degreaser into the axle cavity and twisted the corner of a shop towel and pushed it into the hole. Once it wouldn't go any further, I pushed it in deeper with a small flathead screwdriver and twisted it around. I repeat this a couple more times until it came out clean.
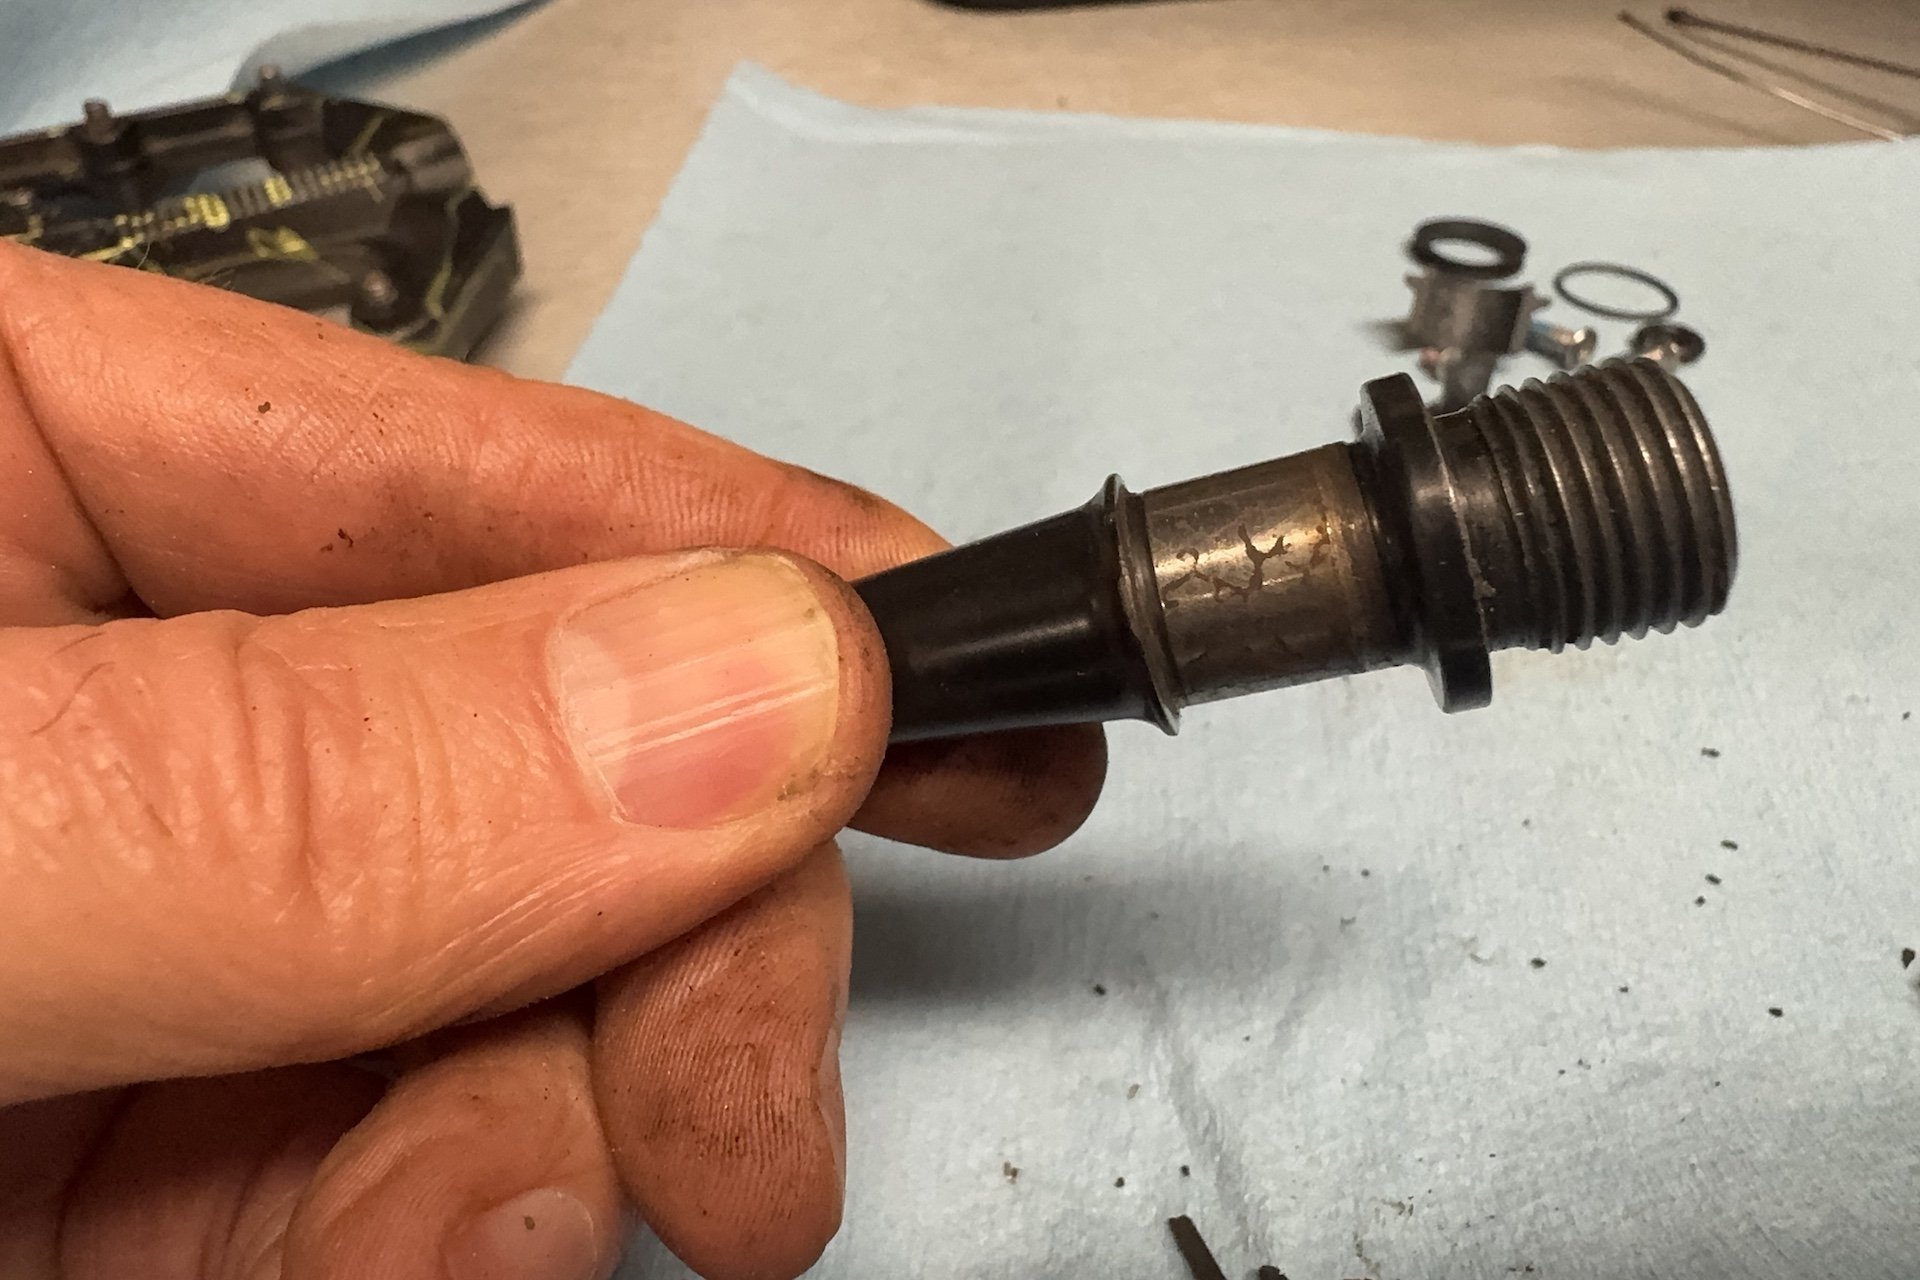
The second axle was slightly corroded but it came clean and pretty after some Scotch Brite pad time. Some very fine sandpaper could also do the trick but apply only light pressure.
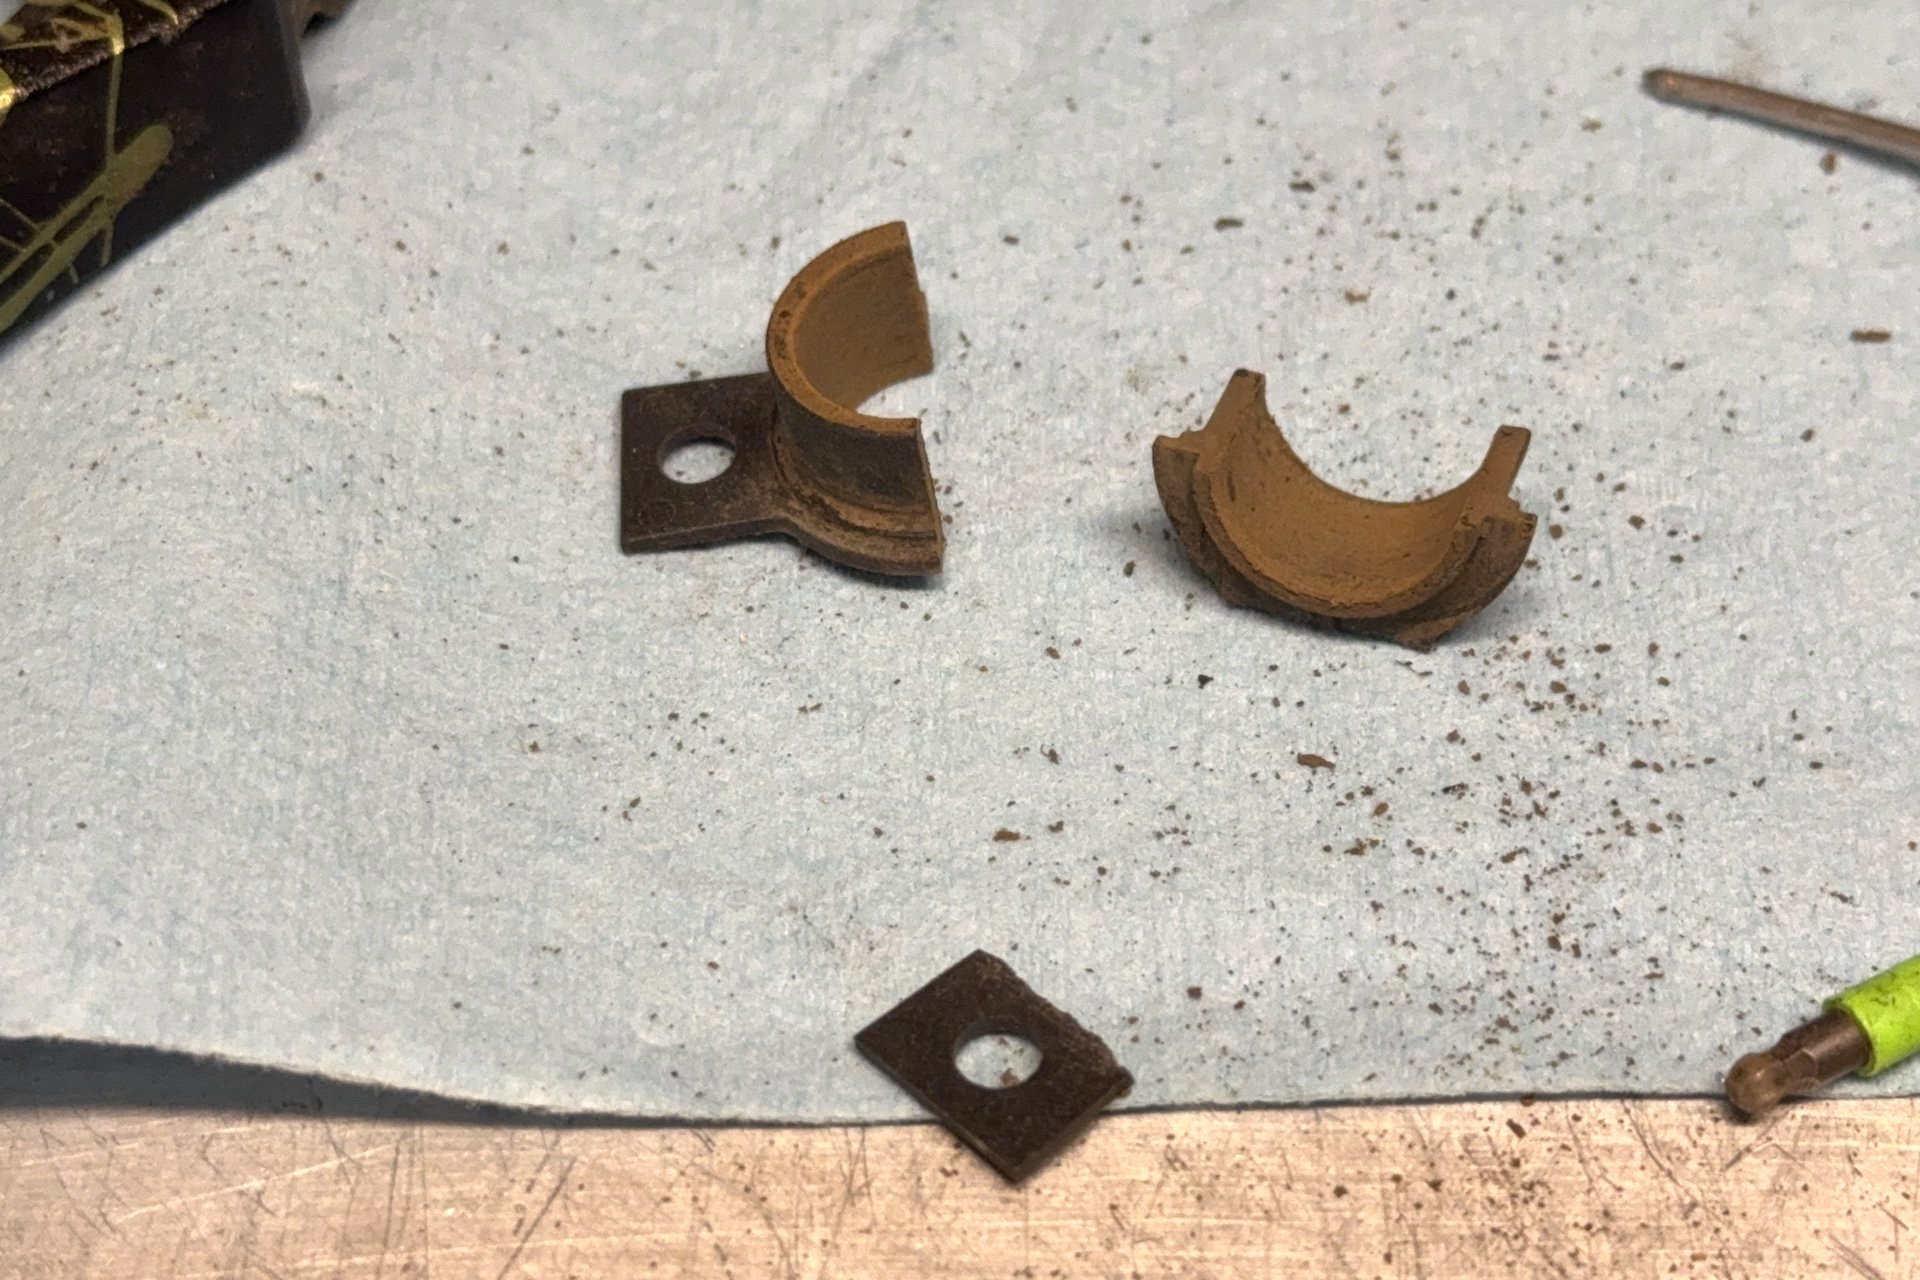
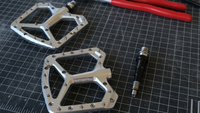
This set of bushings did not look pretty.
These are all the pieces you'll be replacing.
Step 7. Replace the inboard seal. Place it so the thicker portion is nearest the threads. When I removed mine they were both oriented the other way so this isn't likely mission critical.

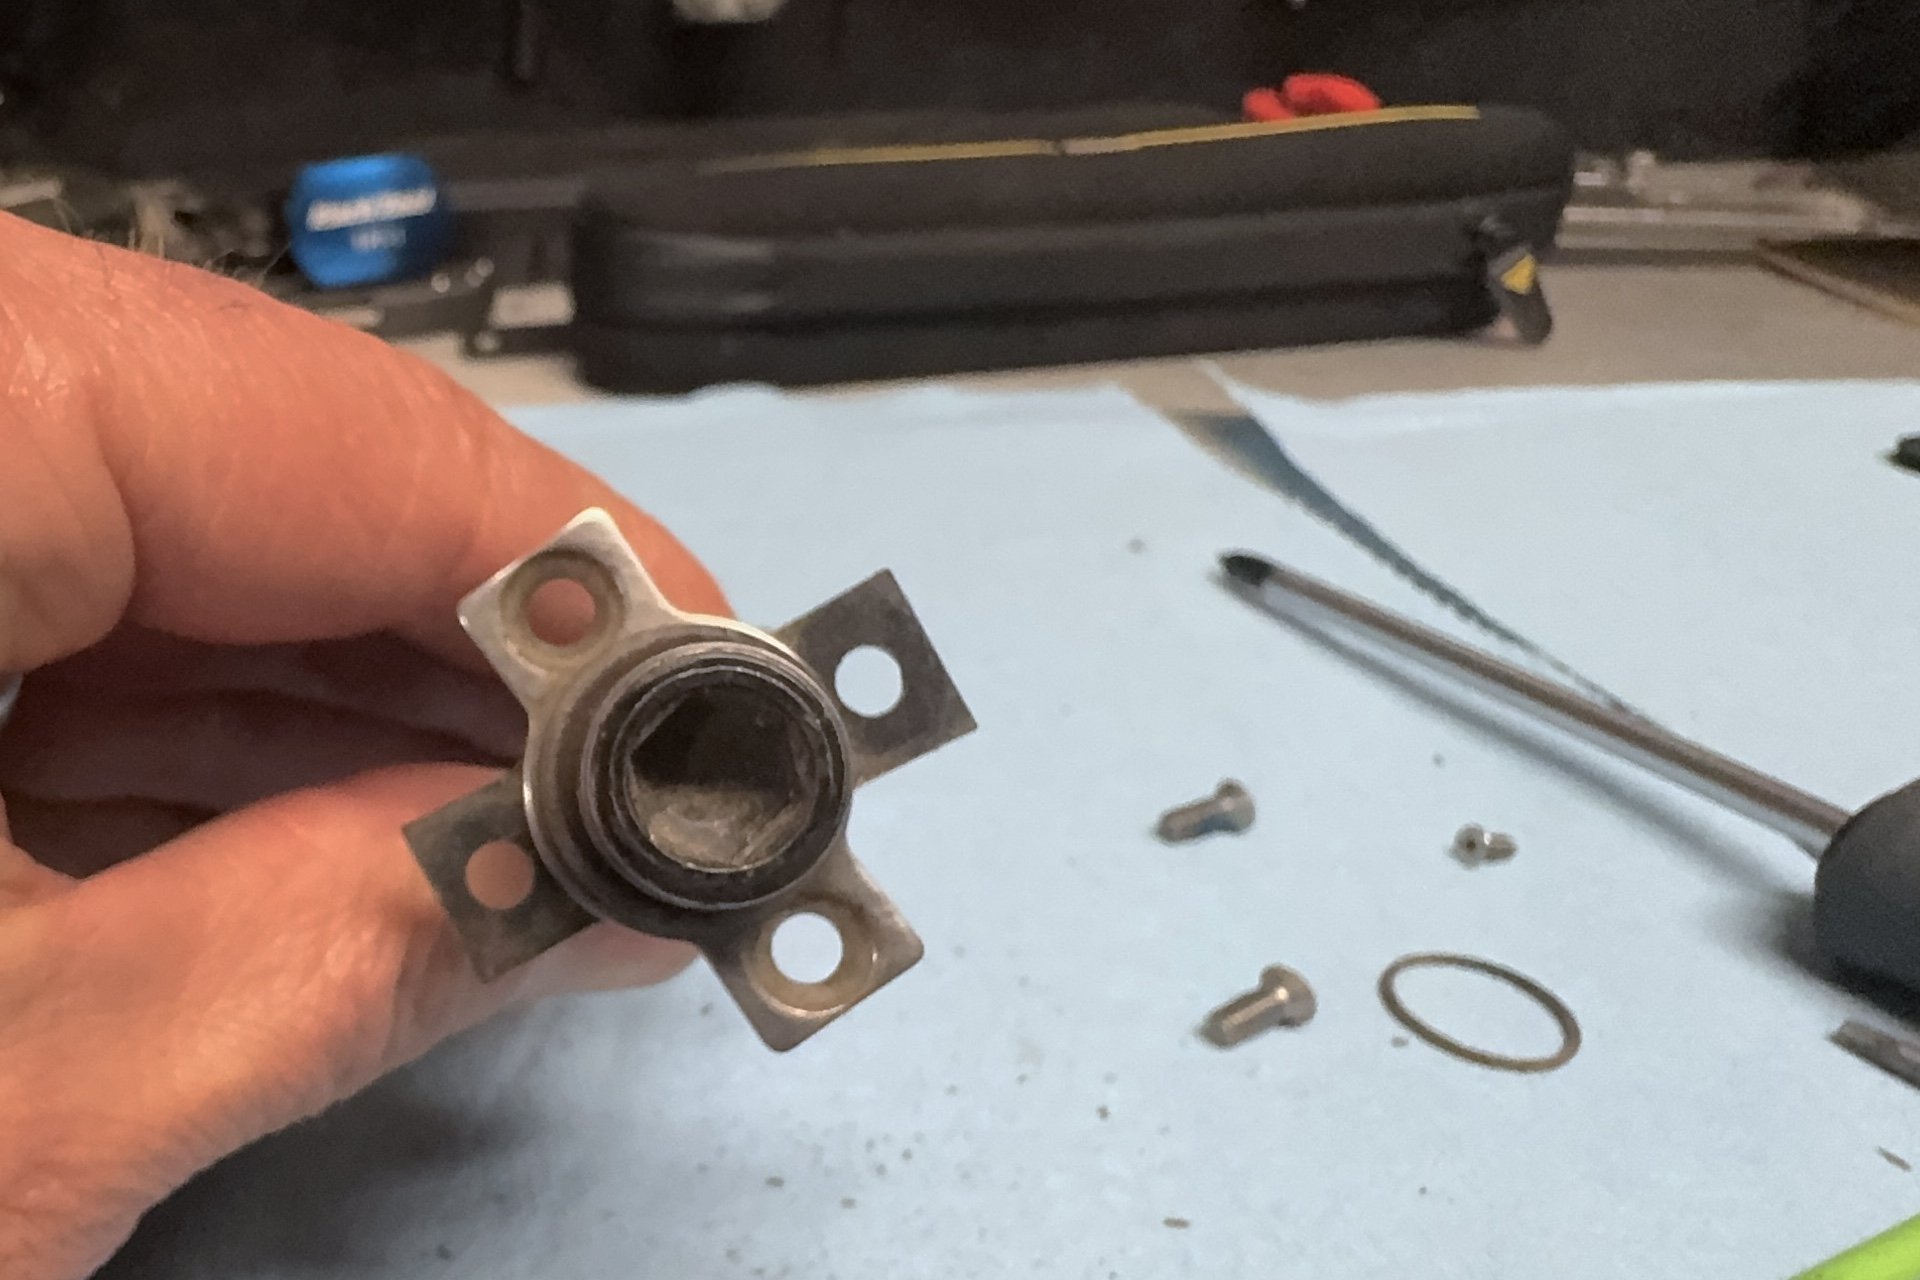
Step 8. Place the bearing retainer. Just push it into place so the counter-sunk holes are oriented to the outside. I applied grease on the bearing surface here, quite lightly but I made sure to get full coverage.*
*Igus doesn't recommend lubrication because they say their polymers are embedded with PFAS and that lubrication could cause binding. (Future IGUS bushings will be PFAS/PTFE-free apparently). My pedals were indeed a little tight after I rebuilt them but I'm confident that they will spin fine after a ride or two.
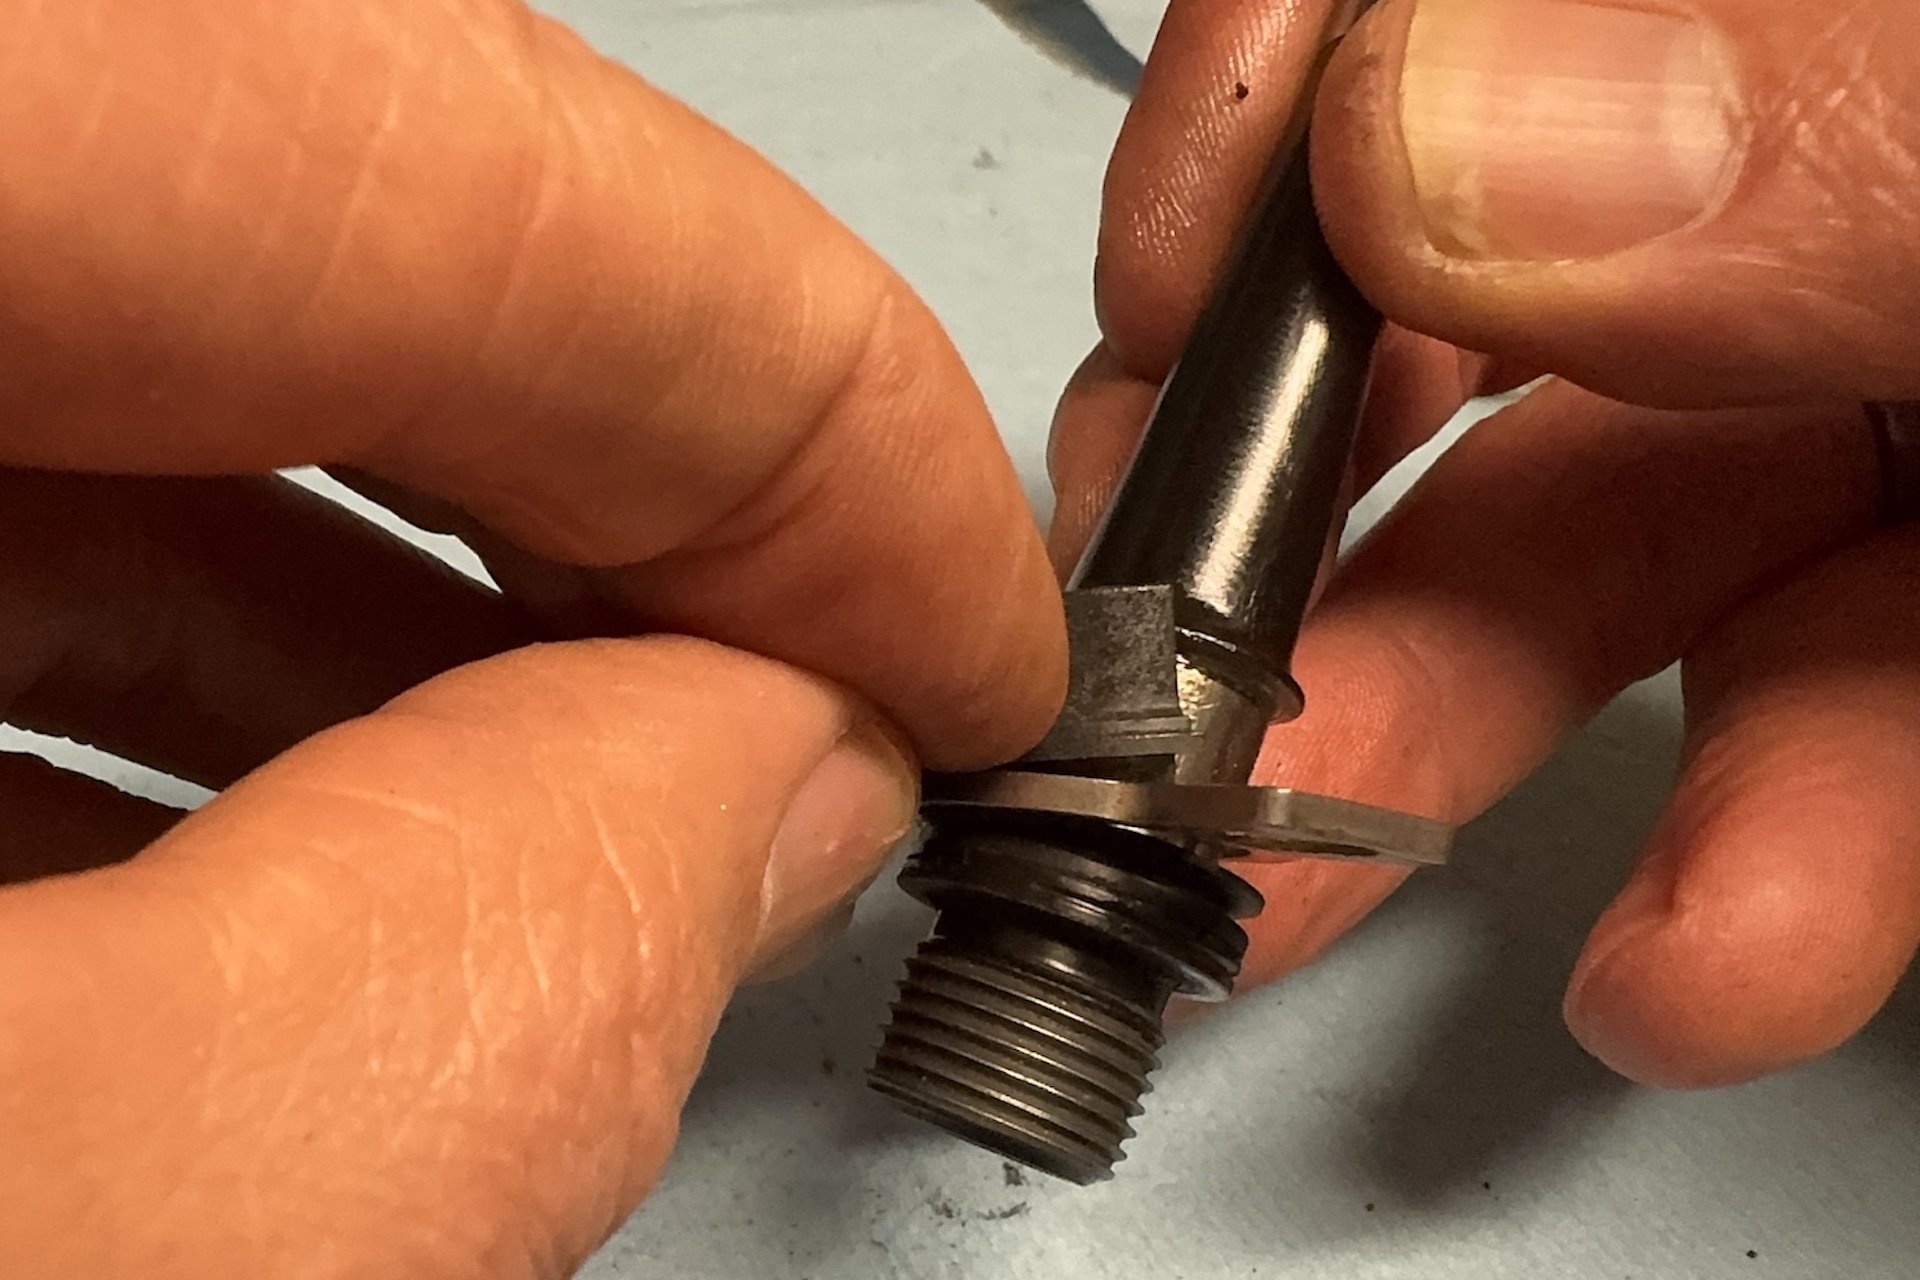
Step 9 a. Replace the outboard bushings. This photo makes this look awkward (a specialty of mine) but it's not bad at all. You just need to snap the two halves into place. They have a collar that extends into the hole in the bearing retainer plate which needs to be inserted first. Then just snap them into the bearing recess.
- Replace the o-ring that holds the bushings in place.

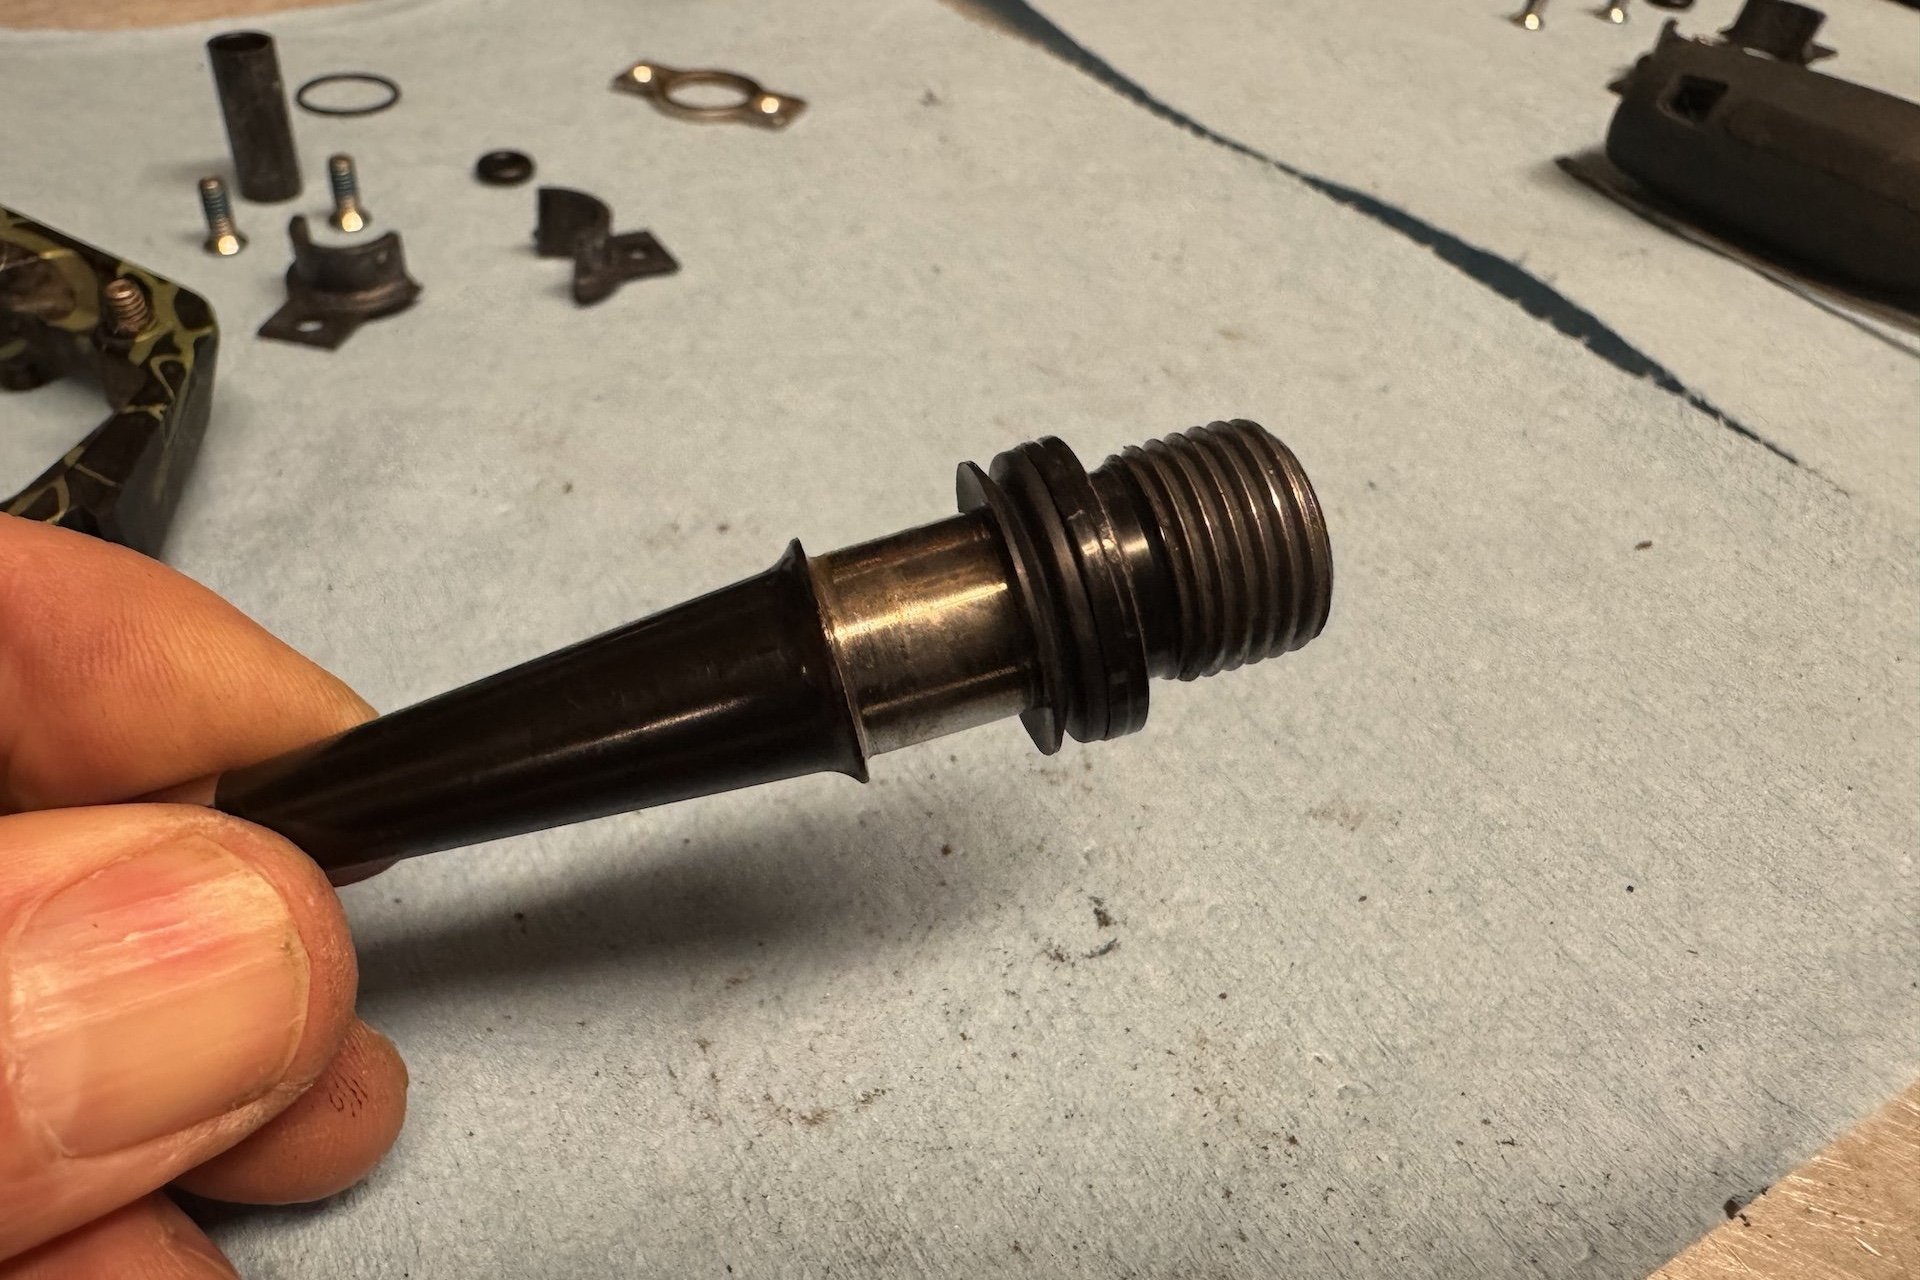
Step 10. Install outer bushing. This simply slides on the end of the spindle. Apply a thin layer grease to the bearing surface first.
Step 11. Apply some grease to the outside of the outboard conical bushing and then place the small, thick o-ring on the end, using the grease to hold it in place.
Step 12. Slide the axle into place until the bearing retainer is flush with the pedal body. If this is difficult, your o-ring may be misaligned or the old one may still be inside.
Step 13. Install new bolts to hold the bearing retainer in place. These came with thread locker already applied so you should be able to skip that step. Tighten to 5Nm, or if you have experience with fittings on your bike, use your own judgement. These have never come loose on me.
Step 14. Install the grease port bolt. This also has thread locker applied so don't be overzealous with your torque. Philips head bolts are very easily stripped. Crankbrothers says 0.5Nm.
And you are done! Your pedals won't look much nicer but they will rotate smoothly in absolute silence until the next time you need to do this.
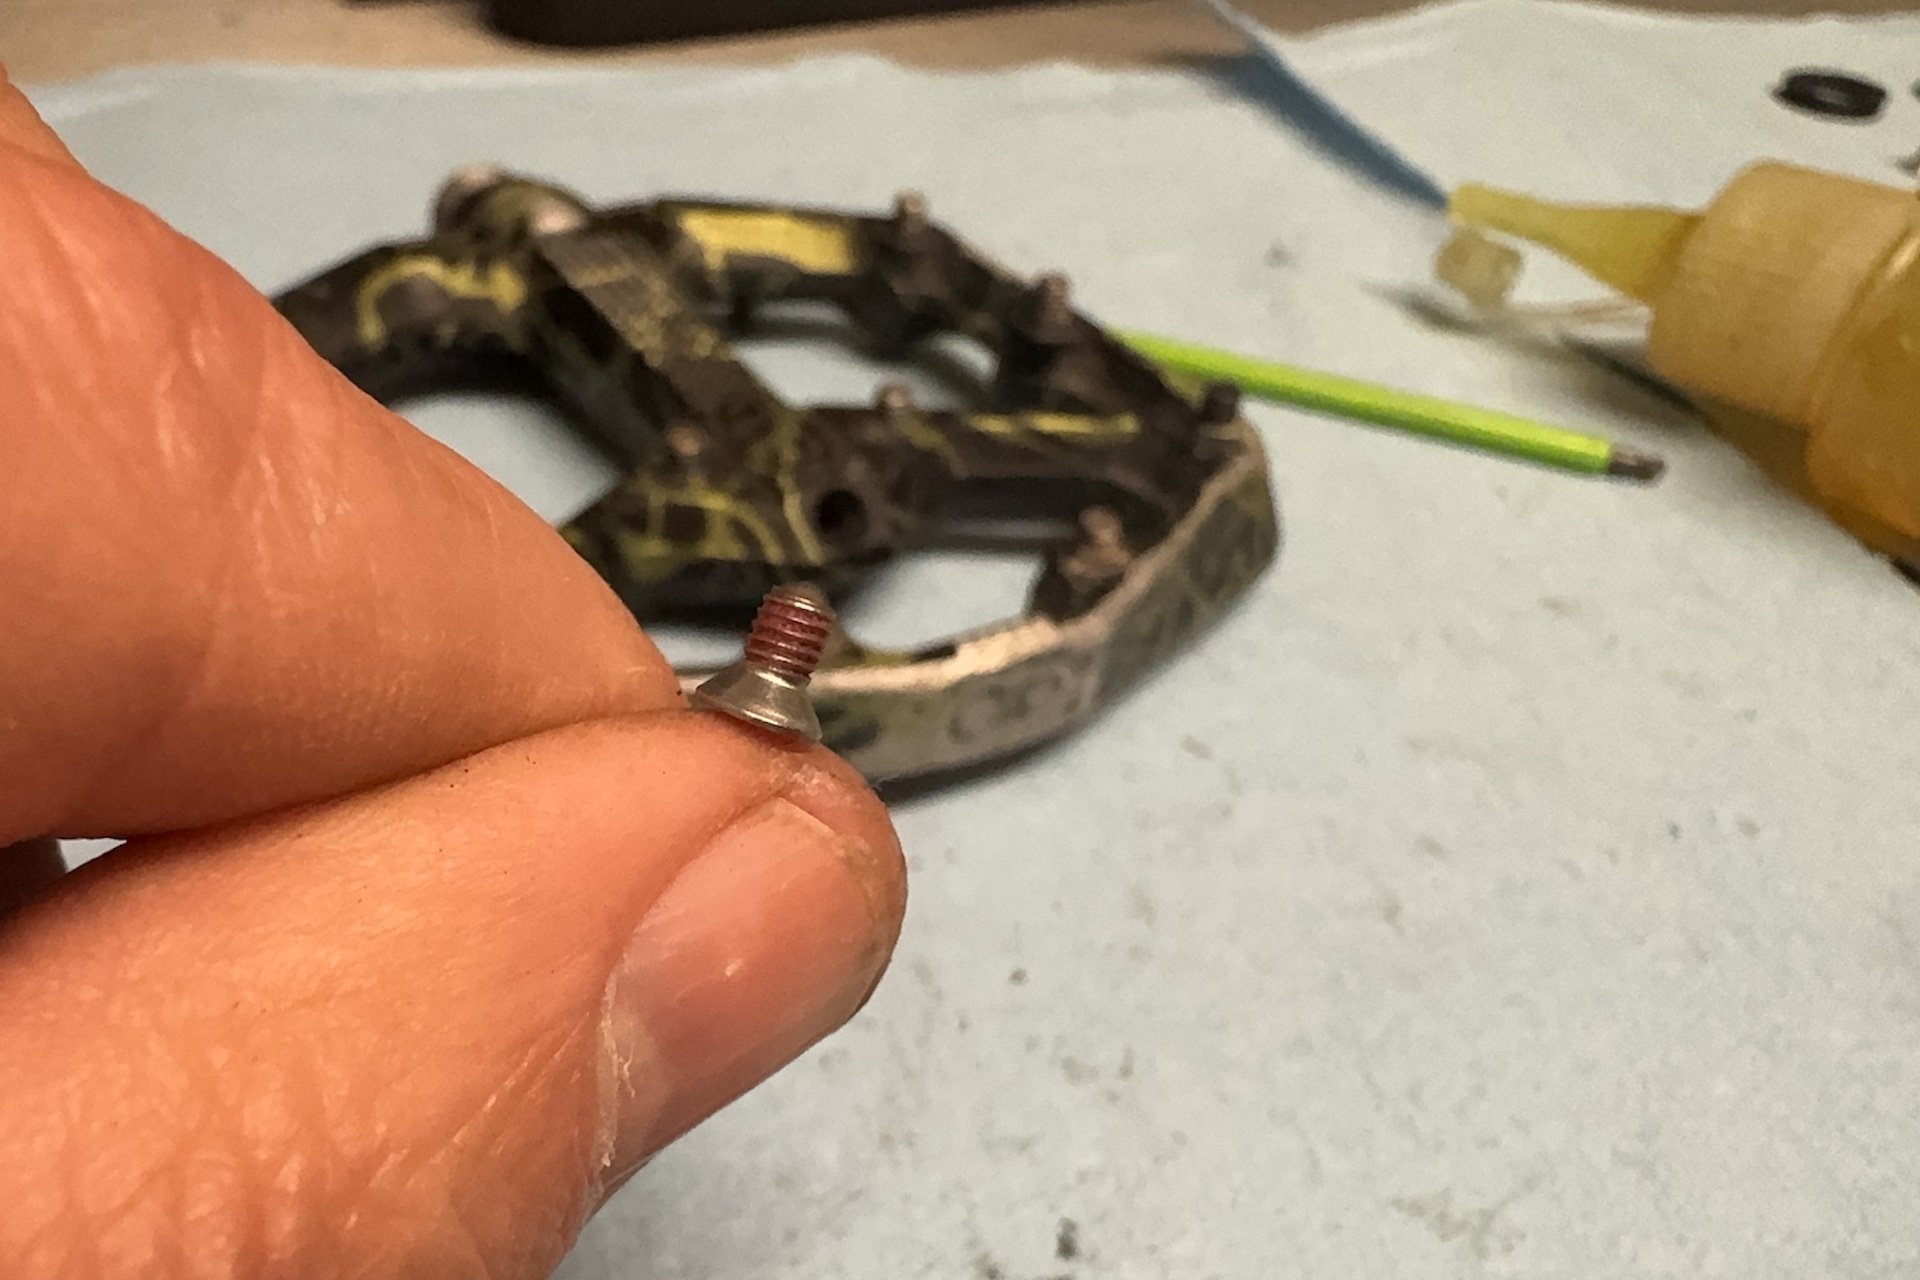
Bonus - Remove Sheared Off Pedal Pins
One downside of these pedals is that the pins can't be removed from the underside. If your 2mm hex fitting is no longer recognizable, you're going to have go rogue on that shit to get it out. Thankfully this isn't too tricky.
This attempt to cut the slot in the middle wasn't very successful but I had enough material on the narrow side to turn the fitting without it peeling off but this is a fine balance.
The best method I have found, assuming the head of your pin isn't flush with the pedal body, is to use a small hacksaw. Mine is called the Close Quarters Hacksaw and it's a very useful tool. It comes with a blade but after that you can cut a portion of a full blade to replace it. You can use a full size hacksaw but you'll probably have to put your pedal in a vice because you'll be using both hands on the saw.
Apply some solid downward pressure on the screwdriver to ensure it doesn't strip your slot.
Literally good as new.
You may find that your blade won't dig in at first. This is because the pedal pin has been work hardened by repeated rock strikes. If this is the case, take a metal file (a bastard works best in my experience) and remove what remains of the top until the surface is flat. Be careful not to file so deep that you have nothing left for the saw to bite into. This will also give you a flatter and cleaner surface for your saw. Try and cut your notch as close to the middle of the pin as possible to give your screwdriver something to push against. Once it's a little more than a millimetre deep (or deeper if you have enough pin) you can grab your flathead screwdriver (I used a number 2) and back the pin out of the pedal.
This feels like winning the lottery when everything works out. I have been harping on companies to include a few spare pins with their often expensive pedals (these are 180 USD) but few do so. Crankbrothers sells complete sets of pins in seven colours and either 10 or 11mm length for 12 USD. My preference is longer pins when possible but be aware they will be more prone to rock strikes and damage or shearing. I haven't yet ripped a pin out of a Crankbrothers pedal or damaged any threads.
Now you are ready to go and enjoy the invisible internal beauty of your beaten up pedals. Below I have added Crankbrothers' excellent video of this process.
Below you'll find an excellent video on this topic by our friend Sebastien Salvant.


Comments
helpimabug
4 months ago
Always appreciate the rebuild articles! I think they got it right with the chromoly spindle, inboard bushing design for pedals because they’re almost indestructible and require very little maintenance.
FYI, those pedal pins are just m4 setscrews, so you could get almost any length you want from a fastener supplier (get stainless steel unless you’re up on your tetanus shots).
I’ve always found the easiest way to remove them is with vice grips, jaws straight down and twist them out.
Reply
Cam McRae
4 months ago
I should stock up on some set screws. Excellent tip. Any supplier recommendations? I guess Aliexpress might work. Yep. Just bought 60 m4X12 pins for 19.02 CAD with shipping. They are brass though and may be too soft? We’ll see I guess
I might have tried vice grips or even channel locks but there wasn’t nearly enough protrusion to get any purchase. There was just barely enough for a viable slot on one of them.
Reply
helpimabug
4 months ago
For "things I couldn't find at the hardware store", my absolute favorite is McMaster-Carr (they have drawings of all their parts), but I don't think they'll ship to Canada unless you are a business order.
Grainger or Fastenal would be my recommendations.
I think these would be good, they are a flat point instead of cup point but shouldn't matter for this application. You're probably right about brass being too soft.
https://www.grainger.ca/en/product/SOCKET-SET-FLAT-PT-SSA2-M4-0-7X12-100-PK/p/EBP31KA36
Reply
XXX_er
4 months ago
all the pins were completely shot in my chesters after only a season so on the next pair instead of gradually trashing all the pins on both sides of a pedal I took the pins out of one side. So I do have to flip them around to stand on the pin side but 2 season later the pins are like new and if any get trashed I got the whole nuther set I took out
Reply
jdt
4 months ago
Biking for 40 years. I've never rebuilt a single set of pedals. Rode some of the same pedals for over 10 years. Wonder if this is something I should be doing a little more often.
Reply
Cam McRae
4 months ago
I'm not sure how much of a performance benefit there is, but they certainly feel better and last longer if you take care of them. This also depends on what pedals you use. If they have cartridge bearings you can often run them into the ground without noticing, and then replace the bearings and have them spin as good as new.
If you have bushings, like these, they will rattle a little sooner and start to degrade more quickly if you don't deal with them. I'm sure lots of riders just replace their pedals when they are trashed and many pedals aren't easily brought back from the dead, unlike these.
Reply
XXX_er
4 months ago
the pedal is one of THE most abused parts on the bike is my take, unless it really did suck I buy the same and then maybe I have spares
ferinstance my shimano spds the model with the resin or aluminium cage I somehow mannaged to wreck the correct side and so I have one of each on the same bike
Reply
XXX_er
4 months ago
"Wonder if this is something I should be doing a little more often."
Maybe ?
Back in the day I had rebuilt some metal pedal cuz i was a HW kinda guy but they were always kinda sloppy
Then I got a set of RF Chesters color matched to the maxxis everything looked like shit in only a 7 month season, I could have got the knock off but i wondered would those fookers still have been flipping around so good as the RF product so I got another pair of Chesters and forget the matchey matchey shit ... this time in black
Reply
Please log in to leave a comment.