Should you wrap your new frame?
Wrapping your Ride for Posterity (and resale!)
Was it always like this? I seem to notice riders passionately declaring their feelings about their bikes, online and in person, more than ever. Dudes seem to refer to their bike as 'my baby' alarmingly frequently and both men and women give their bikes names; Clyde, Gringo, Bob, Sexy Susan, Ron Jeremy... I'm not here to judge, only to point out that the affection is real. The experiences our bikes bring, provoke feelings we should never have for inanimate objects. And I'm as guilty as anyone. Except for the names part. Boringly my bikes go by their make or model names.
A good clean is step one - even for a new frame. A lint-free cloth and some isopropyl alcohol will do unless your frame has already seen action.
Feelings of this magnitude, accompanied by large expenditures, make it easy to justify a little insurance, even if it's mostly cosmetic. I loved the idea of Ride Wrap and similar products when I first heard about them. Having your frame protected has many advantages; it's shielded from rub wear that can cut through paint and into aluminum or carbon, kept safe from shuttle wounds caused by your buddy's bike or rough roads, and of course a plastic film can stave off paint injury from flying rocks and crashes. This should mean, barring calamity, your bike will continue to look fresh and new for years.
Seeing this partially completed Trek made me excited to see the SB150 frame wrapped.
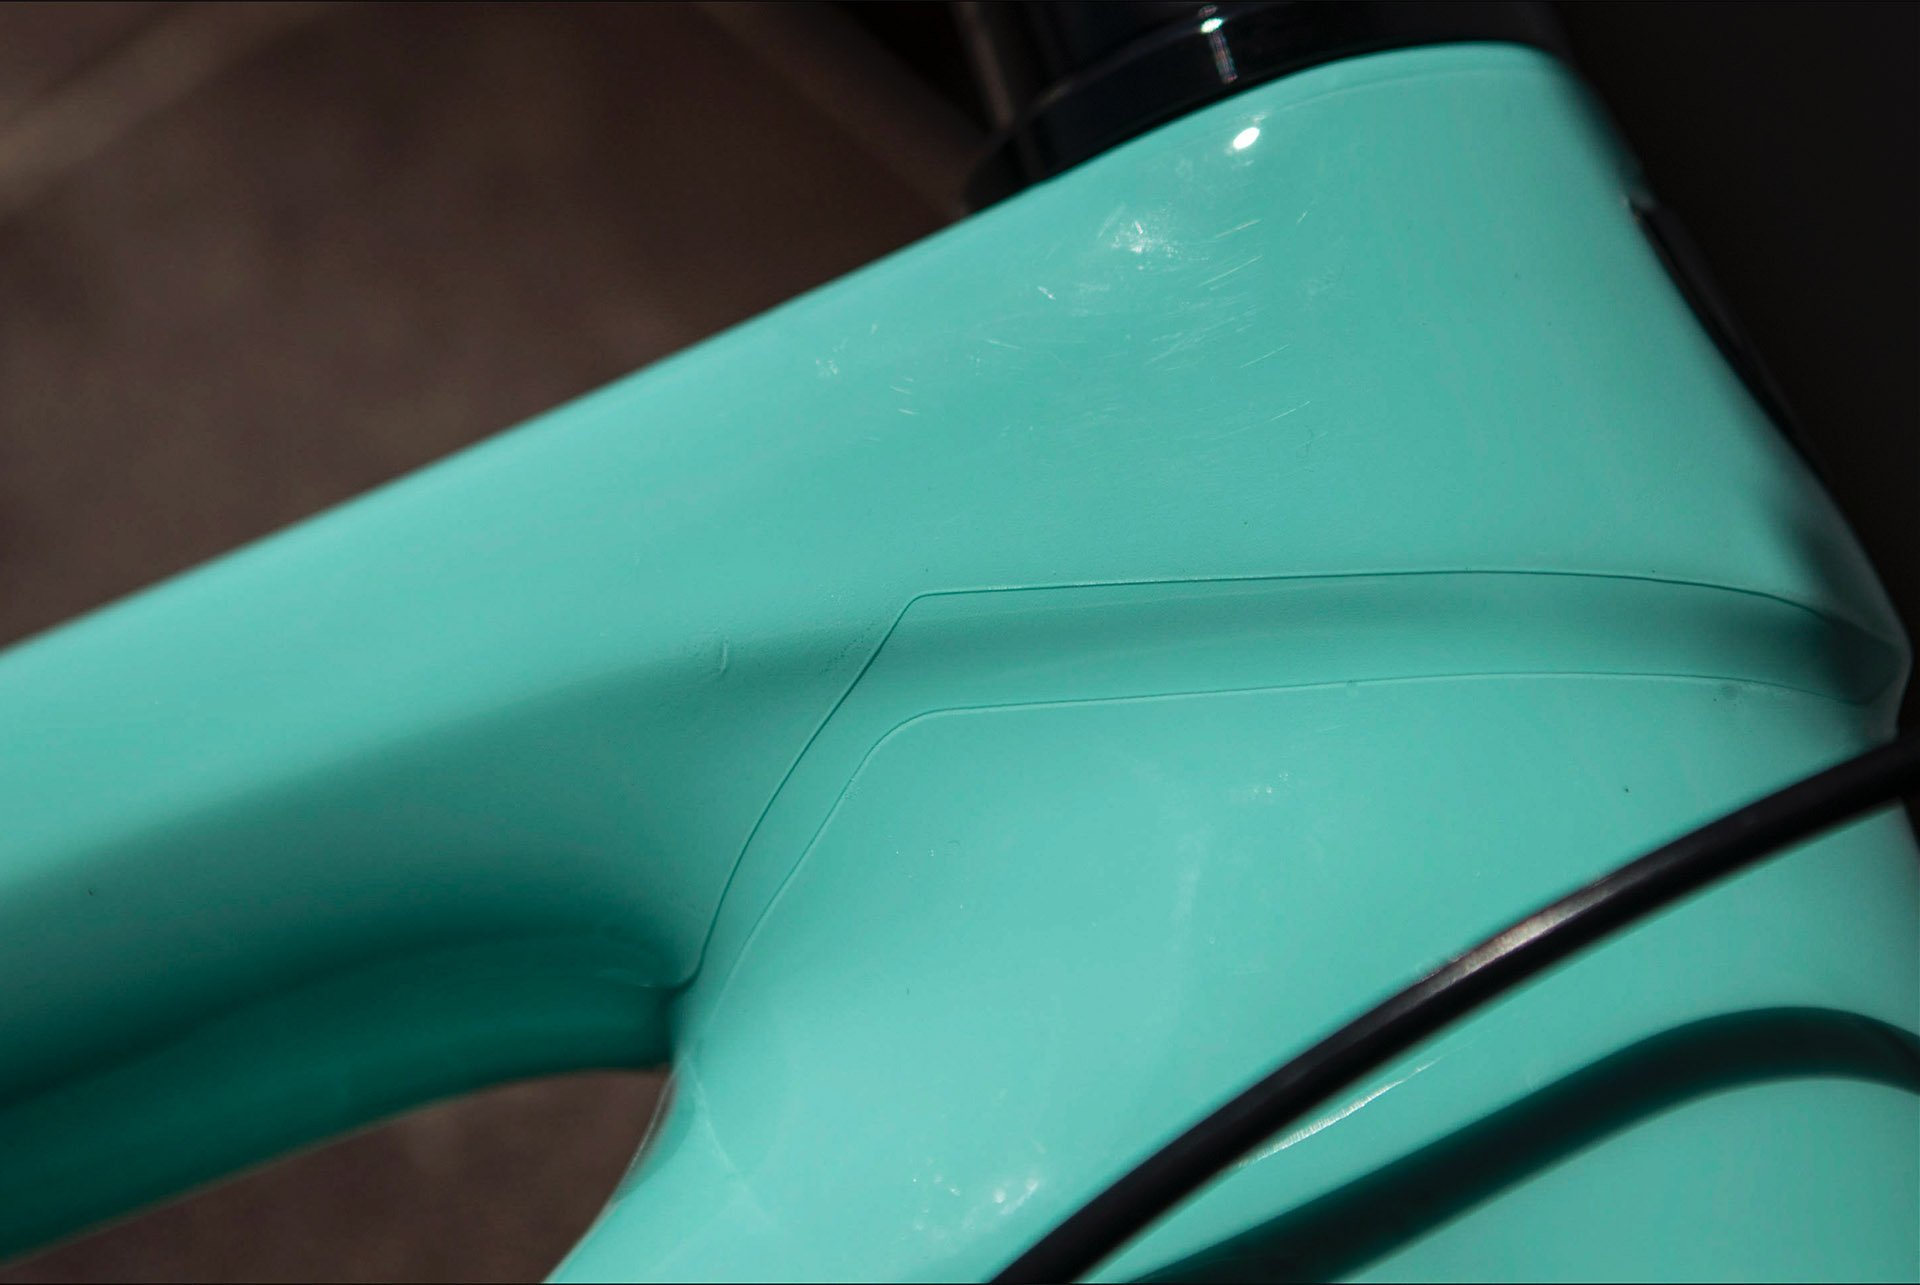
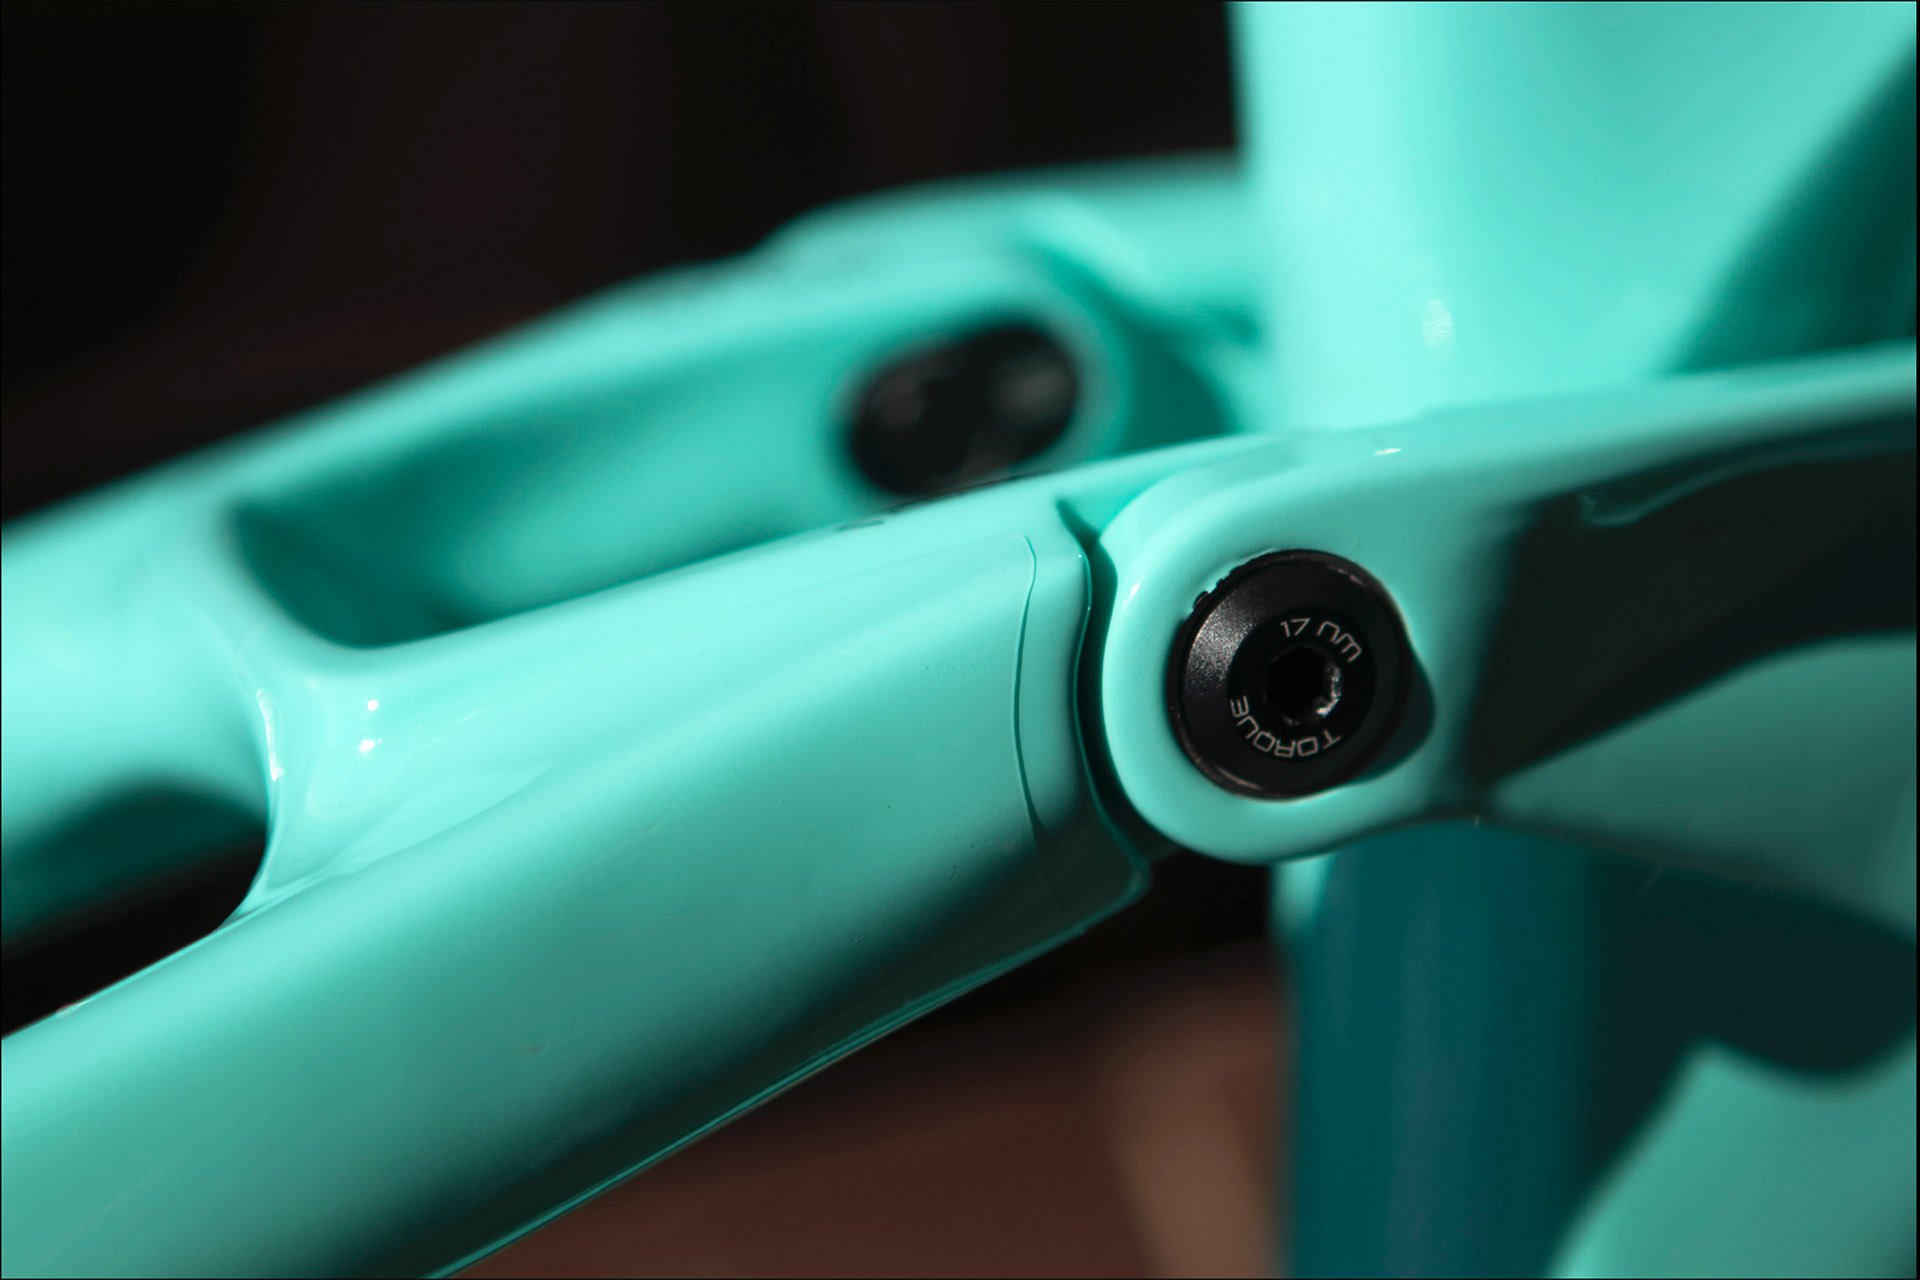
Those gaps...
You may not care how your bike looks, but you may care about resale value, and this is a huge benefit. A bike with dull scuffed and chipped paint may not run any worse than one that remains shiny and blemish free, but it will certainly be harder to sell for a good price. Dentists don't like paint chips.
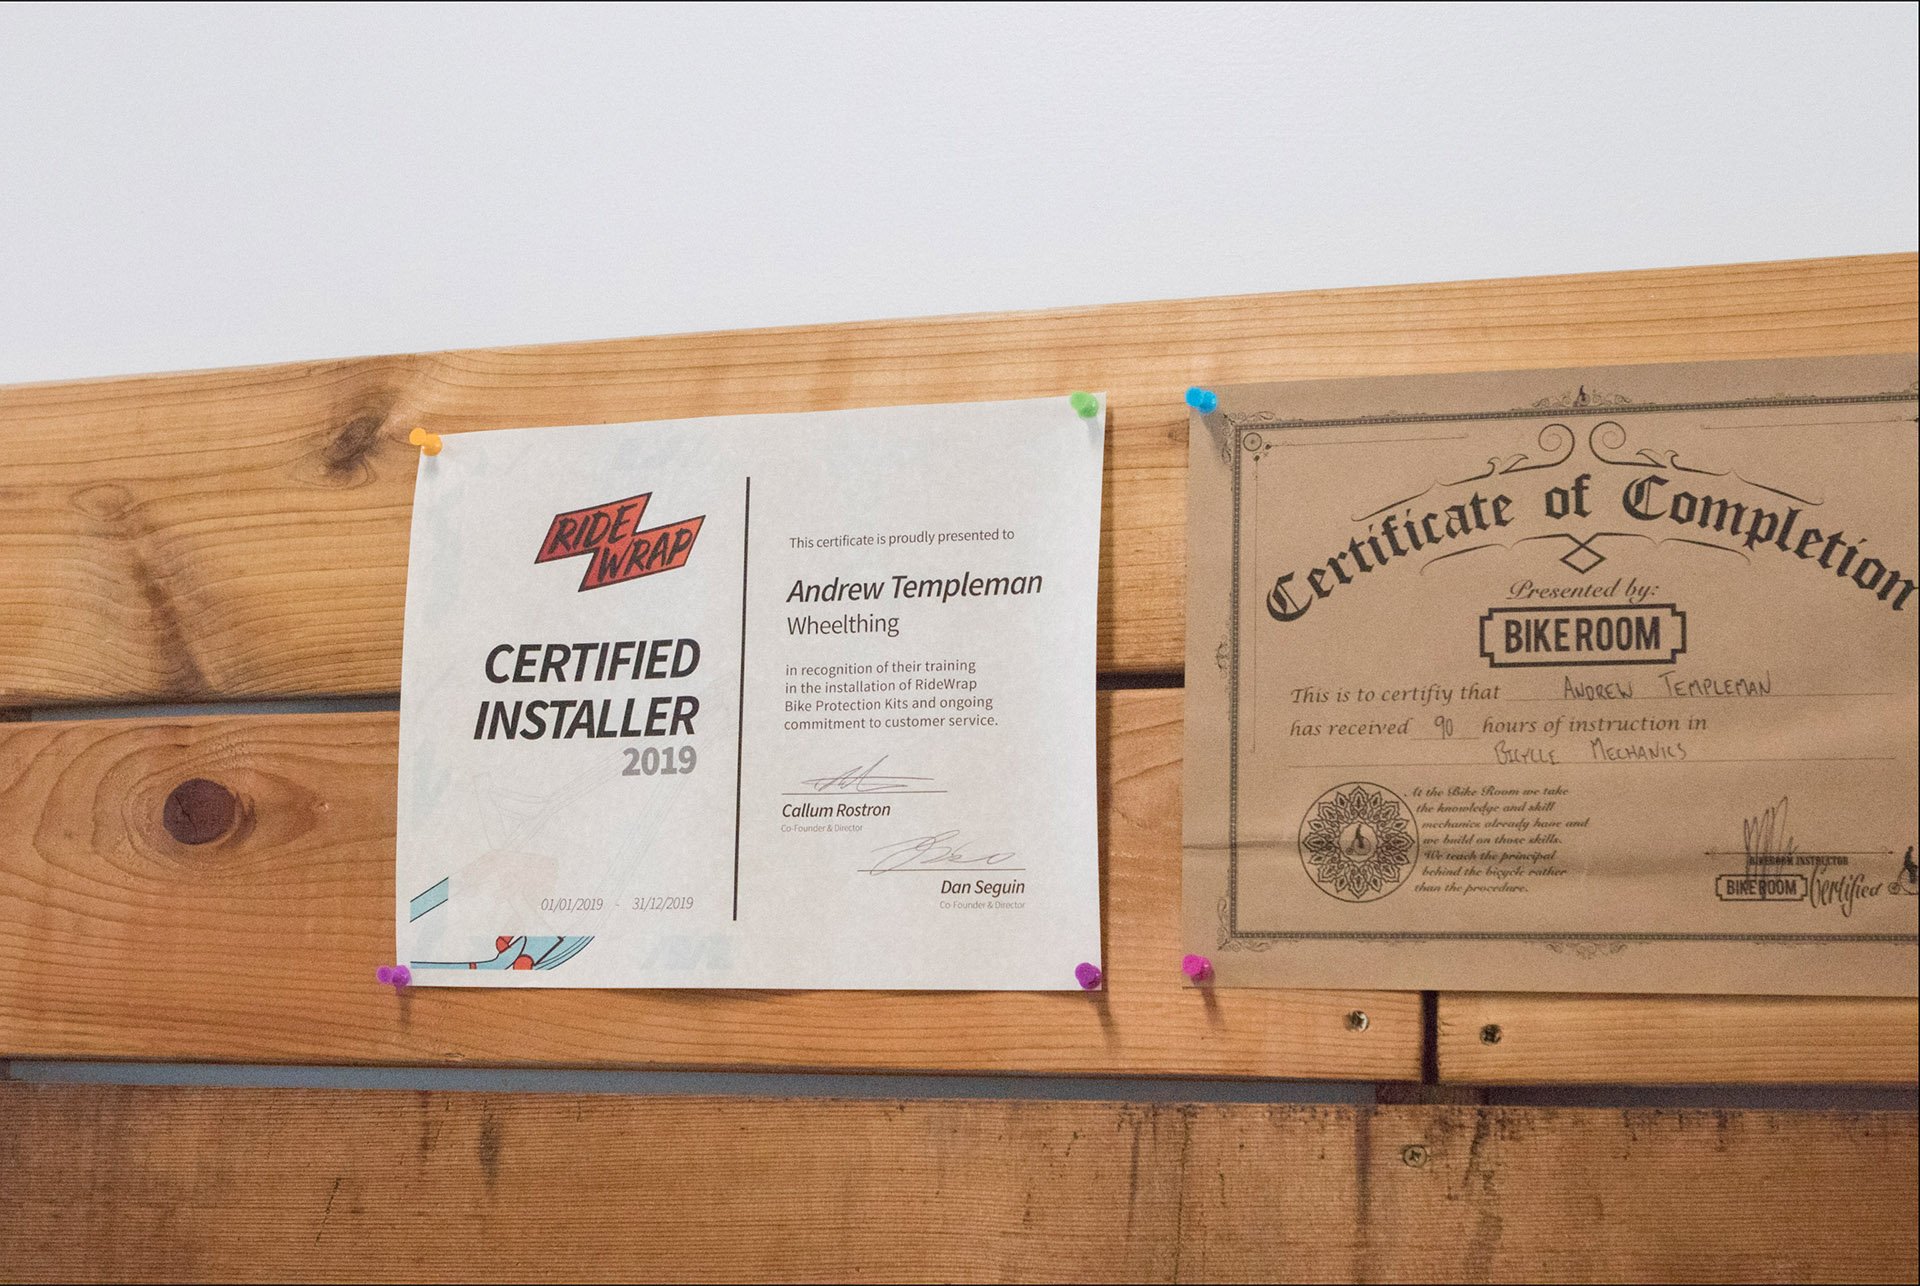
Certified!
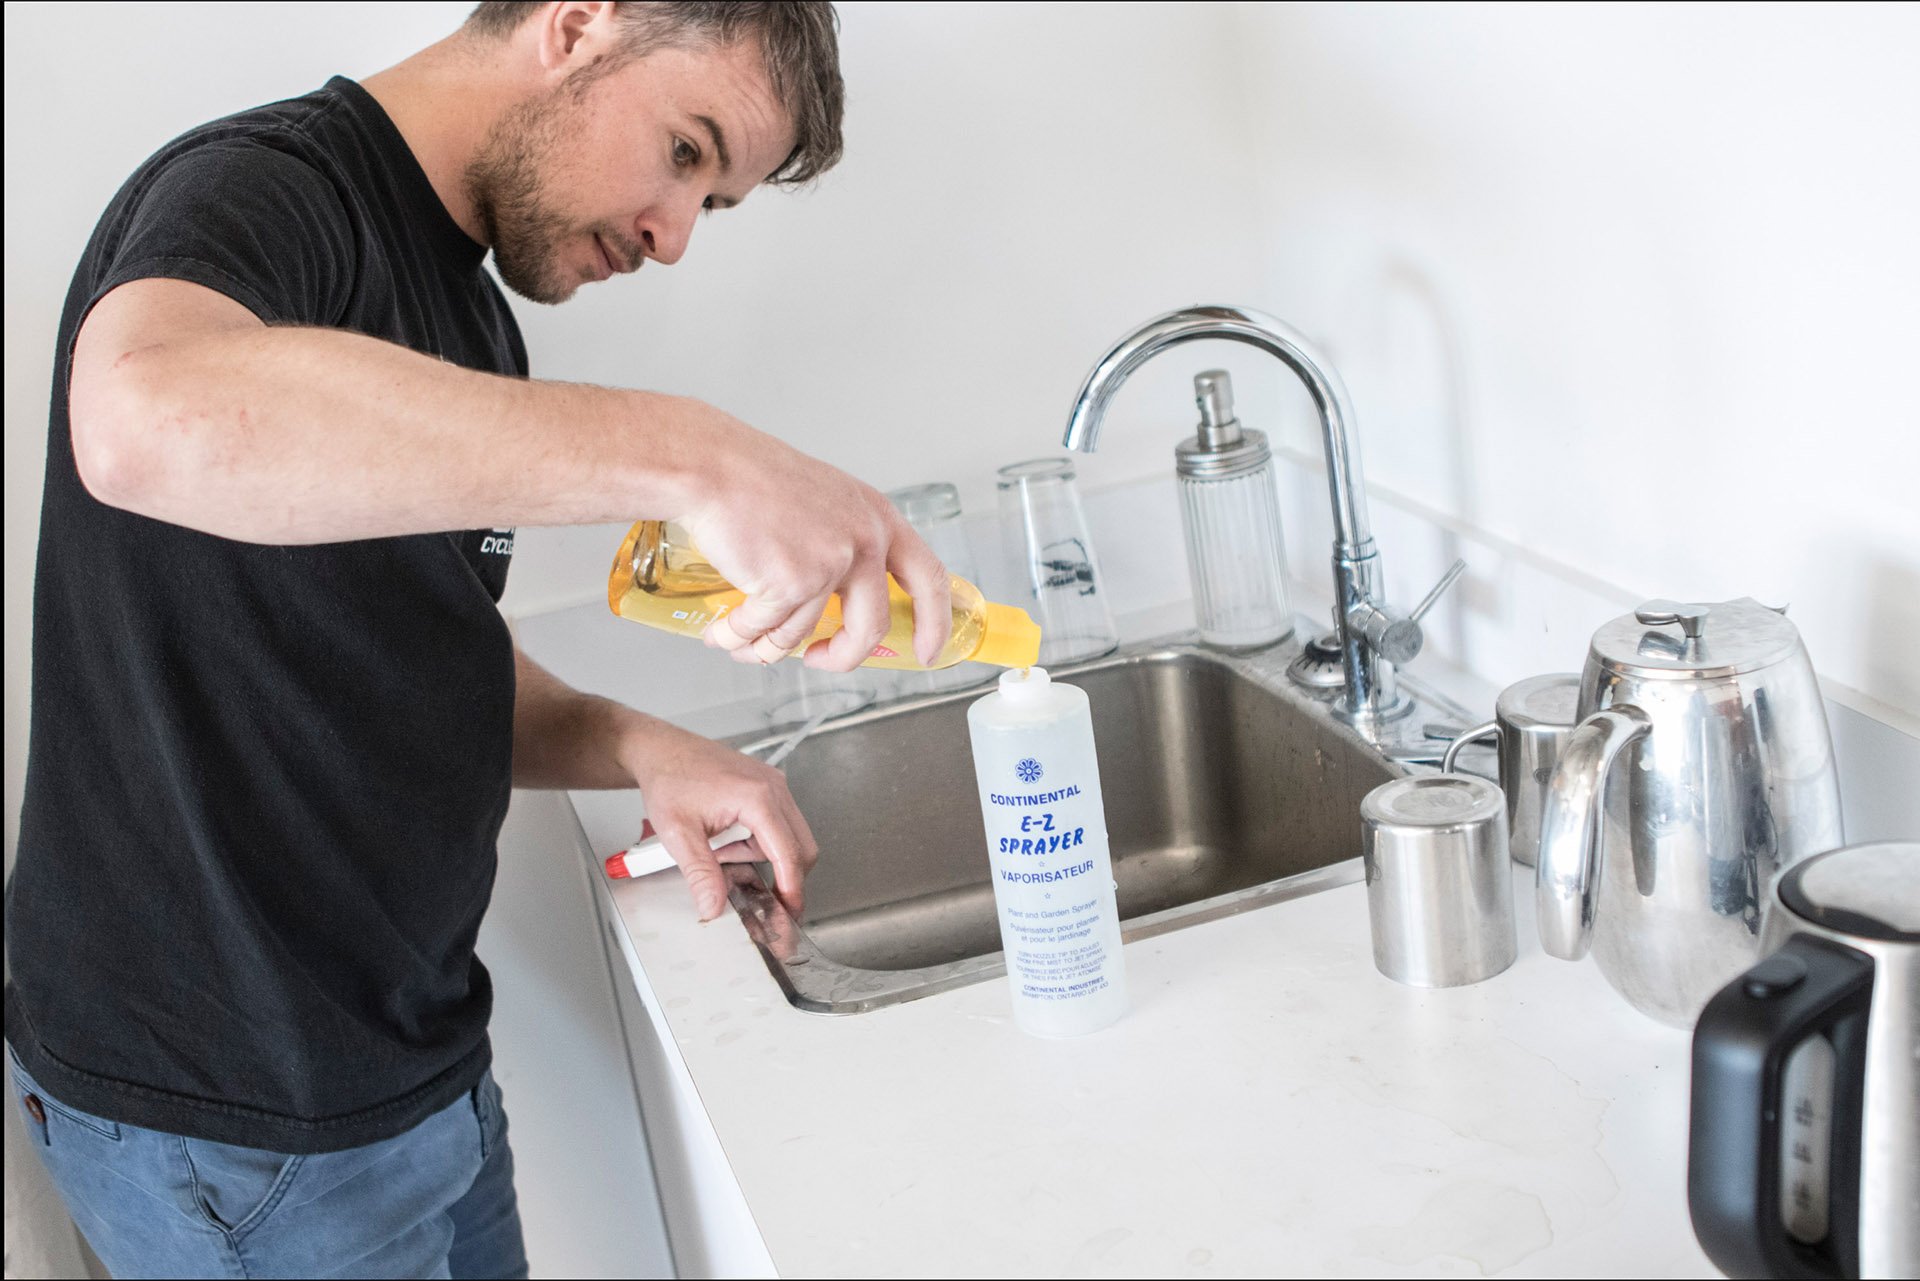
Prep involves lots of spraying of this special recipe. 750ml of water and one drop of baby shampoo.
I bought some 3M Scotchguard automotive film for my last new frame and cut it up myself. It worked okay, and the film is thick and strong, but a close look reveals some nasty folds and uneven cuts. And yet even my hack job gives me a warm glow. Knowing I'm not dulling my paint when I wipe off my bike after a ride, and that it's relatively safe in the back of my truck with four other bikes and from heel rub, is unreasonably satisfying. I actually appreciate my bike more when it's wrapped.
This is the secret sauce, no divulging! - Callum Rostron of Ride Wrap
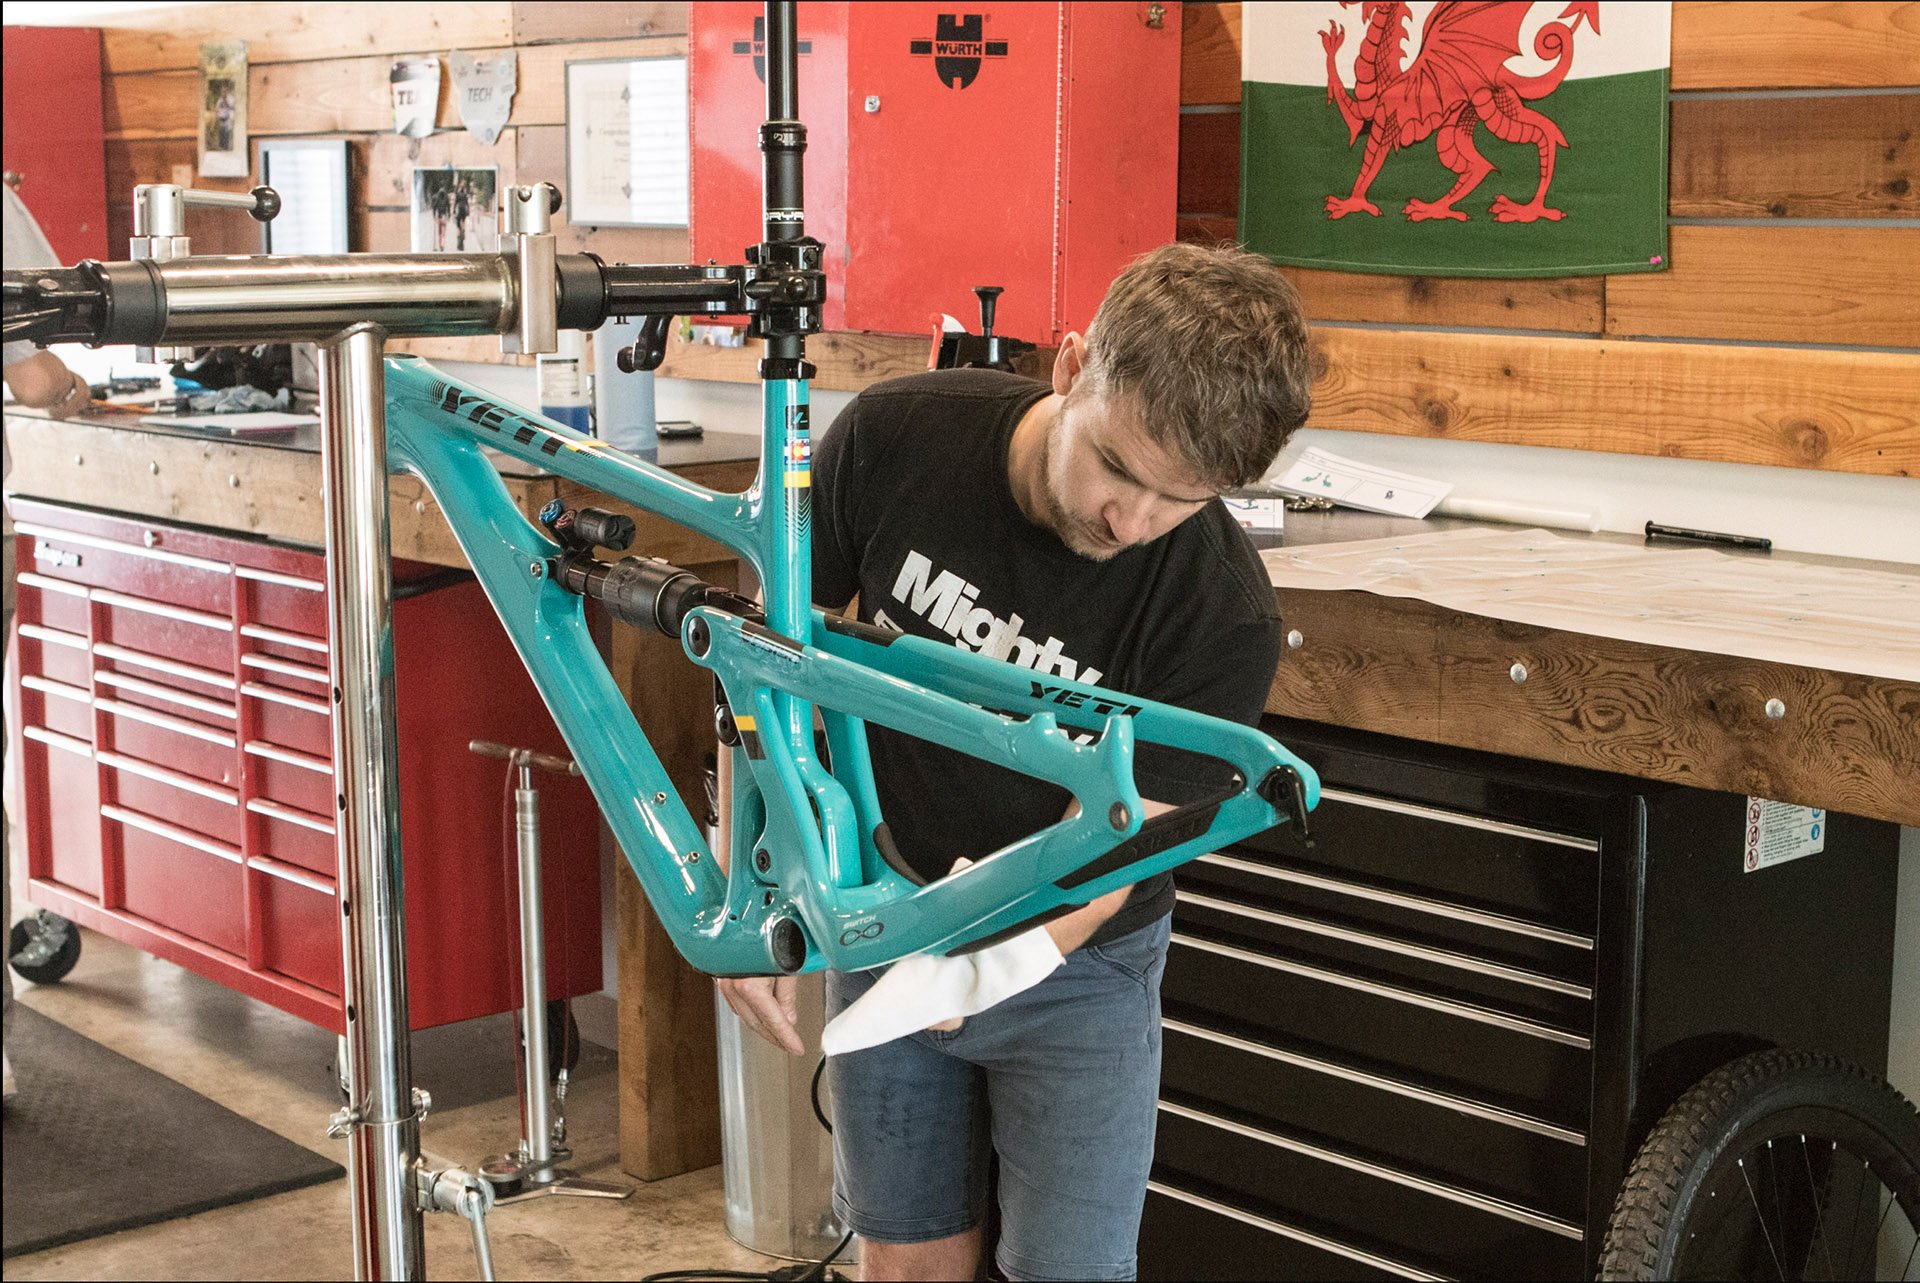
When a new test platform arrived, a Yeti SB150 frame, it only made sense to wrap it up with some help from Wheelthing, an authorized Ride Wrap dealer. When I rolled in Andy, Wheelthing's certified Ride Wrap installer, was working on another frame. Or rather he was working on a complete bike, having removed wheels and a few other bits so he could get at all the paint.
Before the first panel is applied, the spray must be aggressively shot at the frame first...
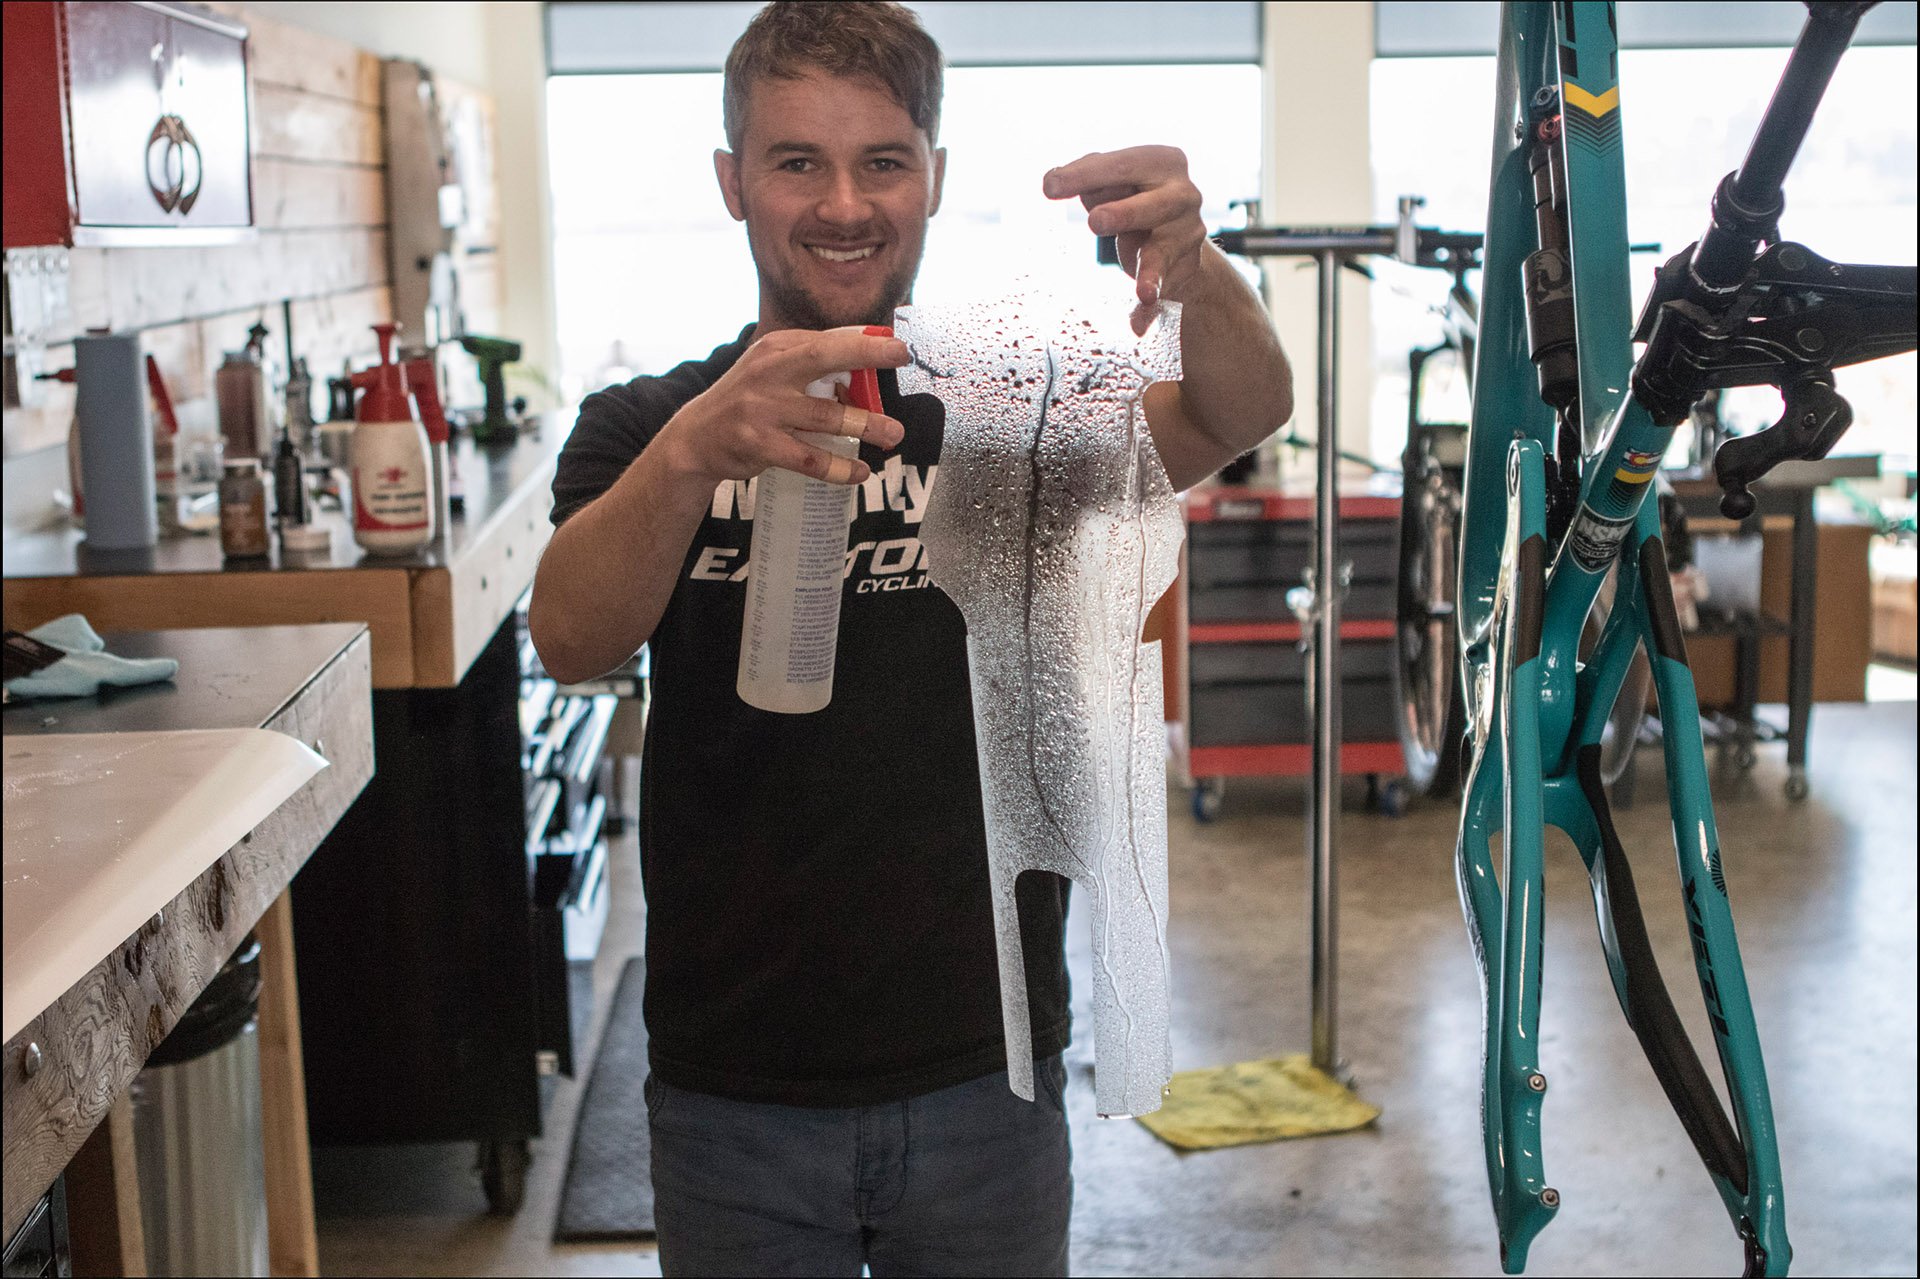
and then at the panel.
Job one was to clean my frame thoroughly, because even a fresh frame may have been groped by greasy hands. After that the huge template with all the numbered pieces of clear gloss film was laid out on Andy's workbench. I talked to Callum Rostrum of Ride Wrap and asked him how the templates are measured for each frame: "This is the secret sauce, no divulging! I can tell you we have a design team working incredibly hard to add new models and sizes daily. They use a technology system developed in-house that allows us to design kits fast, accurately, and with the highest coverage. This means that we have the fastest growing bike frame template database worldwide and its only accelerating. If we do not currently have a design for your frame drop us a request and we will likely have it in the works in the coming weeks."
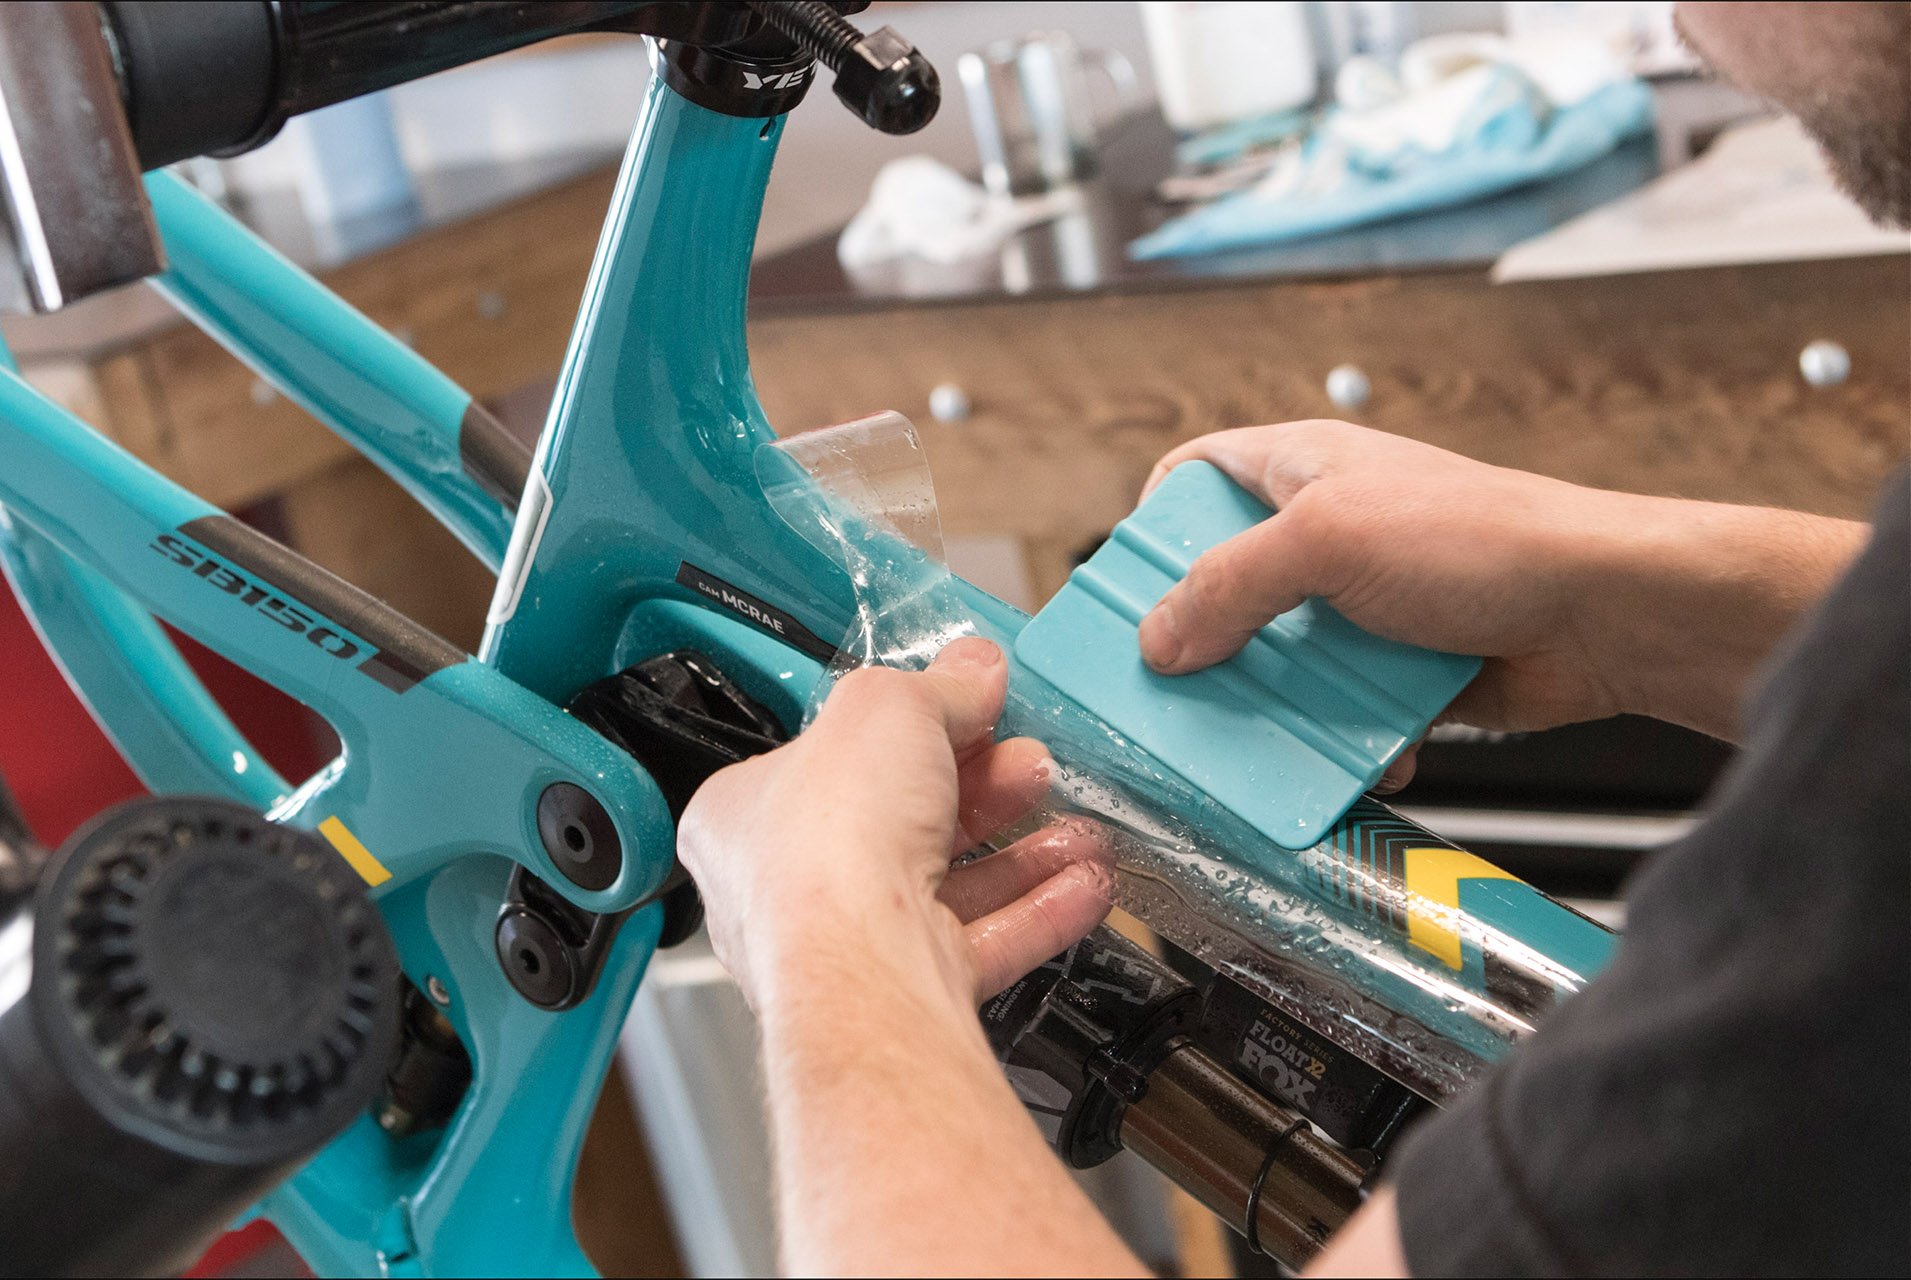
The squeegee is an essential part of the process, to remove bubbles and to squeeze out the liquid.
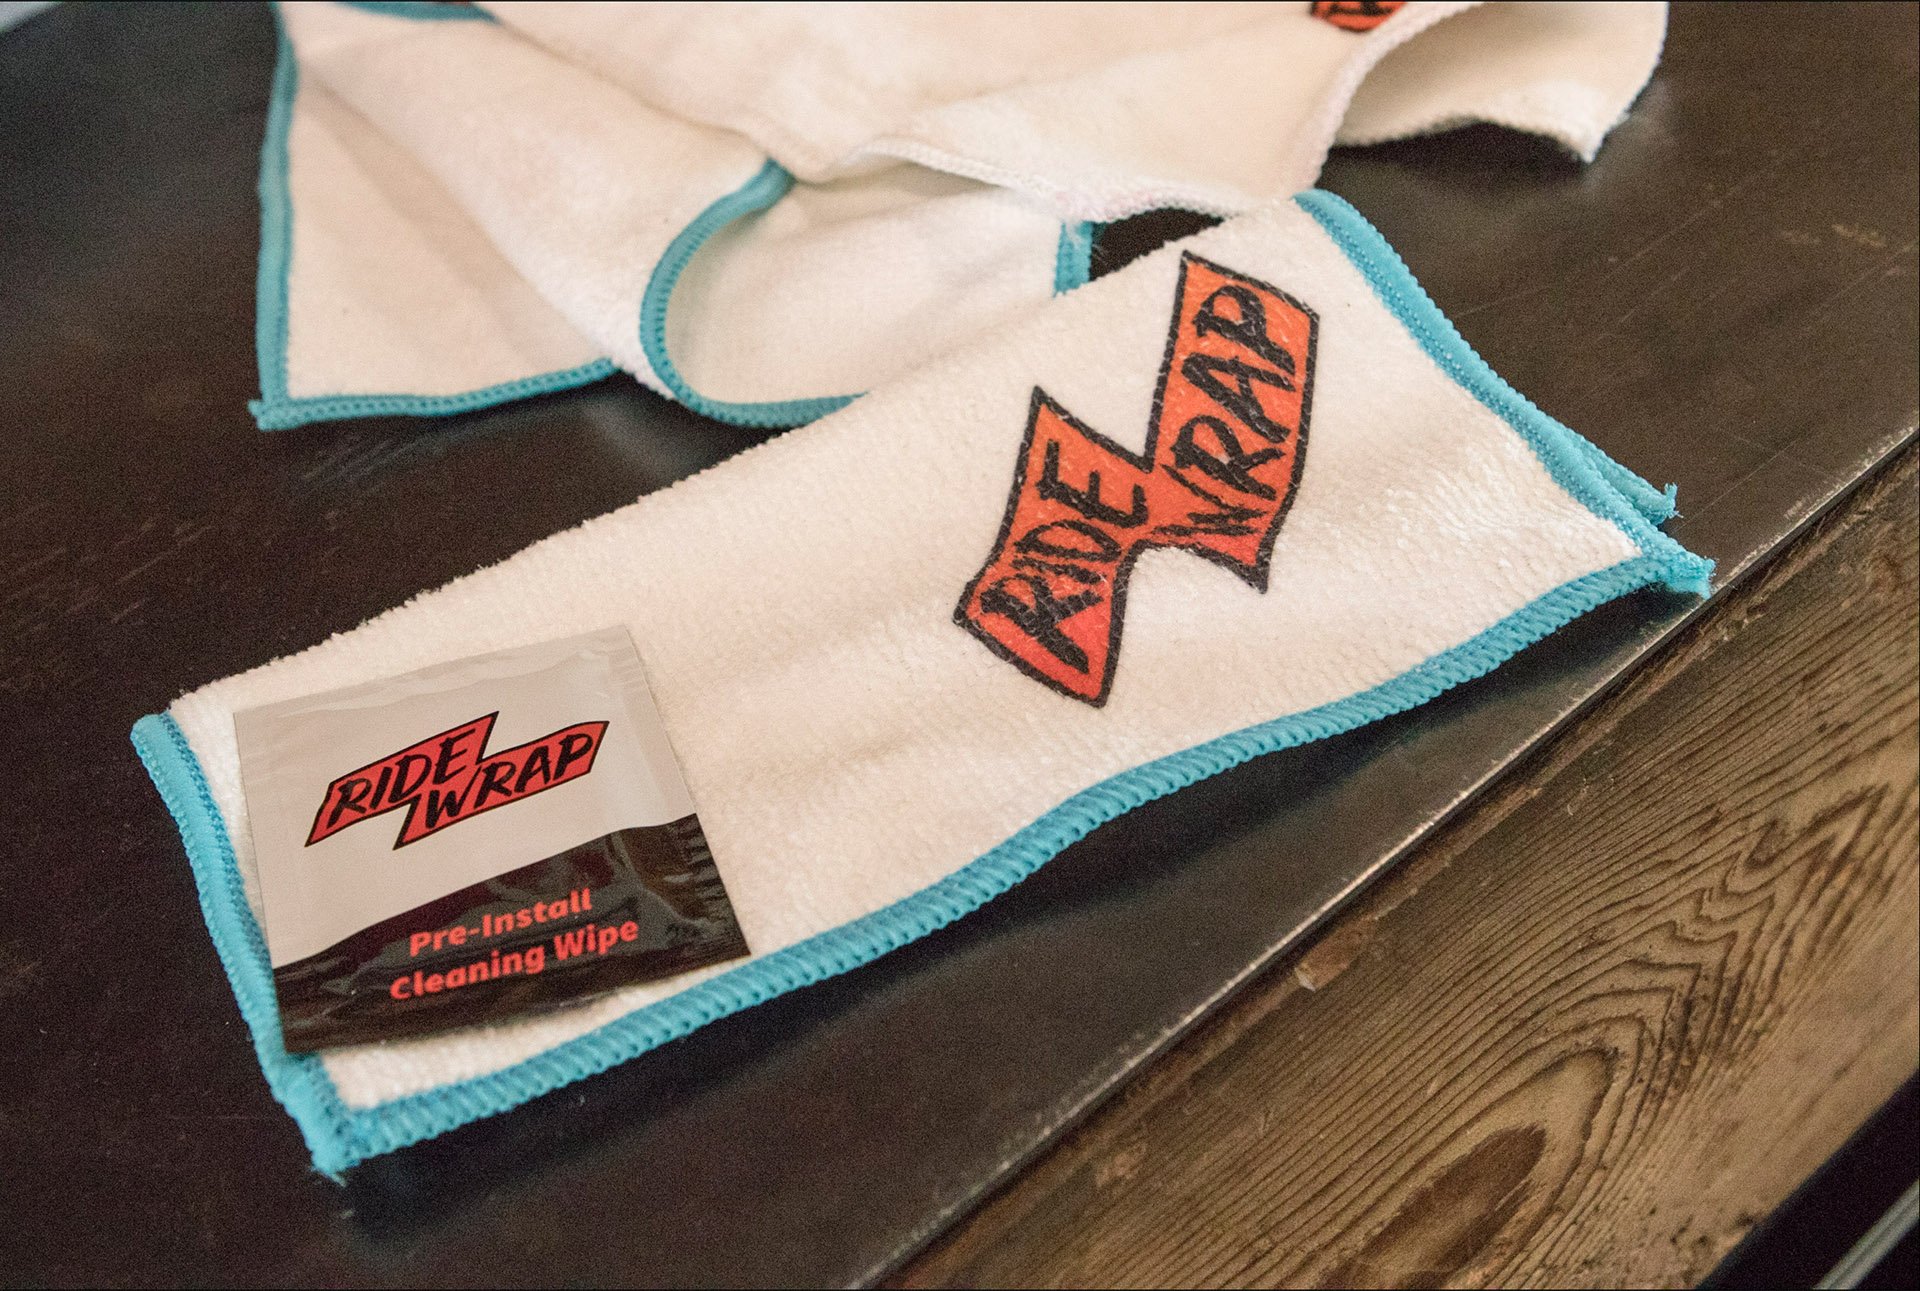
Including in the kit for DIY types is two different squeegees, an alcohol wipe and a lint free cloth.
I asked Callum how Ride Wrap got started; "I'm a stickler for keeping anything I own in great shape so I started installing protection film to my own bikes in the high wear areas, each time I got a new bike I would spend the time to make a better template then the previous bike, I was asked more and more to install protection on friends' bikes, I started to do a couple and the demand for this product/service became apparent. RideWrap was born."
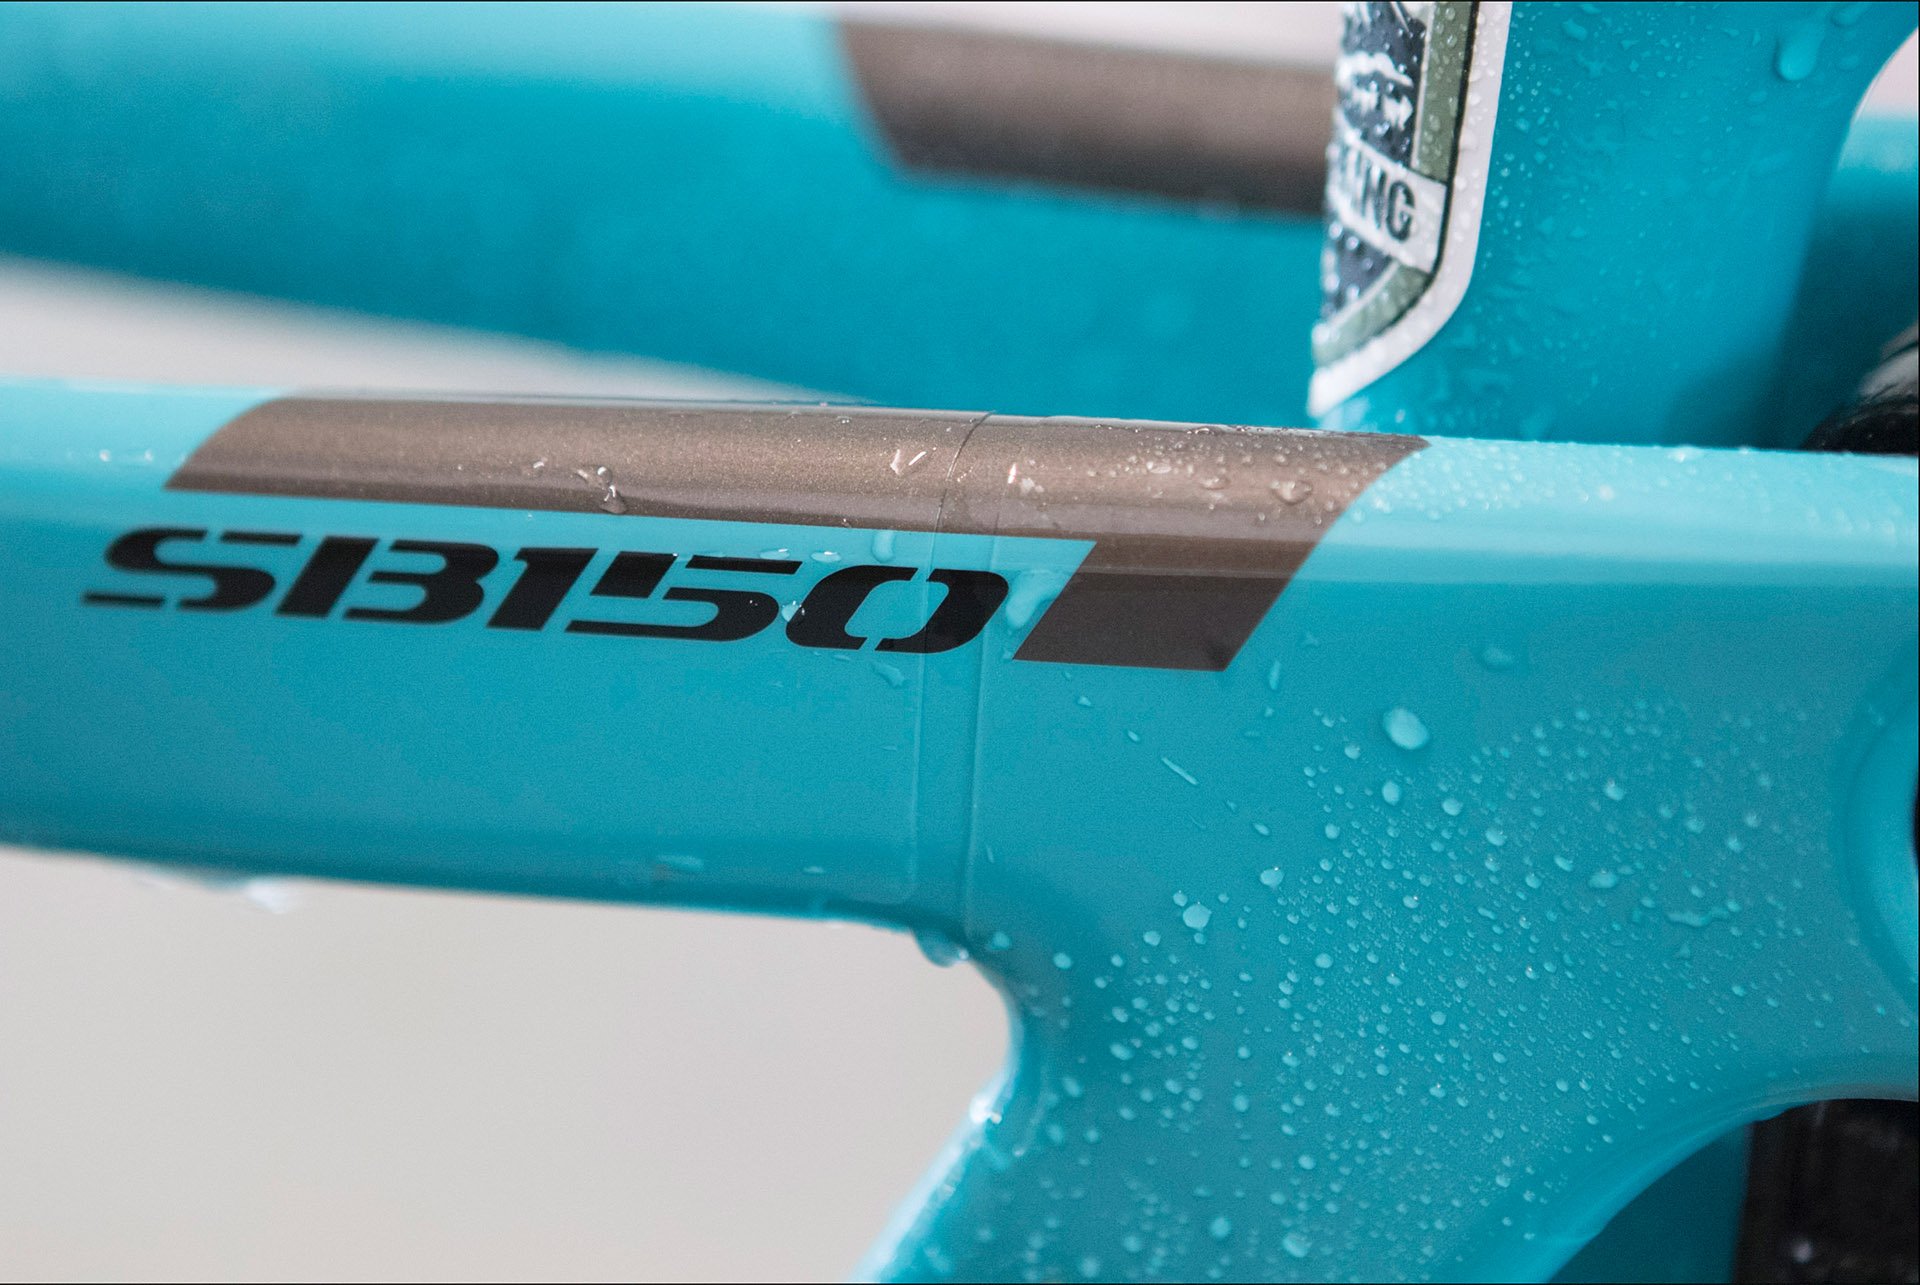
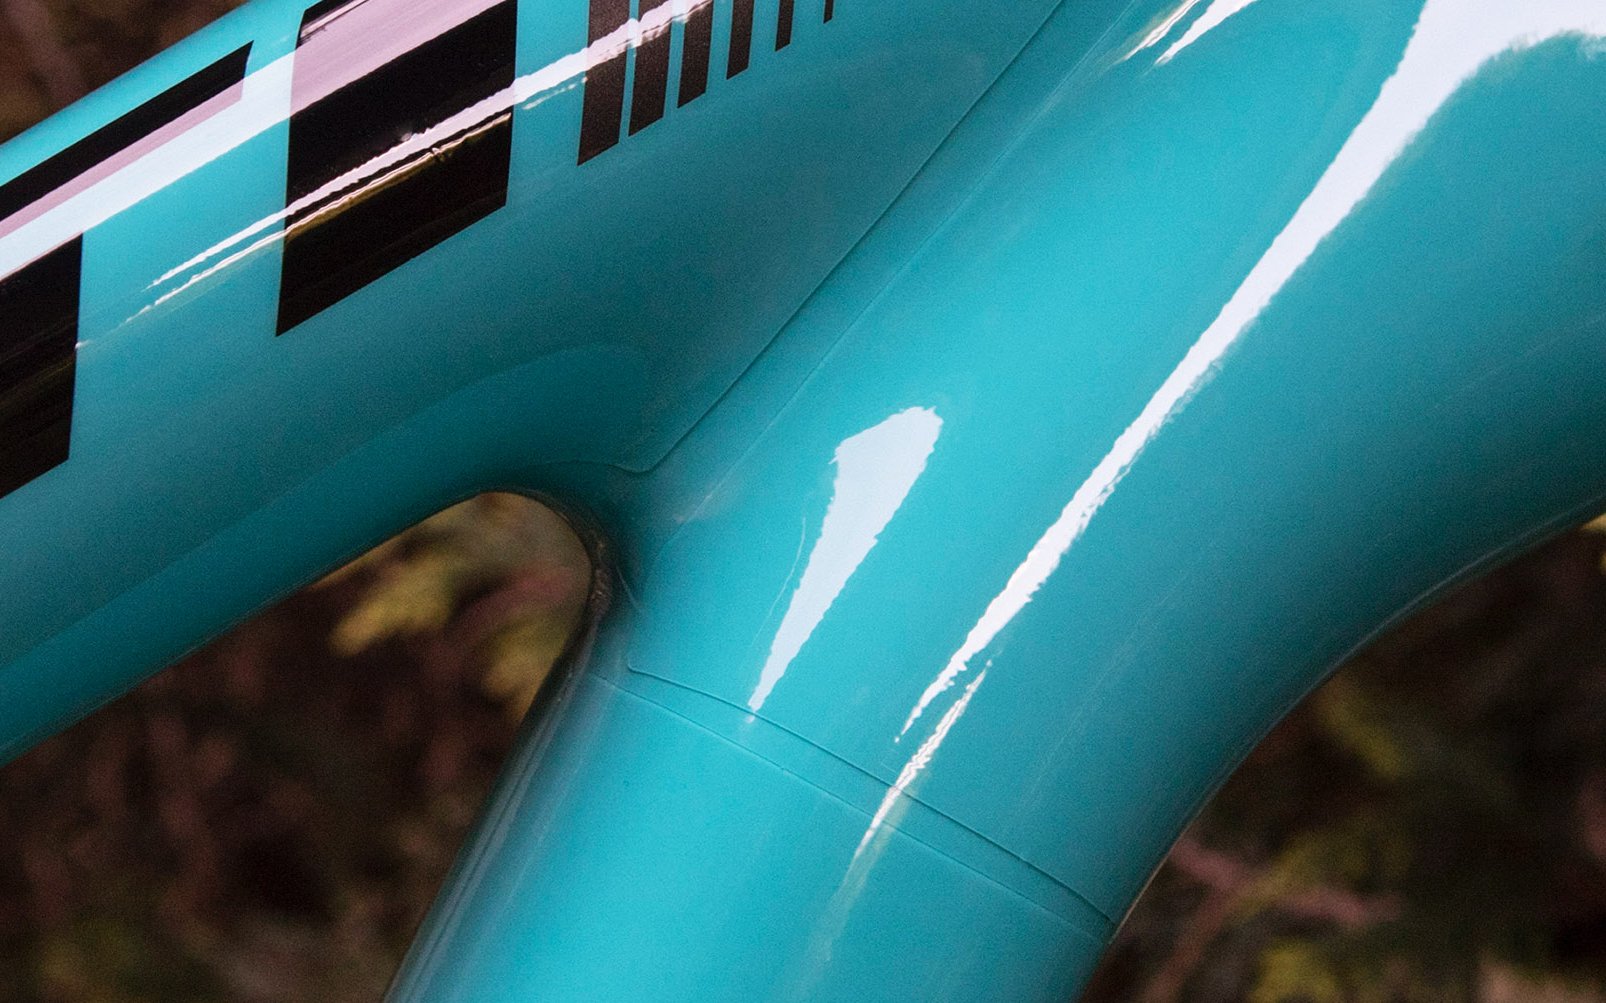
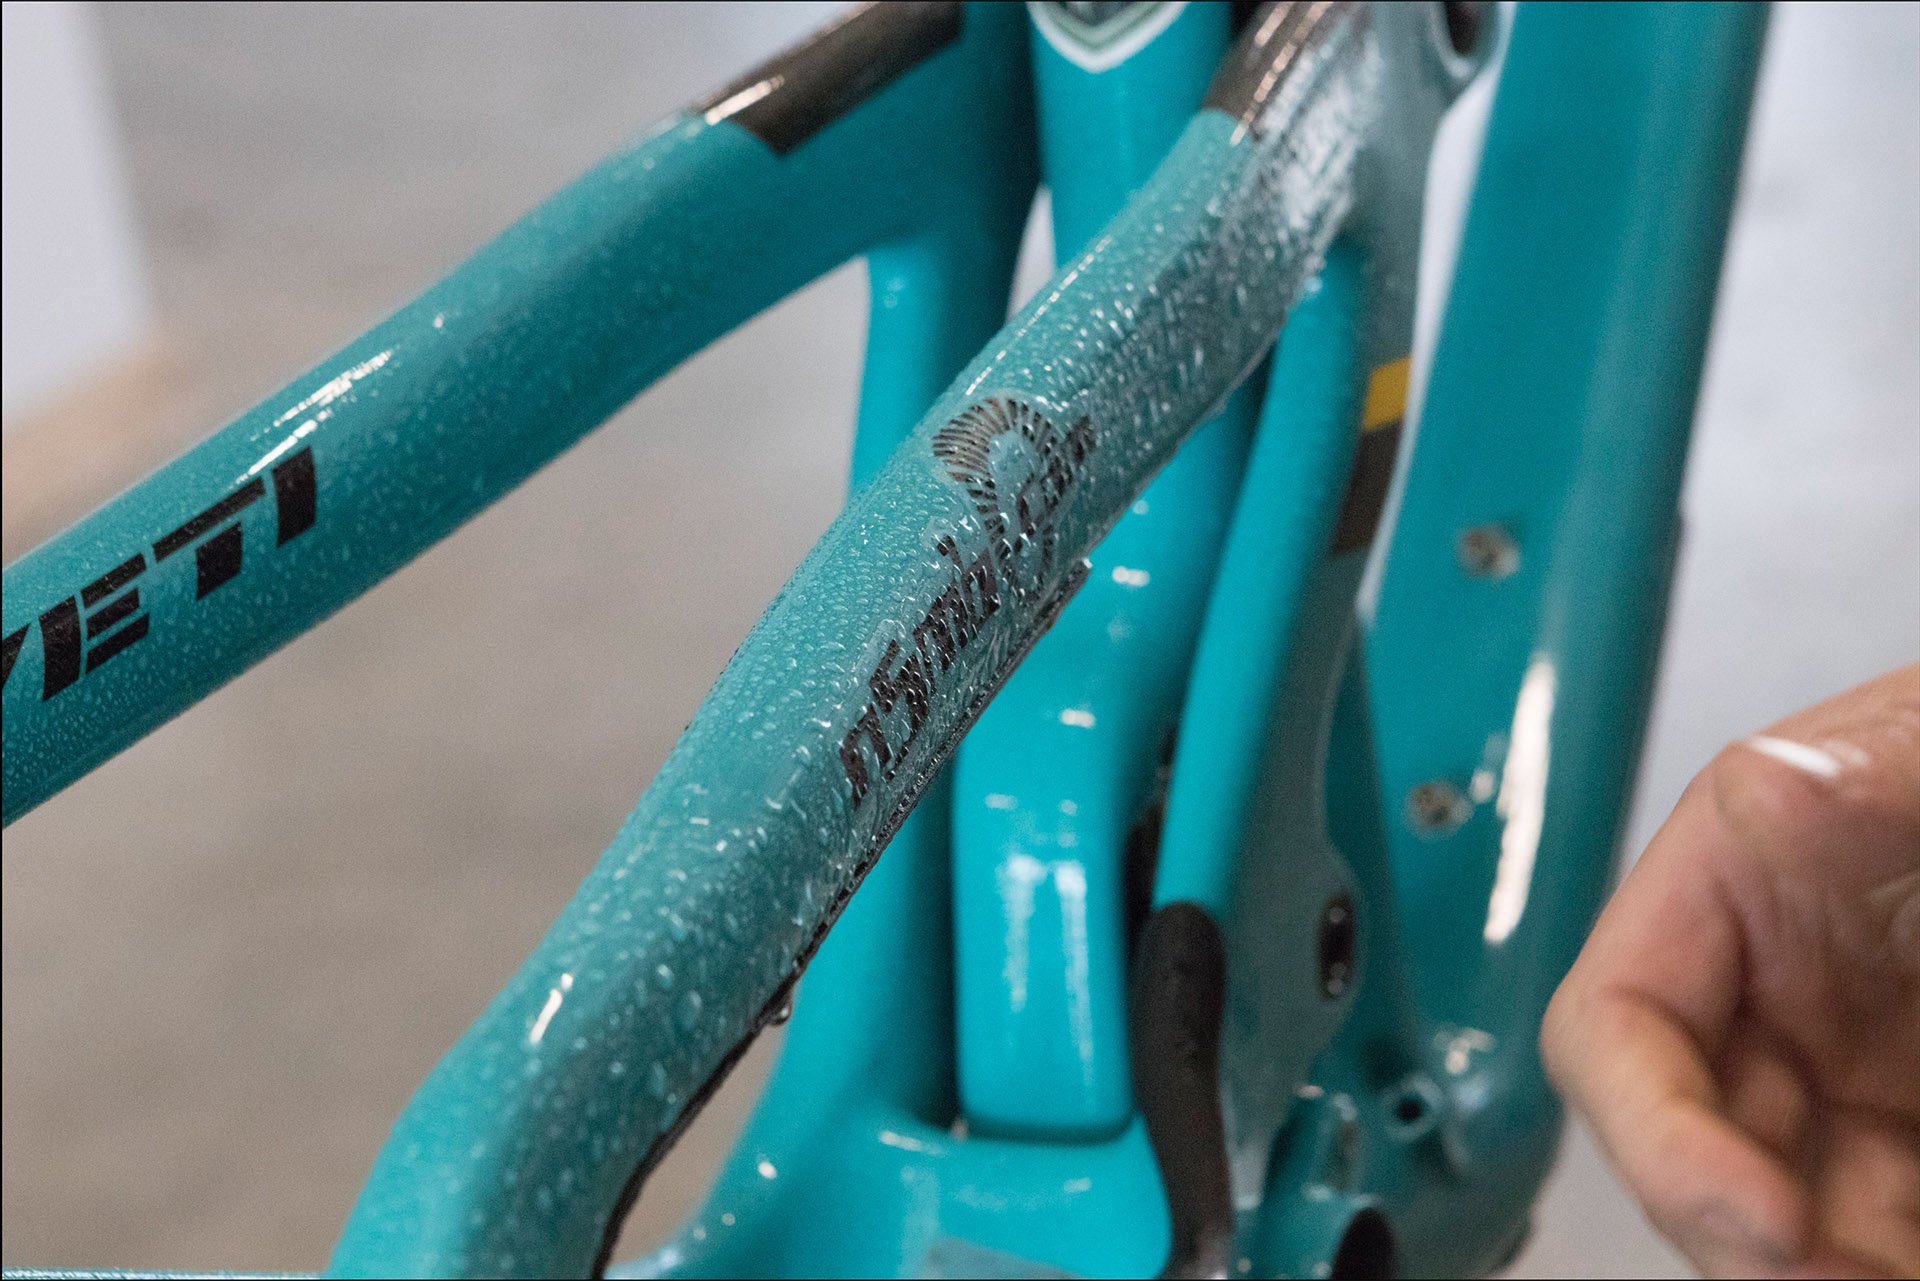
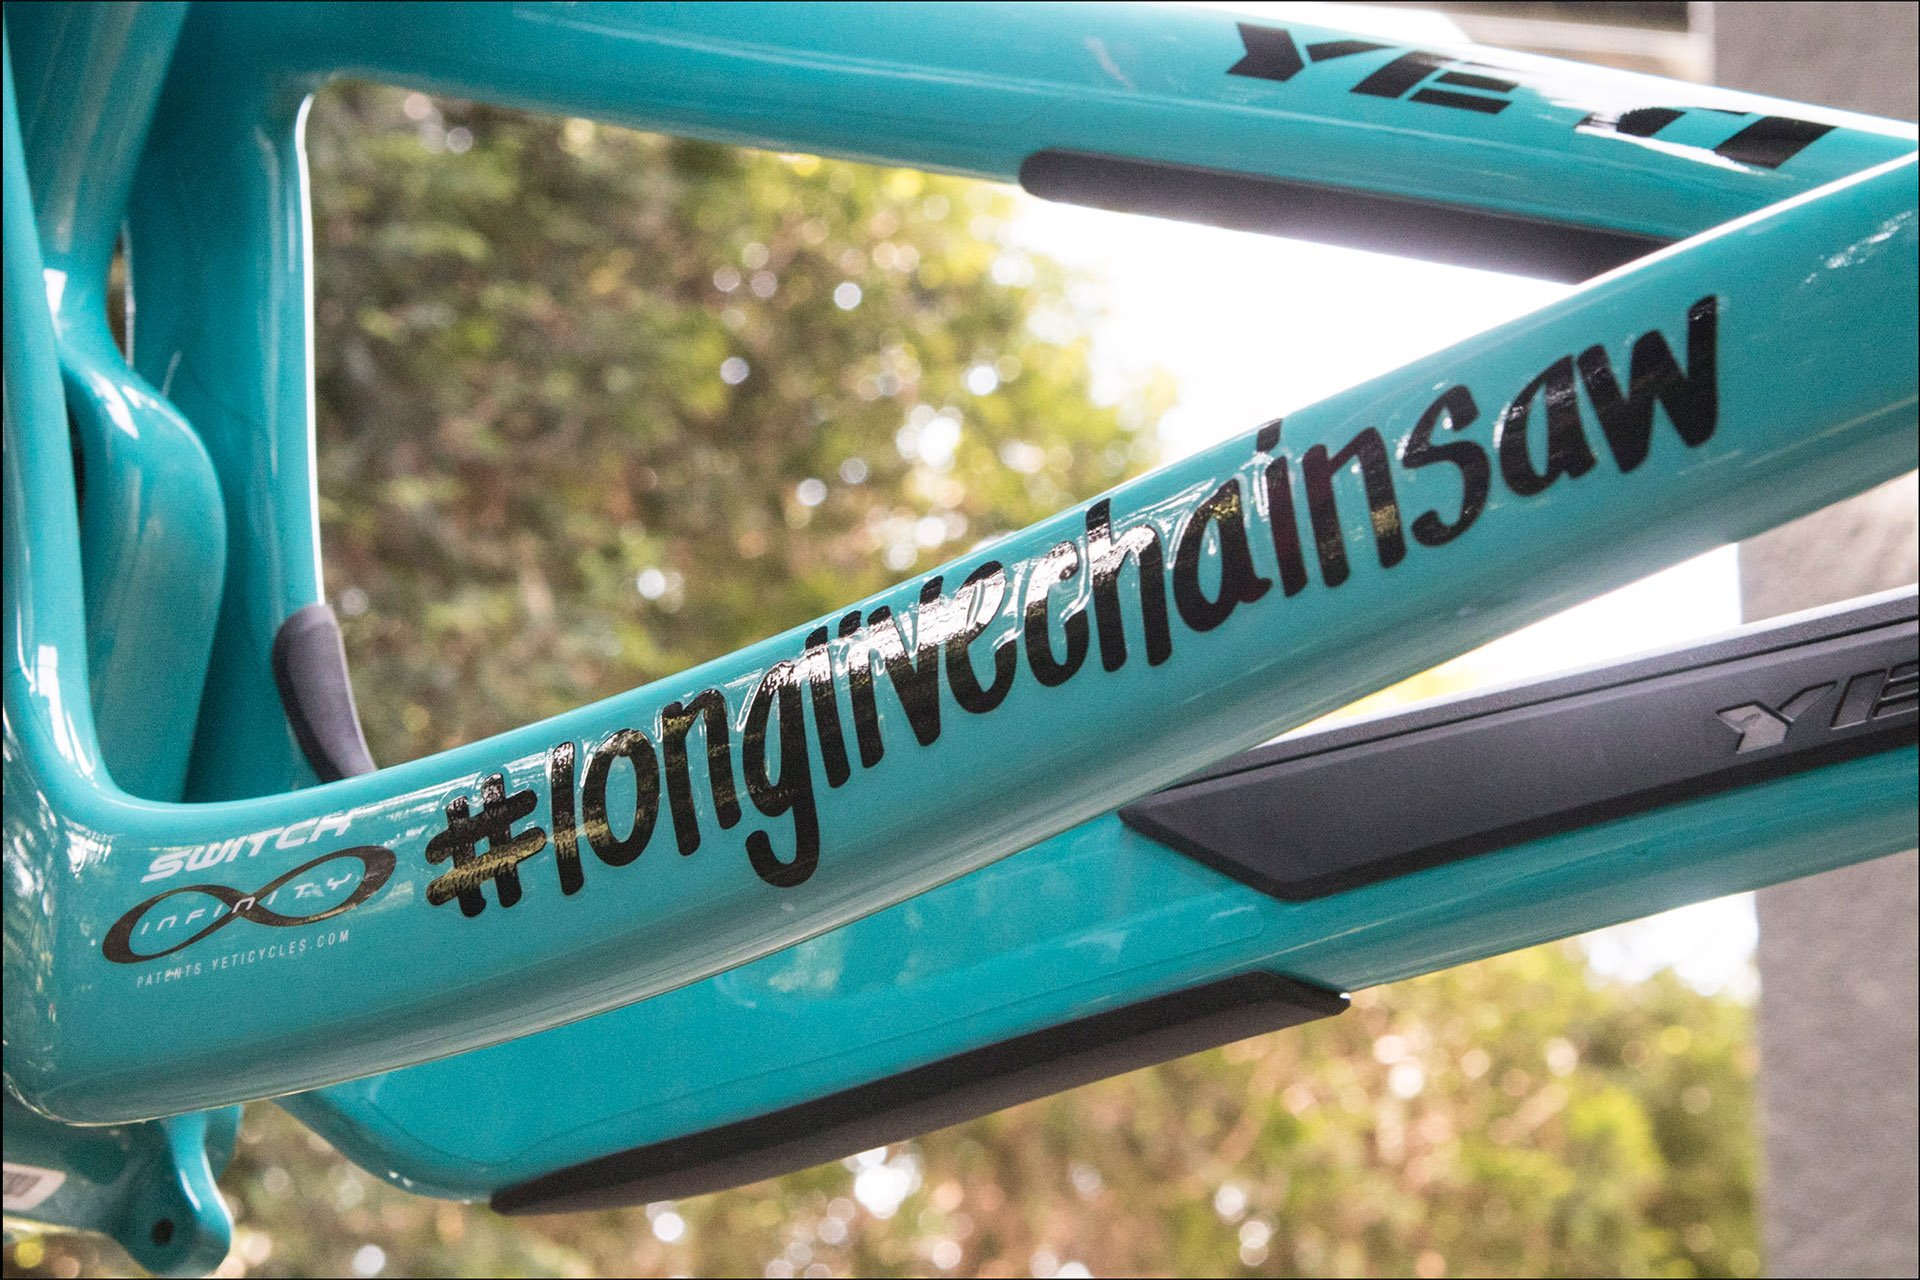
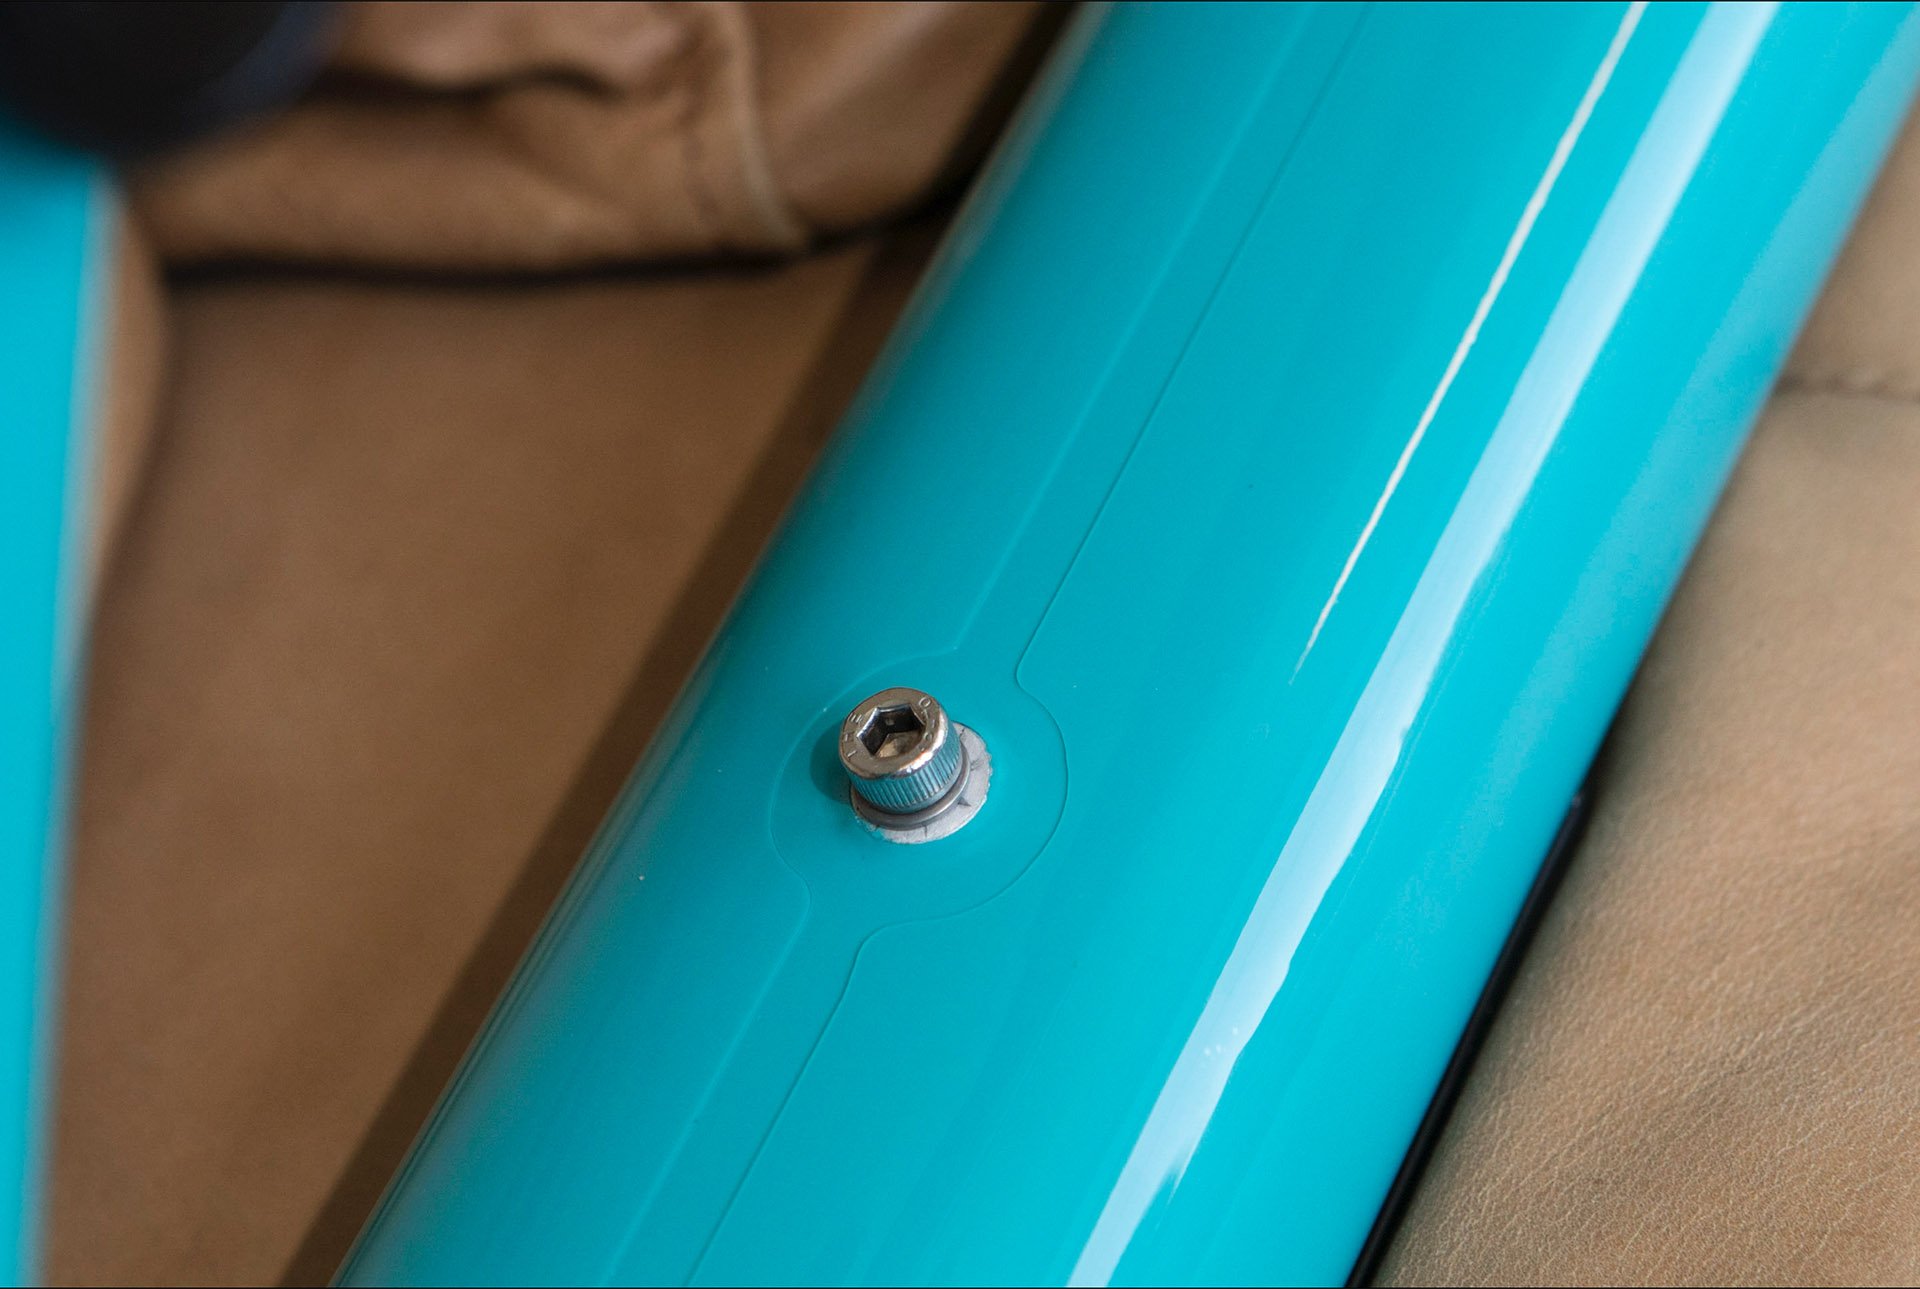
Freshly applied. The small gaps mean that the SB150 template covers 95% of the frame's surface.
Once everything was clean and dry, Andy applied a few stickers I wanted to have underneath the wrap. It can make getting bubbles out a little trickier, but having stickers below the film makes them look factory applied - and I wanted that. After that Andy prepared the secret solution; a 750ml squirt bottle of water with a single drop (one!) of Johnson's baby shampoo added. The solution is then sprayed generously on the frame and on the first panel to be installed. The liquid allows the panel to either be removed and reapplied or shifted slightly for the perfect fit. This is repeated for each panel. After that Andy was off to the races. To a marathon that is.
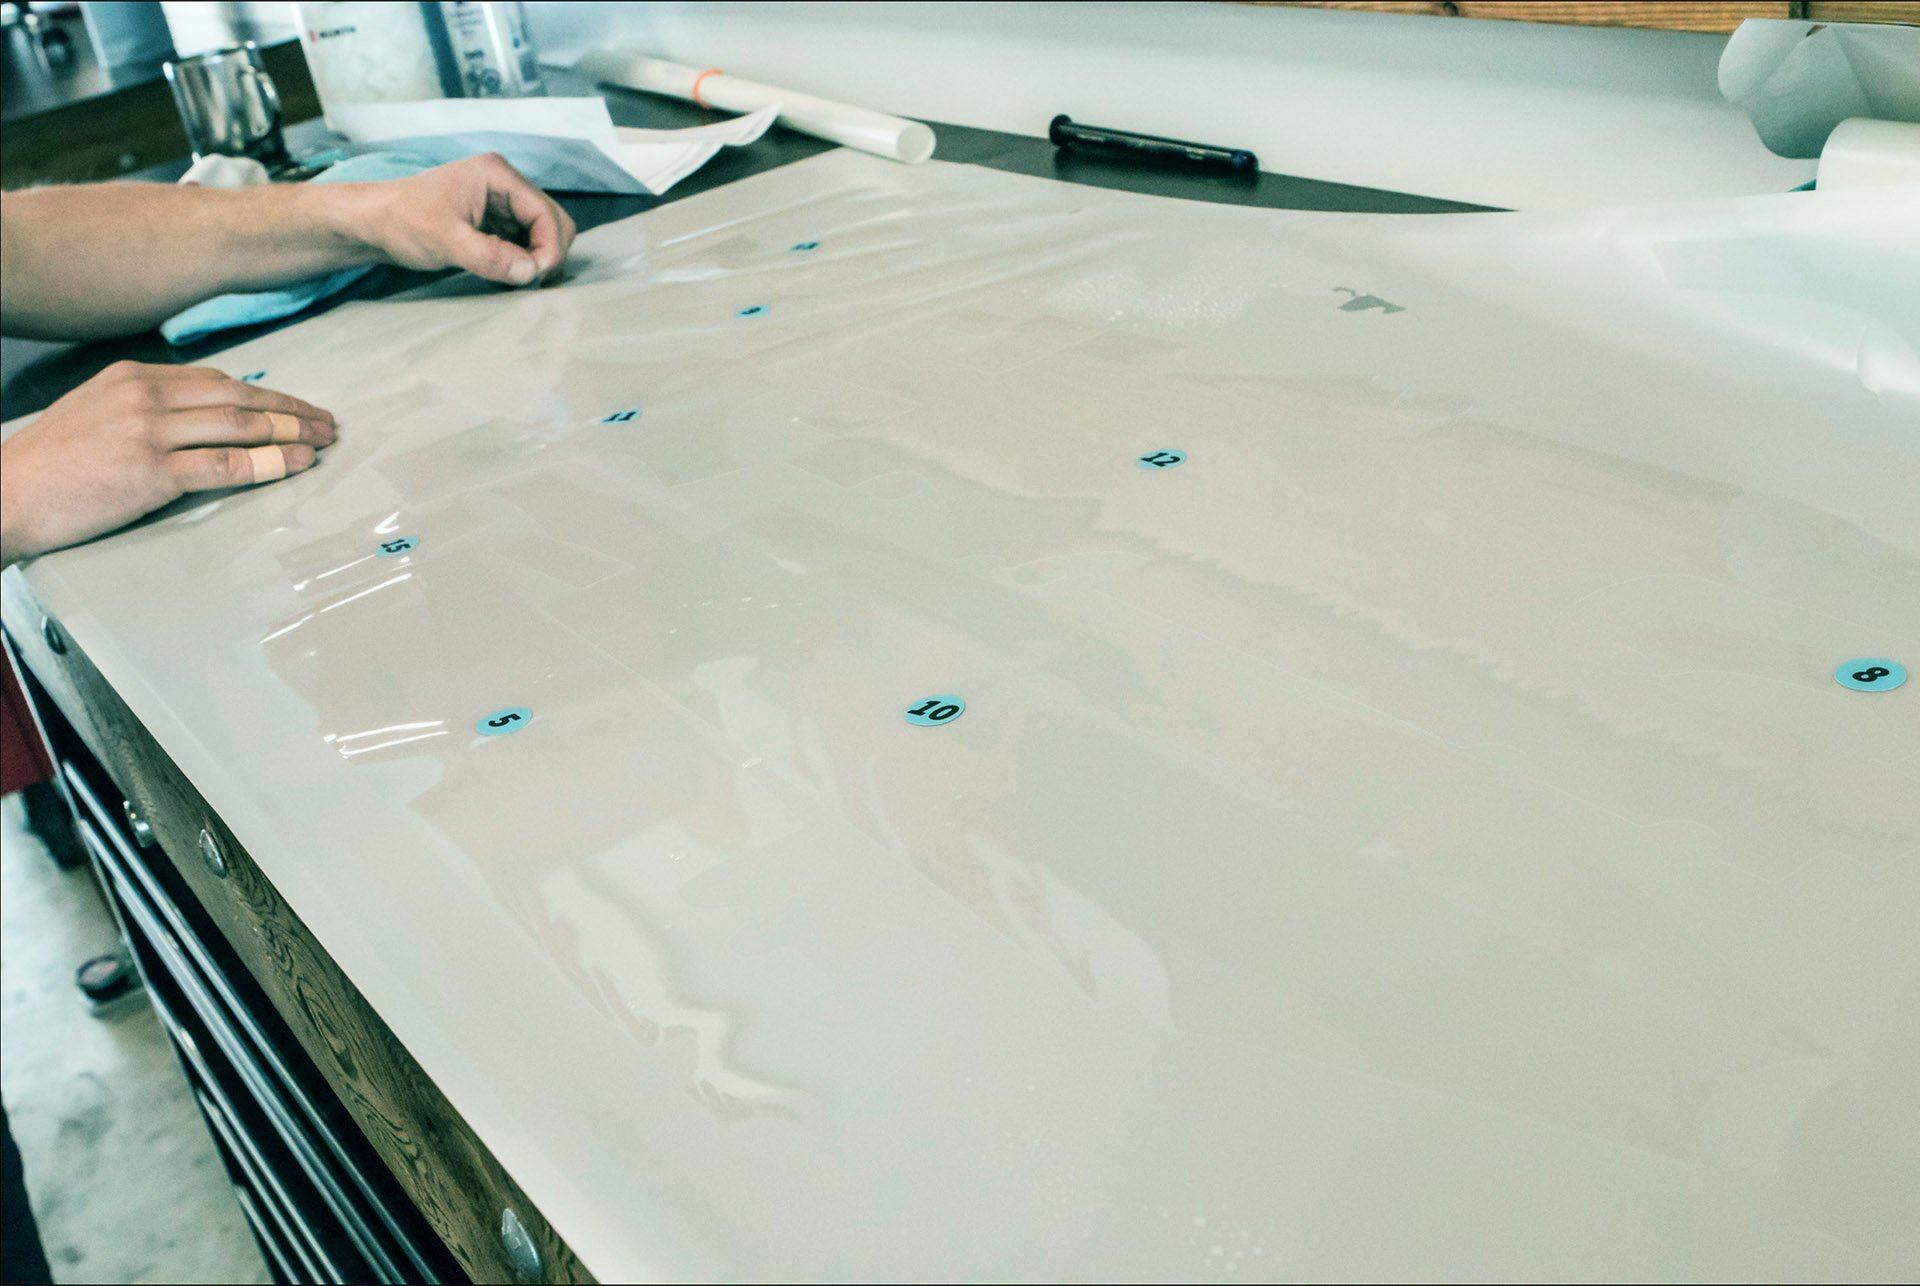
"Numbering is the final design step. Having installed thousands of RideWrap kits, we know the best way to install these 'puzzles'. Starting with the rear end is always best as the DIY installer can get used to the install process before installing the larger pieces of the front triangle. The best way to describe a kit is a puzzle, so they are numbered in the way which will most easily allow them to fit the pieces together. Our Santa Cruz Nomad V4 C/ CC has 11 pieces, impressive right? Aluminum frames always have the most amount of pieces due to the welds; the Knolly Fugitive has 26 pieces as we are covering each small section between the welds." - Callum Rostron
Each Ride Wrap kit includes two different squeegees, to smooth the film and remove bubbles, a printed out key to help you navigate the install, and a microfibre cloth for cleaning before and after. A big part of the process involves pushing out liquid and air bubbles with the squeegees so the film is virtually invisible and Andy was relentless in his pursuit.
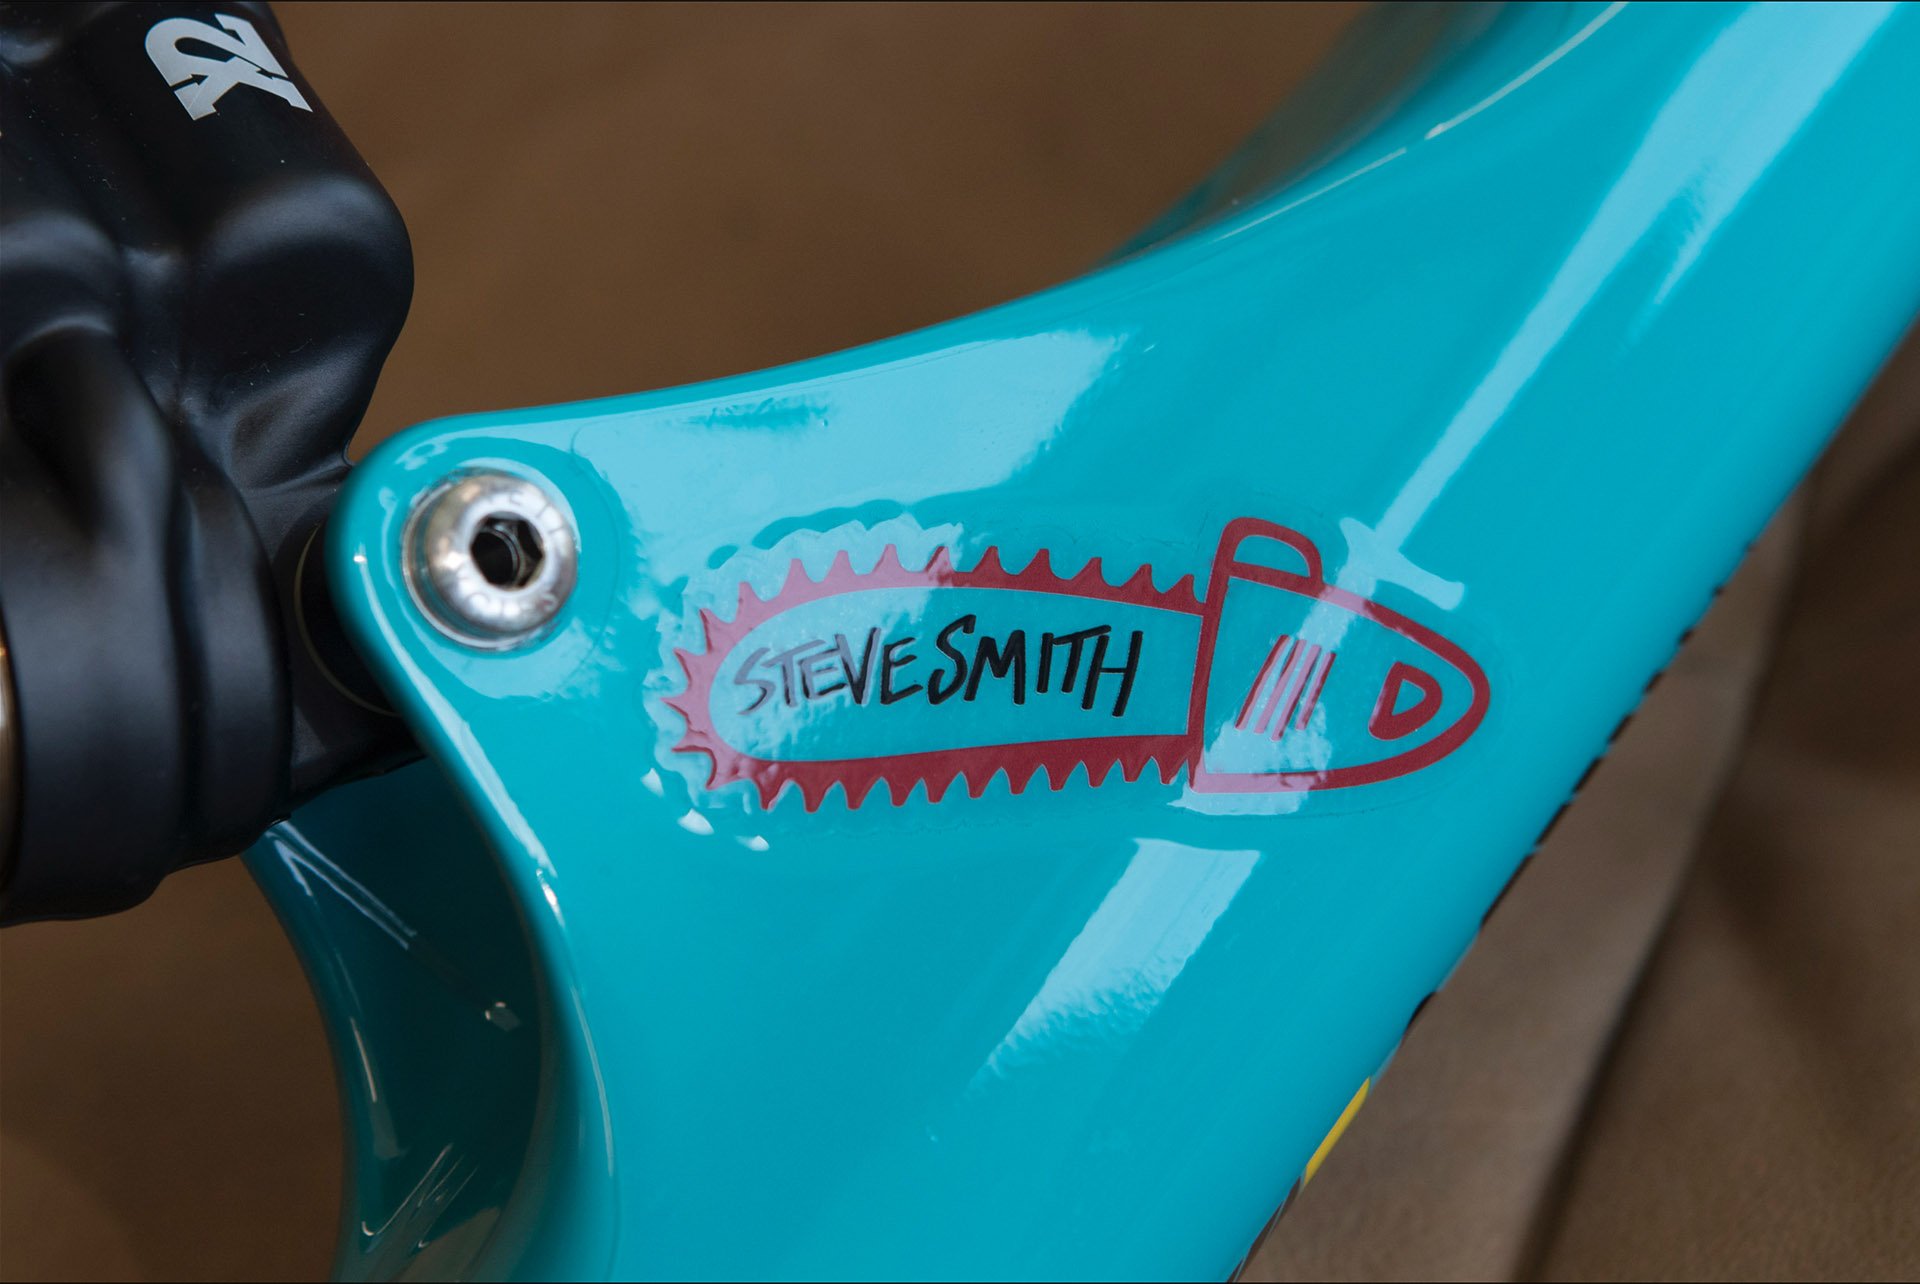
We have a few of these commemorative stickers left in this colour and more in white. Friday will mark three years since Stevie's untimely passing. Long Live Chainsaw!
Apparently these stickers are not in our online store - but I'll work on that shortly. I love how the decals look under the Ride Wrap.
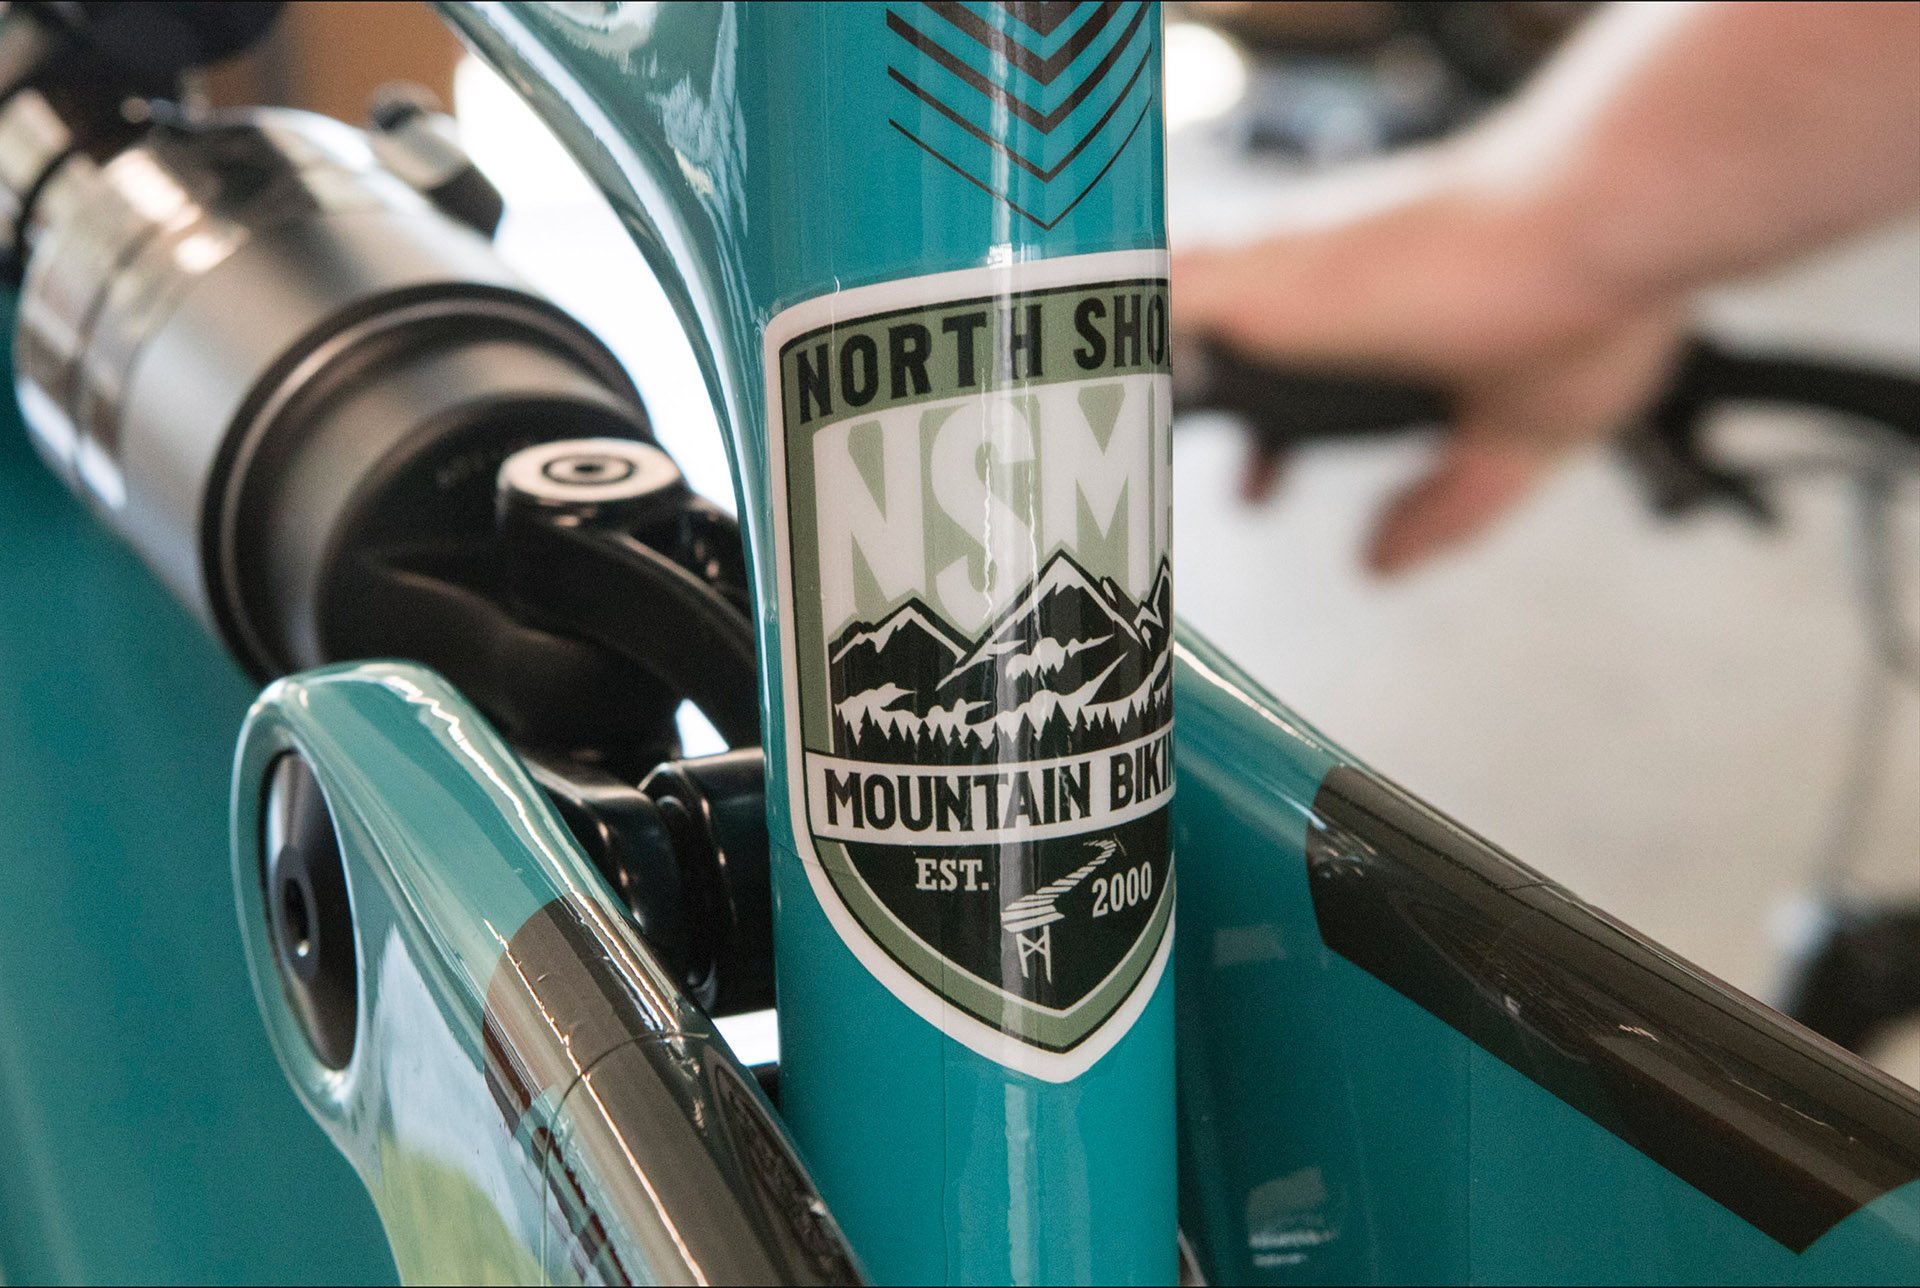
And these we've got as well. I'm beyond pleased with the way the stickers and everything else turned out.
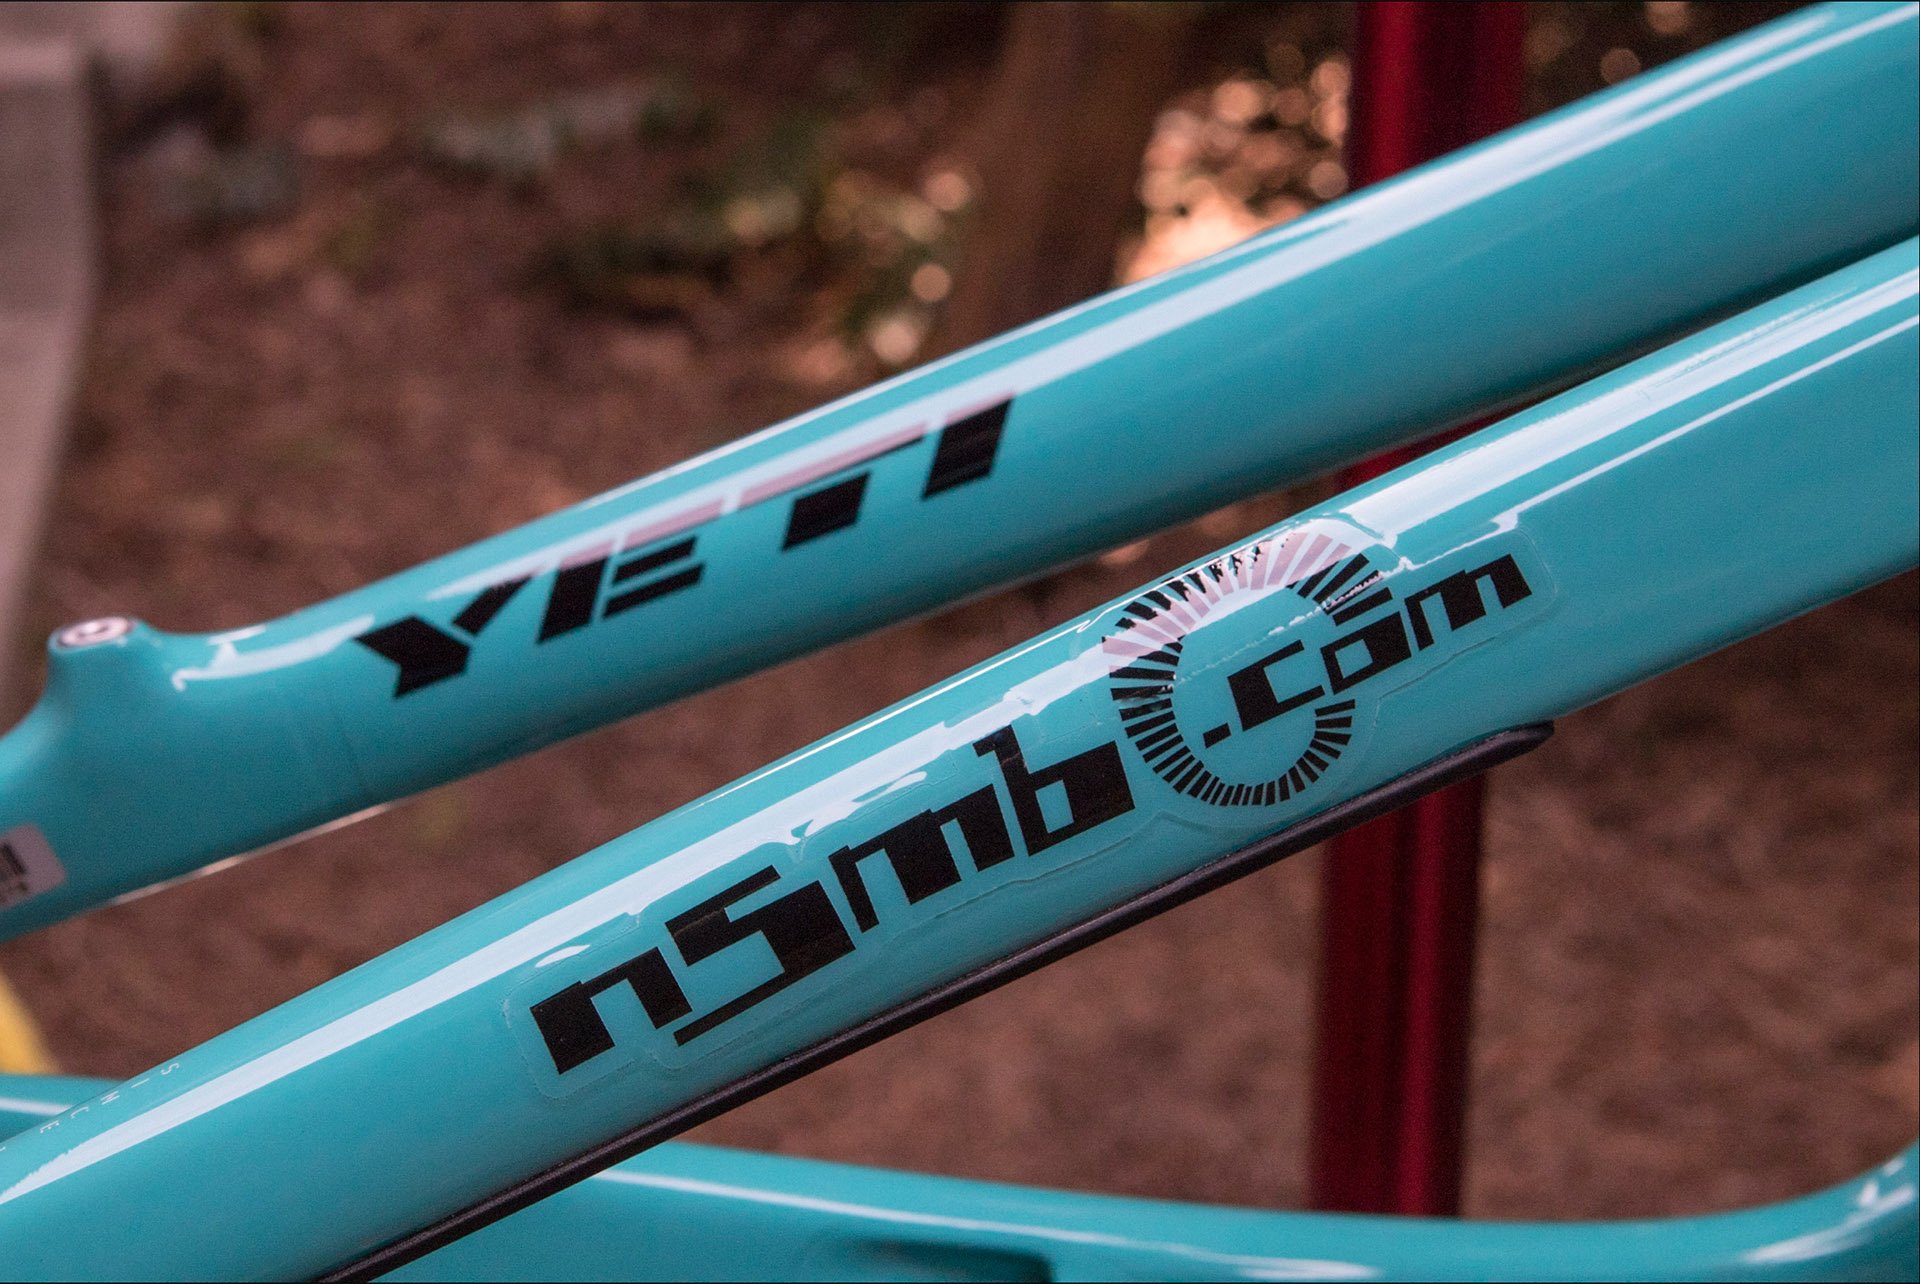
These are long gone, but I hoarded one for this purpose.
If you have any OCD tendencies at all, which you do if you have any interest in Ride Wrap by the way, you better leave yourself a good half a day to DIY Ride Wrap. Apparently Callum can do a bike in as little as half an hour. Meticulous Andy takes a couple of hours, but I'd say his finished product is well worth it.

I'd say the finish is slightly glossier with Ride Wrap applied. After the wrap and stickers were applied the frame weighed 60 grams more.
Andy's work... It would be a tough act to follow.
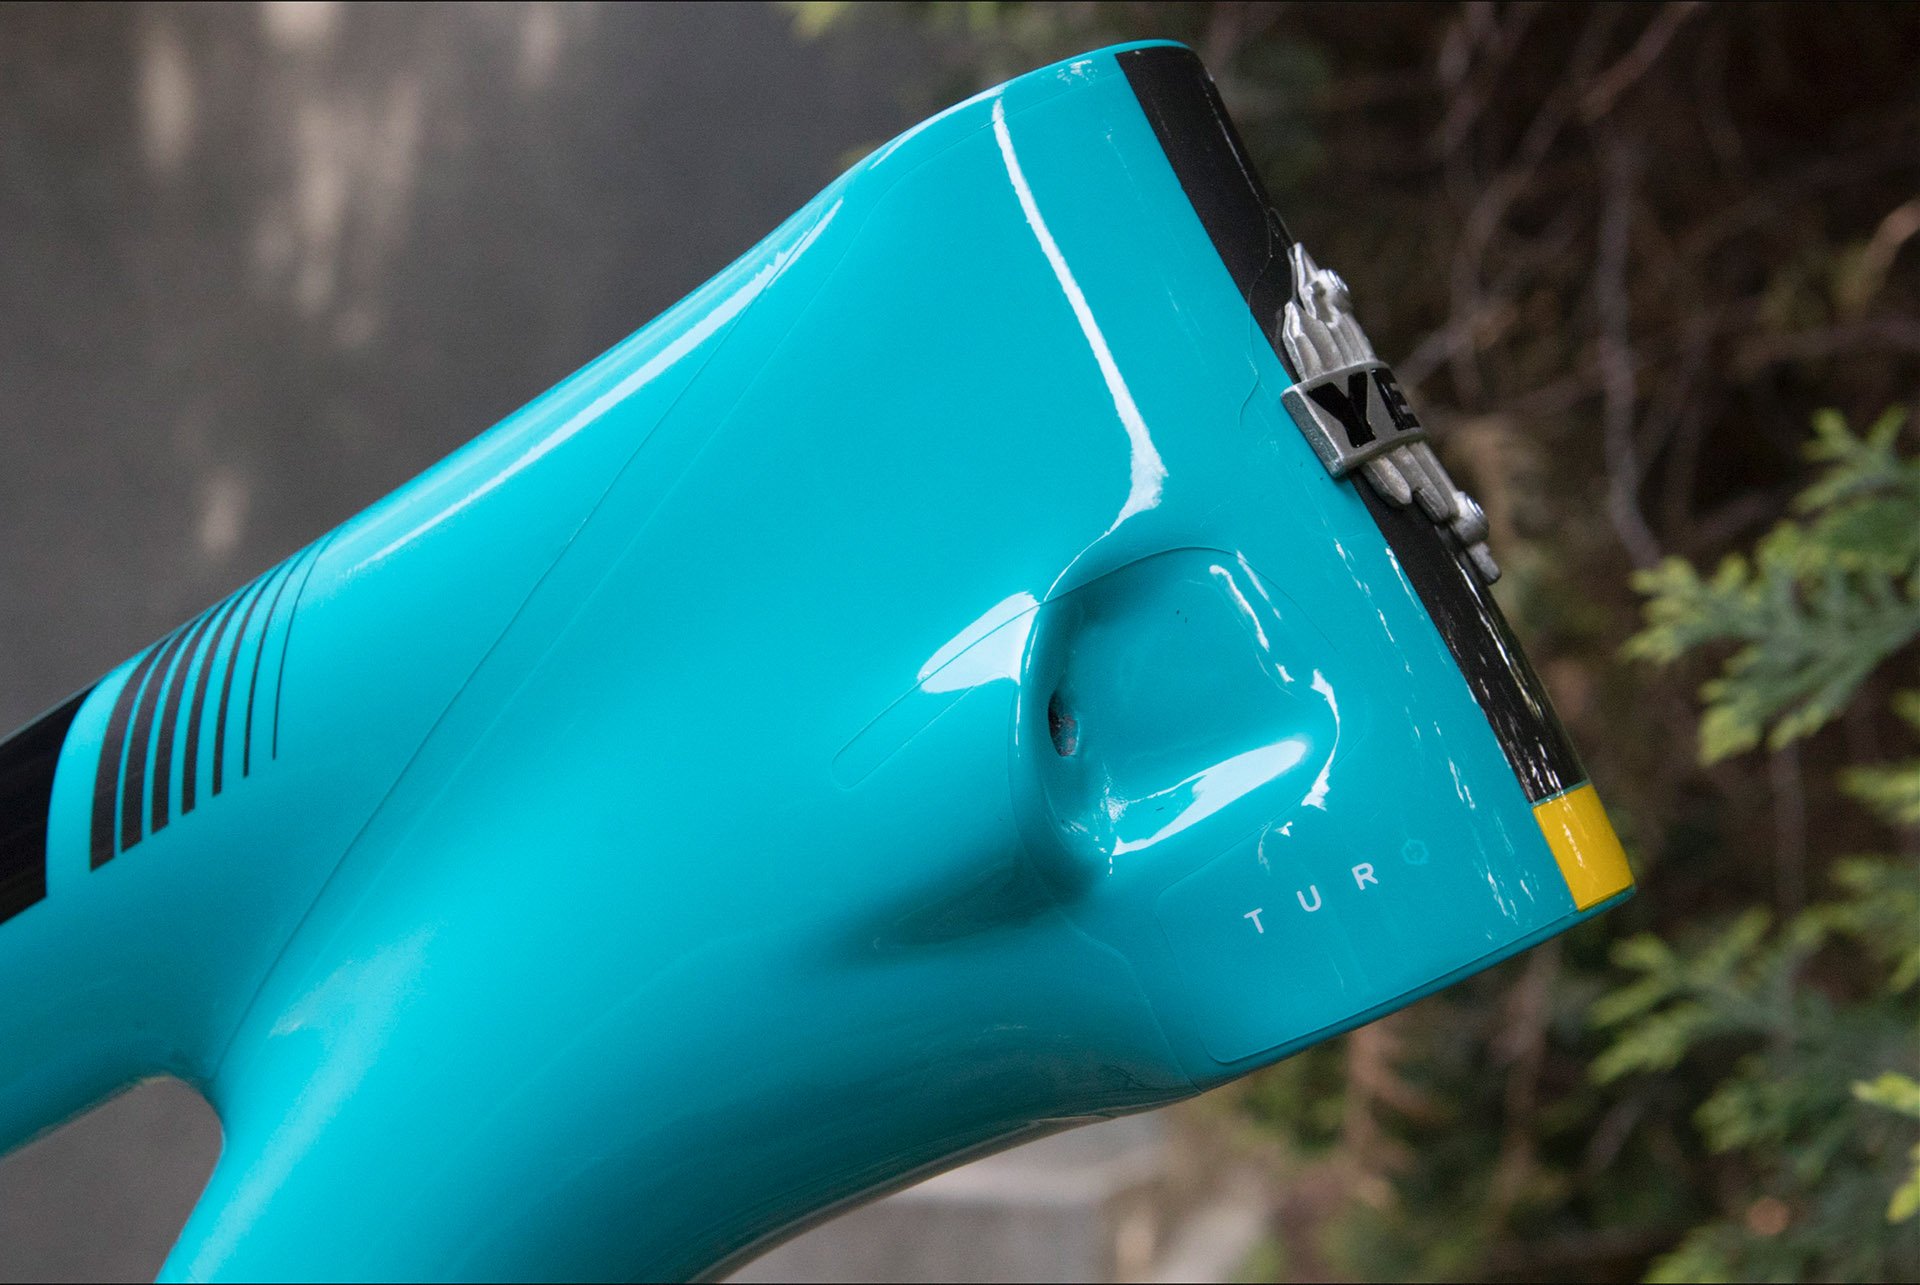
From a short distance the wrap is invisible, but I really like the look of the gaps.
If you are good with finicky projects and have a handle on attention to detail, I think you can give it a go. Callum agrees; "The kits are absolutely DIY friendly. We have approached the product two-fold for our customers, a rider can easily grab a couple beers and install the kit over a couple hours, or they can visit one of our fantastic Certified Installers to have the full service experience."
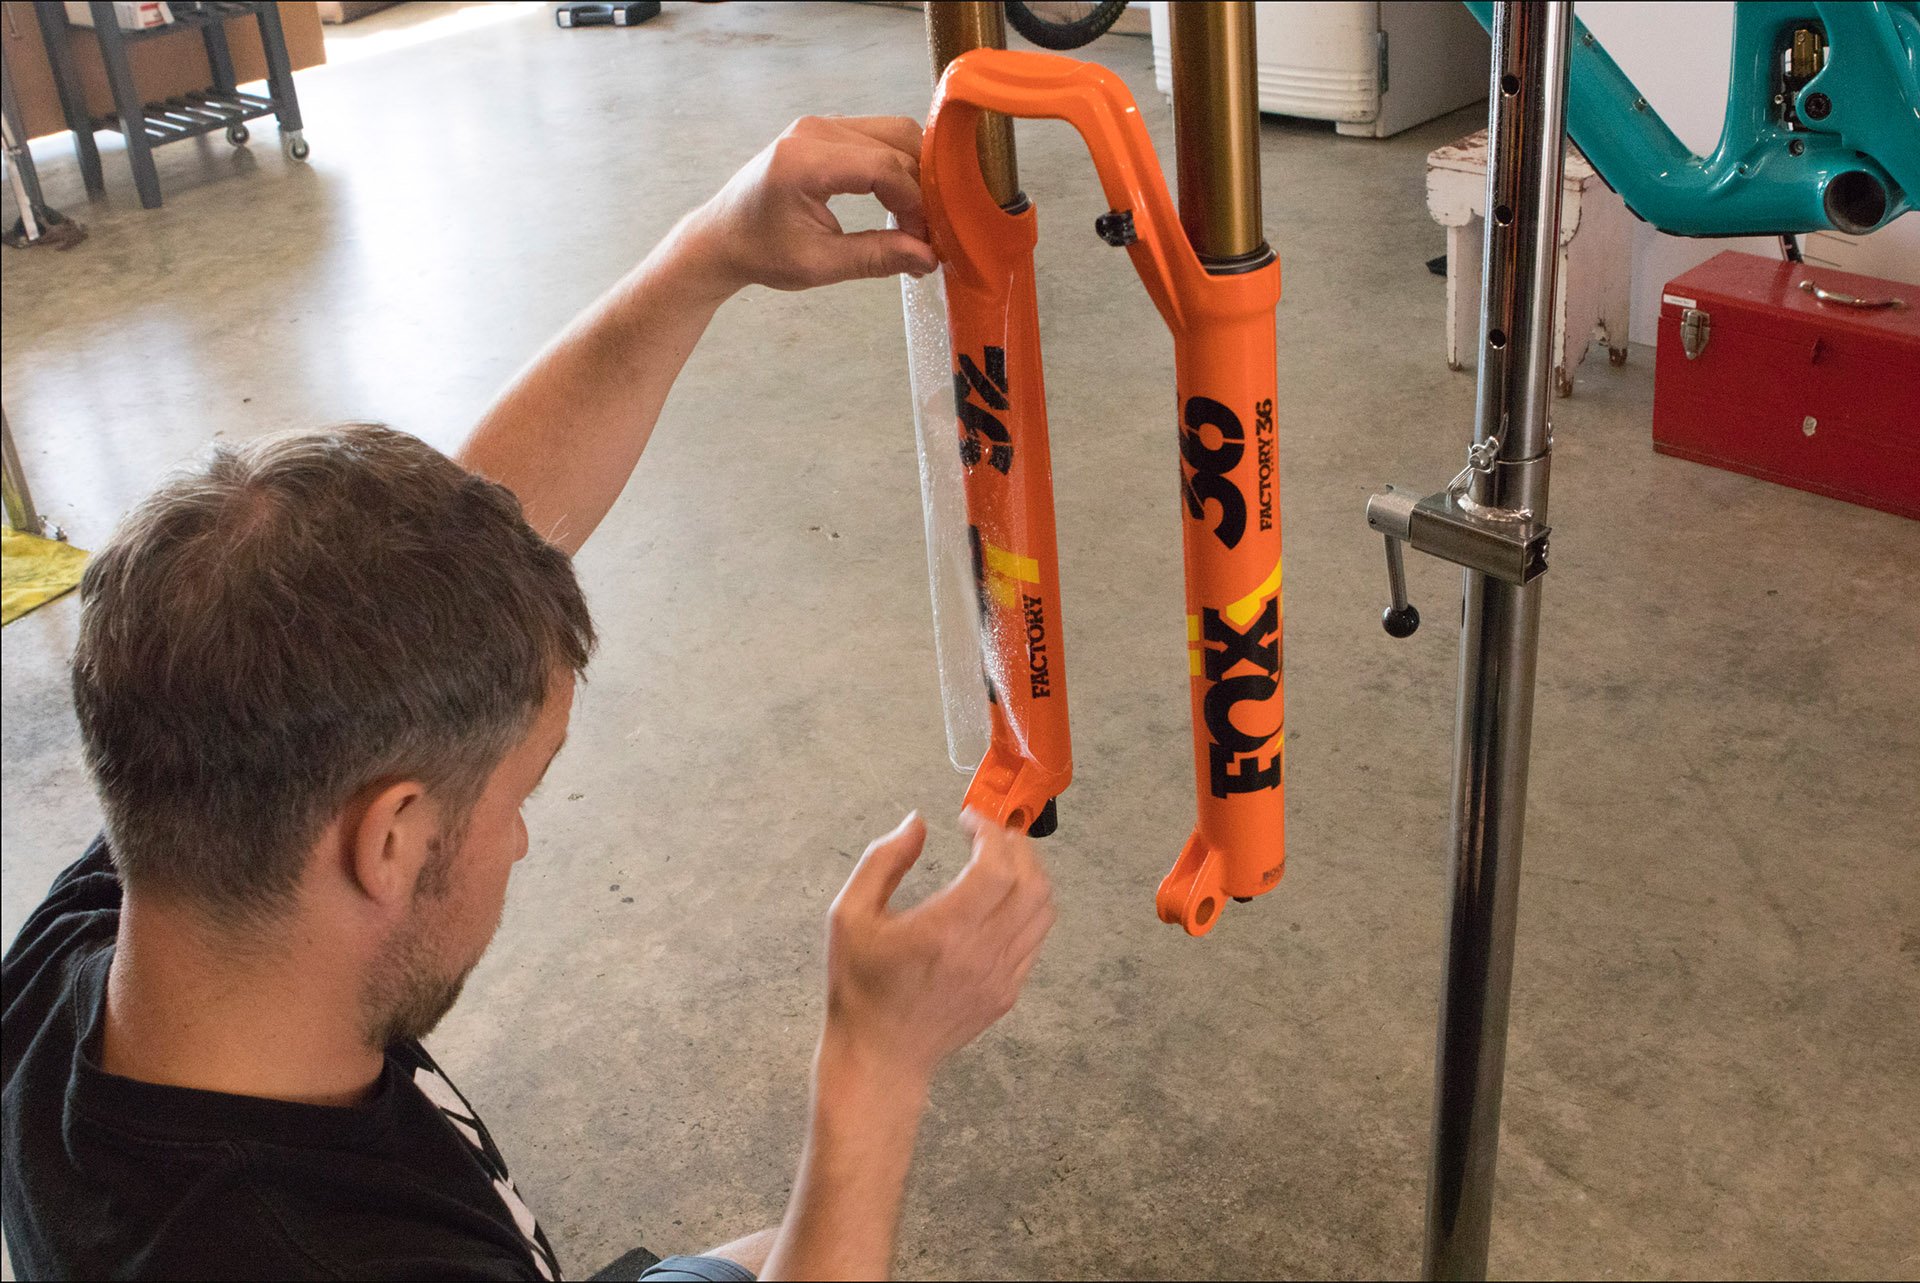
Obviously this has to happen. I hate scratched forks! Especially when the decals get ripped.
On top of everything, Ride Wrap is self-healing! Callum explains; "RideWrap films have a self healing top coat that allows light scuffs, scratches and marks to dissipate with either direct sunlight or a gentle heat using a hair dryer; its tough to explain, but they literally disappear. We often show customers this process by scratching up some extra film and taking a hair dryer to it; it really is a cool feature and in the end it keeps the frames/forks looking fresh for so much longer than unprotected.
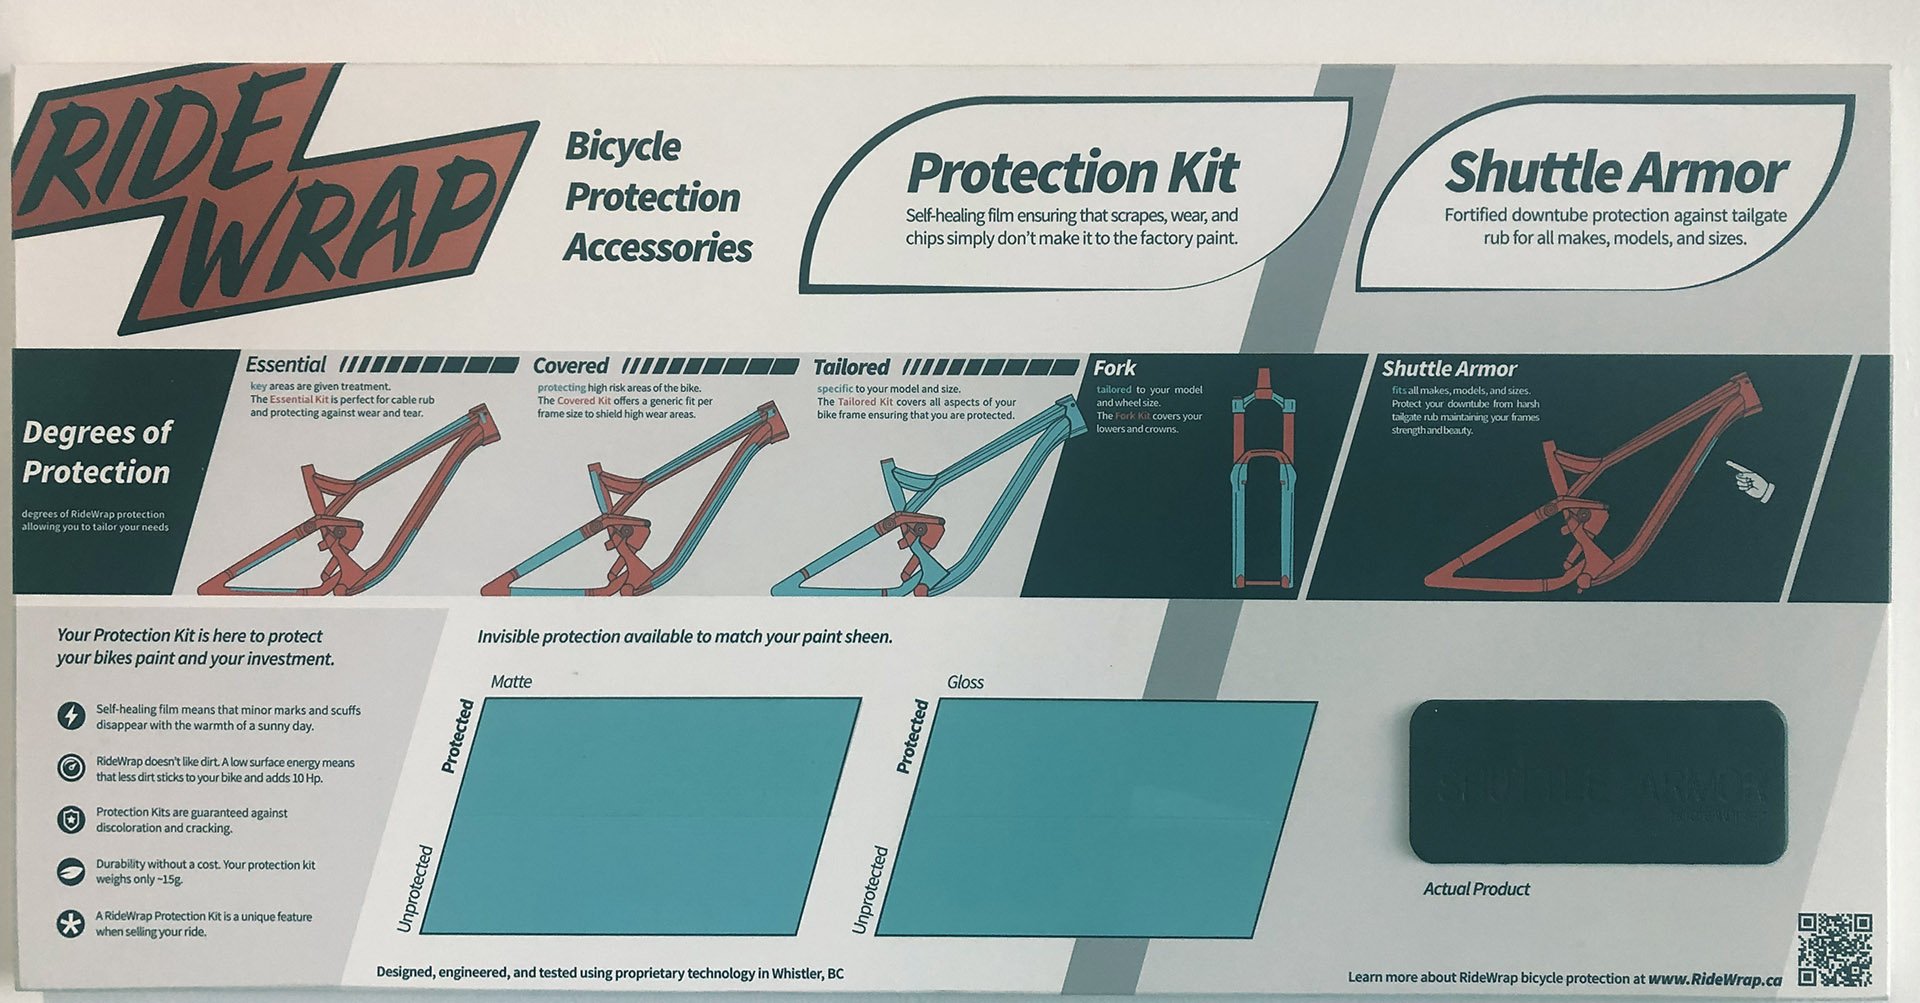
RideWrap full kits cost 115 CAD while fork kits will set you back 50 CAD. There are also kits that protect high wear areas for 80 and 40 CAD. Shuttle armor, made of thicker black foam, will add 25 bucks (I will add a photo shortly). If you are local and would like Andy to install your wrap, it will cost you a little more, but if you can get your frame to Whistler the cost is 90 CAD.
For more check out ridewrap.ca and wheelthing.ca


Comments
Timer
4 years, 11 months ago
I'm quite astonished that this has become a thing. Bikes used to be tools made for outdoor use, paint was tough and light scarring was considered normal. If the bike happened to be black anodized there wasn't even any paint to chip. Has the quality of paint on bikes deteriorated so much? Is carbon just a bad material for paint to stick to? Have the astronomical price hikes of the last few years led to this "protect my investment" attitude?
Or is this is a side effect of the MTB fashion show? Just yesterday some other (non-english) MTB site made a serious article about this seasons new styles in mtb fashion.
Reply
Heinous
4 years, 11 months ago
Tube shapes, underlying materials, lighter weight paints, most definitely more gnarly terrain.
Reply
Cam McRae
4 years, 11 months ago
There is certainly a range of paint quality but bikes I've ridden recently from Santa Cruz and Yeti have had very durable paint. I think the trend toward armouring and protecting frames may have begun in the early years of carbon, when it wasn't uncommon to see downtube damage from rock strikes. Frames generally seem to be much tougher now but the advantages of cosmetic and structural protection and peace of mind that come from protecting your frame may have allowed this practice to retain traction.
I have always been the sort of person who likes to take care of things. It probably came from my parents, who were born during the depression to parents who struggled like most people to make ends meet. For them, keeping things in good condition was an economic necessity, not a fashion show, and I find great satisfaction in repairing and maintaining things over the long term rather than replacing them, particularly in these disposable times.
Protecting your investment is certainly part of it was well, even more so after the era of rapid changes to standards has made early adopters turn over bikes faster than ever. A well kept bike turns over faster and for more money. And now the geometry evolution is making two year old bikes feel old for those same people.
Reply
Cooper Quinn
4 years, 11 months ago
Not just fashion. Resale value.
Reply
earle.b
4 years, 11 months ago
Re what? Never heard of it.
Reply
Pete Roggeman
4 years, 11 months ago
If more riders in North Van had garages, there might be fewer bikes being resold after a year or two, and more bike collections out there.
Reply
earle.b
4 years, 11 months ago
I only collect the ones I break. :)
Reply
legbacon
4 years, 11 months ago
My latest bike is raw aluminum.
Reply
Cam McRae
4 years, 11 months ago
Are you sure it's not clear anodized? If you take some rubbing compound - or just some car wax - and rub it in with a cloth you'll be able to tell. If it gets shiny it's raw. Otherwise it's anodized.
Reply
Vik Banerjee
4 years, 11 months ago
LB's Knolly frame is raw AL. My Knolly is raw as well. I still put tape on impact areas. I'm not worried about looks. I'm worried about significant impacts that cause damage.
Reply
Cam McRae
4 years, 11 months ago
Awesome. You can literally polish it or alter the finish in other ways if you feel like it.
Reply
Chad K
4 years, 11 months ago
Over the past few years, I've stepped up my wrapping game with each new bike. Because I'm spending more and more with every bike that I buy, I've felt the increased need to protect the frame from cosmetic blemishes, especially as I resell my bikes after a year or two of riding.
I started with an unwrapped bike, then had a bike that I handcut 3m tape for (toptube, downtube, and stays), and on my newest bike, I ended up going for a professionally made kit. However, I've never had anyone else wrap my bike for me as I find the process to be cathartic.
As Cam mentioned, it is also nice to not worry about little marks on an unwrapped frame from things like brush, pants/shoe rub, etc. I know it's a mtb, but I do want to maintain the resale value.
Reply
Vik Banerjee
4 years, 11 months ago
I use DIY at home protective tape on all my MTB frames...more if they are carbon and somewhat less if they are metal. I buy a MTB and plan to keep it 4-10yrs. I am not particularly worried about resale. I tend to sell to a friend that needs a good bike at a very low price vs. dealing with strangers who want to haggle and make me regret I posted an ad on PB.
Any light MTB frame [metal or carbon] can be Killed In Action by an unlucky crash so applying some protective tape when the frame is new is a fast and easy way to buy some piece of mind. Only needs to be done once and it lasts for years. It's just a habit now.
Despite this tape my bikes look well used [because they are] and lose their showroom shine fast. My lack of interest in hosing them down between rides doesn't help. If I was going to sell an old bike to a stranger hopefully they'd look at the tape I have applied and think "This guy took care of his bike.", but that's not my motivation.
Reply
sospeedy
4 years, 11 months ago
I’m currently installing a second kit from Ride Wrap. It is taking me a bit longer to install on a curvy frame, where a hair dryer comes in handy to help mold the wrap around some areas. Great service by Ride Wrap and product works as advertised .... can’t ask for more!
Reply
generationfourth
4 years, 11 months ago
Glad I don't have to deal with this. New bike is steel framed and honestly couldn't give two sh*t's about the finish. Actually looking forwards to paint wear and tear so I can strip it and sandblast it a different color in a year or two.
Reply
Cam McRae
4 years, 11 months ago
Patina!
Reply
IslandLife
4 years, 11 months ago
Went the full custom Ride Wrap and DIY install... fantastic service, great people based in Whistler... even better product!! It did take me some time to apply it until my very anal eye was satisfied. Took me probably 4 to 5 hours of total work spread out over a few days. But the learning curve is quick.... by the time I was done I was much better at working with the material and could probably do full bike in about an hour.
As they mention, the product is somewhat "self healing"... get a minor scuff, just hit it with a bit of heat and buff it out. They also provide a bunch of extra material so if you mangle a spot you can just replace with some of the extra... works great!
They also provide enough extra material that you can protect parts not included with the kit. I added some on the exposed pieces of my suspension linkage... they have already proved their worth.
Also did my fork and the material has taken the brunt of multiple hits very well.
Overall, great value for the protection it offers and I have no doubt I will get much more in re-sale value than I spent on this product = a worthwhile investment.
Reply
RideWrap
4 years, 11 months ago
Wow, you really nailed it on the head Cam. We are stoked that you are stoked.
Reply
Tjaard Breeuwer
4 years, 11 months ago
Does the tape actually work for long term protection though?
What I mean is, now instead of paint or anodizing getting scuffed, now you have tape, which I would imagine gets scuffed or scratched even easier, since it’s softer. Do you remove it after a few year, either for resale or to reapply a new layer if you keep the bike?
Second, what about the weight? How much does a kit weigh? I know that paint can run around 150g more than anodizing on a big frame. Yeti charges a pretty penny for a Turq frame, and saves you a few hundred grams, now you are adding how much back again.
Reply
AJ Barlas
4 years, 11 months ago
Any bikes I’ve taped up have had it removed when the time came to move on. Pulling it off revealed a shiny new bike beneath and often left me wondering why I was selling it. Then the memories of our good times together would flood in before I had to shake it off, hahaha!
Reply
Cr4w
4 years, 11 months ago
You can replace individual panels when they get scuffed.
Reply
Cam McRae
4 years, 11 months ago
I neglected to mention the weight in my article Tjaard, but I did weigh before and after and the difference was just 60 grams.
Reply
Pete Roggeman
4 years, 11 months ago
I was going to level a finger at Tjaard for 'not reading the article before commenting' but I'm glad I scrolled down! One other thing he asked about was the look of the tape after a few years. I guess we don't know with this particular product but the self-healing property with heat is a great feature. Maybe high wear areas get a touch up after a year or two?
Reply
Vik Banerjee
4 years, 11 months ago
The tape will get scuffed. Personally I don't care about that, but you can replace affected areas if it were to bother you.
I'm not a weight weenie so a few extra grams on the frame has no impact on riding my bike.
Reply
RideWrap
4 years, 11 months ago
Protection kits are a wear product, so they take the brunt of your everyday use instead of the frame and paint itself. That being said with the self-healing properties they stay looking great for a long time.
As @AJ Barlas perfectly expresses below, when its time for a refresh or a sale, you can peel the kit off and reveal a shiny frame.
Reply
Shoreboy
4 years, 11 months ago
I ordered a kit from Invisiframe (there was no RideWrap a that time!) and installed it myself. Does take some time and patience, but the results are worth it in my opinion. How long does it take the RideWrap guys to template a new wrap for a frame they dont have a pattern for? Is there an extra cost associated with it?
Reply
Pete Roggeman
4 years, 11 months ago
In the article,Callum (the owner) mentions that if they haven't yet measured a frame, it's usually just a matter of asking, and waiting a few weeks. I'd recommend giving them a buzz if you'd like coverage for a frame they don't yet list.
Reply
Shoreboy
4 years, 11 months ago
Ah. I missed that on the first read through. Thanks.
Reply
XXX_er
4 years, 11 months ago
I did my 5.5 Yeti with a roll of 4" 3M from Lordco, used water in the spray bottle with some soap and 25% alcohol, I popped air bubbles with a pin and squeezed out the air. I wrapped the top of the toptube the bottom of the down tube in the places that are most likely to get hit, wrapping the stays is where some of the curves down under the swingarm don't look great but you don't really look at that. All in all for 22$ it worked pretty good and looks fine, I think a hairdryer or heat gun might have helped make the more complex curves ...definatly a thumbs up
Reply
Cam McRae
4 years, 6 months ago
I did exactly the same on my 5.5. And I doubled up in a few places. The 3M stuff is really nice and thick.
Reply
Shrockie
4 years, 11 months ago
I'd love to see a video of what it takes to remove it.. Heard of some paint or clear coat lifting if it's not done right... So, what is the recommended process and how much time does it take?
Reply
Cam McRae
4 years, 6 months ago
I haven't heard of any problems but I believe all that is needed is a heat gun or possibly even a hair dryer.
Reply
Please log in to leave a comment.