DO IT YOURSELF
Wrapping a Fork with RideWrap
Restored vehicles are often beautiful, but vintage machines in original but well cared for condition have a bit of magic about them. When there is some normal wear and tear that reveals its past, but it’s obvious the machine has been lavished with attention and care, it’s less like a museum piece and more like an old-timer with stories to tell. When I take good care of a bike, in a ride it all winter and sometimes use it like a toboggan down a rock face sort of way,* it’s with this in mind. I want something to last and to be well-maintained without entirely concealing its dirty past. Often this is more about maintaining the bits nobody sees, but keeping the frame and paint in good condition is pretty essential as well.
*not me but that's the sort of thing that would happen to me

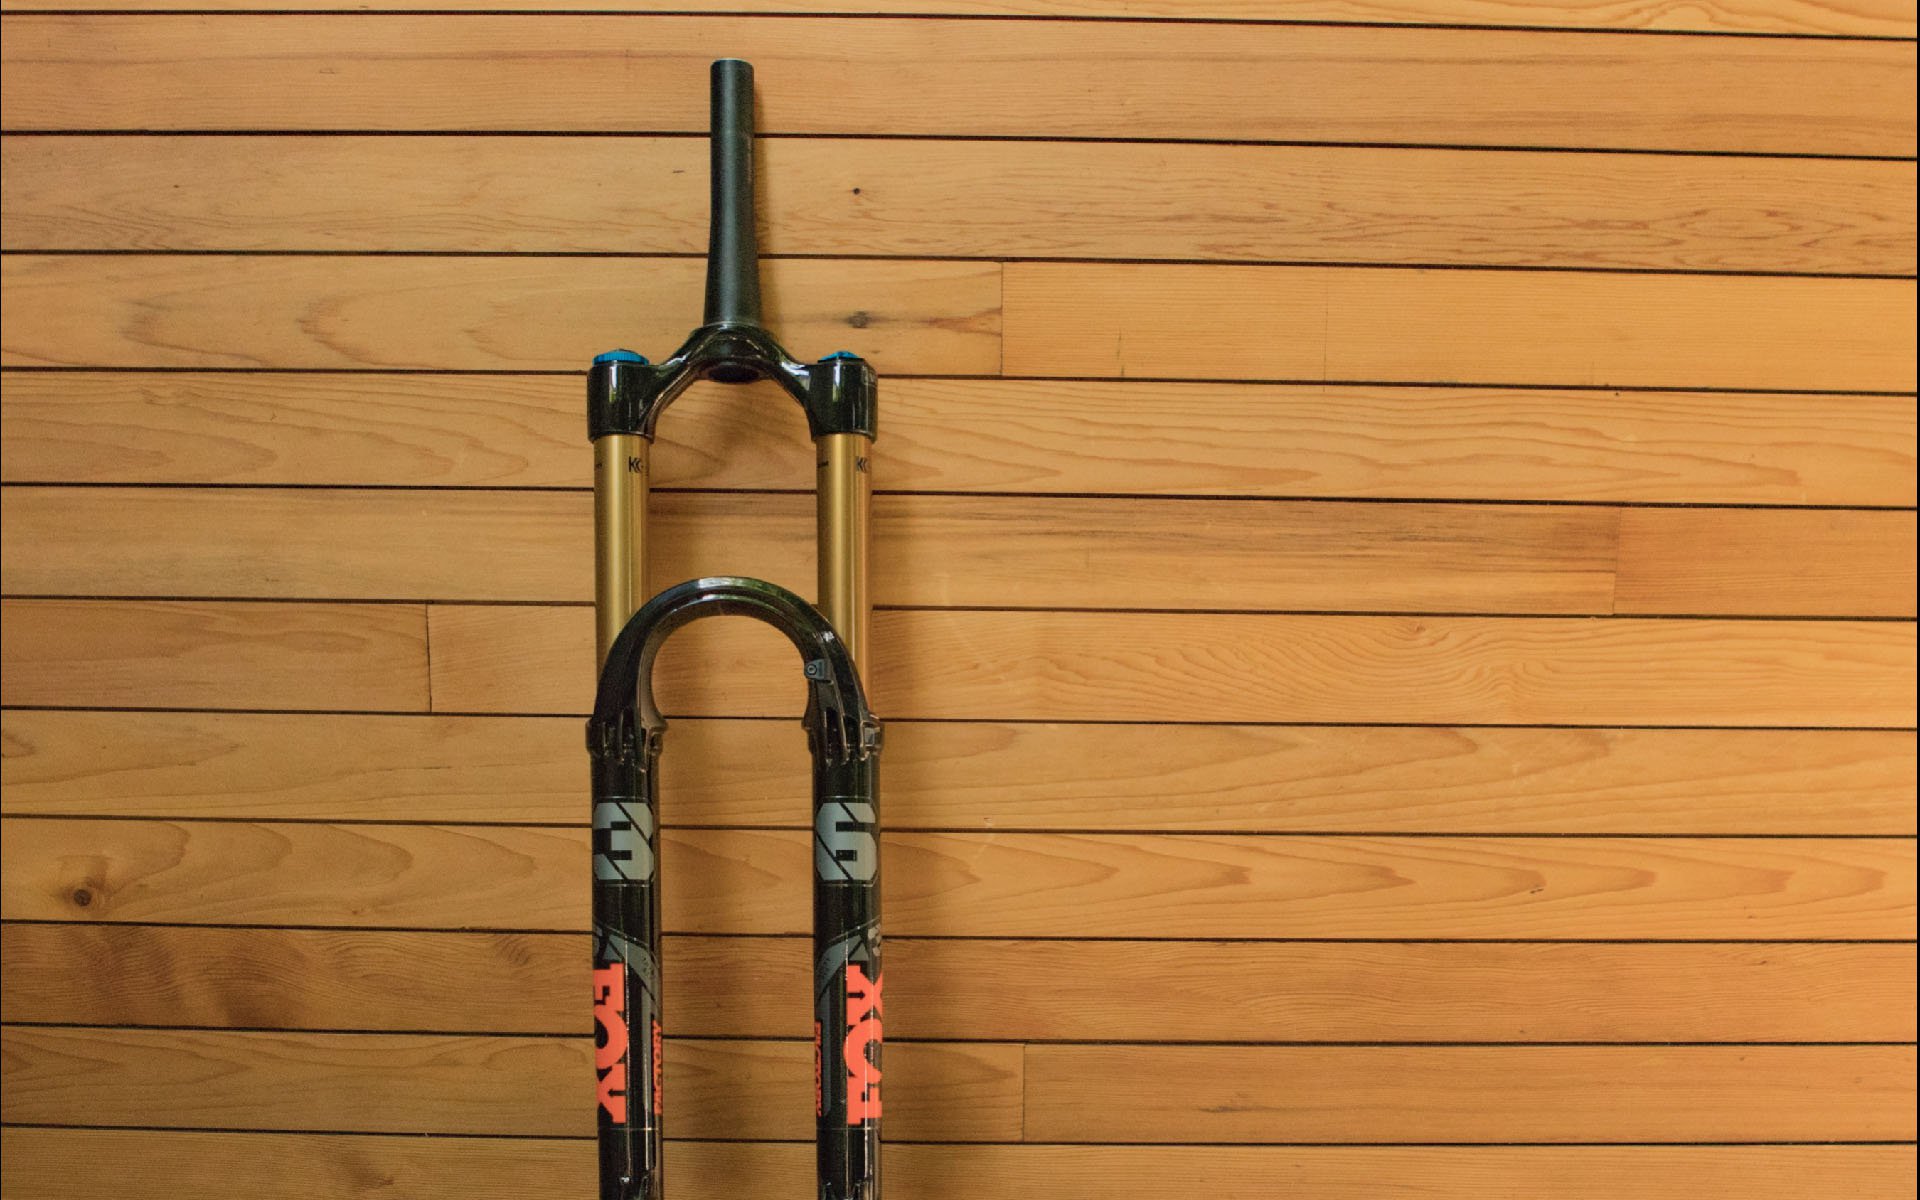
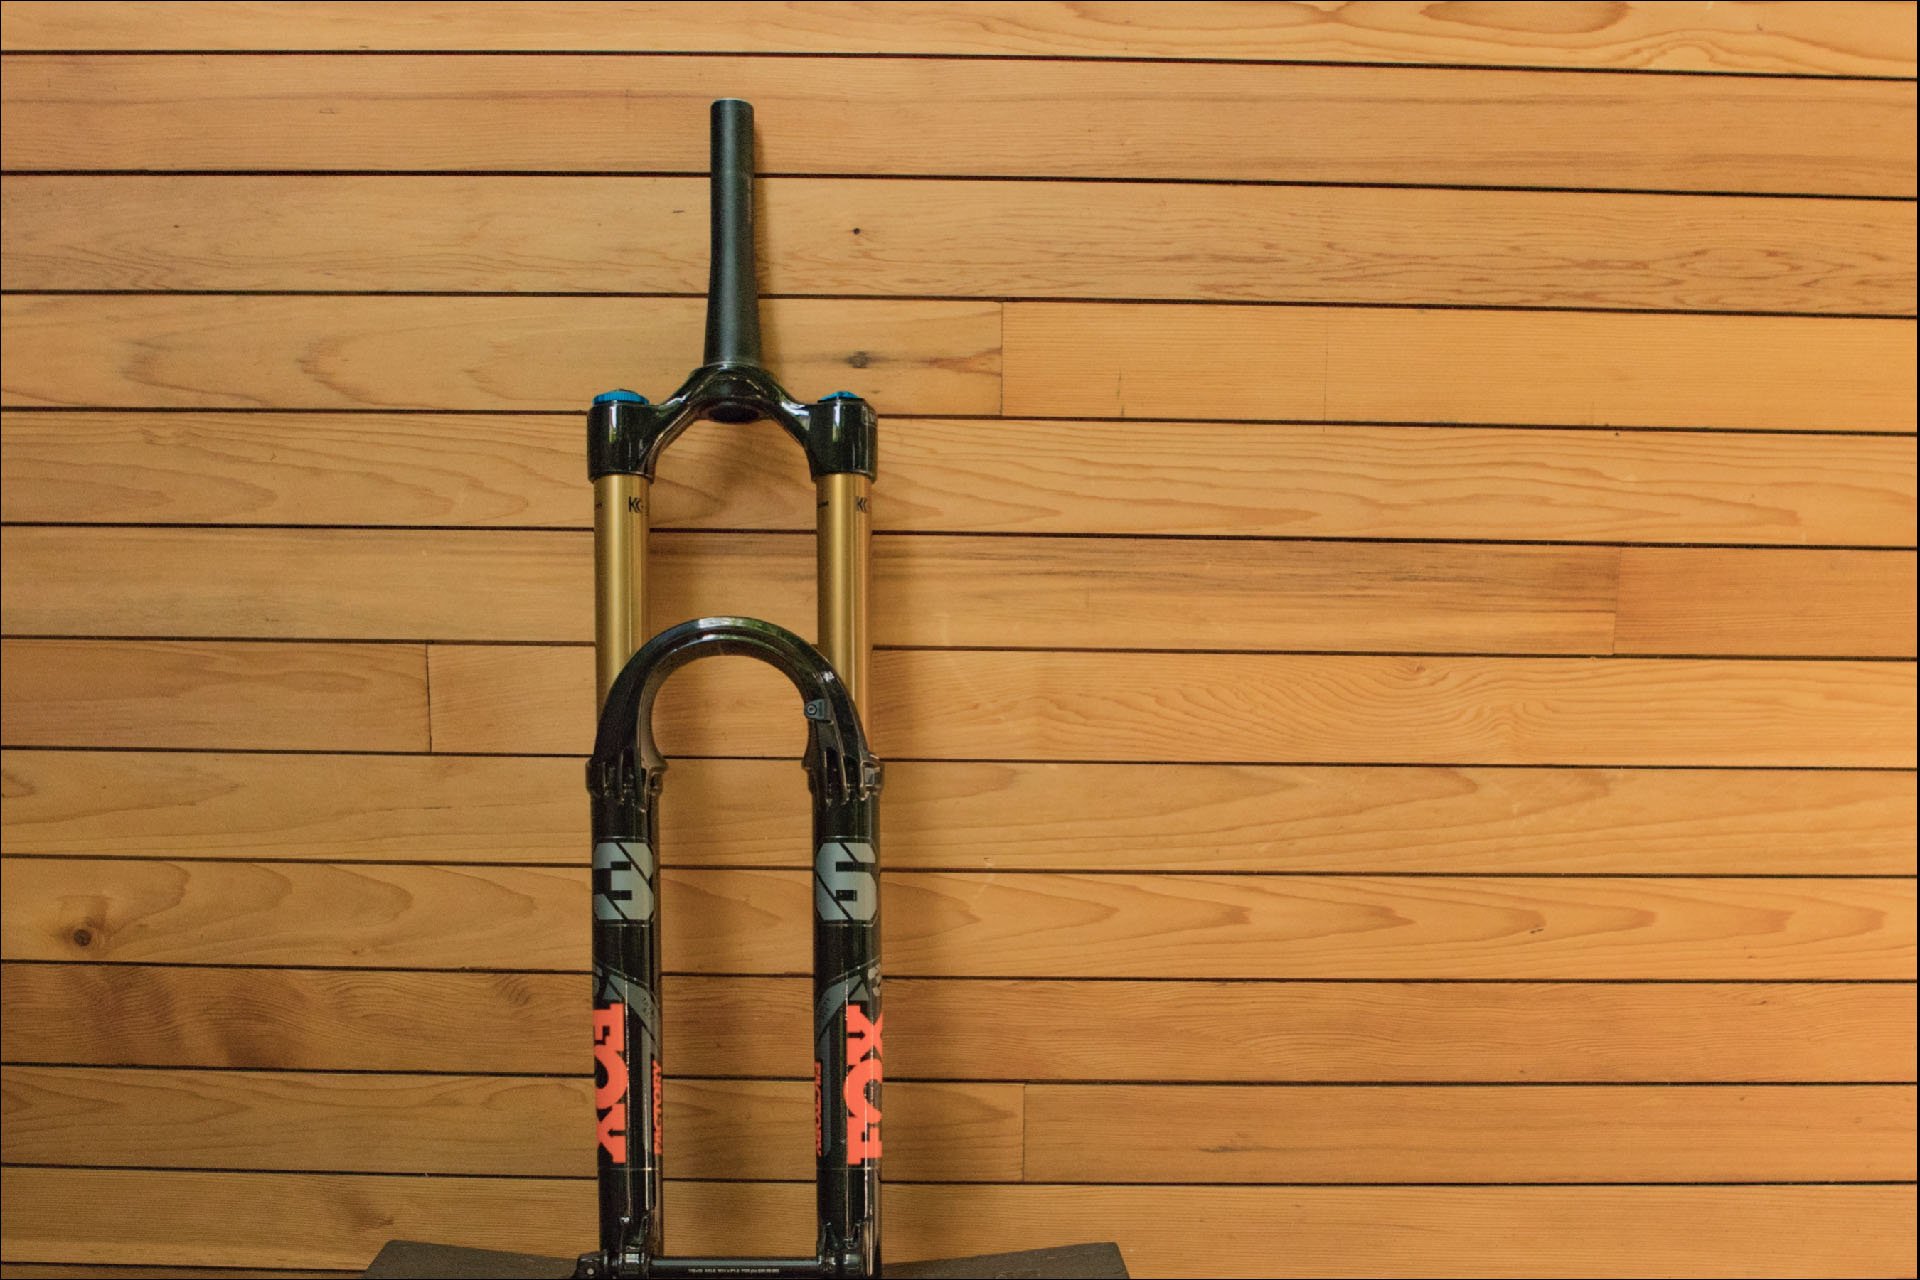
The fork to be wrapped; not new and not even particularly clean yet.
Not too dirty for me, but too dirty to wrap.
I’m periodically and randomly fussy about the condition of inanimate objects, but I particularly hate it when a bike gets damaged or scratched. As near as I can determine, I picked this up from my parents, who had it drilled into them by their parents who lived through the Great Depression, the Spanish Flu, and both World Wars, to name just a few of the world events that make COVID-19 seem like a mild inconvenience. My sense is that they learned to preserve their possessions because if something essential broke, it may not have been possible to replace it. And now I’m stuck with that tendency, for better or worse.
If you are starting with a used frame or fork, don't be lazy about the cleaning process. It's essential to your success.
This is probably why protecting frames is so satisfying to me. It serves something elemental in my DNA which is why I thought I should learn to do it myself. Particularly because this has been my year of DIY. I repaired our clothes dryer (twice!), built a deck, installed some electrical fixtures,* and I’ve been taking on more bike-related tasks than I have in recent years. Some of these are new to me, like swapping bearings in carbon frames, doing a basic fork service, and overhauling brake calipers, but I've also been more apt to swap tires, bleed brakes, and perform all sorts of general maintenance to the bikes I have been testing. Basically I've been taking on as many tasks as possible and particularly those I don’t already know how to do, so this one was automatic. My favourite thing about all these DIY tasks is being able to buy good tools guilt-free because of all the money I've saved.
*None of these was any big deal, but each was new to me.
The experienced help I had building this deck was essential, but I learned enough that next time I could go it alone with exaggerated confidence.
If you are like me - fussy but impatient and lacking talent - installing RideWrap may be a challenging task. I also didn’t start with a blank canvas because the fork I was using was used and already had some minor scuffs and scrapes. Luckily the process is relatively idiot proof and the videos, materials, and included instructions from Ridewrap are all excellent. The steps below, however, are mine, so be sure to consult other resources.
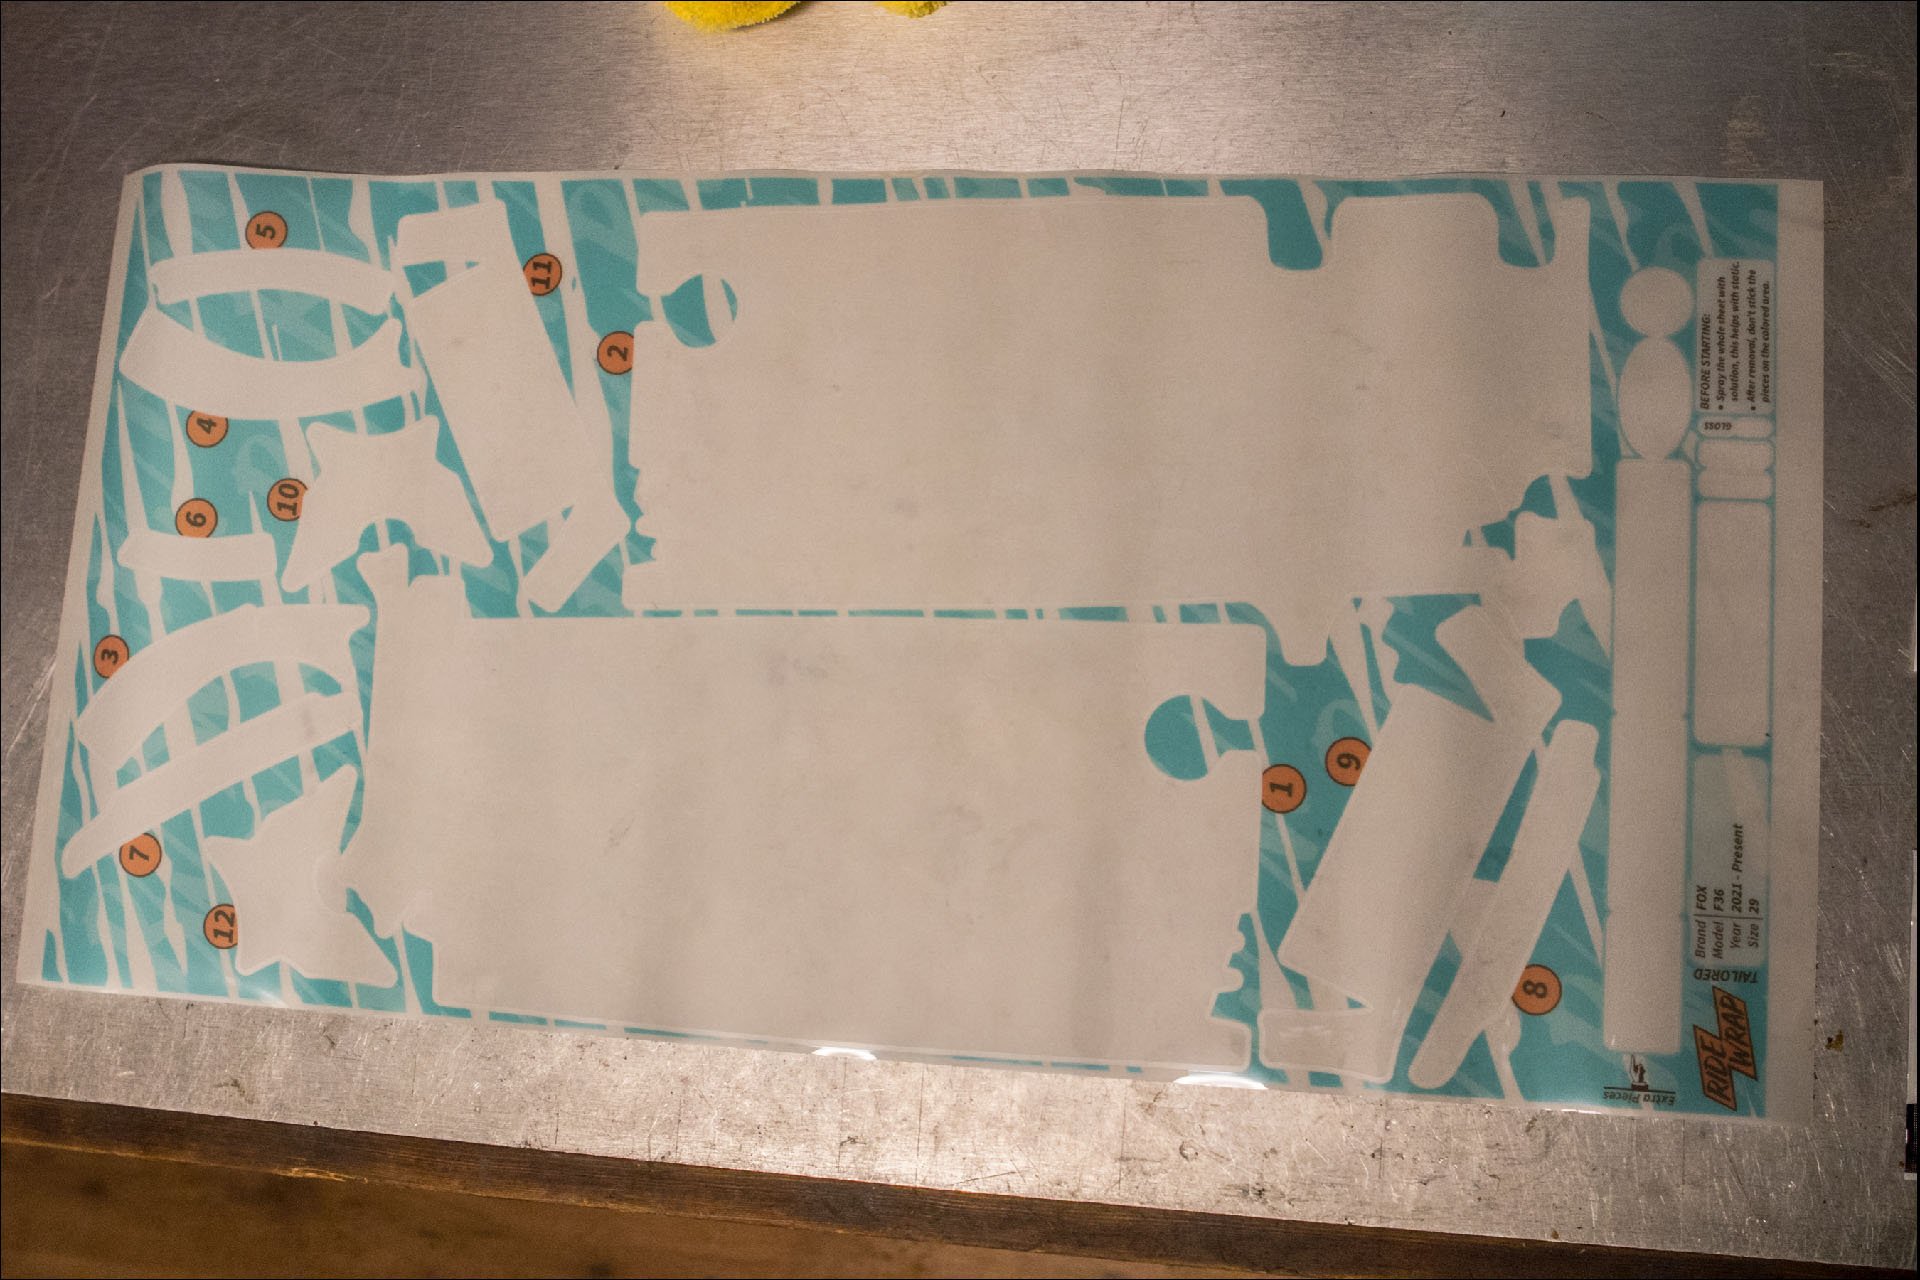
Here is the entire wrap for the fork, with pieces numbered in order of installation. There is also a schematic diagram that shows where each piece should be installed, because that isn't always obvious.
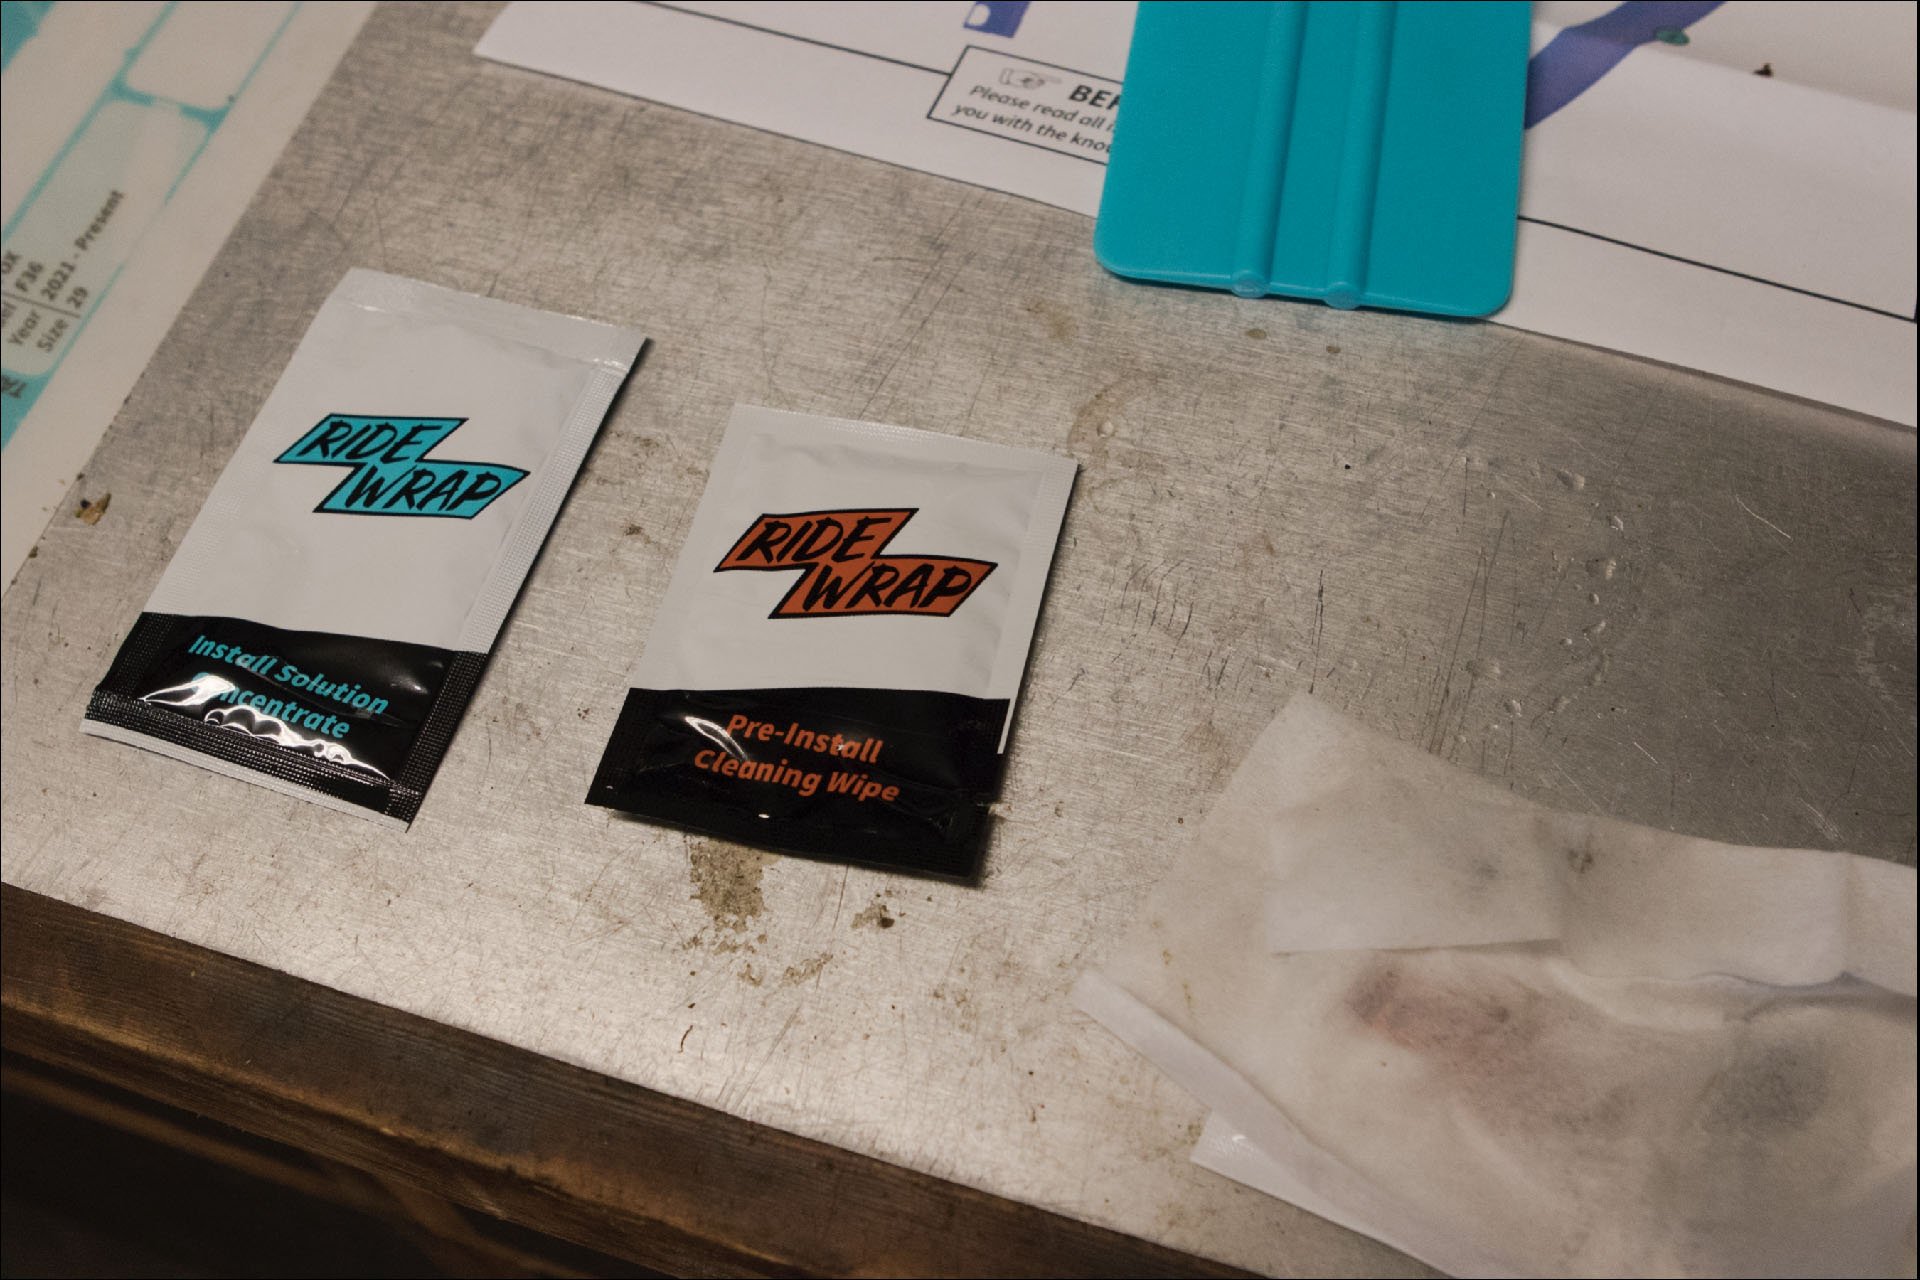
The RideWrap kit includes a microfibre cloth, alcohol wipes, installation fluid, and a squeegee. And of course, excellent instructions.
How it Actually Went
Just as I had the first piece ready to install, being careful not to grab it too tightly to avoid fingerprints, I dropped it on the floor of the shop. As I picked it up, the sticky sides began to adhere to each other enthusiastically and while trying to release this embrace I dropped it again. It was a spectacle worthy of Mr. Bean.
Luckily I had just vacuumed the floor, but it picked up some debris anyway. The solution allowed me to pull most of the bits off, after I peeled the folded sticky side away from itself, which was even more difficult than expected.
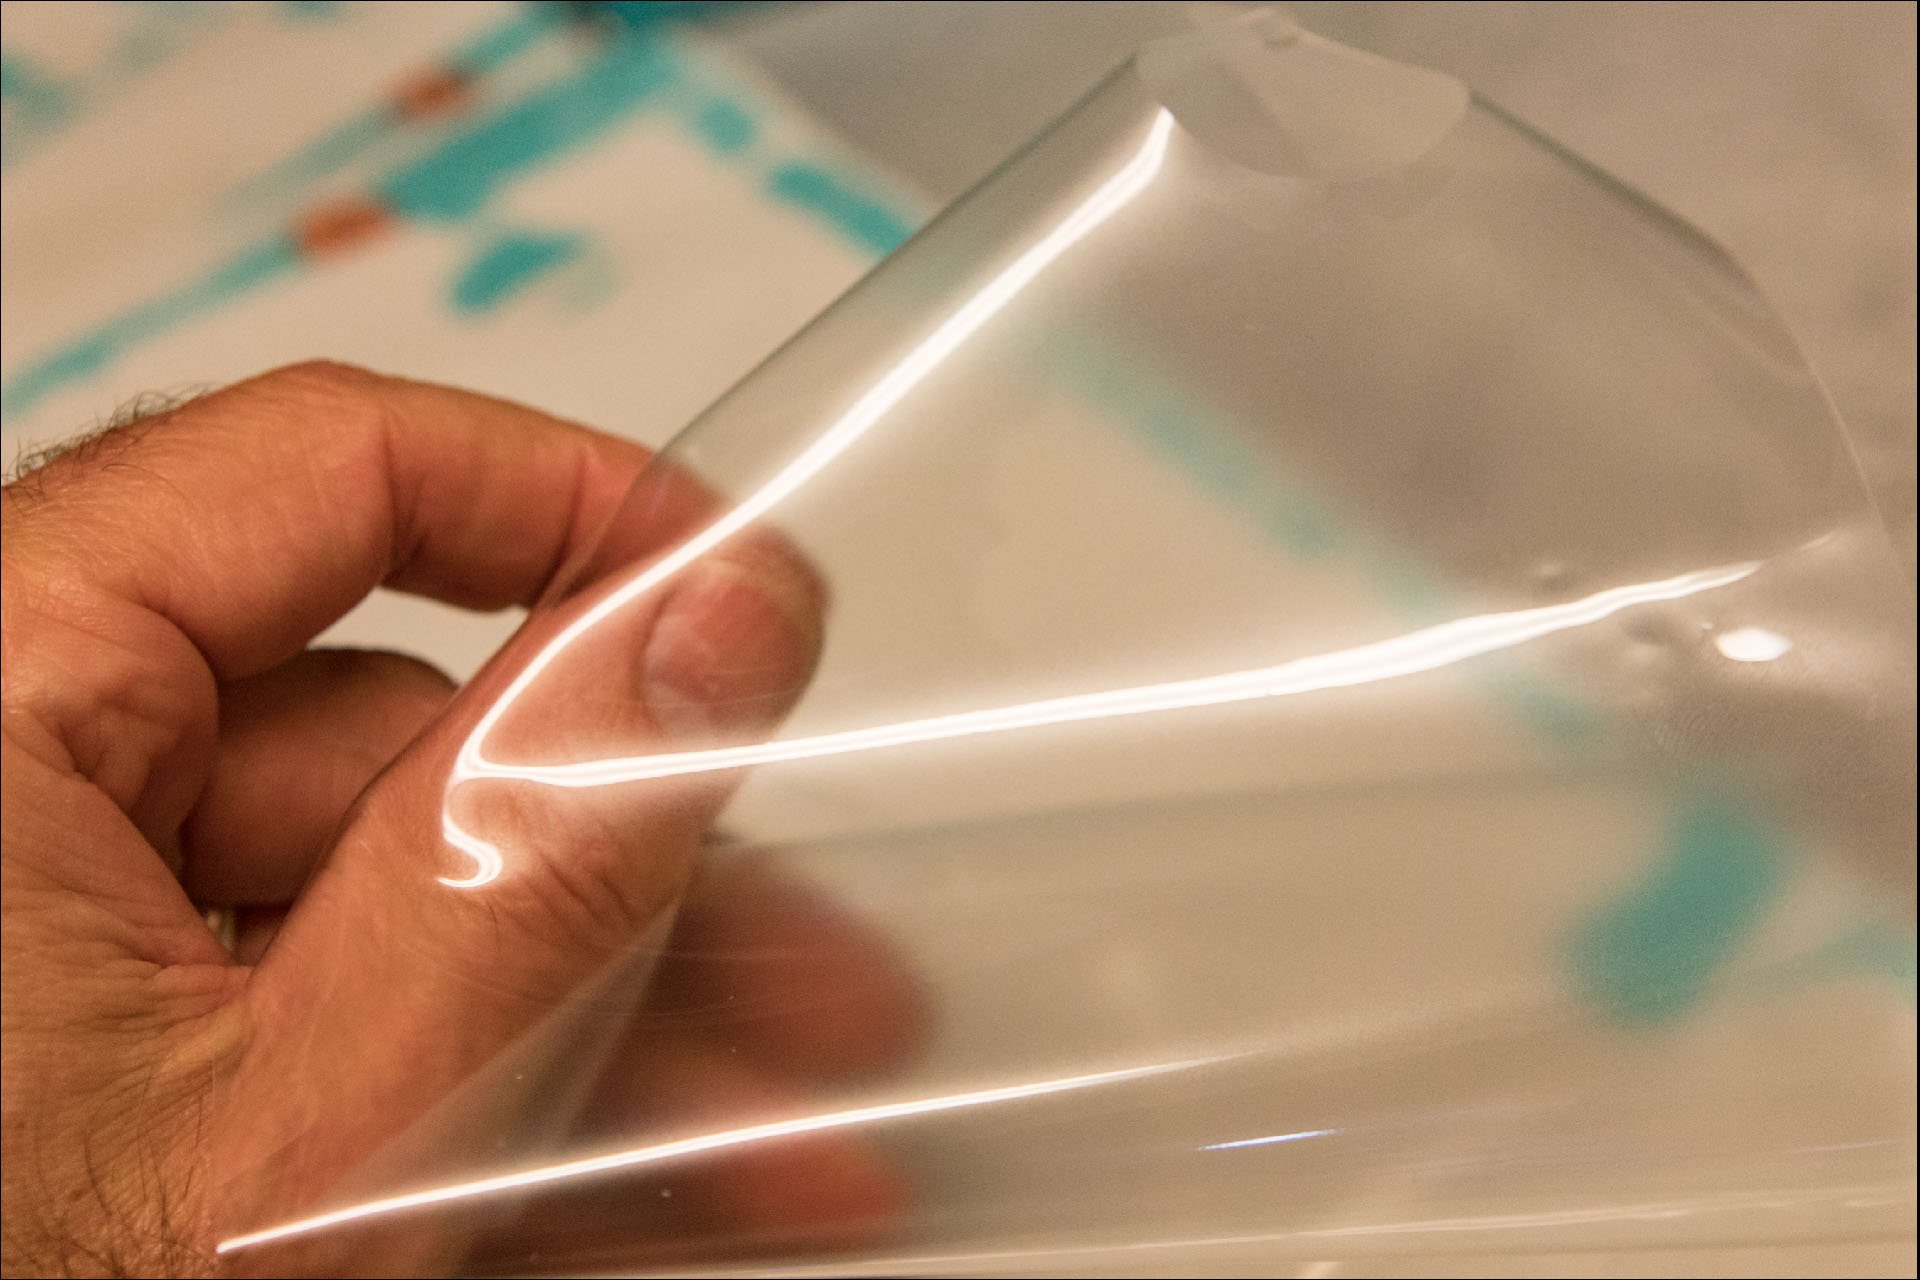
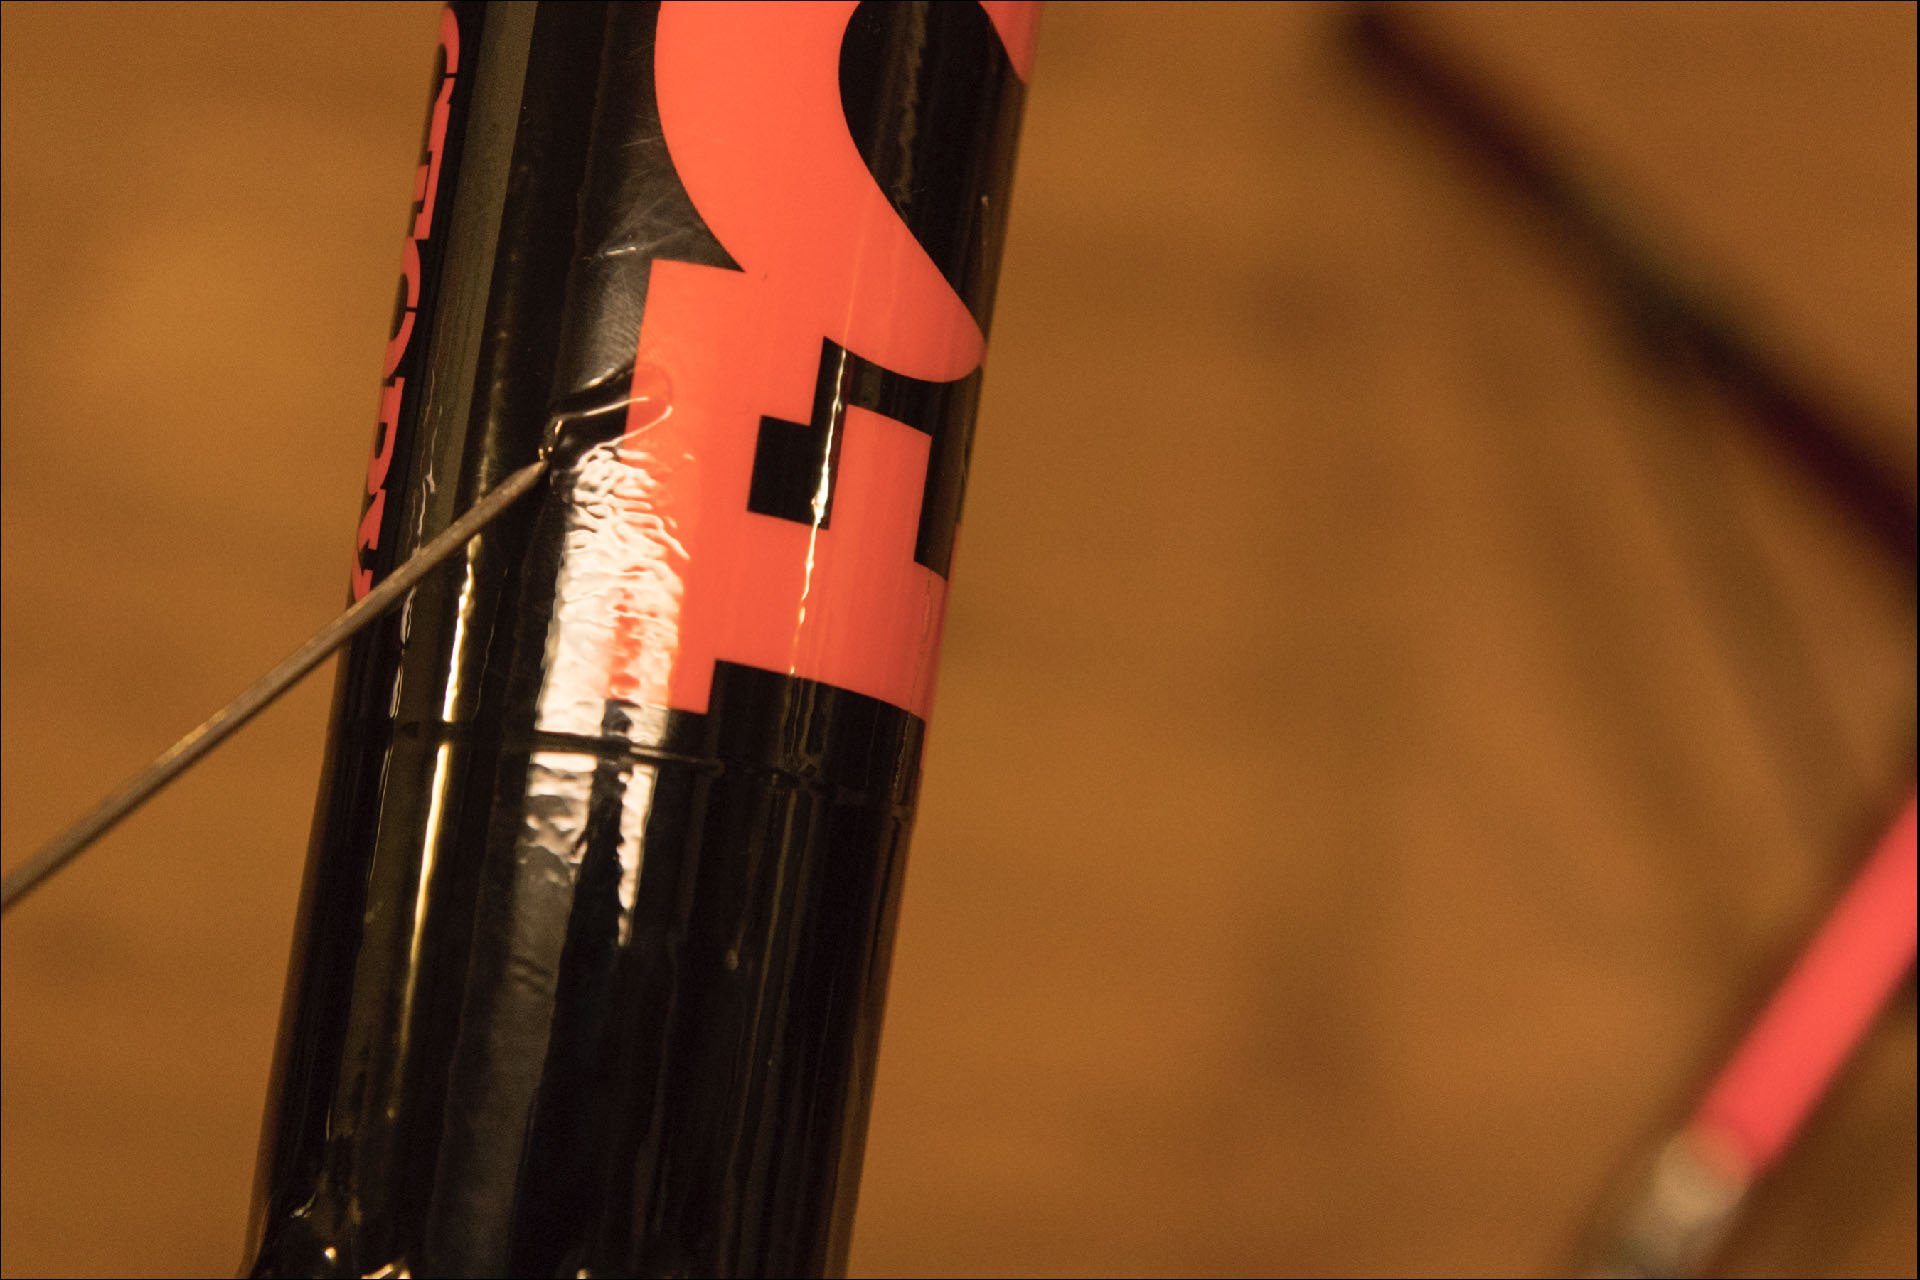
The peeling process can be tricky depending on the shapes involved. Take your time here because a mistake could be costly.
This is RideWrap film stuck both to itself and to me, after falling on the floor. This would have been a smaller problem if a) I didn't drop the piece twice b) I had already sprayed the section with solution and c) the floor had been spotless.
As I picked it up, the sticky sides began to adhere to each other enthusiastically and while trying to release this embrace I dropped it again. It was a spectacle worthy of Mr. Bean.
I found a bubble in my second large piece and it was too far from an edge, too big, and too late to push it out. So I left it and used a sharpened spoke to poke a hole to release the trapped solution.* Then I used a heat gun (a hair dryer works as well) to activate the self-healing properties of the film. I think this was mostly successful but then I did the same procedure to a second bubble and got distracted. There are several warnings in the instructions about overheating when using this technique but I managed to do it anyway. It wasn’t too bad though, and it only made the surface a little rough.
*This solution is not Ridewrap approved but I wanted to give it a try.
Some frames require fewer pieces than the Fox 36 fork did, while others require significantly more. The fork has very few long spans and tight spaces so overall the level of difficulty may be similar to some frames. Below is the quick version, from the world where everything goes as expected.
RideWrap doesn't recommend this solution but I was running out of options, and I wanted to see how it would work. First I punctured the bubble with a sharpened spoke (which is an excellent tool to have in your shop).
After draining the blister I used the heat gun to engage the film's self-healing properties. A hair dryer works just fine.
The 11-Step Program
Step 1. Clean whatever it is you are wrapping. If it’s a new frame, you can probably get away with a lint free cloth or paper towel and some rubbing alcohol. If not you will probably need some cleaning solution to remove any oil and grime. RideWrap provides some good wipes in the kit so don’t worry if you don’t have this on hand.
Step 2. Workspace prep. It's a good idea to clean the area where you are working as well, including the floor, in case you drop a piece as I did. You'll want excellent lighting to spot bubbles and ensure your alignment is nailed. If you are doing a frame that is entirely built up, you'll need to remove anything that will get in the way, like water bottle cages or cables and hoses that aren't internally routed. If it's a fork you are doing you can probably get away with simply removing the wheel, but it will be easier to remove the fork and clamp the steerer into a stand, or a vice with some protection in a pinch.
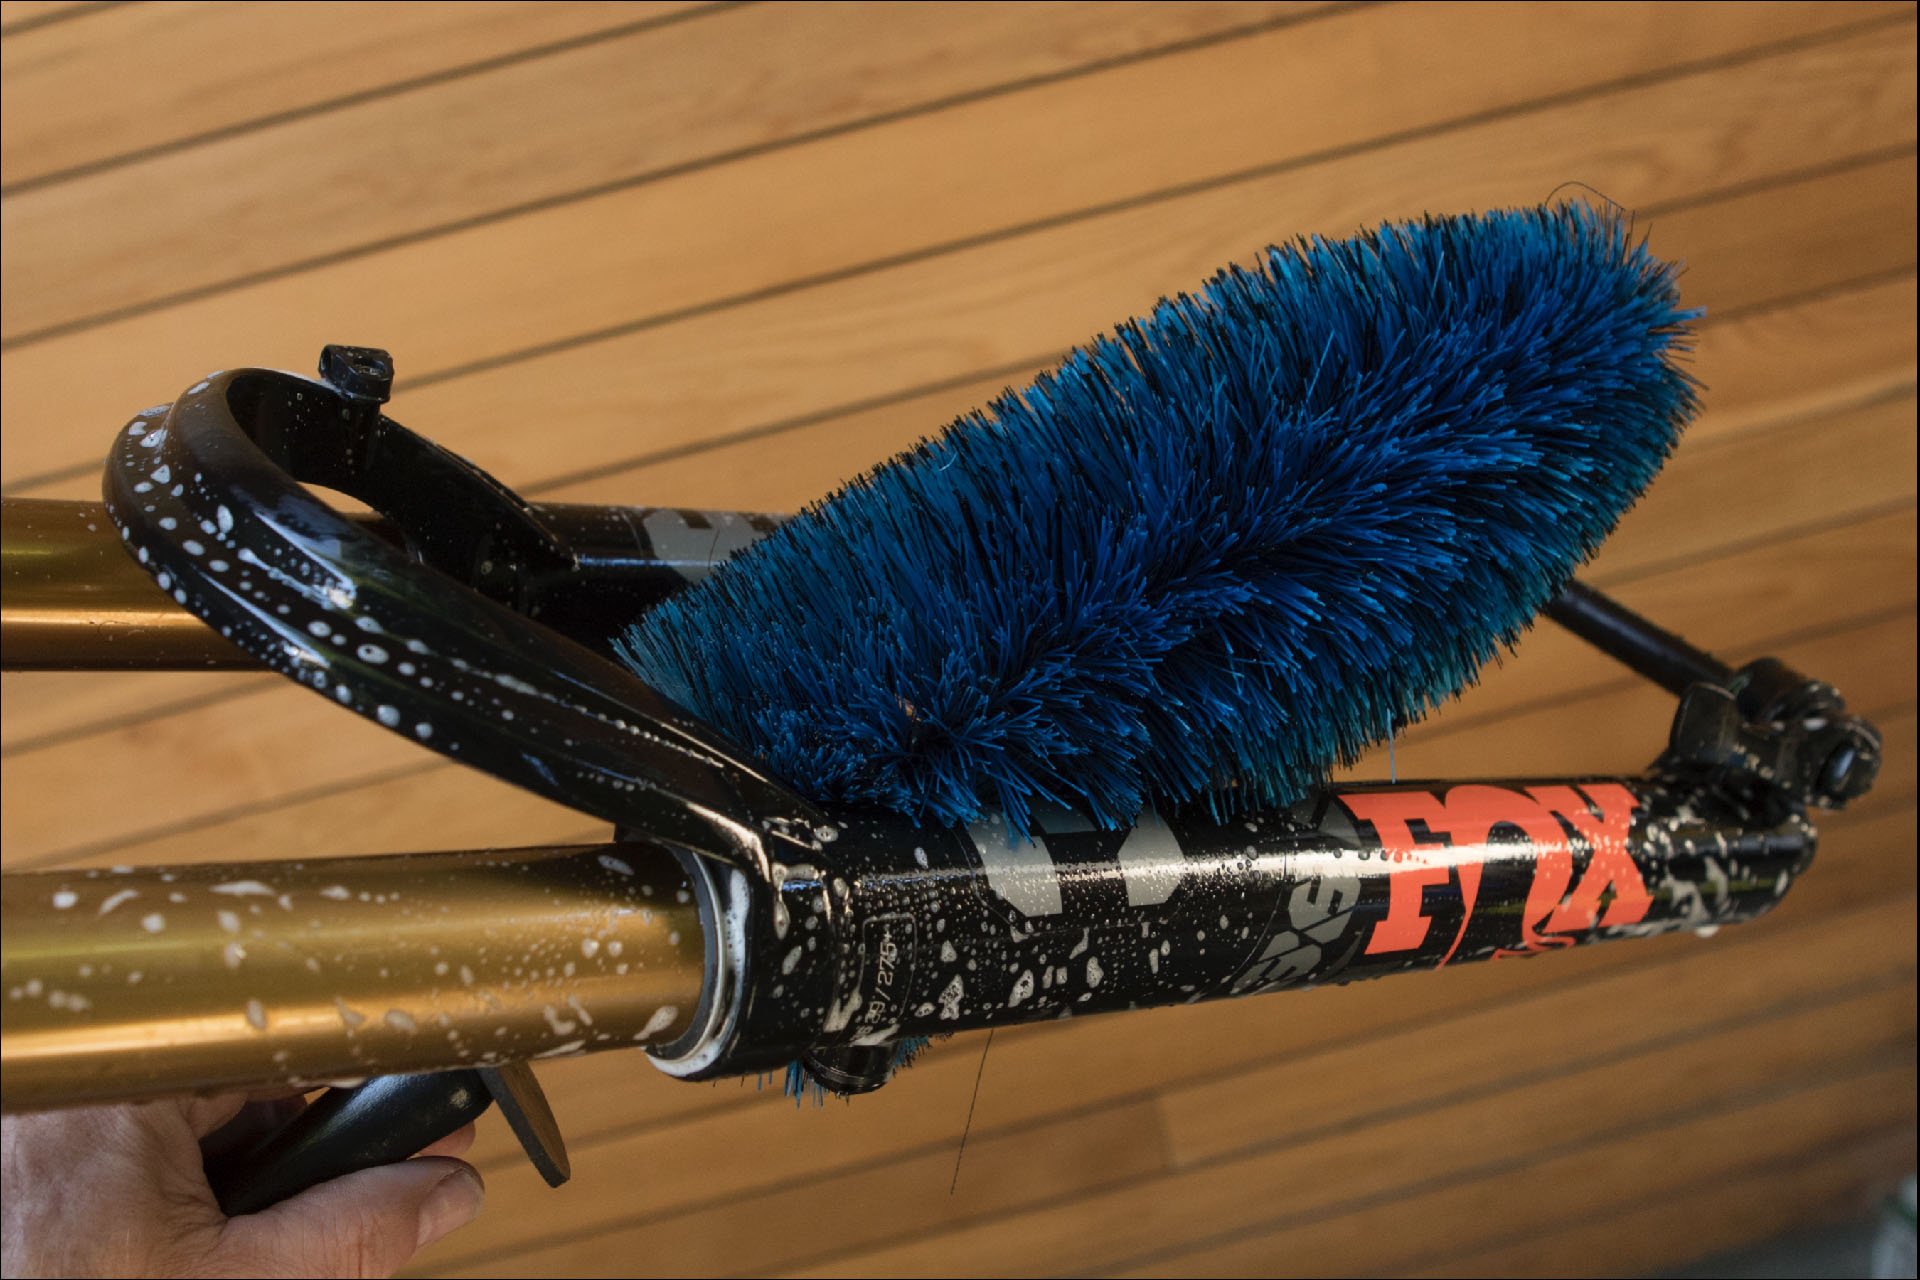
In some places aesthetics aren't important to me and here I didn't worry too much about bubbles.
Step 3. Read all the instructions. I know most of you are men, and this goes against everything you stand for, but in this case it’s worth it. If you take all the proper steps, your mistakes will be reversible. If not you’ll have overlapping pieces and bubbles where you don’t want them. Your bike will still be protected, however.
Step 4. Prep a bottle of the install solution. This is essentially one drop of baby shampoo and 750ml of water in a spray bottle, but you no longer have to buy a $6 bottle of baby shampoo (like I did) because it’s supplied in a little packet. I found an empty bottle of cleaning solution around the house and rinsed it thoroughly for this task. You’ll be spraying this on every piece of film as well as your frame and/or fork. This allows you to adjust the piece once you’ve applied it or to remove it and start again. When I did this it seemed like it was too slippery for the first couple of pieces so I emptied some of the solution and filled it up with plain water to decrease the concentration. If it isn’t slippery enough, add some more of the solution provided.
Drenching both the film and the frame in solution is essential if you hope to be able to realign or reapply pieces. Otherwise it'll be like putting decals on Lego - you'll only have one shot.
Step 5. Go through the diagram outlining the installation order. This graphic is essential and you'll save yourself a lot of grief by following it.
Step 6. Figure out which piece is the first to be applied based on the diagram and spray that area of the frame or fork with solution. This is also a good time to recognize any pitfalls or details that need to be negotiated.
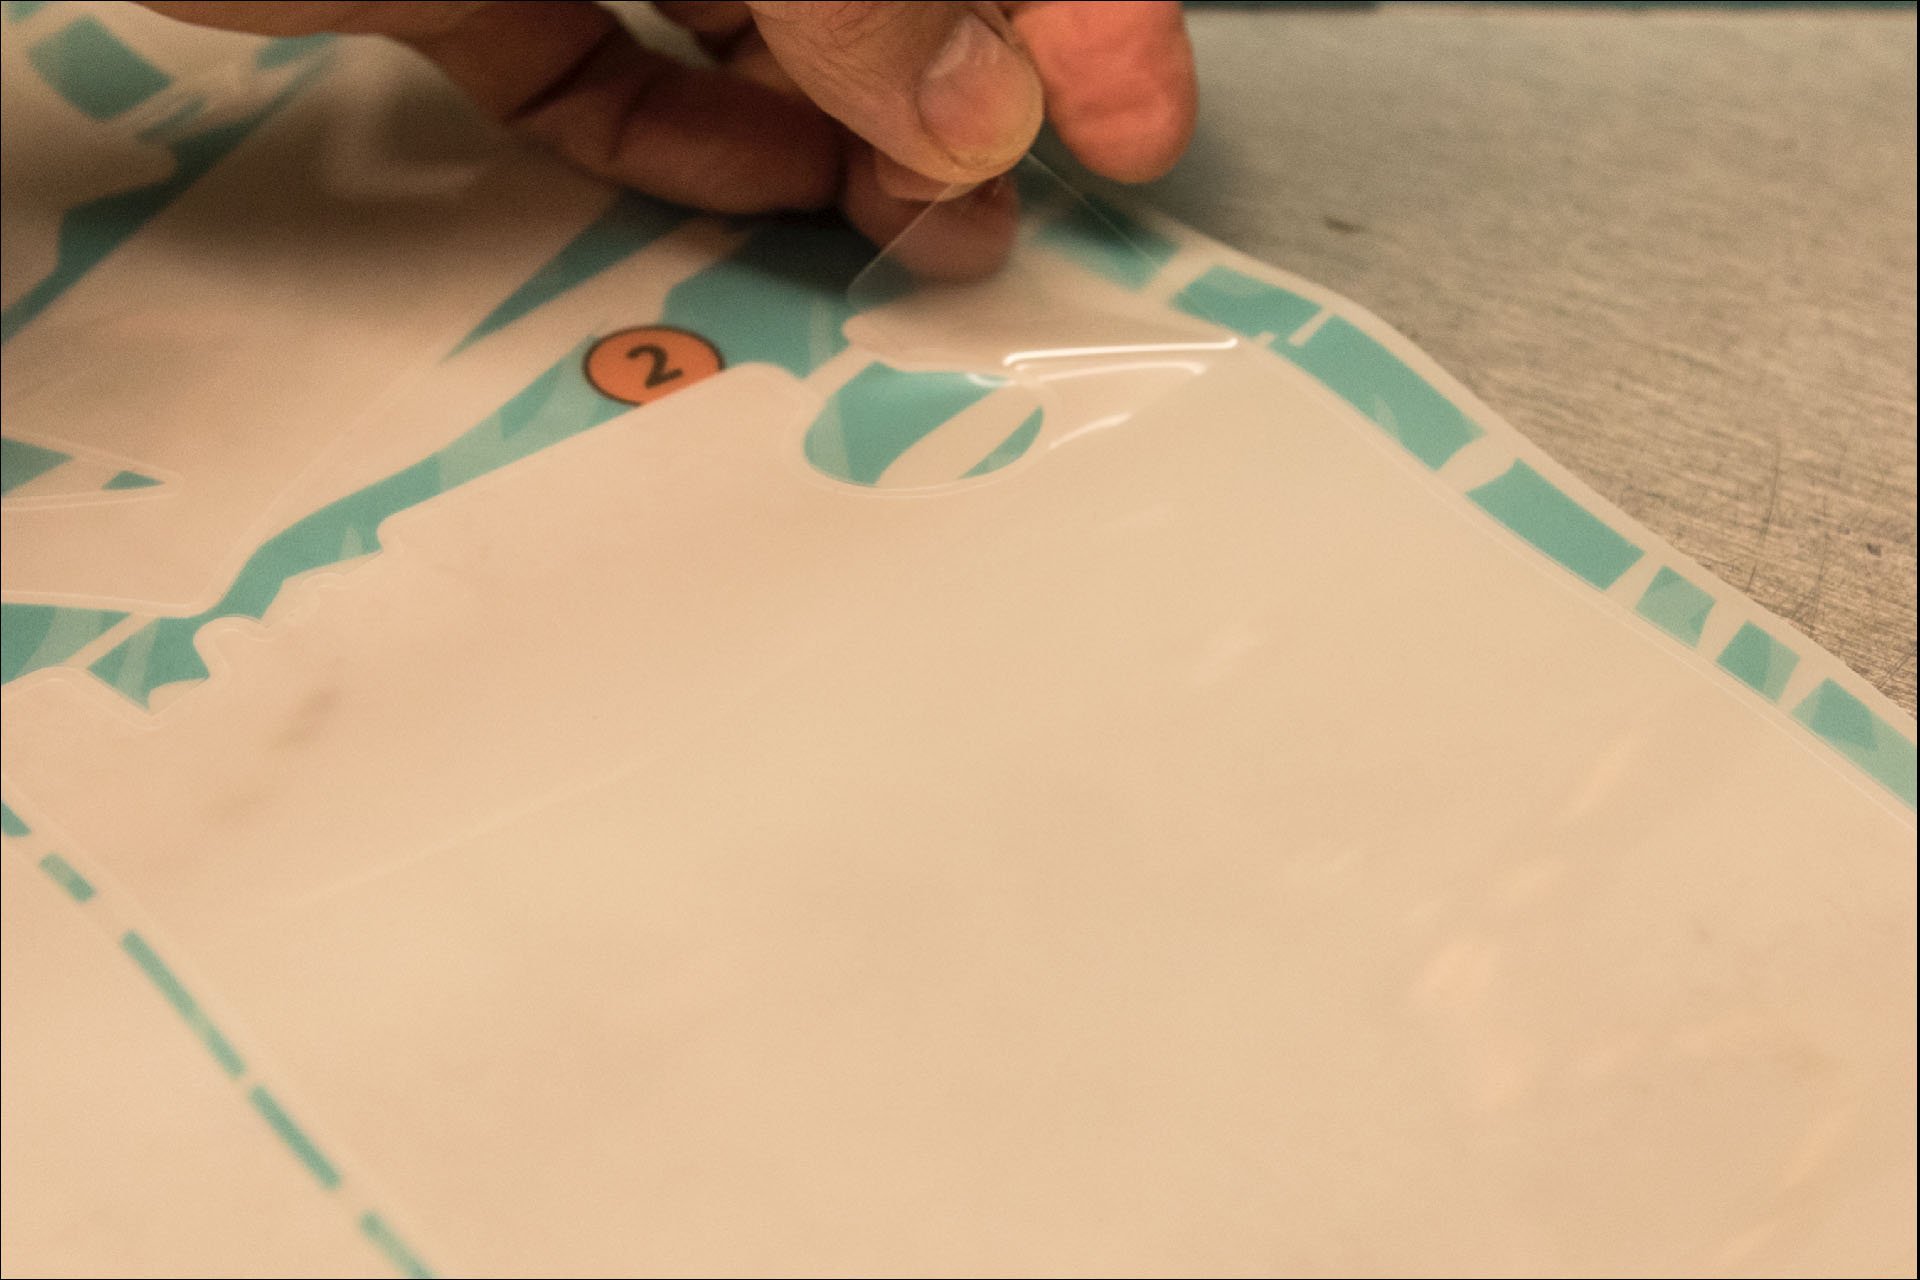
Step 7. Game on. Peel off the first piece, being careful to start in the correct corner. If the piece happens to have multiple cutouts, as mine did, you may need to start peeling from multiple locations to prevent damage to the film. Some rubber gloves are useful to prevent finger prints but you may also find the film sticks to them very well so it's a bit of a tradeoff. Once you've peeled the section free, spray it with solution.
From this point on it's a bit like you are in surgery; your patient is cut open and sedated and you're going to want to fix everything before closing them back up again. You could stop in the middle if necessary, but once all the prep is done and you have some momentum, it's much better to keep things rolling.
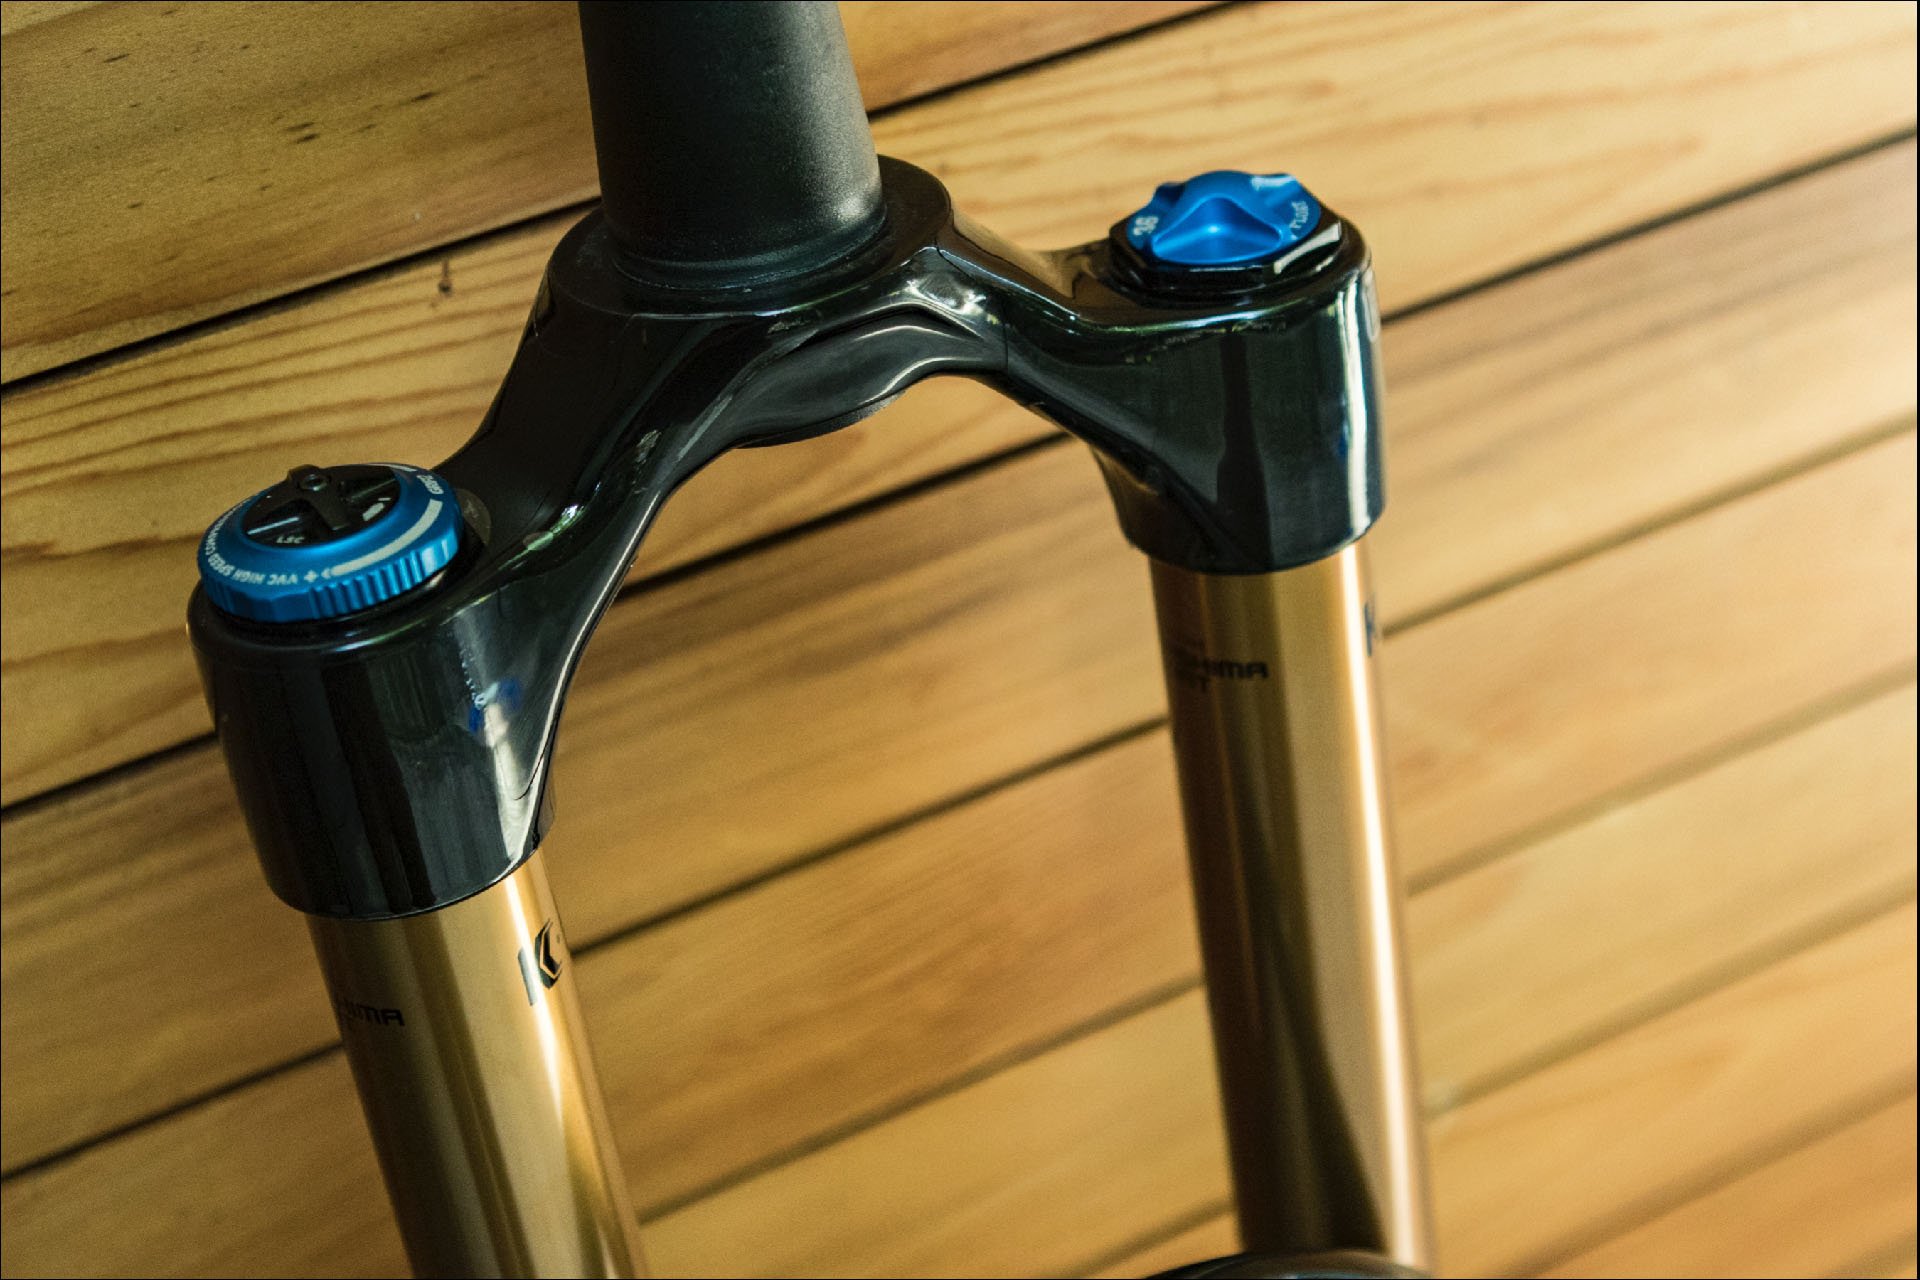
Step 8. The key to installing pieces is finding a reference point to work from. Since I was working on a 2021 Fox 36, I used the relief valves for the first two pieces, which are also by far the largest. Or I did eventually. At first I tried using the posts for the brake caliber but that didn't align everything properly. Once I centred the cutout in the film with the relief valve (it took me several tries to figure this out) the other elements lined up.

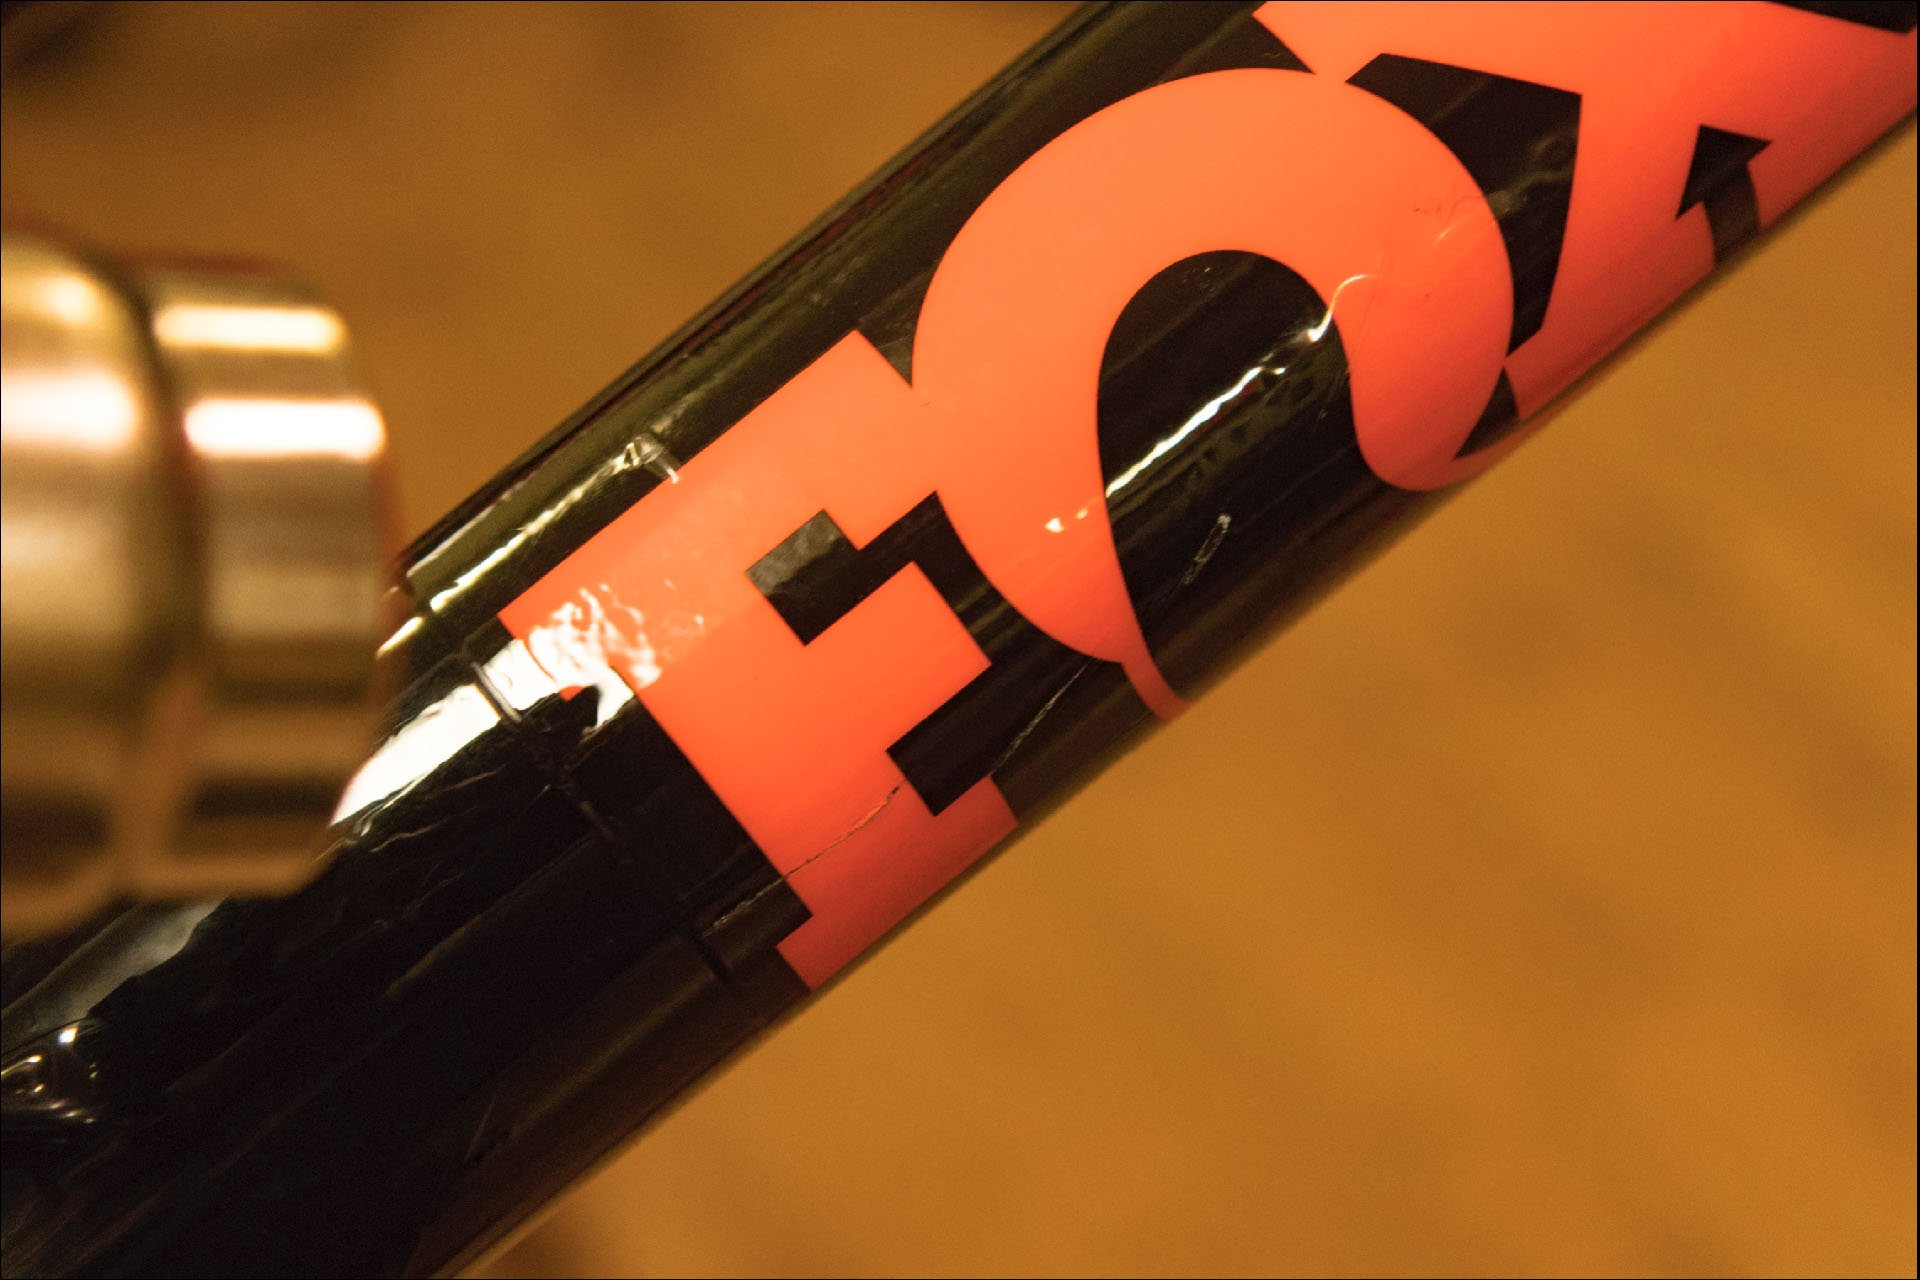
If you look closely at the lower leg on the right you can see that the film is distorted some, because I got distracted while using the heat gun.
Step 9. As you apply the film start by pressing an edge or even a middle portion down so you have somewhere to work from. This allows you to push the film in one direction at a time to minimize bubbles. I often used my finger but the squeegee provided by RideWrap works better in some situations. Take it slowly here because it's much easier to prevent bubbles than to remove them, although that is possible as well.
Step 10. Once the sheet is laid, it's time to inspect for your nemesis: the dreaded bubble. Unless they are very close to the edge, it's much easier to prevent them than to remove them later, but generally that can be done as well. If it's close, find the nearest edge and use the squeegee, either angled away from or toward the bubble, depending on the location, to gradually work it toward the opening. If there are multiple bubbles, try to line them up so you can get them all in one go. If it's further away, you may have to lift the film until you get to the bubble and then re-apply the film, being careful to push air and solution in the direction of your application. When you lift the film, RideWrap recommends spraying the fluid onto the sheet as you peel it away. The bubbles are either air or solution, and it seems air is easier to manipulate, but both are equally unsightly.
Step 11. Refer to the diagram for the next piece you need to install. And repeat until every piece has been placed.
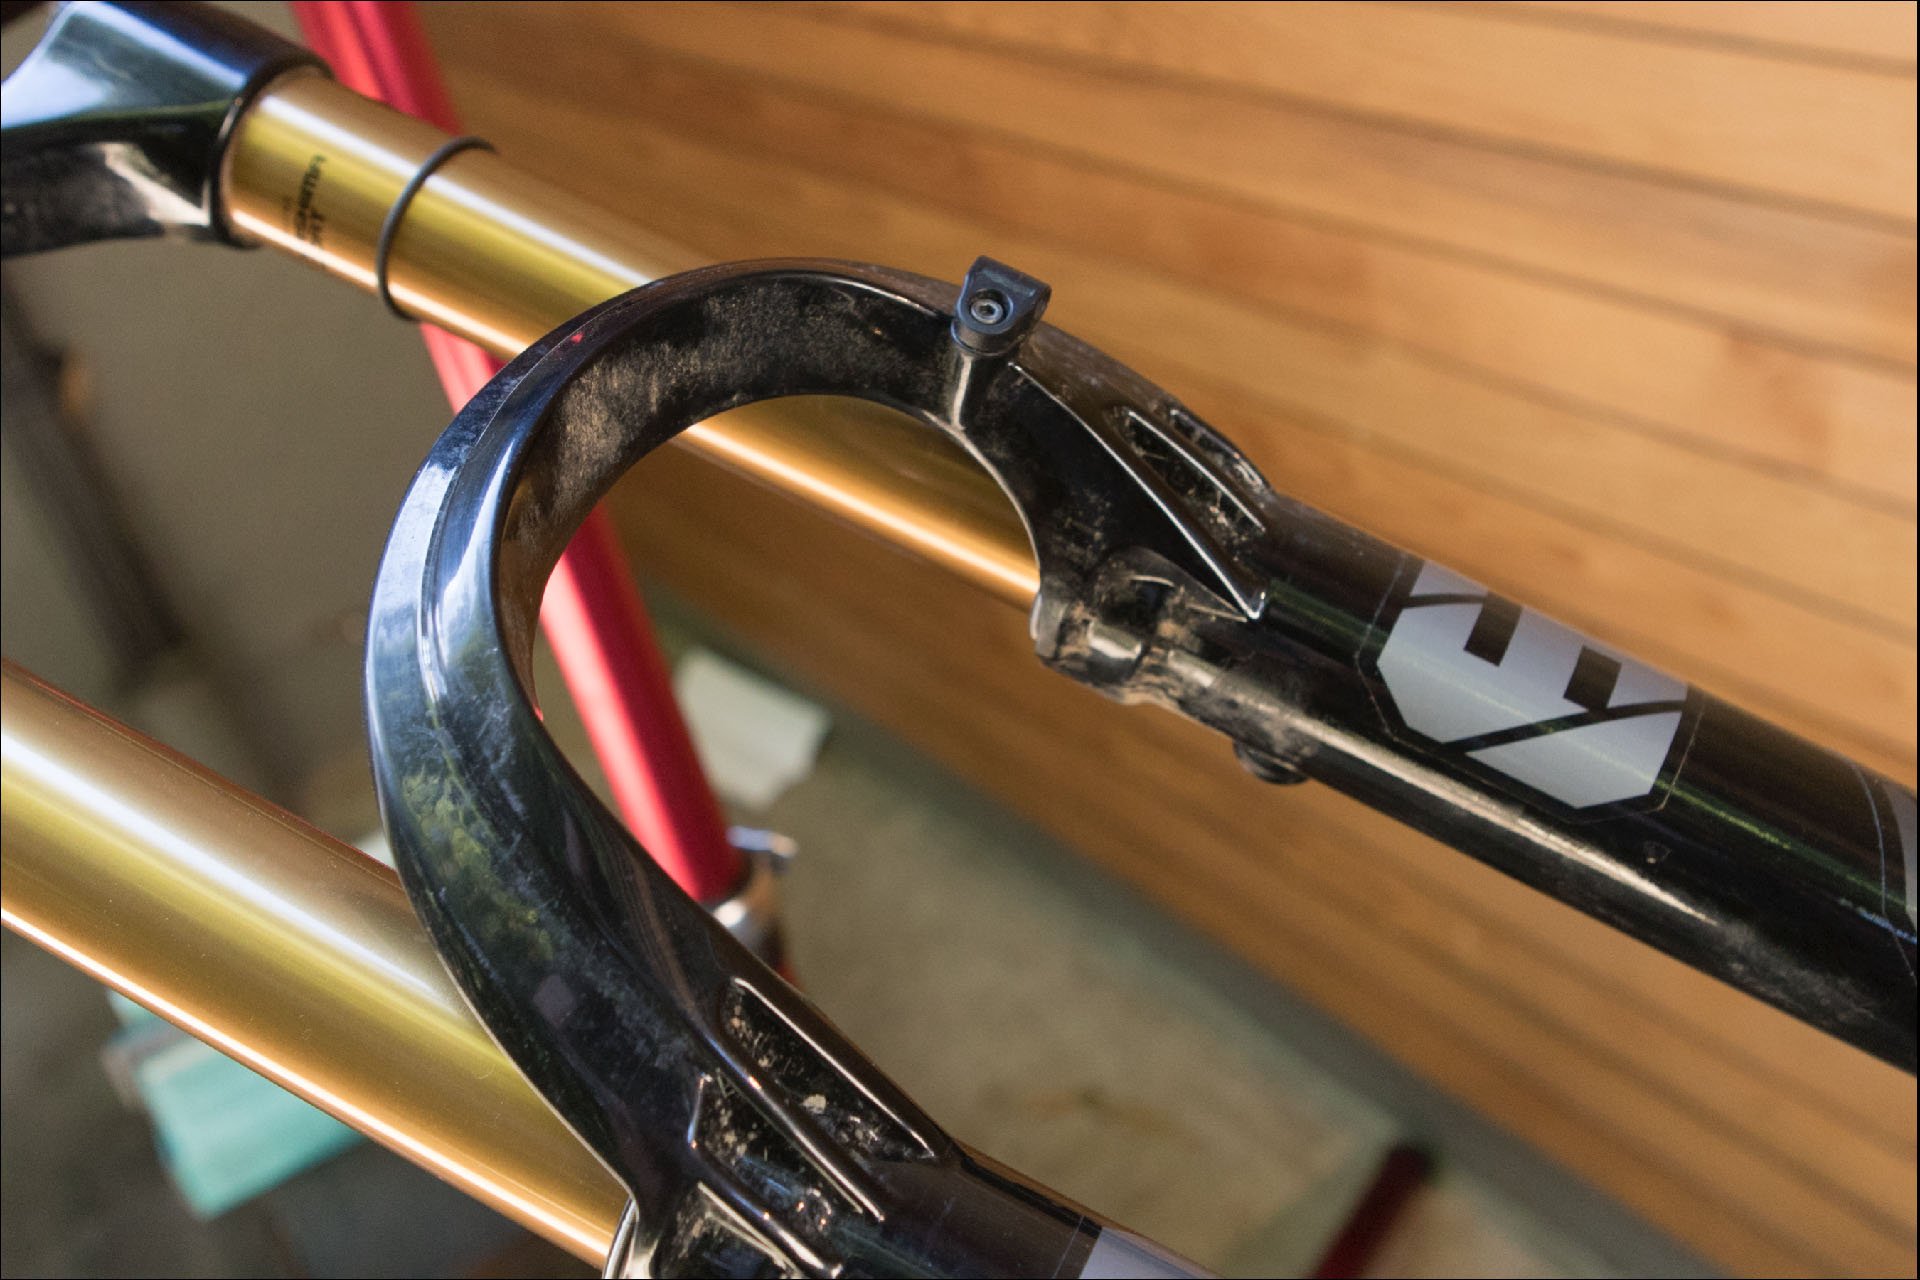
Crowns take a lot of abuse but this one is now well-protected.
Overall I'm pretty happy with my final result, but even happier with the protection.
As I went on I got a little better, which was useful because some of the smaller, later pieces were very tricky. I took several swipes at placement several times. In the end I wasn't thrilled with my results, partially because the fork wasn't fresh and partially because sometimes I wasn't patient enough with placement or bubble removal, but the beauty is the fork is well-protected despite my lack of precision. The rock bouncing toward your lower leg doesn't know the gap between two pieces of film is a millimetre too small.
The area below the bottom bracket was a bit of a mess and it was clear it had taken quite a beating.
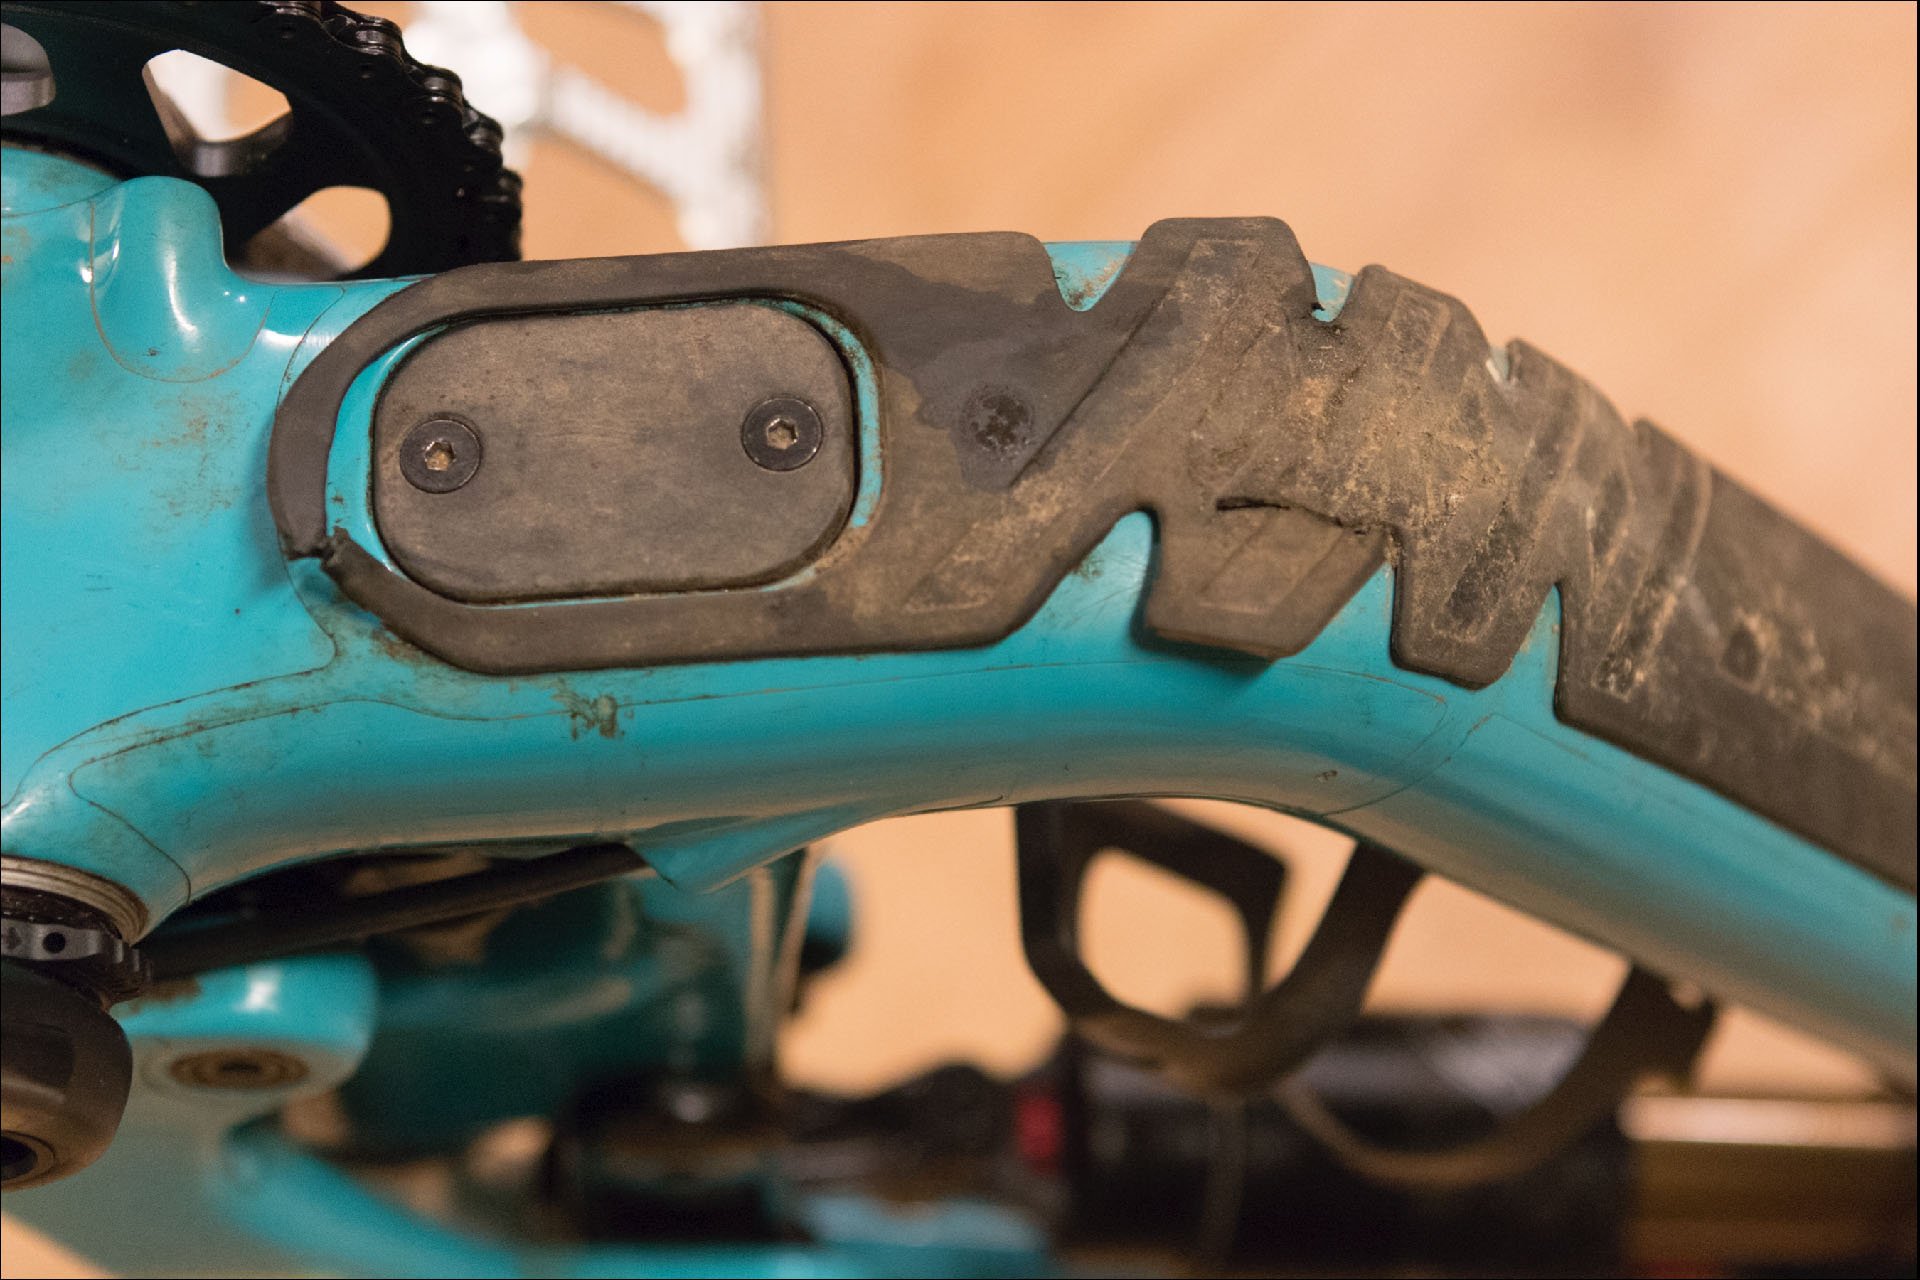
To repair this area I used some RideWrap Chainstay Protection. My chainstay came protected from the factory but this thicker and more protective coating is very versatile. I cut out the pieces that were hanging loose and cleaned off the surface, first with an exacto knife blade and then with alcohol. The tough yet flexible material was easily molded to fit the new and expanded protected area. The chainstay armour costs $25.
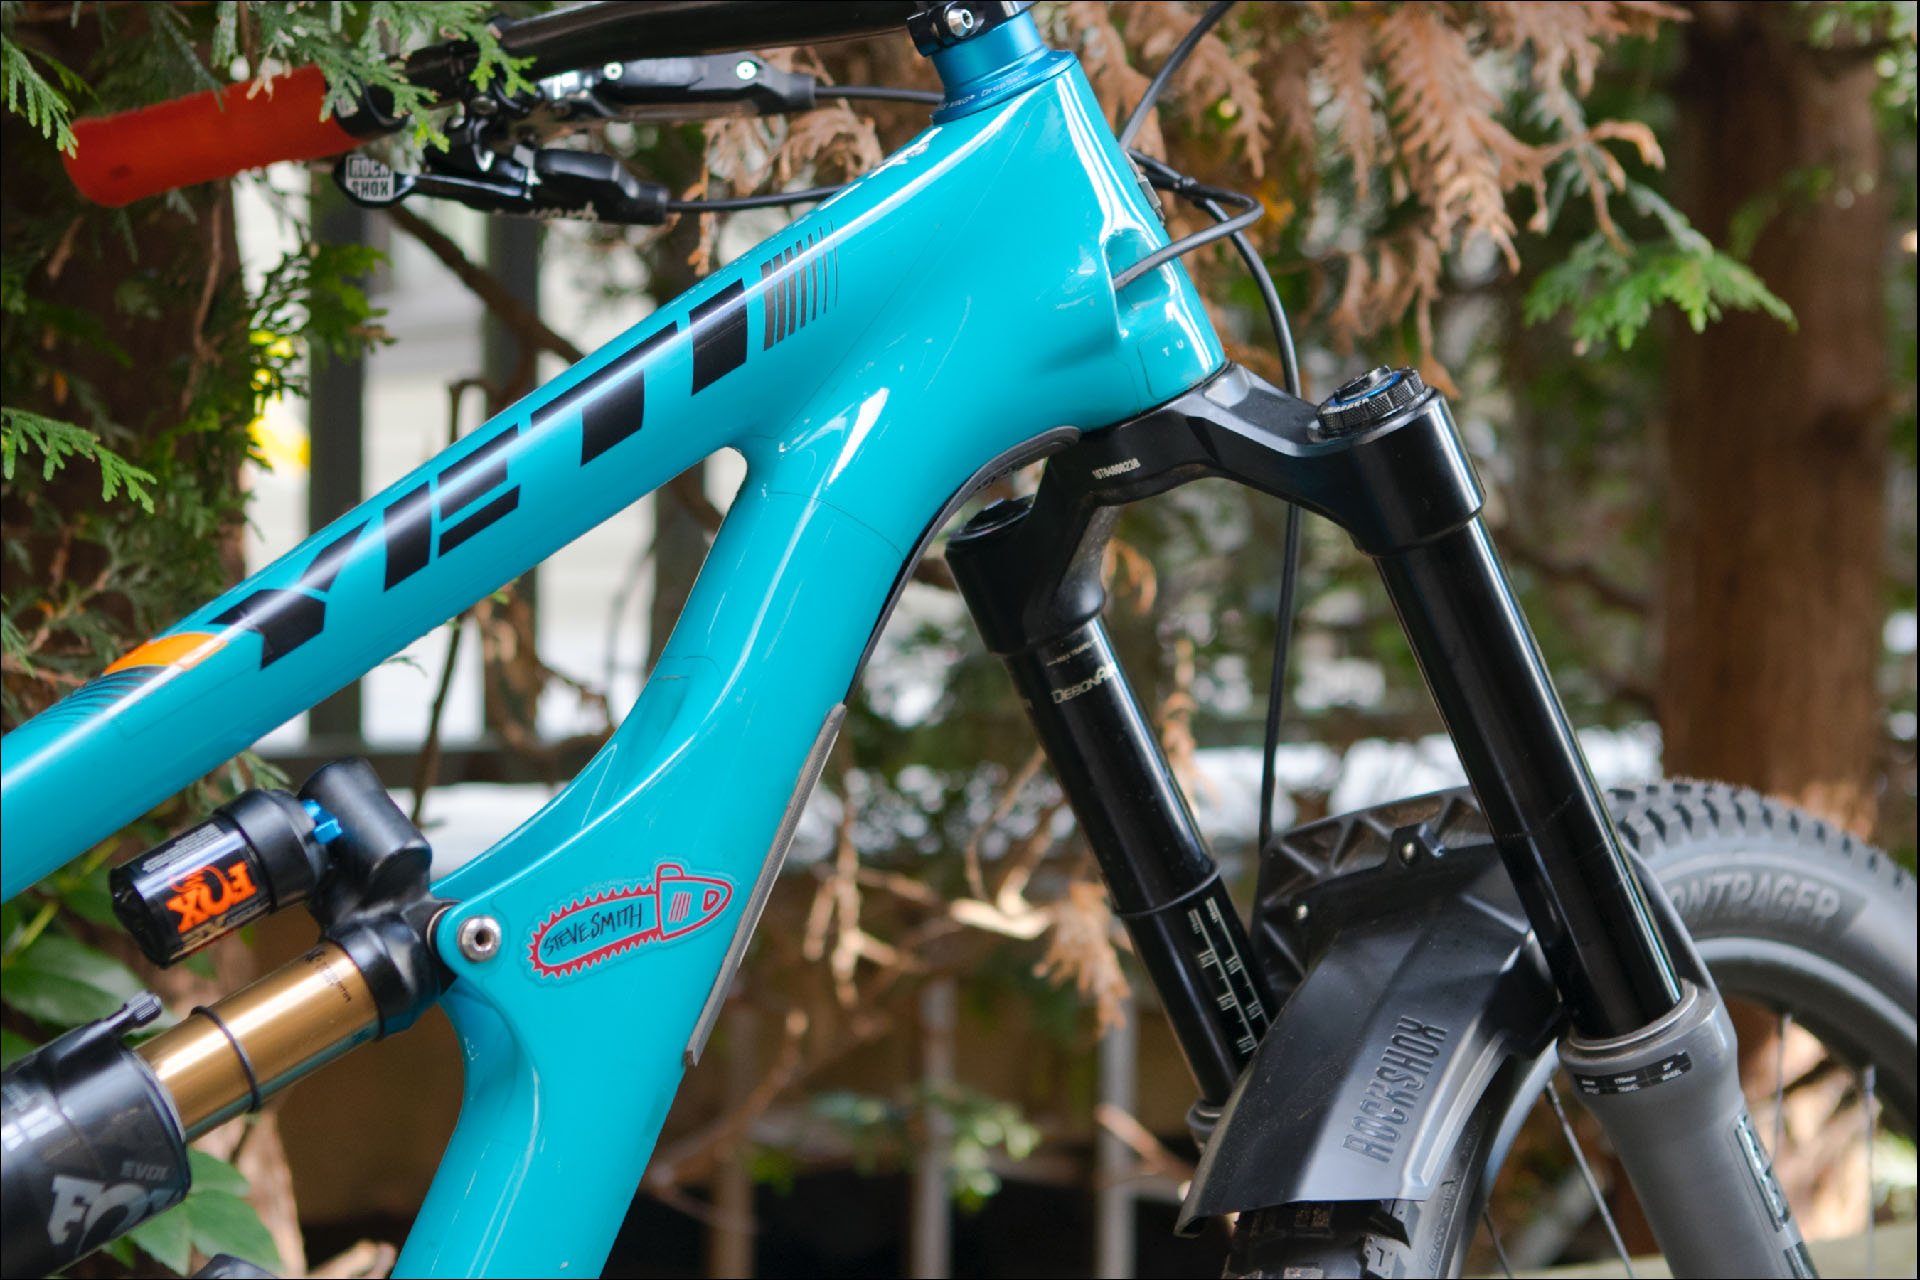
My RideWrapped Yeti SB150 - 18 Months Later
I usually ride more in the winter months than I do in July and August, and there is no question frames and components take a shit kicking on a rainy November day, or worse, a slushy day in February. Grit and moisture penetrates even the best seals and mineral laden soil acts like sandpaper on your frame. It's telling when you hose off your bike and it looks extra clean, like the grit took a layer off everything. You get the picture. Lots of riding in the shittiest conditions.
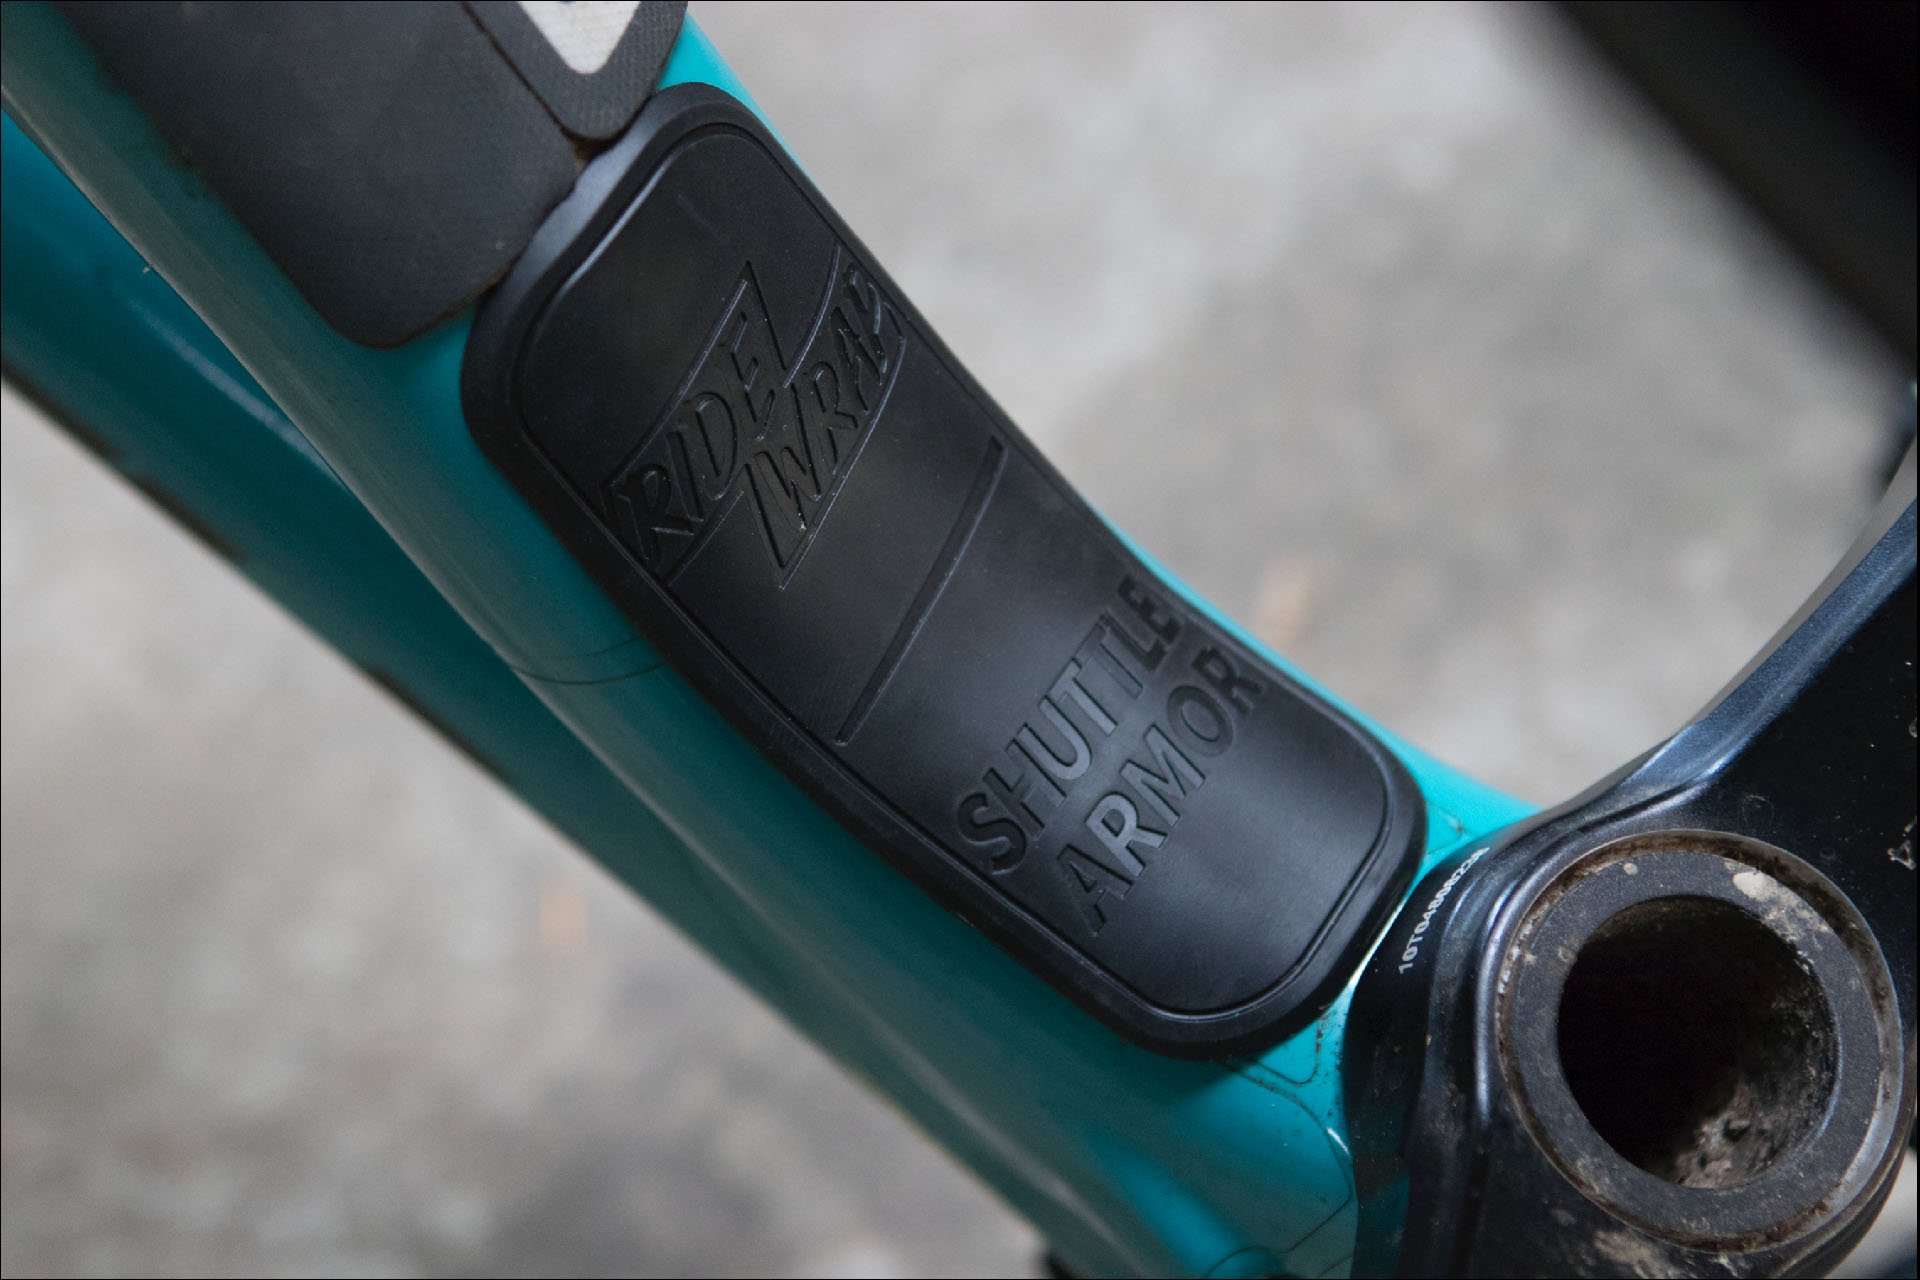
RideWrap also makes a nice shuttle guard. I cleaned it well and finished with alcohol, but the edges have been reluctant to stay down. It's not going anywhere though and it does the job admirably. RideWrap Shuttle Armour costs $25.
When my Yeti SB150 frame was new, I asked Andy (formerly of Bikeroom) to install Ridewrap to protect both frame and fork. Andy was certified by RideWrap and he did a meticulous job and made it look easy. It’s been a huge success in my estimation and while the wrap itself is damaged in a few places, there are very few spots where an impact has penetrated the film, and scuffs and rub marks have been completely eliminated. In the last 18 months my bike has travelled extensively, often packed too tightly into the back of pickup trucks, and been ridden regularly in the very worst conditions, and it still looks great.
The edges can get a little clogged with dirt but I was surprised by how easily these can be cleaned.
The sides of the top tube are a little scuffed from kneepad wear.
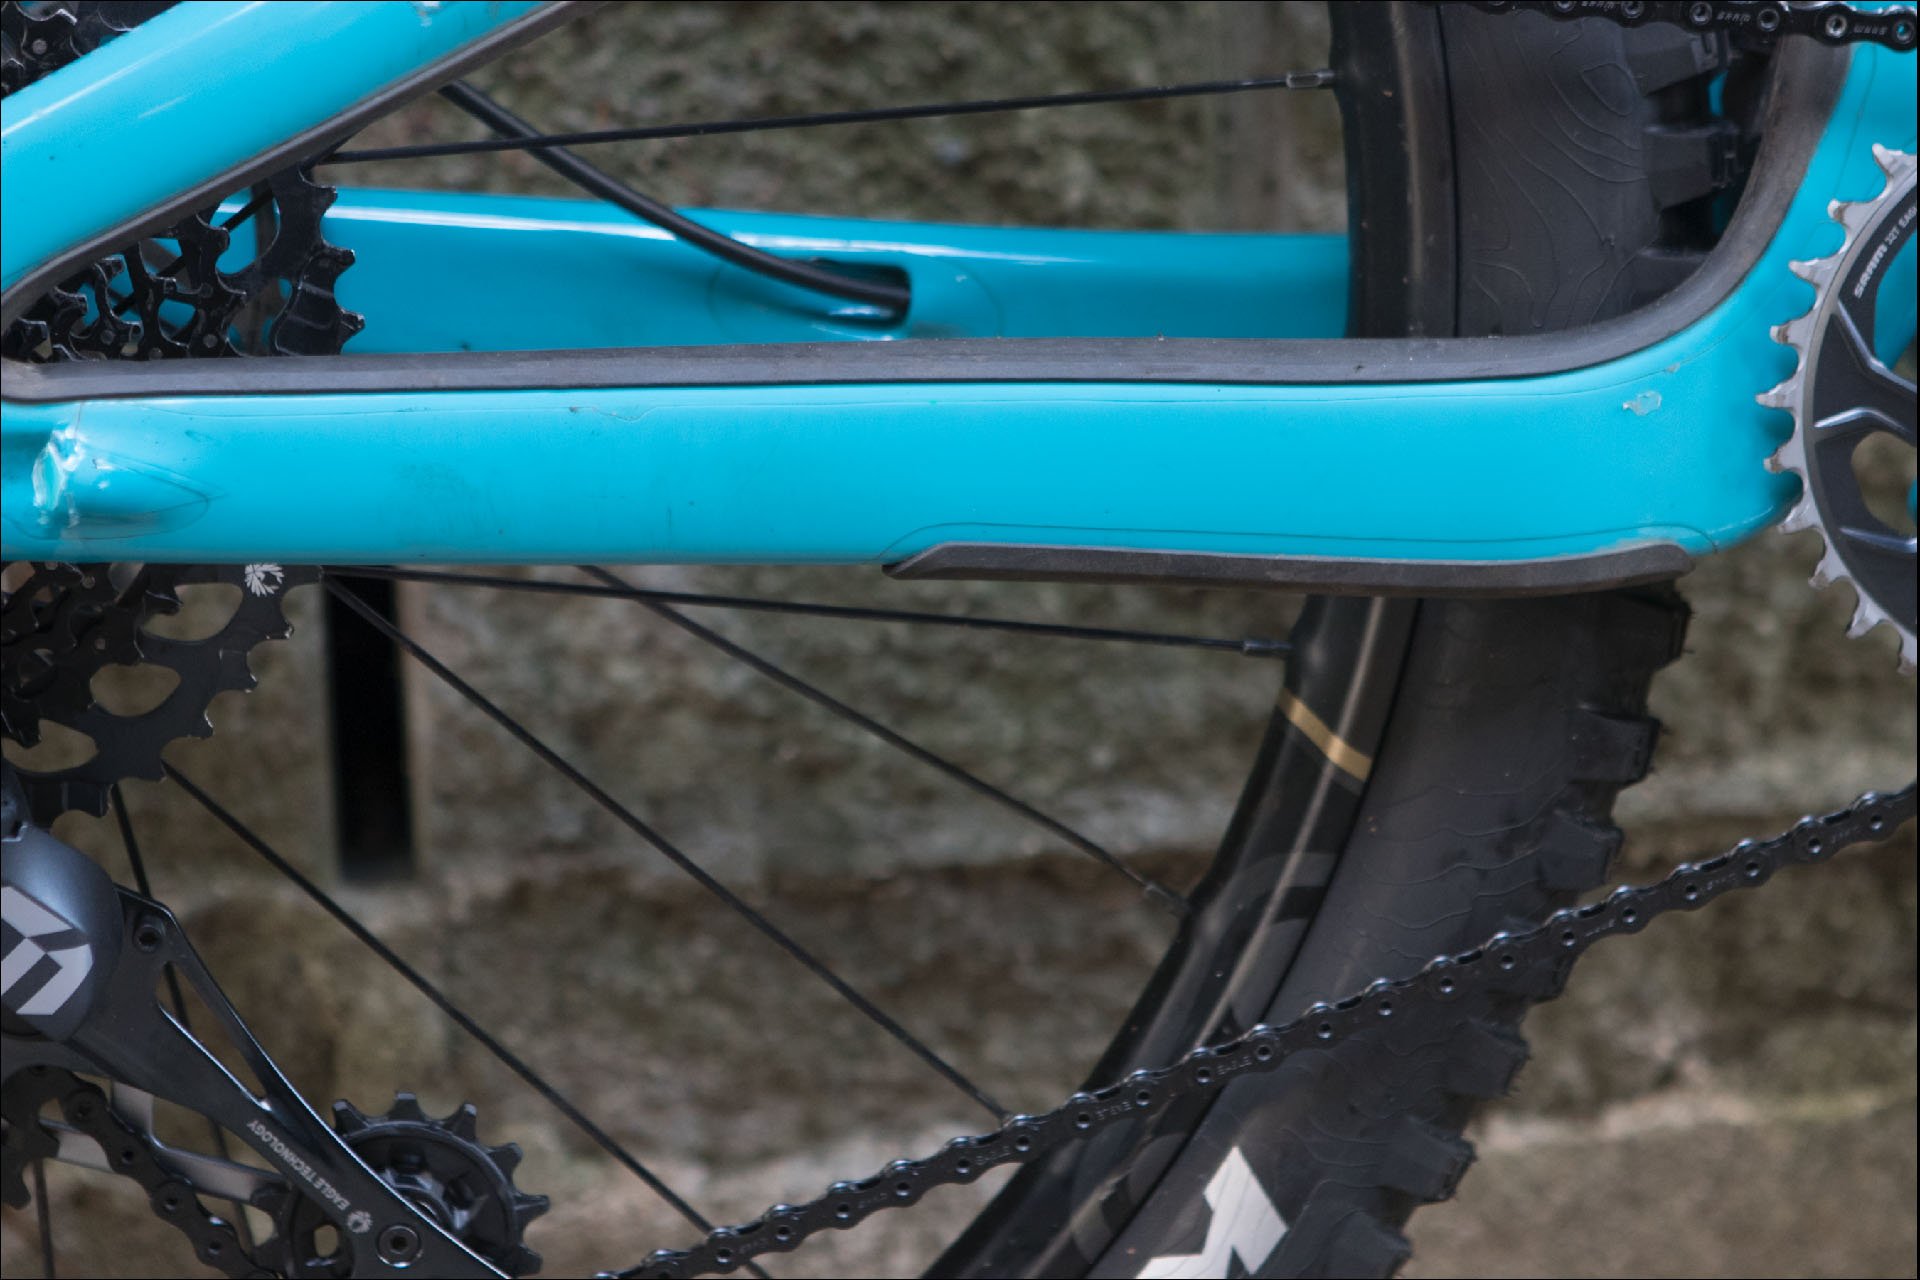
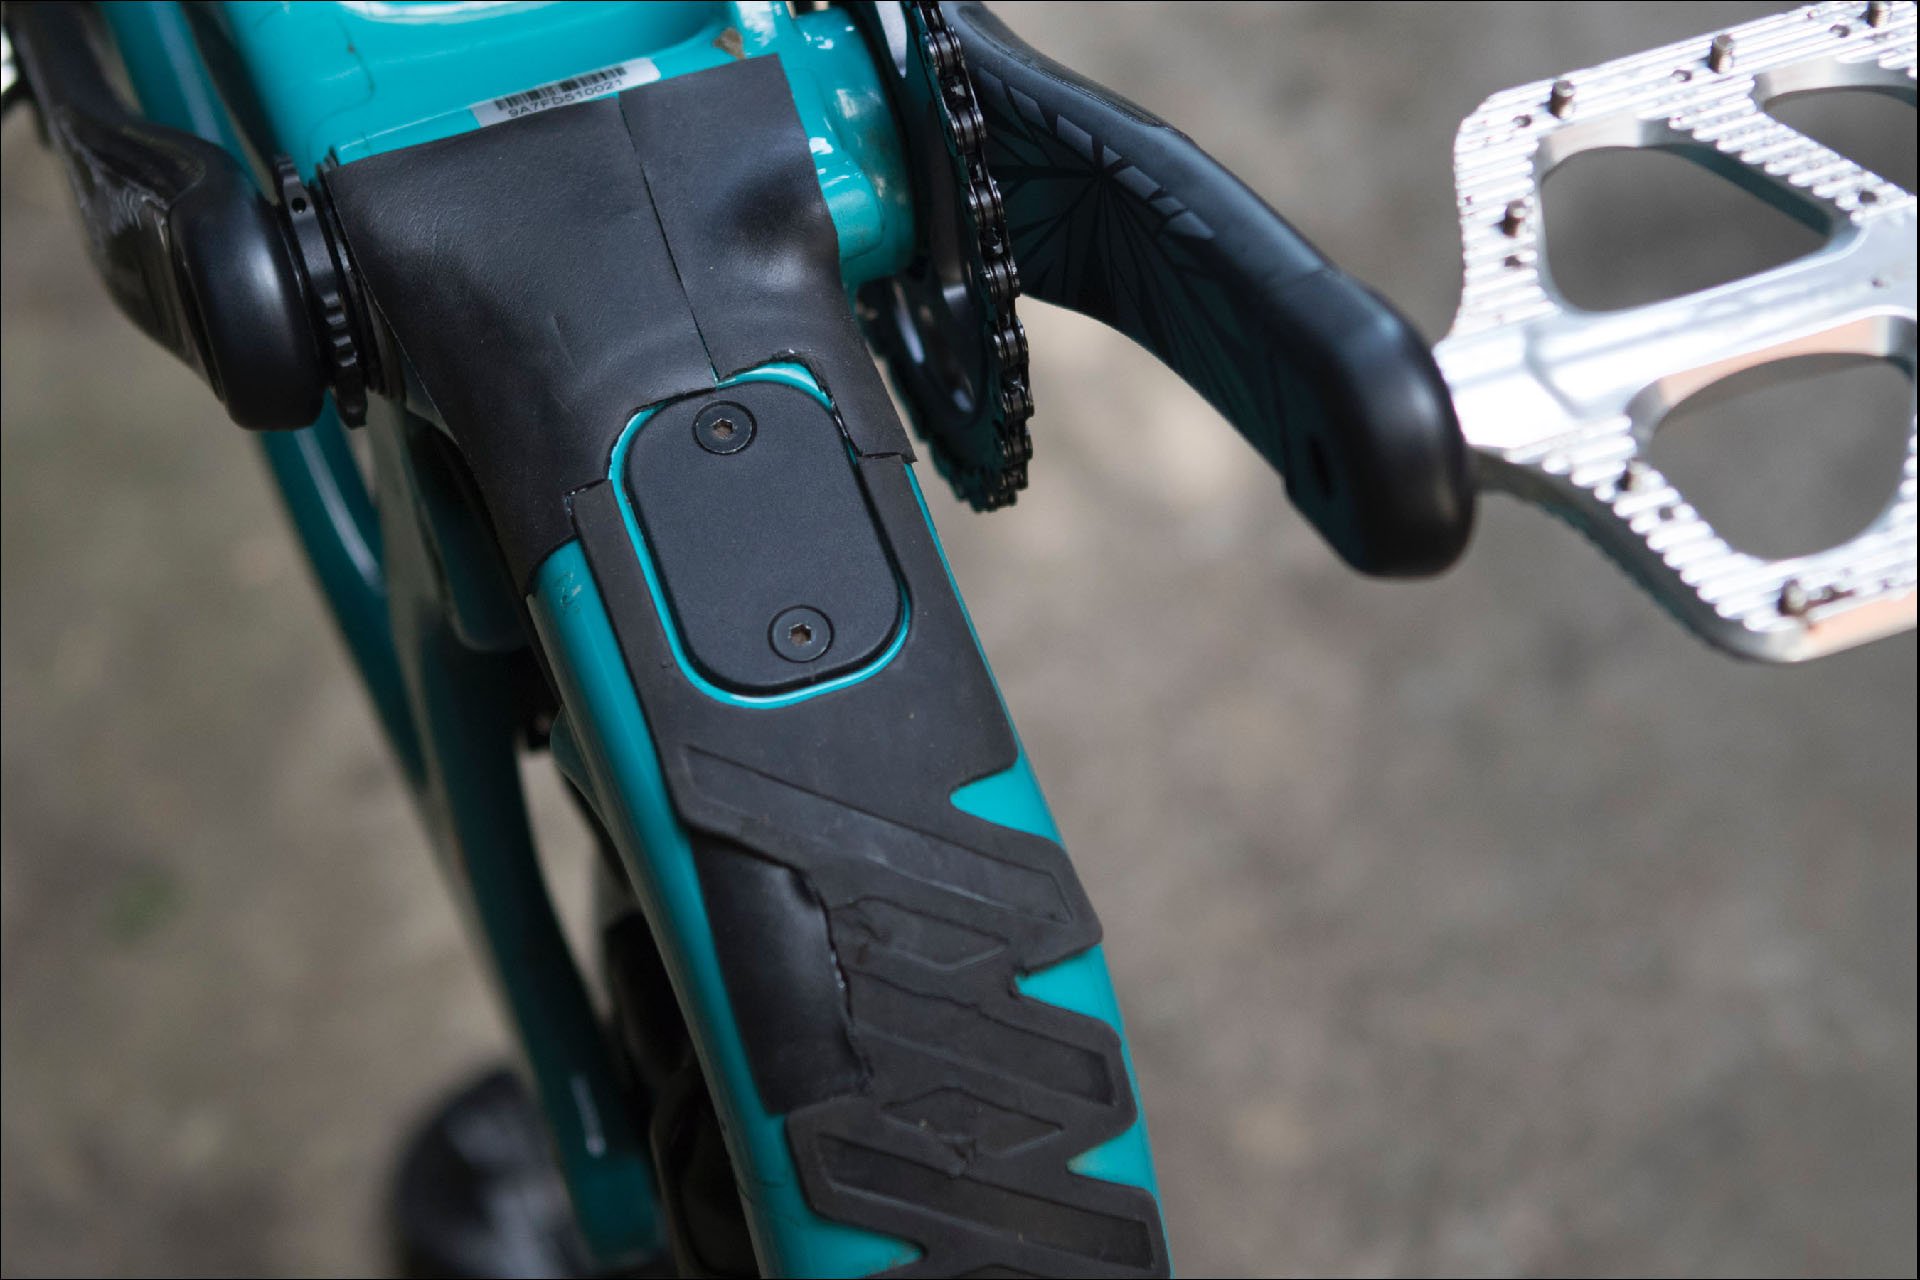
The chain stay protection is also very rough from the rubbing of flat shoes, but otherwise entirely intact.
The film itself has retained a nice gloss finish in most places and it hasn’t peeled anywhere. The only places the gloss has been compromised significantly is on the sides of the top tube where my knees come in contact, and on the chain stays because of my shoes, but it isn't unsightly and the paint underneath is unblemished.
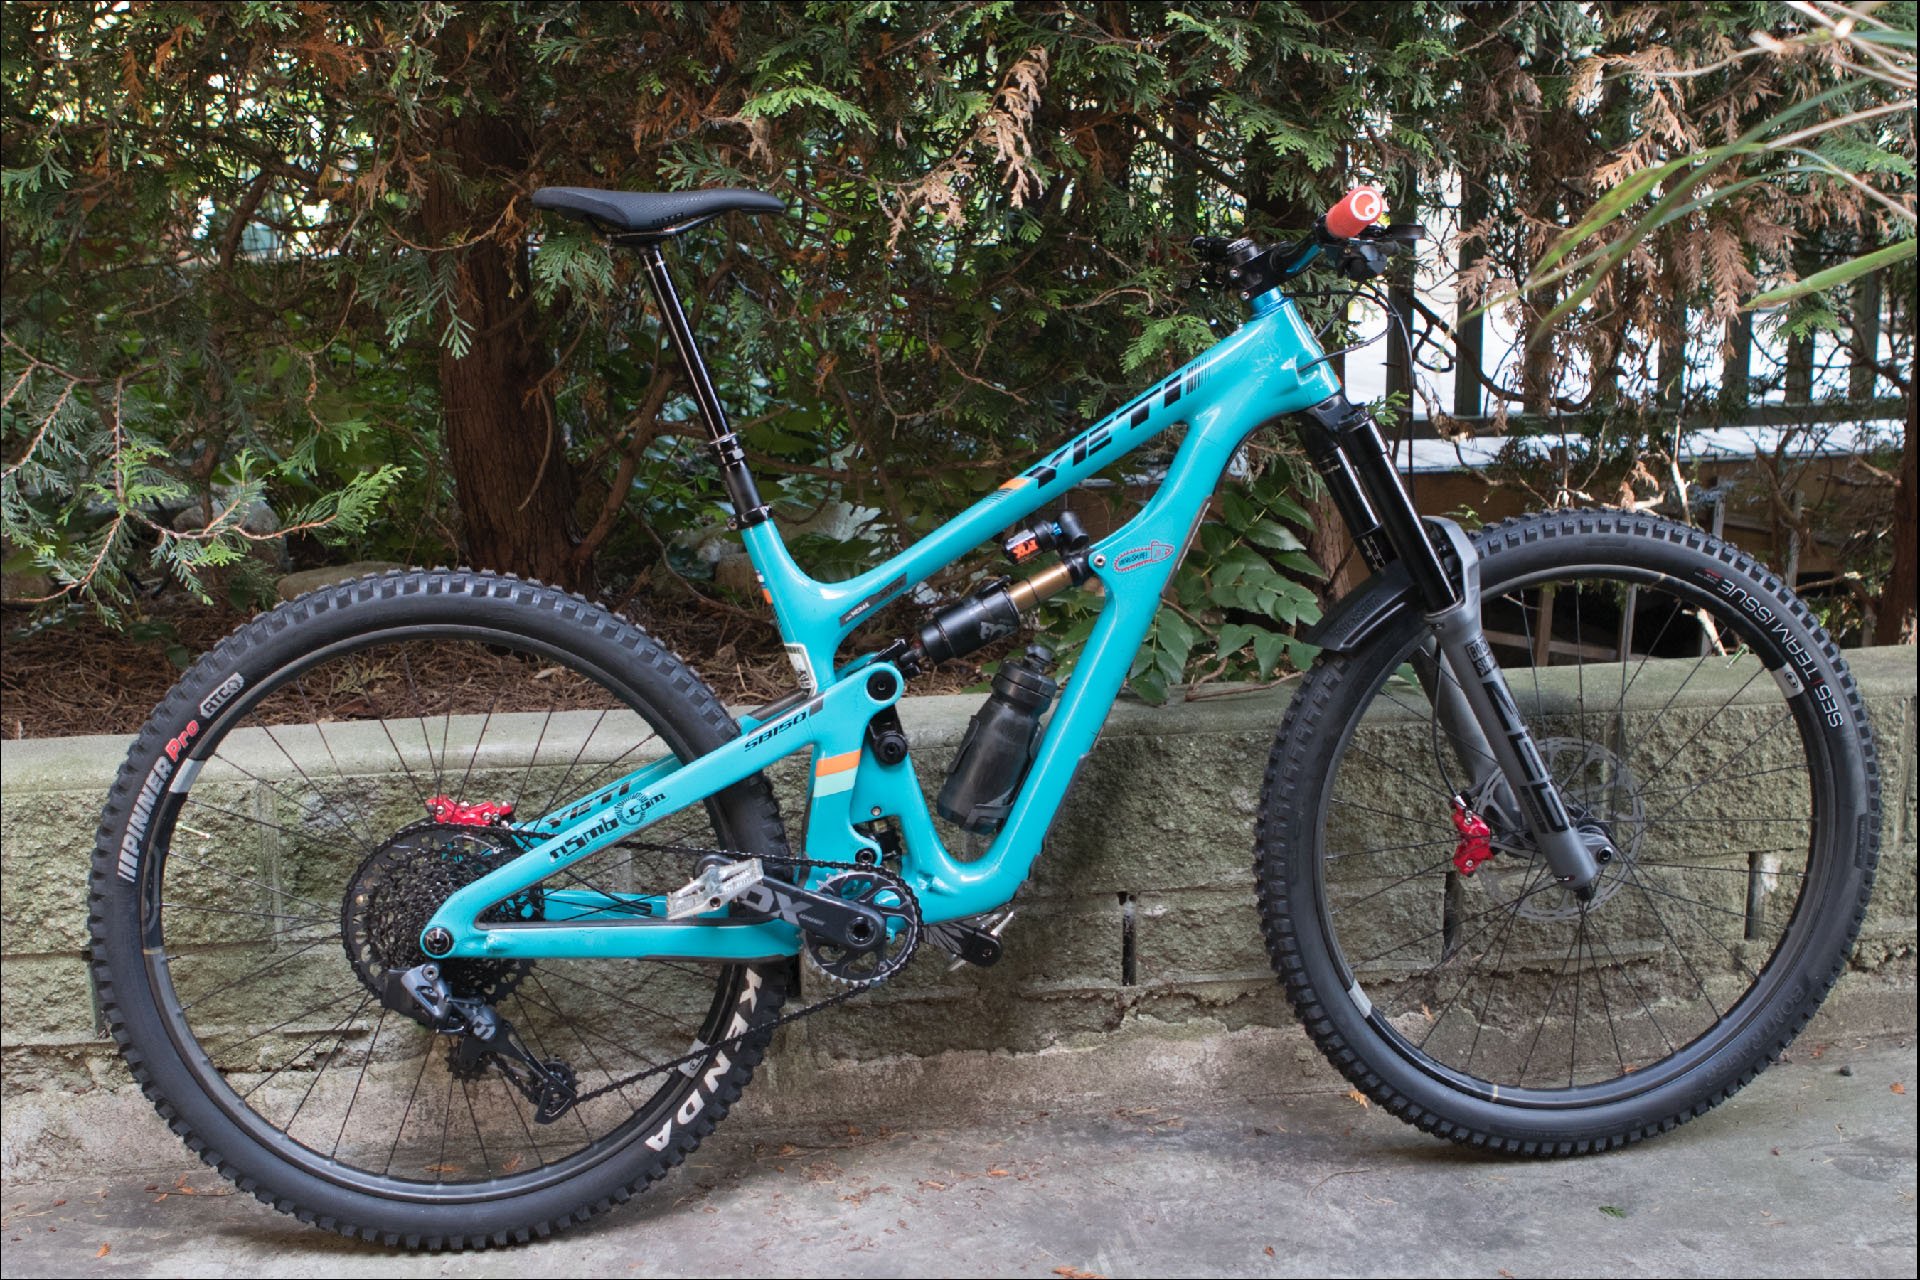
Despite lots of use, my Yeti still looks amazing. I recently rebuilt it to use some new test product.
I don't often clean my bike completely so an unpleasant line of dirt accumulates along the edges of the film. At first I didn't know if this could be removed but it came off quite easily with a little enthusiasm and some cleaner followed by rubbing alcohol.
Overall it's hard to imagine being more pleased with the results and I can't imagine getting a new frame in the future and failing to add 60 grams of plastic protection. It's worth it on every level. RideWrap has some detailed and thorough installation videos here.
The fork protection will run you 50 CAD while the frame protection is 115 CAD.


Comments
Jakub Gábriš
3 years, 6 months ago
Don´t forget to wrap the stanchions, that´s what counts the most!
Reply
Vik Banerjee
3 years, 6 months ago
Yes! I hate picking up my bike after a rocky crash and seeing the dreaded stanchion scratch[es].
Reply
Cam McRae
3 years, 6 months ago
Good point. Few people know how important it is to wrap your steerer tube as well.
Reply
thaaad
3 years, 6 months ago
I just can't believe that I'm the only one who wraps my star nut... I could have sworn this would have caught on.
Reply
Andy Eunson
3 years, 6 months ago
That’s gotta hurt when you peel the tape off. Do you do it fast to get it done or slow so as not to pull out all the hairs?
Reply
DanL
3 years, 5 months ago
Don't forget brake pads when it gets muddy out there
Reply
jdt
3 years, 6 months ago
This stuff is crap. I tried seven times and I absolutely cannot get it to stay on the stanchions.
Reply
Velocipedestrian
3 years, 5 months ago
Did you try lightly sanding them first?
Reply
the prophet
3 years, 5 months ago
Actually the adhesive needs a non-uniform surface to bond correctly. I have found a few passes with the angle grinder works perfect.
As a bonus that stupid gold coating flakes off as well!
Reply
brianbernard
3 years, 6 months ago
"If you are like me - fussy but impatient and lacking talent..." hits real close—glad there are other picky bastards out there.
Reply
fartymarty
3 years, 6 months ago
Cam - This reminded me of an article I read a few years back but can't remember the name of (or find)... It was the one with the really beaten up old Kona. I like the idea of protecting your bike but prefer the beaten up look better.
Reply
Pete Roggeman
3 years, 6 months ago
I can understand your perspective. Although for me it depends on the bike's material: I think a carbon bike should be kept in good to great condition - I don't mind the odd scuff or nick but the material just seems like it deserves to be clean with a touch of gleam.
Metal on the other hand - whether steel or alloy - looks better with rubs, scuffs, and patina. I like how metal shows wear and it doesn't say 'I'm weak' but rather 'I've been used a ton and I'm just getting started'.
That said, I'm still getting some RideWrap for the down tube, top tube, and stays on my Chromag.
Reply
fartymarty
3 years, 6 months ago
I'm a metal guy but agree with you on carbon. I think a bikes material (and to a degree components) reflects their owners.
Full disclosure though - I do have some clear tape under high cable rub areas on my Murmur.
Reply
Geof Harries
3 years, 6 months ago
@fartymarty Do you mean this article, If it isn't Carbon - are you Still a Mountain Biker?
Reply
fartymarty
3 years, 6 months ago
Yeah that's the one, thanks.
Reply
IslandLife
3 years, 6 months ago
Have wrapped two frames and three forks now.. when you're a noob, there is a learning curve. But like anything you get much better with practice and you learn little tricks. I tend to sell my bikes every year, so the investment in ridewrap is a no brainer. Love the stuff... and after many crashes I can tell you it works really well. Next frame will be raw aluminum though... guess I don't need to wrap that do I?
On another note... when is that Zeb vs 38 coming out? I have to make some decisions soon...
Reply
DanL
3 years, 6 months ago
This couldn't be more timely - I've got some replacement pieces arriving soon to replace a torn up section and I was wondering what the fork kit would be like to install. And nothing beats figuring out how to build large wooden things like decks or platforms
Reply
TX_CLG
3 years, 6 months ago
I used another brand on my trail bike, but ride wrap on my gravel bike. The universal kit worked pretty well.
I was very disappointed in the shuttle guard.
The shuttle guard wouldn't stay put and the response I got was that I should source some tape myself. While the guard is fine and works well, the adhesive selected doesn't. I sourced the same stuff and it came off again. Solution was to use a better 3m product (tape from the automotive shop) and it's been fine.
Chainstay protection works, but seems like nothing more than mastic tape, perhaps a bit wider. No complaints, but it's nothing fancy.
Reply
jason
3 years, 6 months ago
Agree on the shuttle guard. I had 3M clear underneath and the Ride Wrap Shuttle guard did not stay on. Ended up using contact cement to keep it in place. Now it will only come off when I remove the 3M clear underneath the shuttle guard.
Have wrapped a few bikes now and have only used 3M clear and then custom cut it to fit. But lets be honest, I will never get the 3M clear to fit as well as a custom Ride Wrap. the gaps between pieces of tape are huge. I think for my next bike I will use Ride Wrap. It will save me lots of time and will look much better.
Lastly, I use a fair bit of 3M Mastic 2228 tape for frame protection in high wear areas or in areas that get impacted in a crash. Part of the down tube near the BB, on the driveside chainstay to complement the factory chainstay protector, and on the seat and chainstays near the rear axle. I find this helps protect my bike from the lack of riding skill and reliance on crashing.
Reply
Mikey Bikey
3 years, 6 months ago
Done 2 frames and 1 fork. Nothing professional, but got things covered. RW came thru quickly when they sent me wrong instructions for fork.
2nd frame already had 3M underneath on the downtube and I put the RW over it. IMO that area needs the heavier protection like 3M.
Reply
Cam McRae
3 years, 5 months ago
My shuttle guard has started to lift a little at the edges but it's adhered nicely otherwise. I'd prefer to have it nicely contoured though so I may add some epoxy along the edges.
Reply
Skyler
3 years, 5 months ago
Guaranteed the CSU will start creaking long before you'd have to worry about the finish on a Fox fork.
Reply
Sven Luebke
3 years, 5 months ago
Hi Cam! Nice deck! Thanks buddy.
Reply
Please log in to leave a comment.