FIRST IMPRESSIONS REVIEW
Tilt Industries Balance Trainer
You've probably seen videos on instagram of riders on homemade "manual trainers." These hold your rear wheel while vertically and have a tether to prevent you from falling backwards, the aim being to help you find the balance point so you can ride your rear wheel back from your ride like a boss. Tilt Industries has begun mass-producing a much more refined version of this device, with the added utility of an optional work stand and a wall mounted holder to store your bike. Tilt doesn't advertise this as a manual trainer however; the idea is that the skills required to hold your rear wheel in the air in the stand, will transfer over to the trail and make you a better rider.
This humble apparatus is a balance trainer (call it a manual trainer if you like), a bike stand for your wall, and there is an optional arm for 159 USD that converts it to a repair stand.
I am a believer in skill transference and I've experienced the benefits more than once. There was a time when juggling a soccer ball (football) wasn't considered a valuable activity because it wasn't something that was generally used during the game. Over time it became clear there were benefits to kicking, heading, and kneeing the ball repetitively without letting it hit the ground. It improves single leg strength, sharpens your balance, and strengthens knees and ankles. It also improves aerial control, concentration, timing, finesse, and proprioception; the ability to sense your body's movement, action, and location in space.
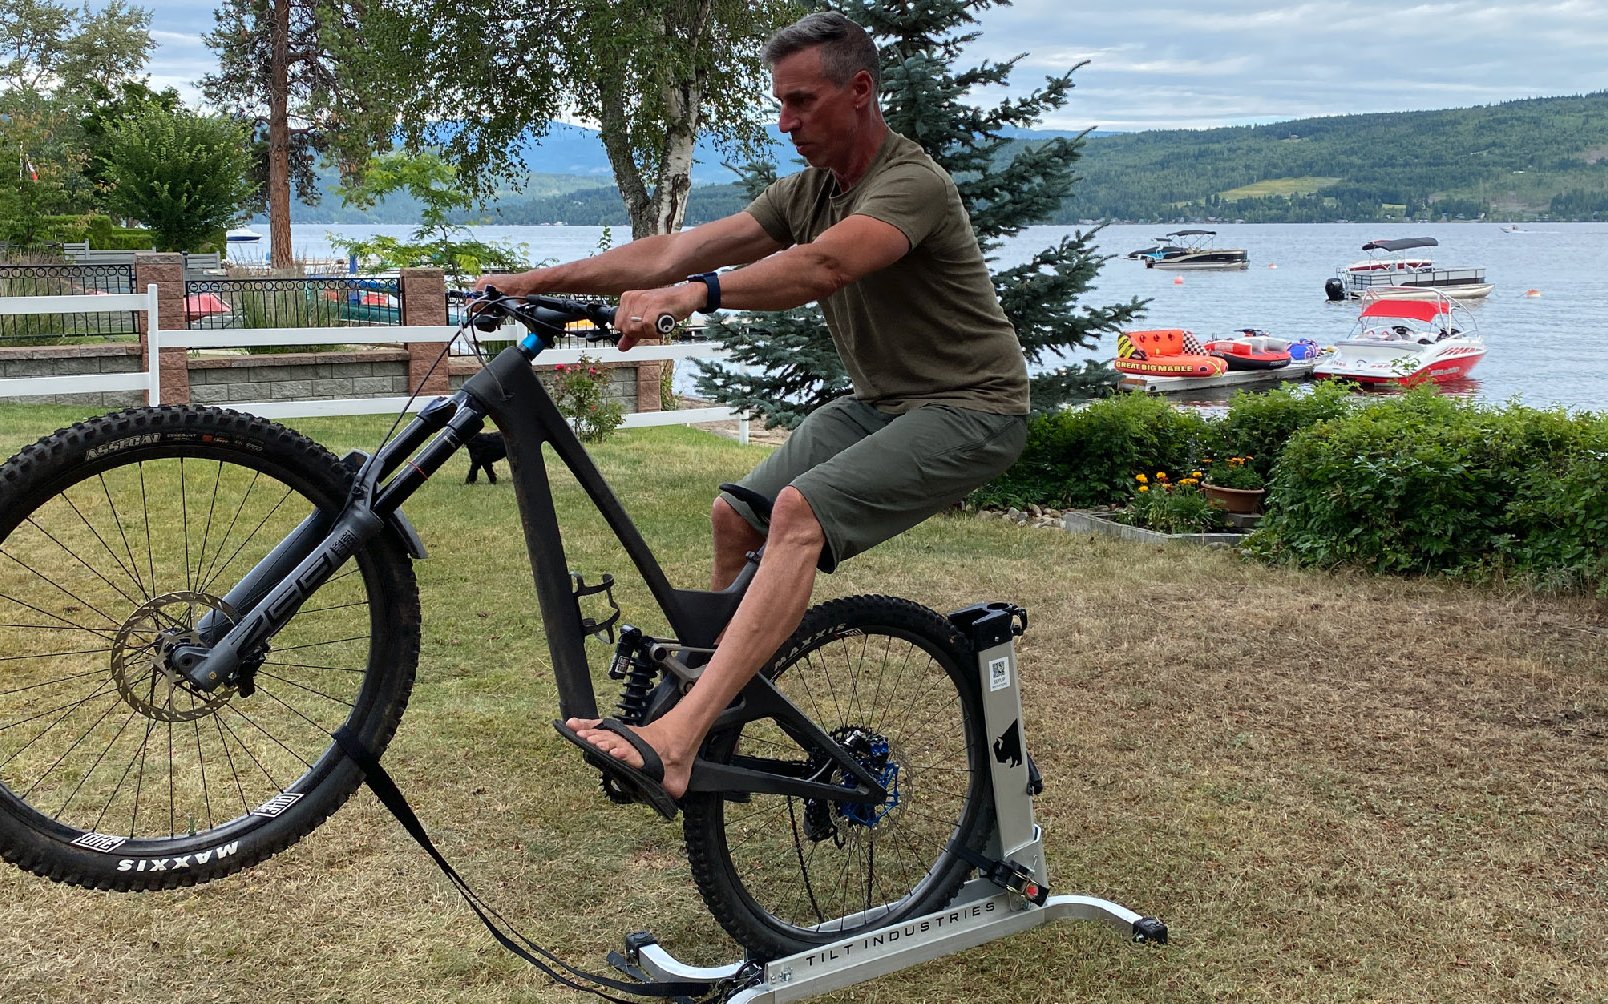
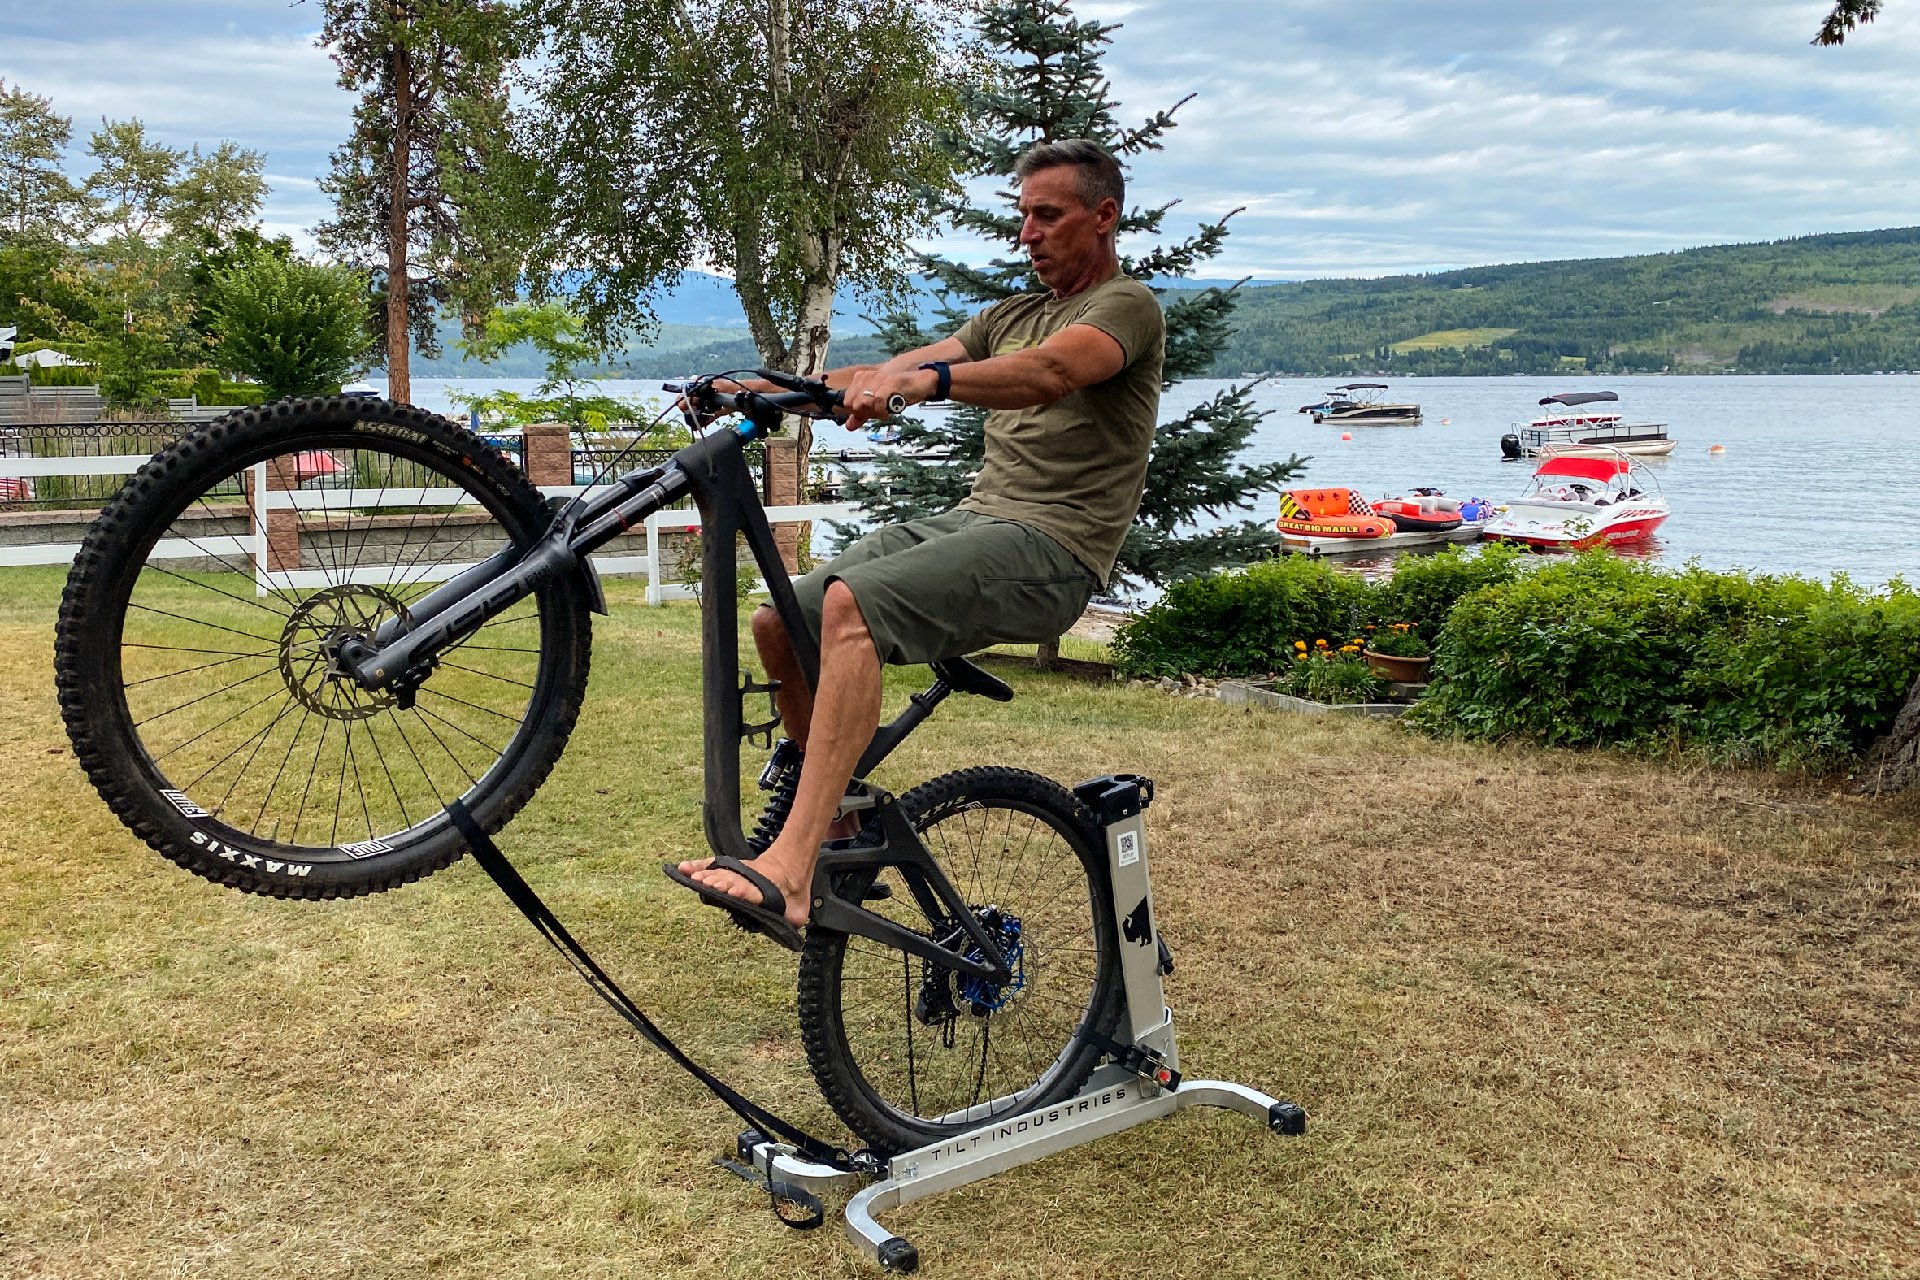
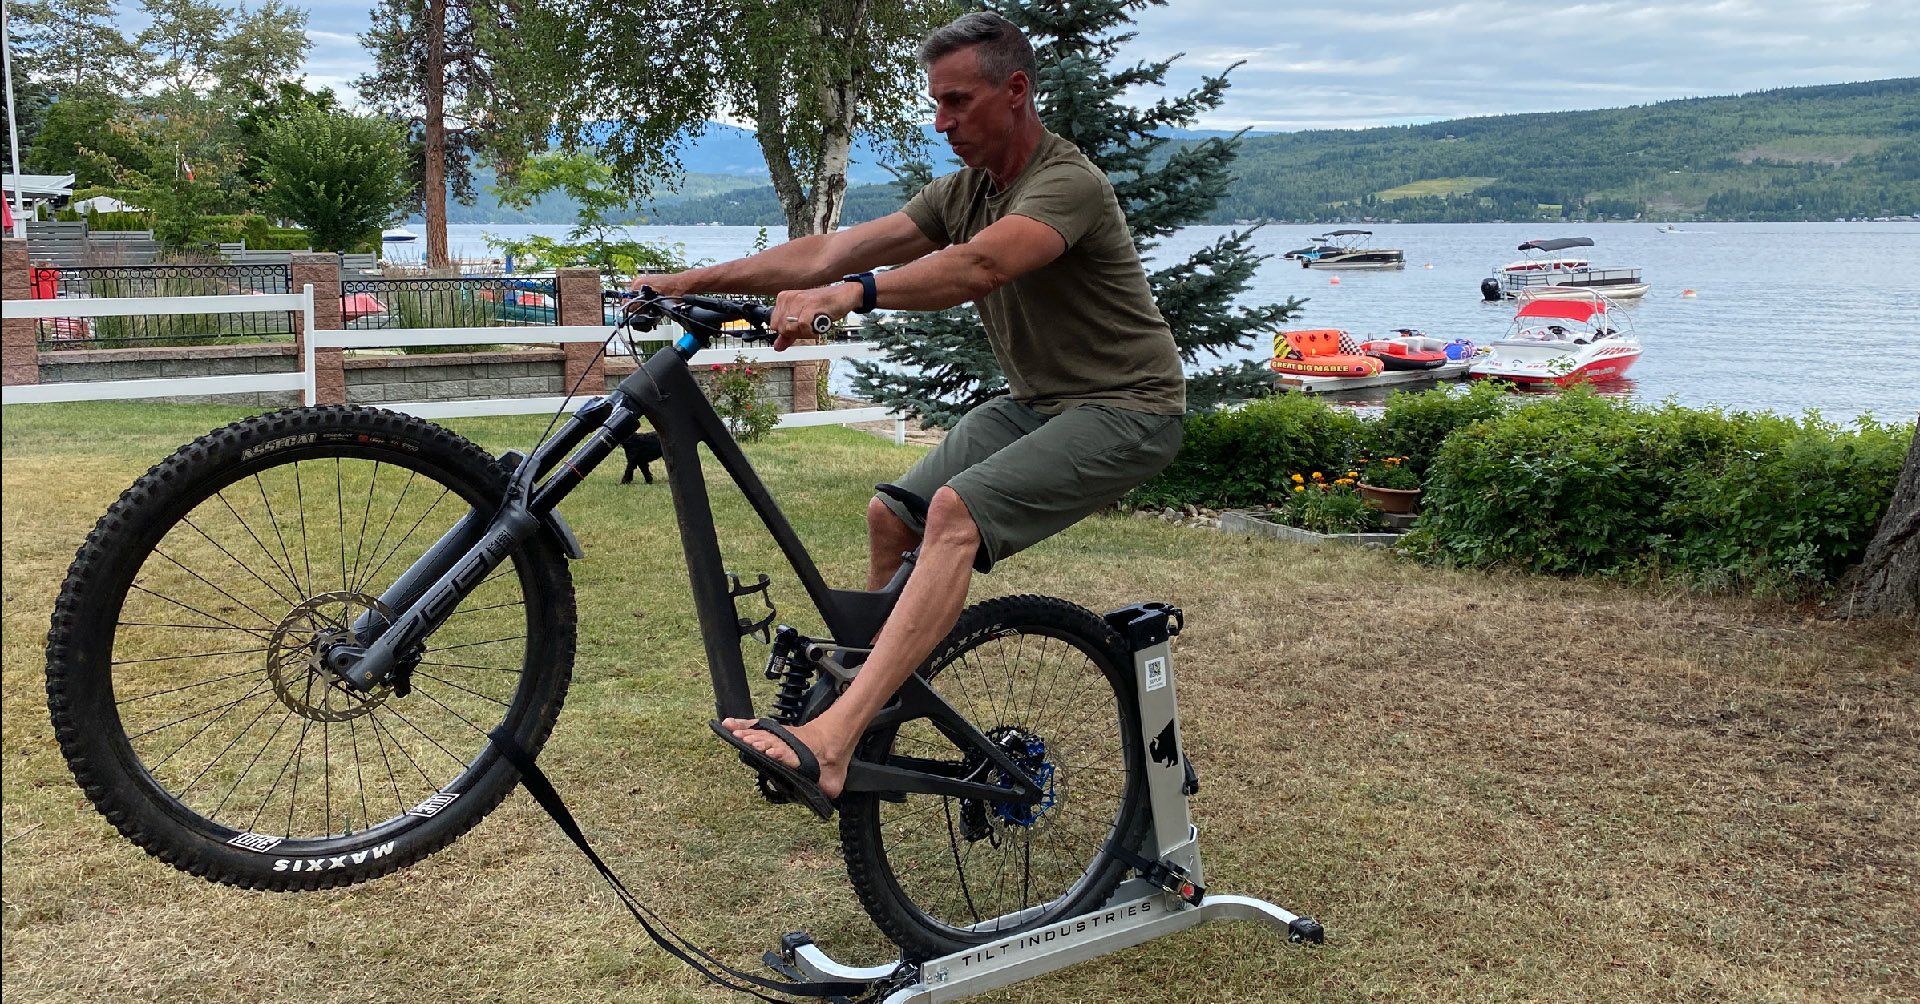
I start a little ahead of the plain of my seat post and then, rather than compressing the fork and then bouncing straight up, as I used to do on a much shorter 26" wheeled bike, the motion is much more rearward. Photos - Cristina Piccone
Driving my ass rearward seems to produce results for me.
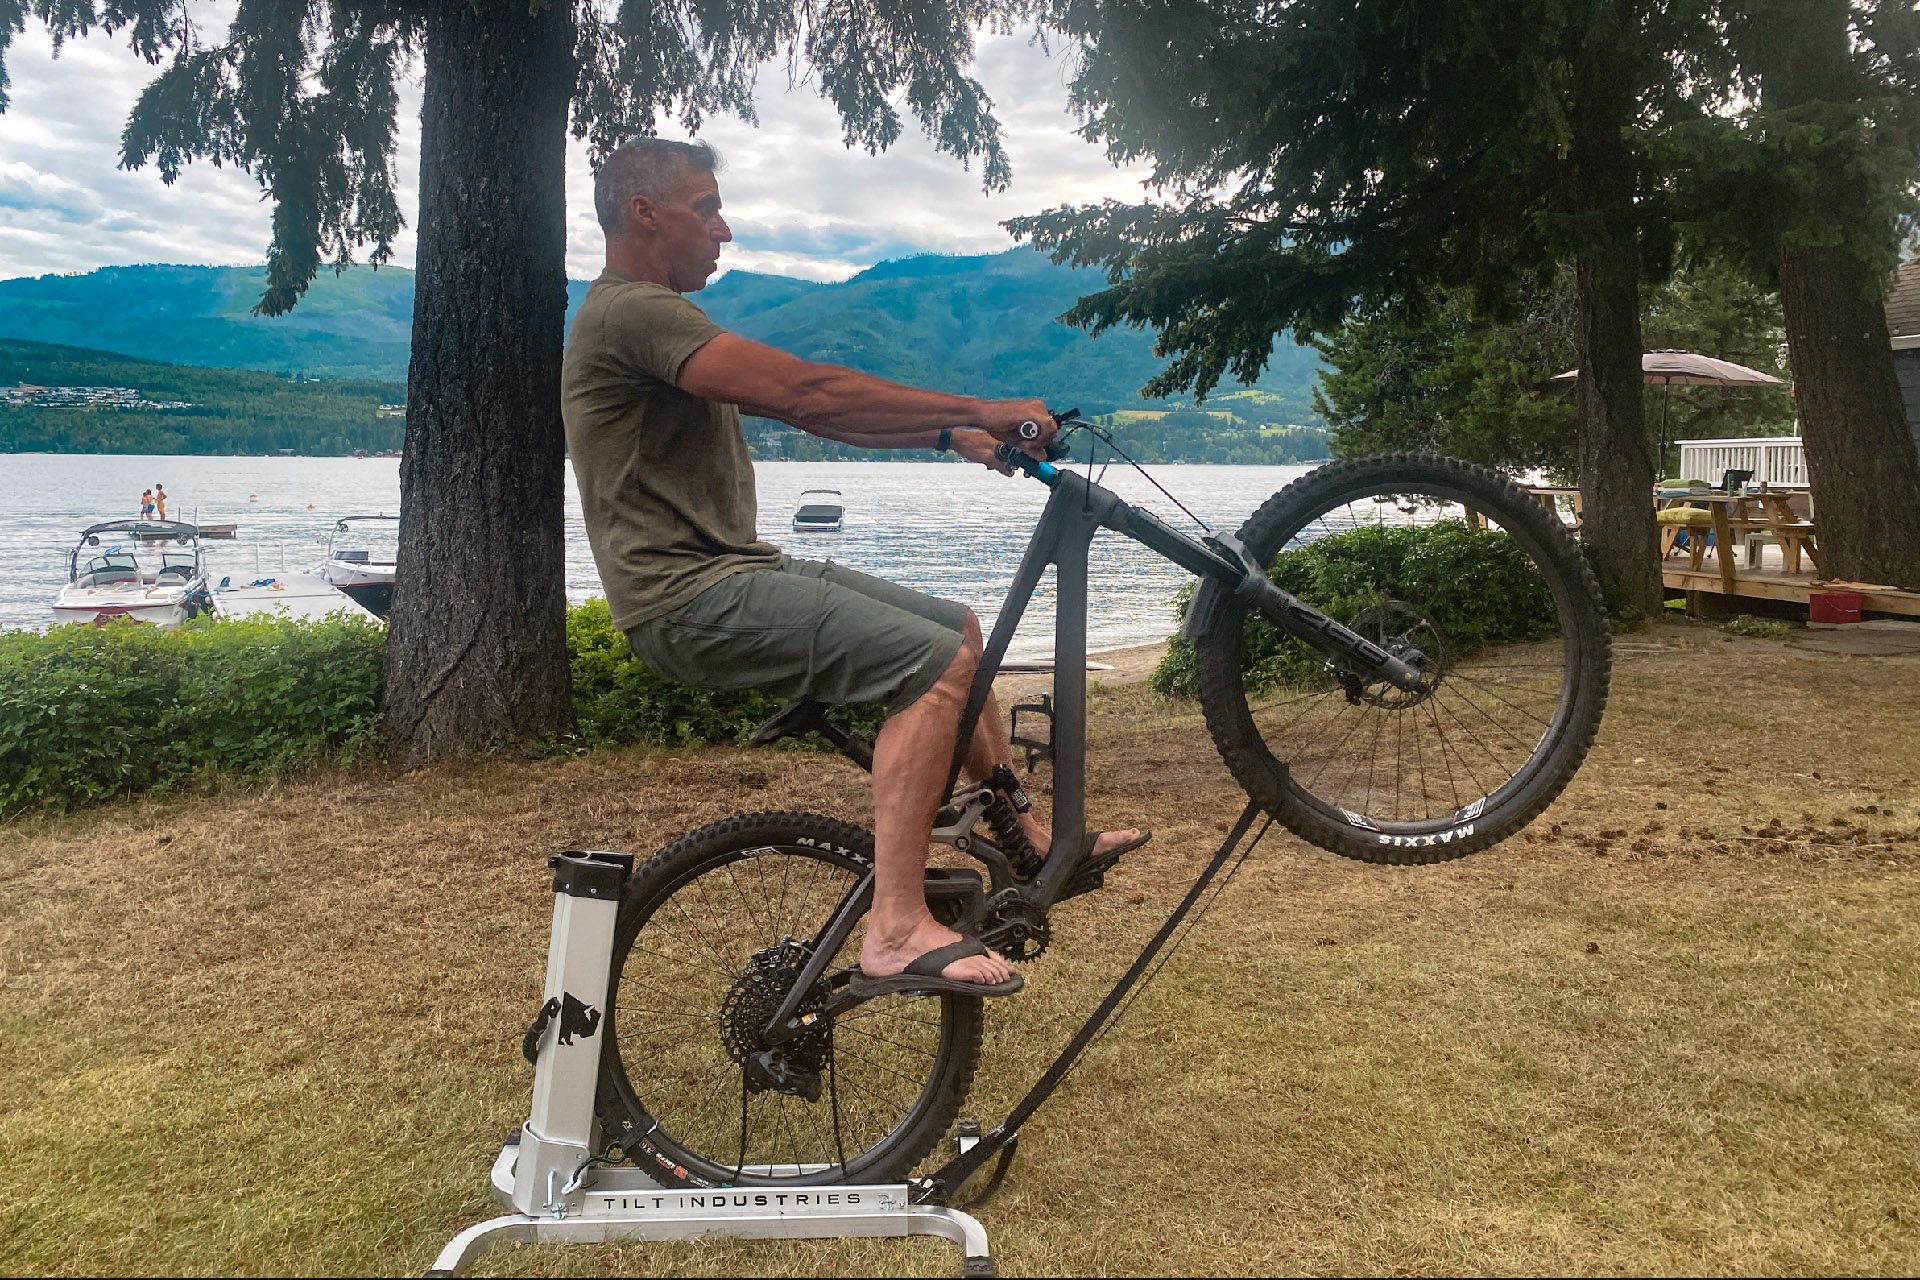
And we have liftoff.
When I was in high school I heard that juggling three objects was beneficial for hand eye coordination and I spent countless hours leaning up against my bed (which simplifies retrieval) throwing balls in the air until I became decent. Over time this belief has strengthened and proponents of juggling even believe it can help kids who struggle to read. Scientists have found some compelling evidence to back this up: "When researchers at the University of Hamburg subjected 20 young adults to one month of intense training in juggling, they found an increase in the corresponding gray matter in the brain as early as seven days after the training began."* This was borne out with IQ tests which showed a statistically significant bump after that first week.
When this sort of training is fun, despite the fact that it can be genuinely hard work, it's like a cheat code.
I discovered how this applied to bikes in the 90s, when doing trials moves on your hardtail was sometimes considered part of the trail riding experience. My buddies and I learned to hop around with our brakes locked and I discovered my balance on the trail had improved. I wasn't expecting this at all but it was a welcome bonus. When I graduated to hopping on my back wheel, the impact was amplified significantly, but I never got to the next level; doing pedal kicks a la Ryan Leech and Danny MacAskill.
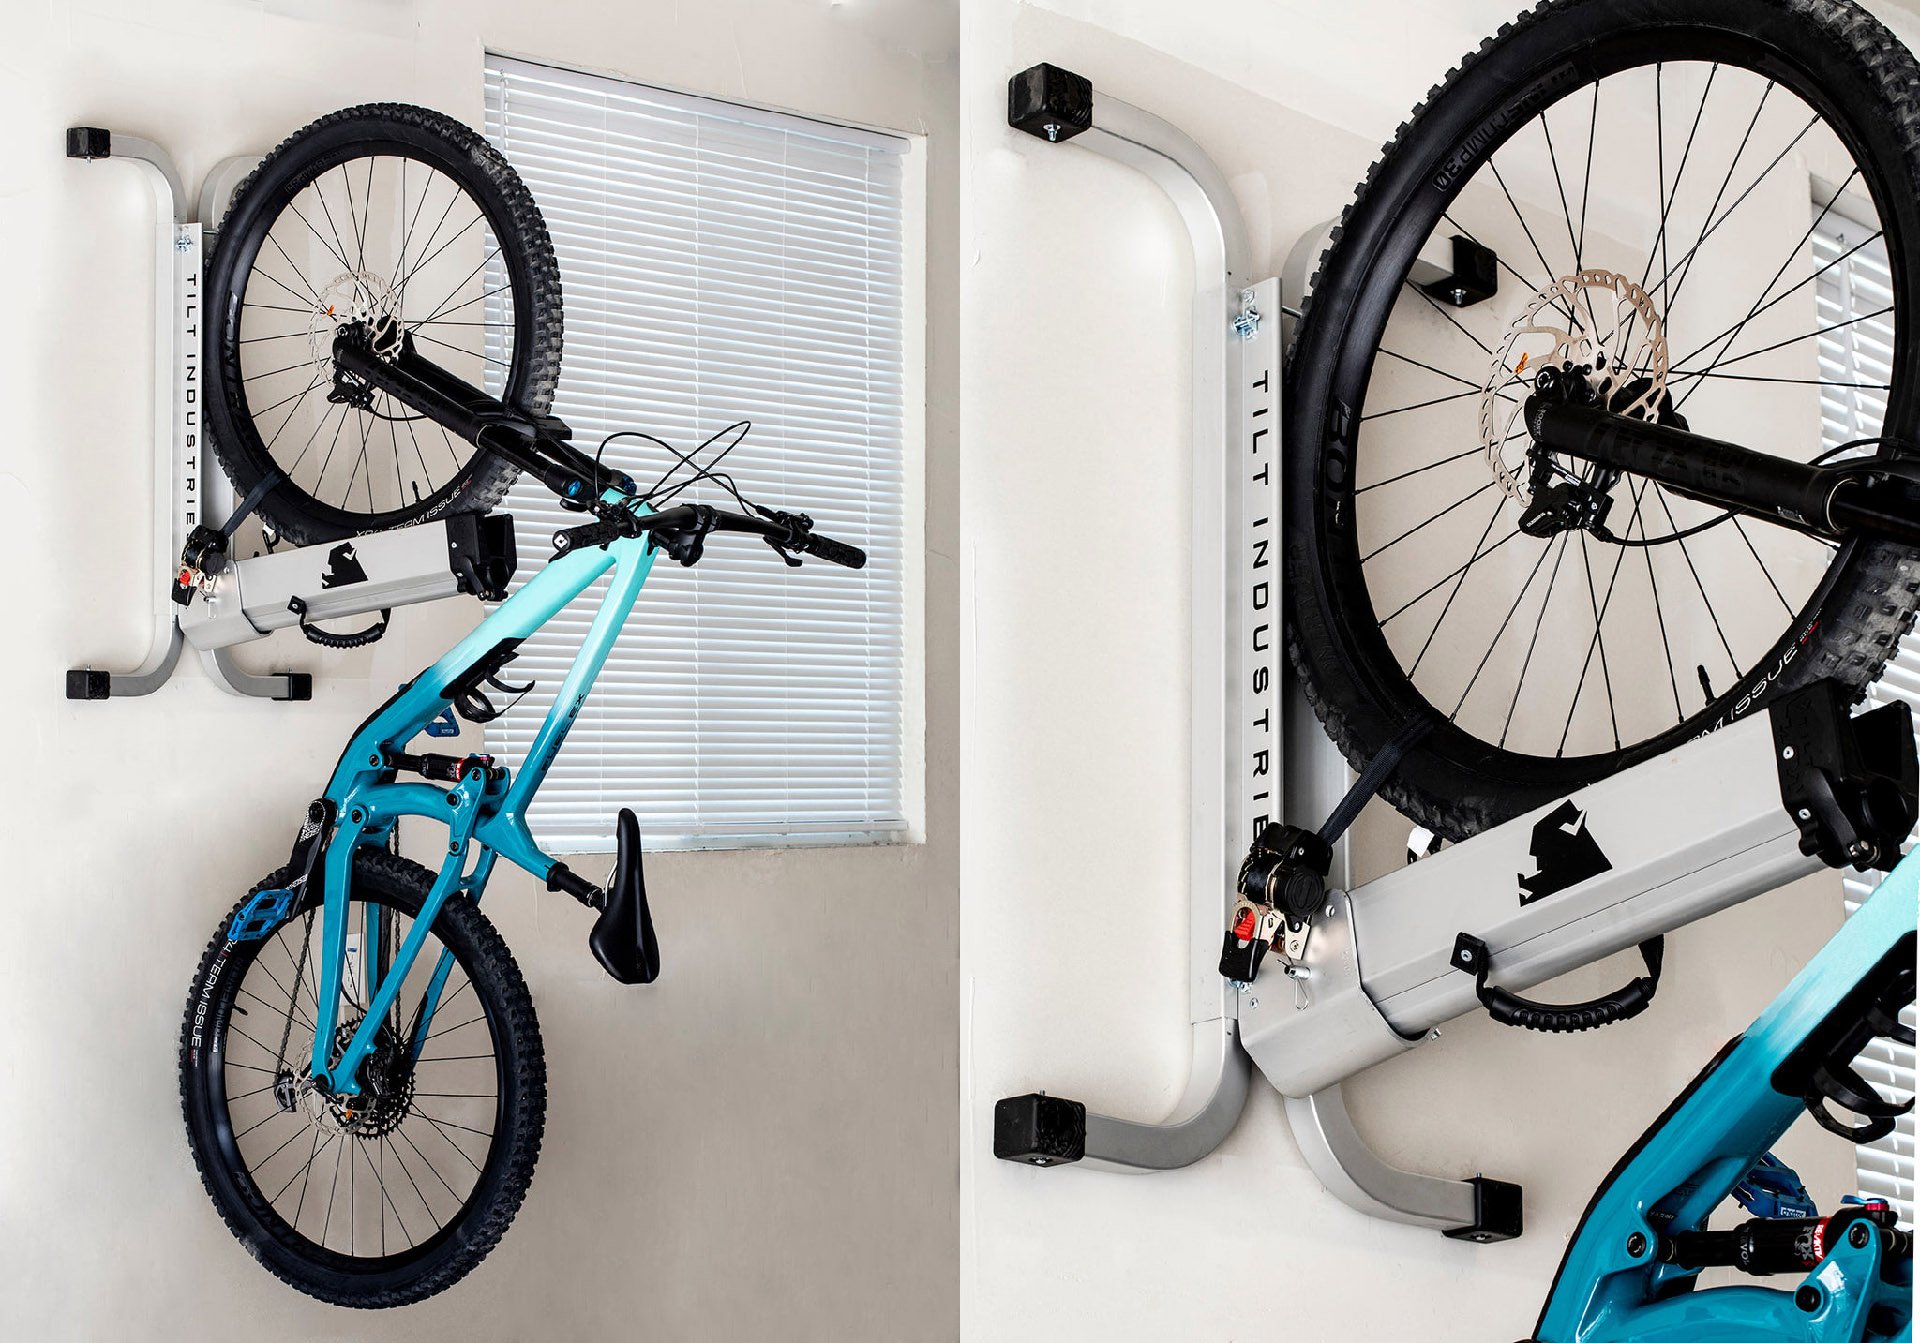
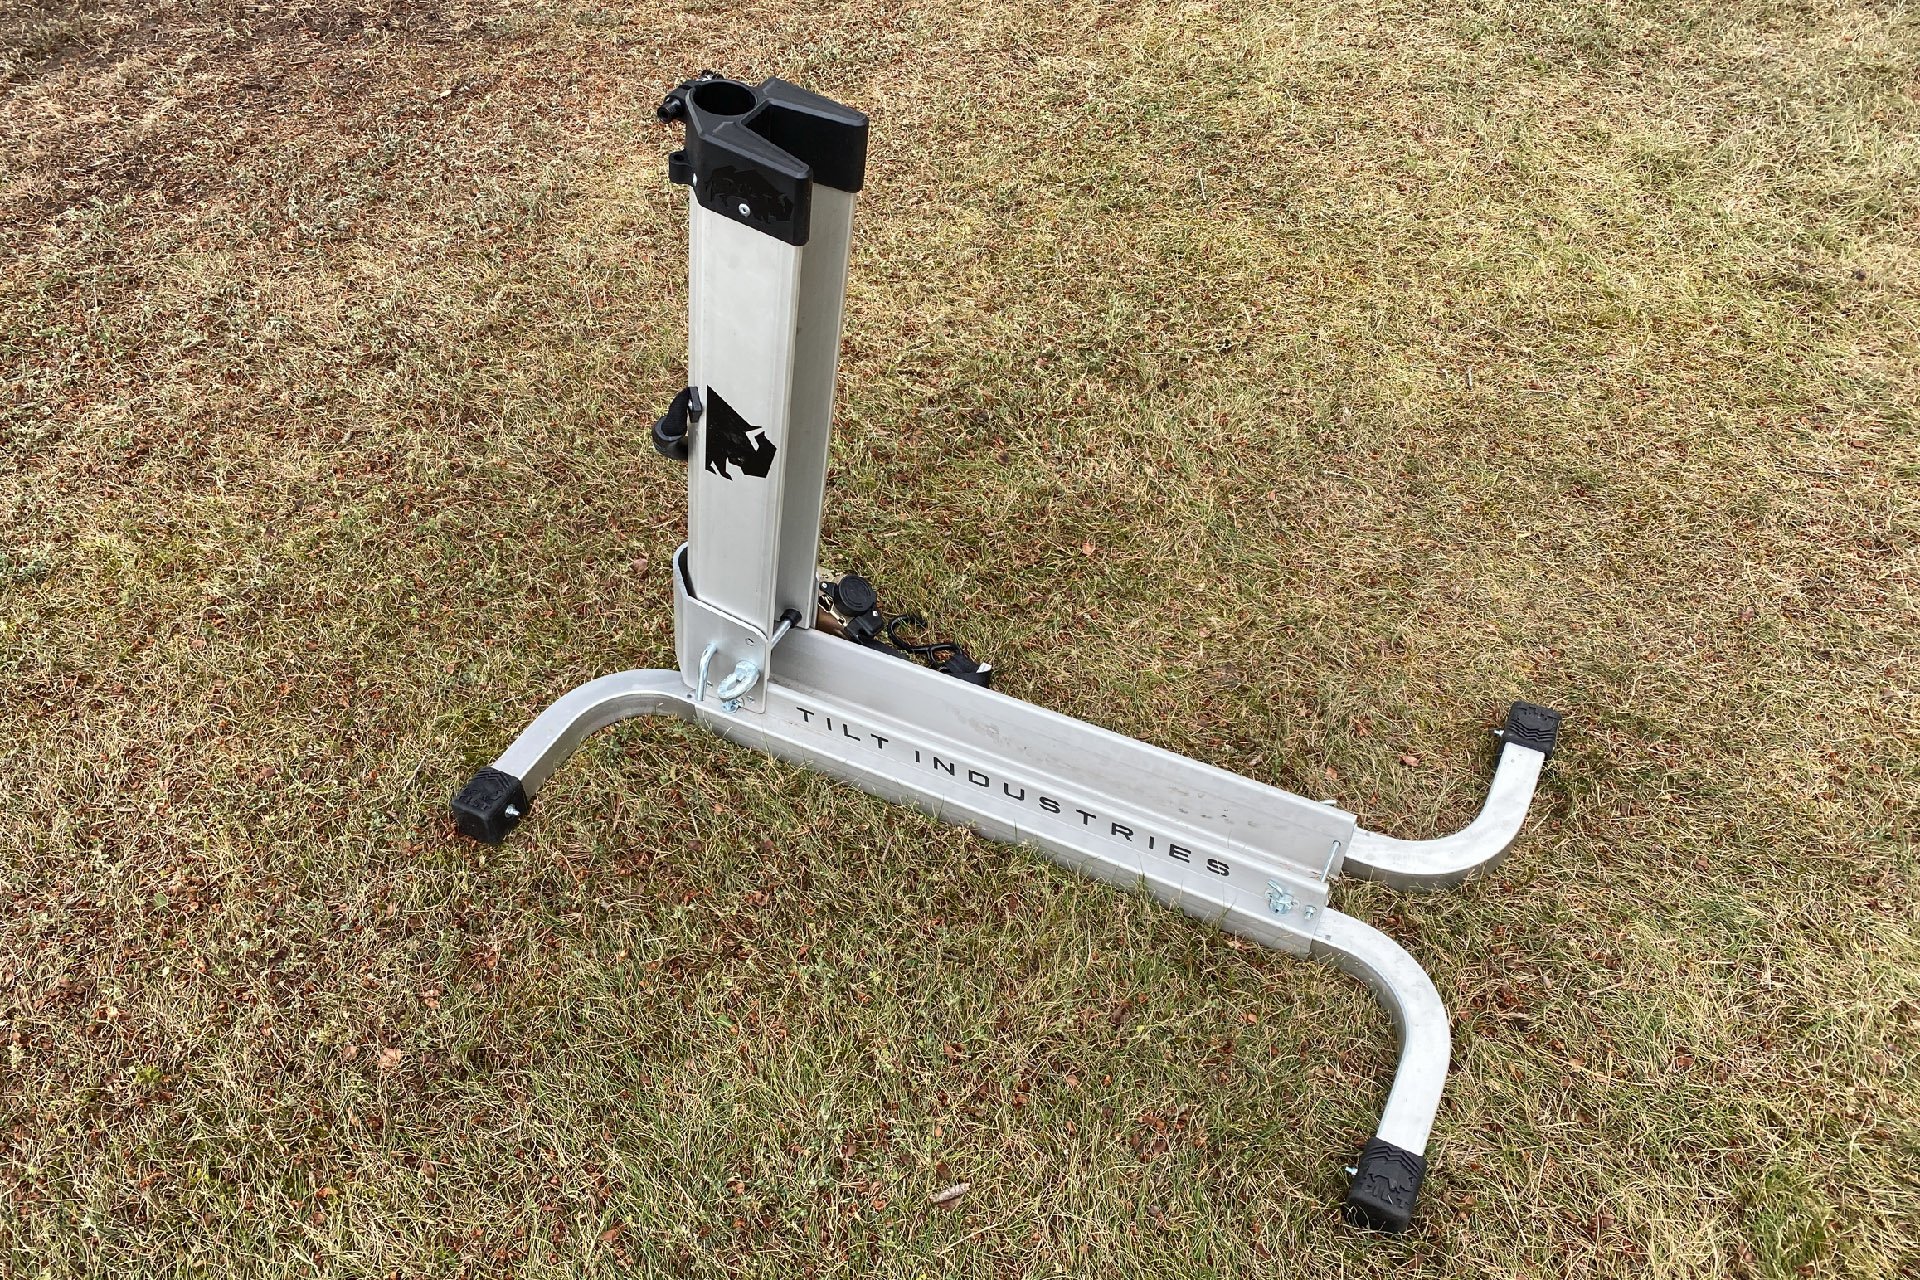
This is a handy way to both store the balance trainer and store your bike - in the recommended matter.
The trainer performs a simple task, but the design is refined and thoughtful. The legs are removable for storage and transit, but they can be inserted unobtrusively to keep everything together. There is a ratchet to help secure your rear wheel and an adjustable strap to prevent you from landing on your ass, although this would be an impressive feat even without the strap.
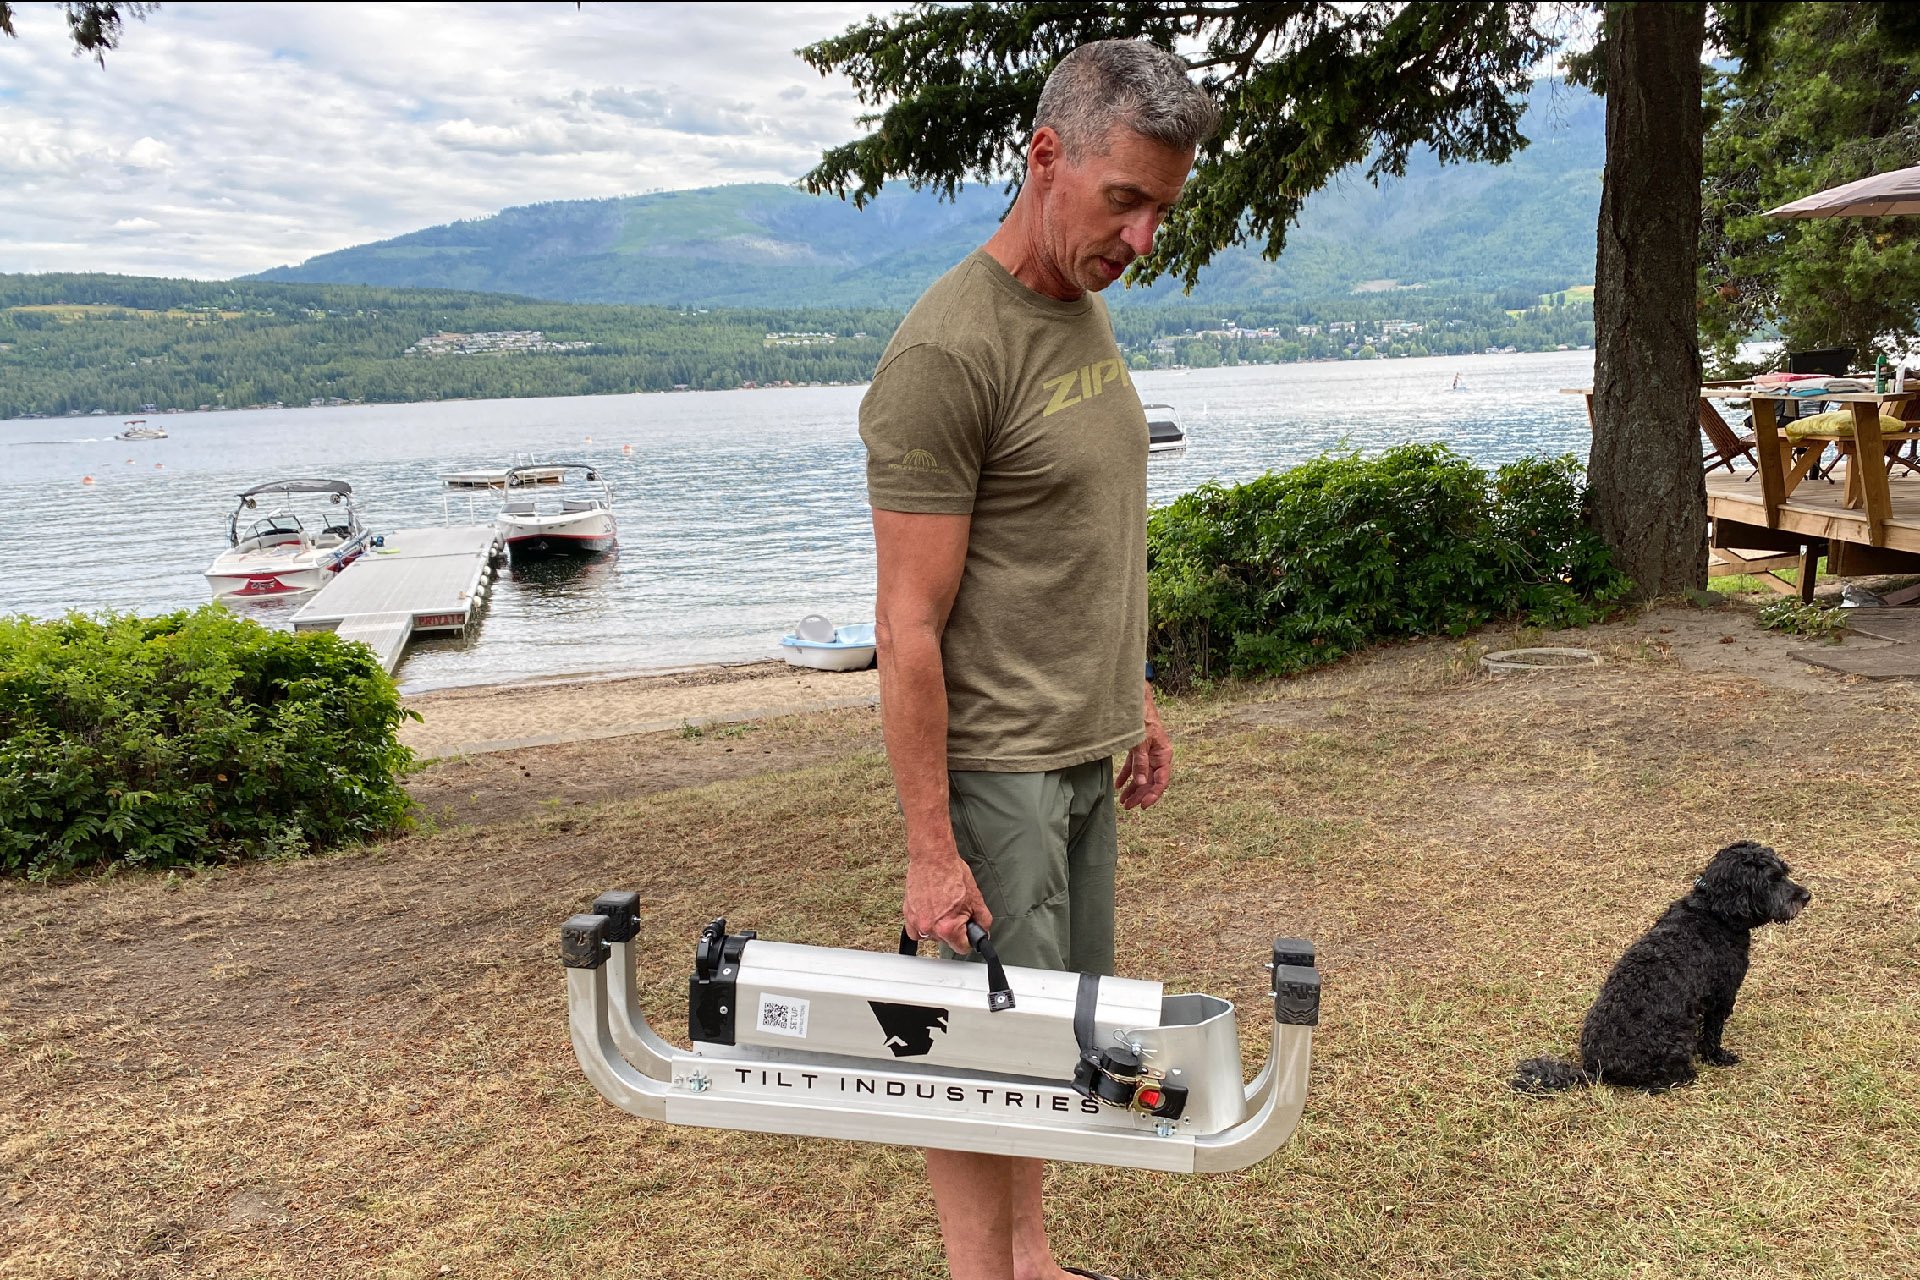
The clever removable legs reduce the size of the trainer for storage or transport. They can be removed completely or inserted tidily like this. The handle works great as well.
Setting Up Your Tilt Industries Balance Trainer
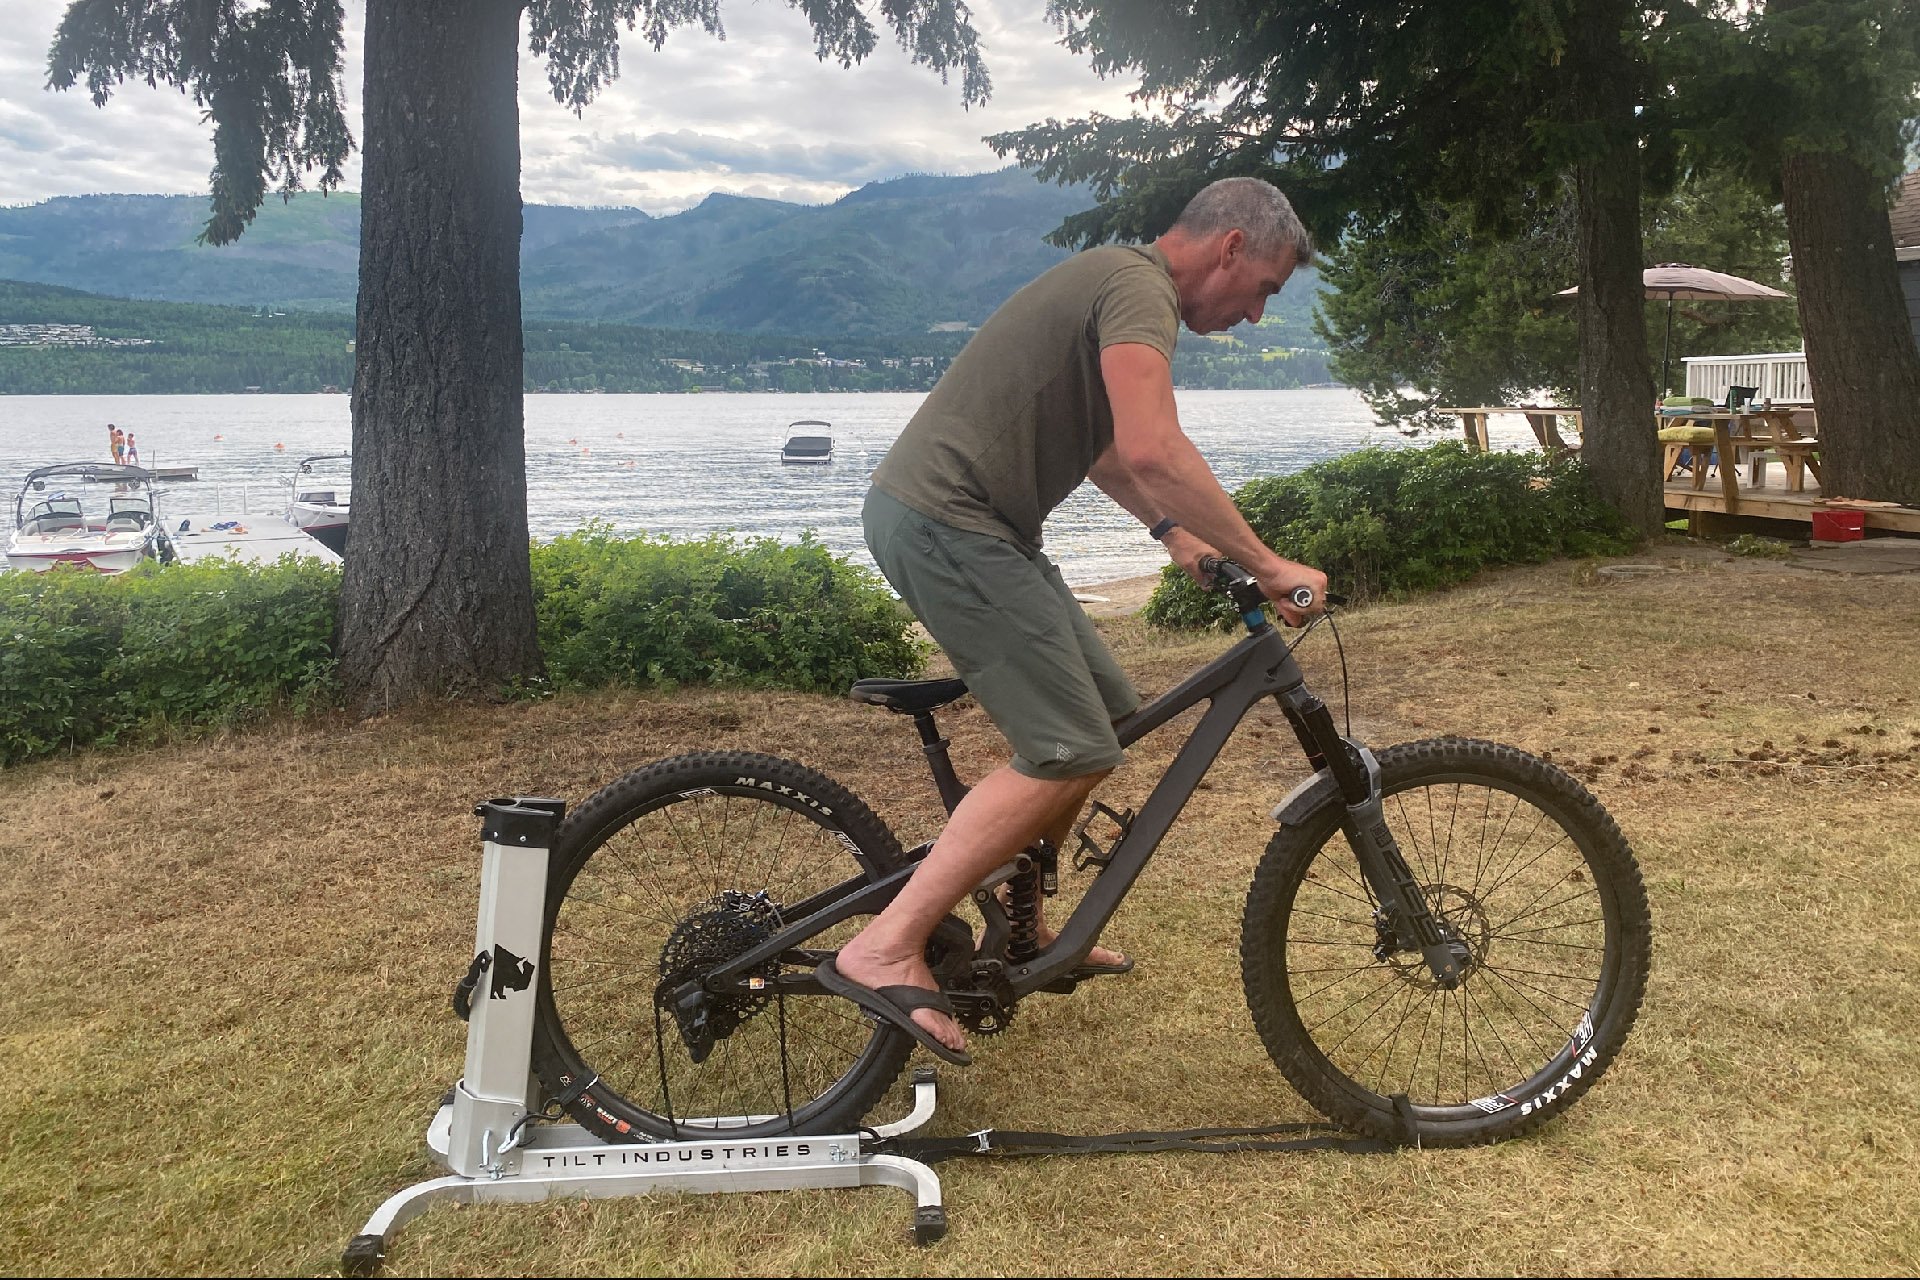
I first tried the device while we were having post-ride beers and before I had watched any how-to videos. I was sort of successful but I missed a few things. The first step is to roll your rear wheel into place. Normal riding pressure is fine but if you prefer to have less side to side movement you can jack your pressure up to make. After that the strap goes across your rear wheel and is synched moderately firmly. Once that is done, mount up and rock your bike backward a few times to place it more securely and give the ratchet a few more clicks. Once that is done the safety strap attaches to the pin at the front of the device, is looped through your wheel, and then back to the pin. You can decide how steeply you want the bike angled before the strap limits your movement and over time you'll likely give yourself some more slack.
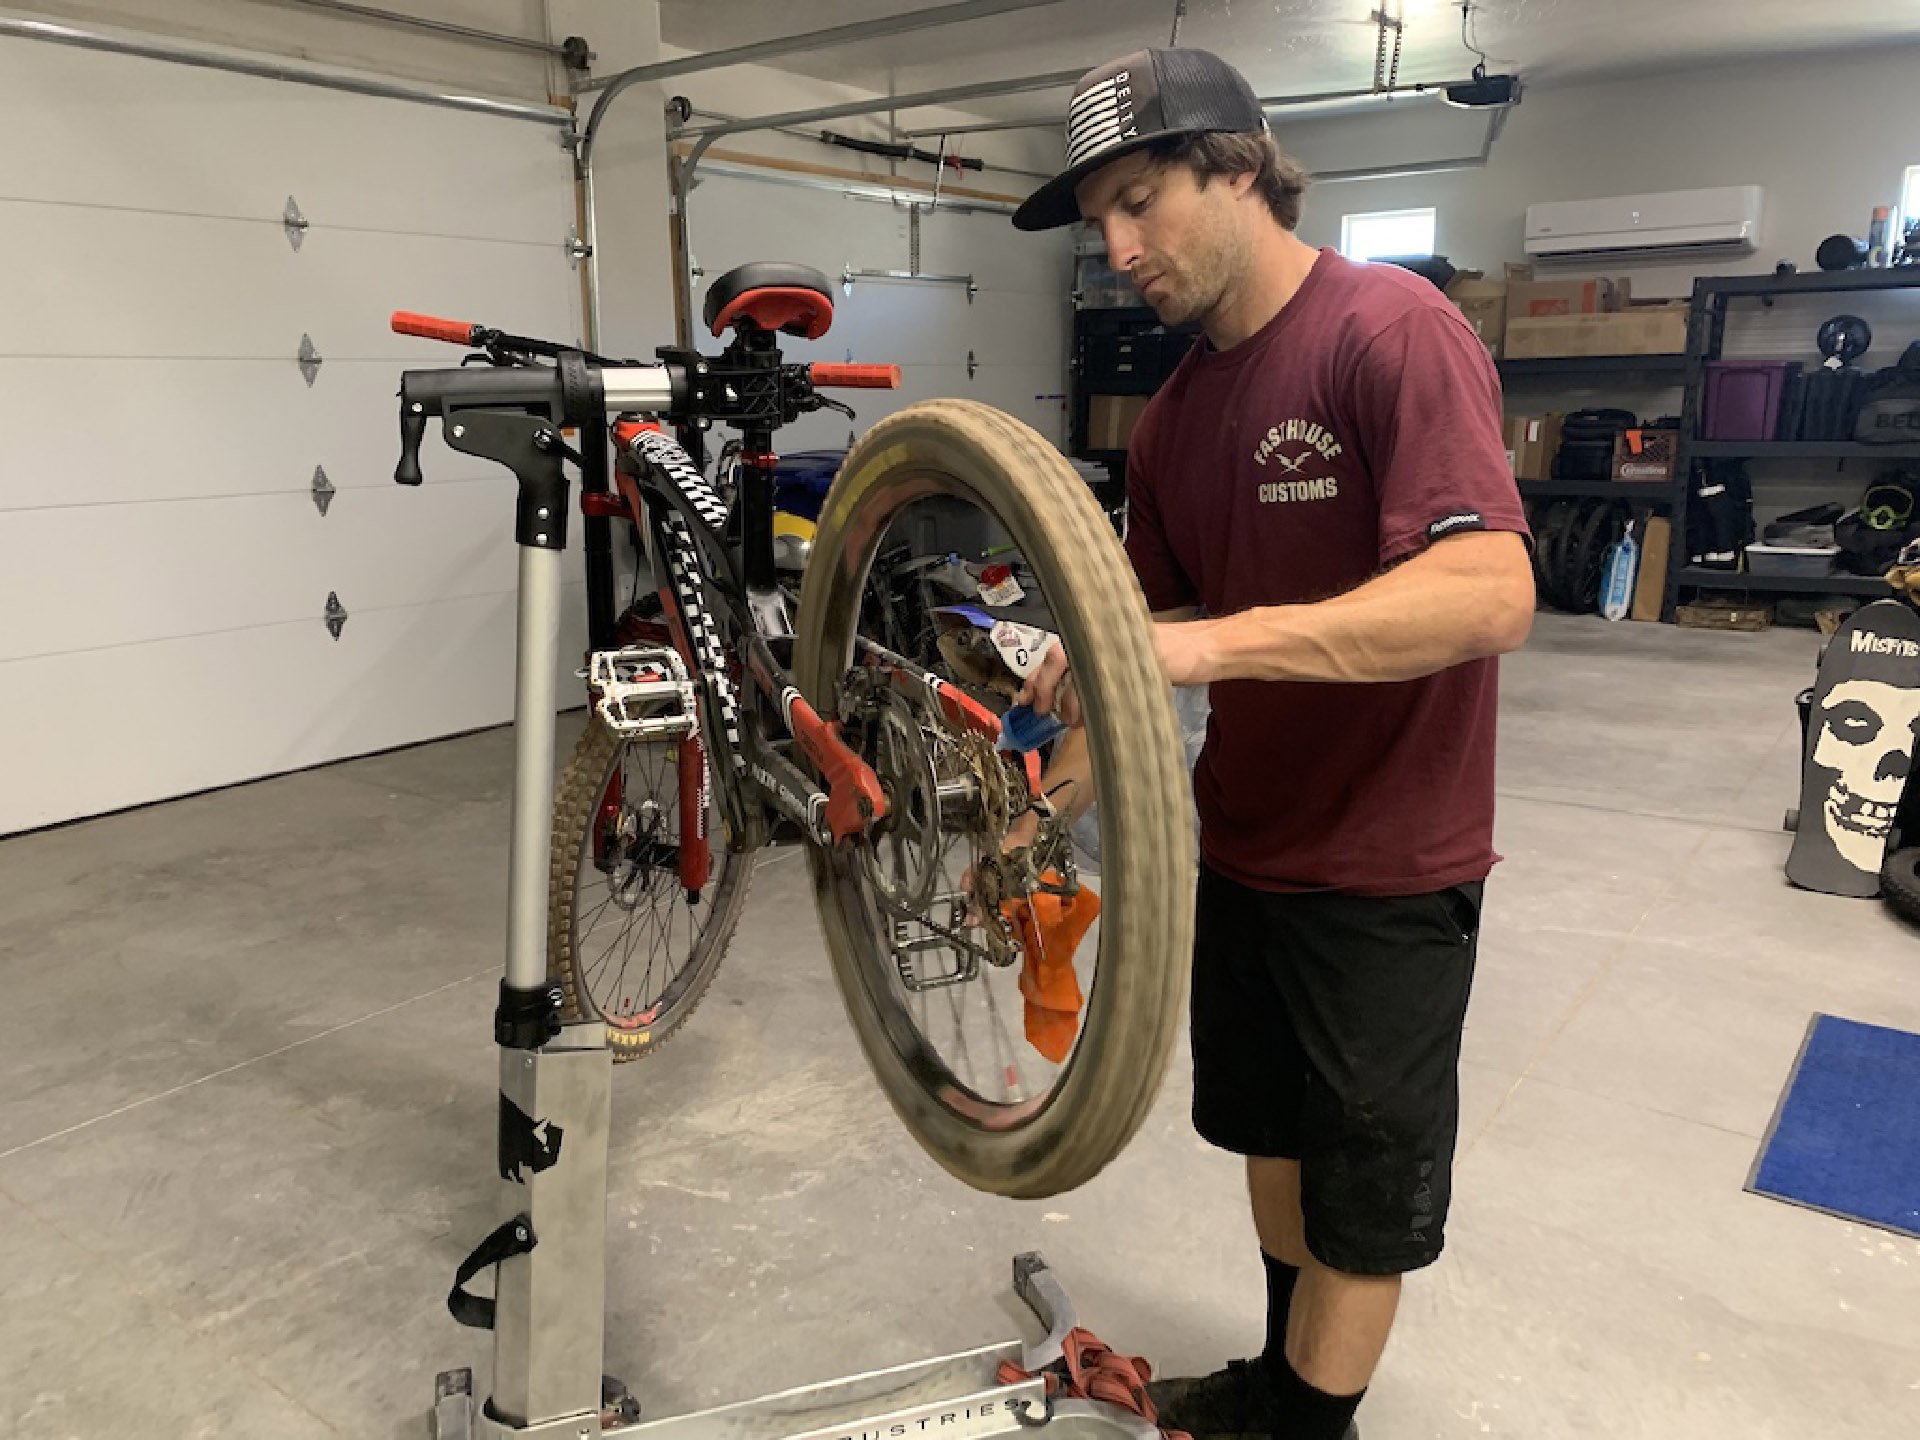
Tyler McCaul demonstrates the repair stand from his home in Utah. Photo courtesy Tilt Trainers
Ready to Go
In order to maximize the benefits of the experience, removing your chain is recommended. As an alternative, because your bike isn't actually rolling anywhere, it's possible to simply remove your chain from the chainring and rest it below the cassette, perhaps in a cloth so it doesn't pick up detritus.* Tilt also supplies a track that can be rolled onto your chainring that prevents your chain from engaging any teeth, simulating a chainless experience. Once you mount up you may be tempted to stretch your pointer over at least your rear brake lever. Tilt would dissuade you from this practice as well, hoping you will instead use your balance or the tether to keep you in the sweet spot. At that point it's time to saddle up and pretend you are Wyn Masters.
*this is assuming you have a 1X drivetrain - and to be clear I have only done this a few times and there could be unforeseen consequences
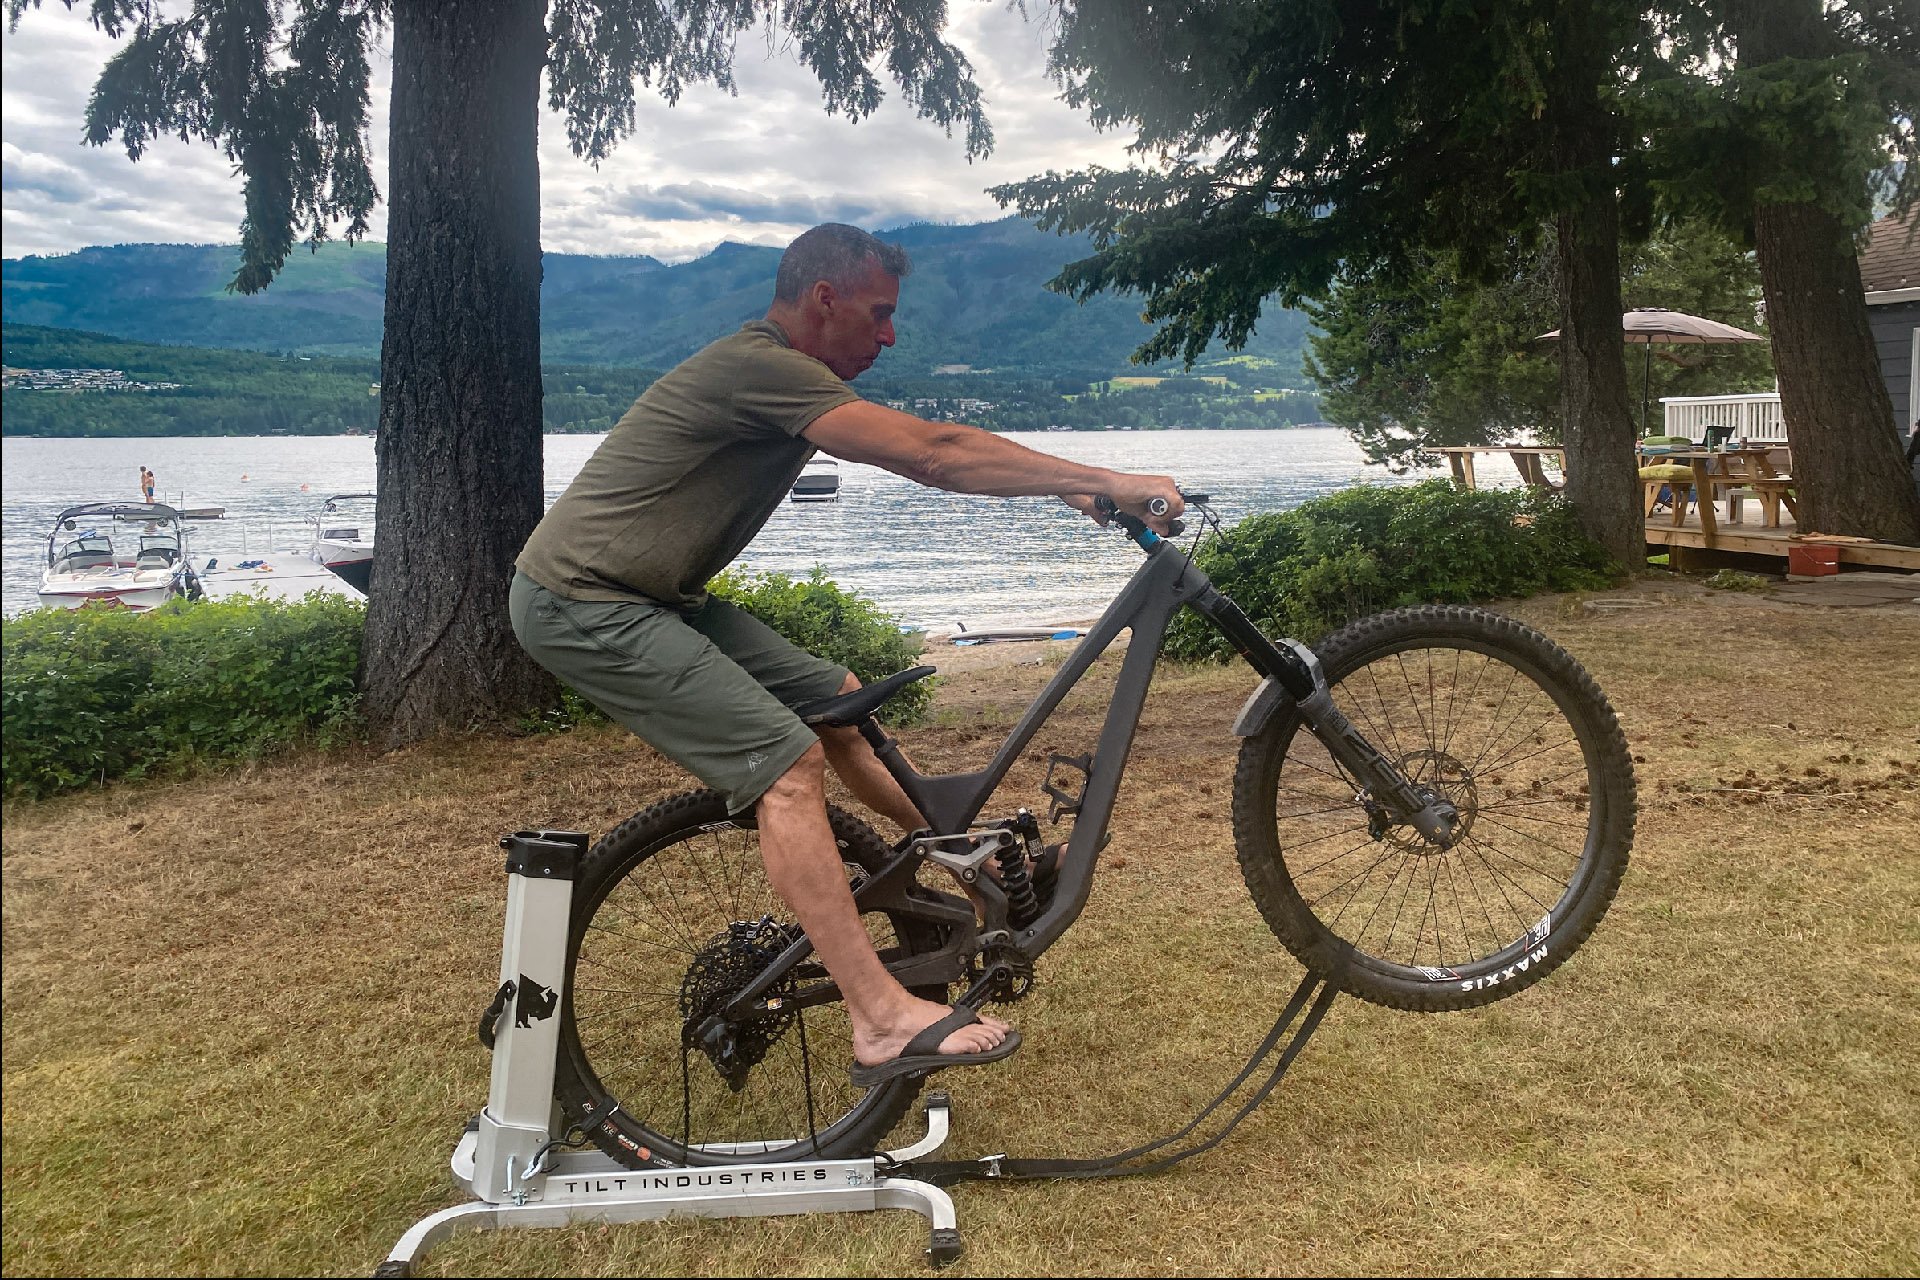
I begin like a bmxican in the start gate; balanced weight between feet and hands, with feet at 9 and 3 and well-positioned on the pedals. After a few bounces I tip my ass back, with my arms straight, and use my body weight to pull the front wheel off the ground - and then it's a rather intense game-on, for as long as you like. It's not a low stress activity and I've been feeling it in my lower back and shoulders, but not unpleasantly. .
The flexible webbing strap begins to add some resistance before you've pulled it tight and you can come close to the end of the tether without interrupting your flow.
Manual Training
Before the bike industry started chasing big hoop dreams, I was beginning to get the hang of manualling. I remember circa 2001 or 2 practicing in the street in front of our house, and getting 20 or 30 feet at a time and sometimes being able to pump and recover for even longer. Occasionally I was able to hold my front wheel up for the length of a downhill ladder bridge which was an amazing feeling. Since we graduated to 29ers, I haven't once been able to even pull the bike to the balance point. On 26 I could bounce up into the balance point by heavily weighting the bars and then doing an abrupt pushup. The Tilt Trainer has taught me that, on a long modern 29er, the motion needs to be much more rearward and with a dramatic weight shift; the sort of move that would have left me flat on my back on small wheels.
Old Dogs
Over the last few years my downhilling skills have improved considerably. I've gone from fair to middling to fully middling but it still feels great and I hope to ride this wave as long as possible. I can't tell you yet what sort of impact the Tilt Industries Balance Trainer will have on my riding but I'll be playing close attention and reporting back once I've made the apparatus a part of my regular training regime.

As luck would have it, while I was practicing with the Tilt Industries Balance Trainer, I had my first ever session on a foil board, where fore and aft balance is everything. I'm not sure if the skills transferred, but I fared much better than I expected to. Photo - Shane Czypka
I'm probably too old to learn how-to manual, which makes it sound like a great challenge. Age-be-damned, I'm going to give it a try with the help of the Tilt Trainer. I think a good strategy will be to have a bike set up in the trainer full time to remove friction and make using the trainer a habit. As a bonus, that bike won't need brakes or drivetrain.
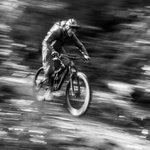
Hopefully I'll be back with some Wyn Masters-style clips of me one-wheeling down some curvy mountain road before too long.
The Trainer on its own costs 299 USD or 399 USD with the repair stand option (which is 159 USD when purchased separately.
Tilt Industries has a lot of good information on using the trainer as well as other helpful tips for someone who wants to become a better rider.
Height - 6'/183cm (mostly legs)
Weight - 170lbs/77kg
Inseam - 33"/84cm
Ape Index - 0.986
Age - 58
Trail I've been stoked on lately - Sam's Dad's Trail
Bar Width - 760mm
Preferred Reach - 485-500mm (longer with 27.5 wheels than 29)


Comments
fartymarty
1 year, 9 months ago
Cam - an update in a few months would be useful - even with another video to show how things have come along.
Reply
Cam McRae
1 year, 9 months ago
That’s the plan for sure!
Reply
fartymarty
1 year, 9 months ago
Thanks, it will be interesting to see how you progress. I'm still trying to sort wheelies so manuals are still a way off for me.
Reply
albert03
1 year, 9 months ago
From the peanut gallery: good job, I predict you will in fact improve rapidly. Two notes: you look like you're looking down a bit. Your eyes (and head that will follow) need to look 'way down the road. Also, you're going to get sore practicing, so at least even things out and practice some of the time with your non-chocolate foot forward, even if you'll never do so on the trail.
Reply
Cam McRae
1 year, 9 months ago
I think you are correct Albert. I have played with angle of vision a little and need to focus on it more.
Reply
Lu Kz
1 year, 9 months ago
Must have been a good workout lifting that heavy ebike over and over. Hehe.
Reply
Cam McRae
1 year, 9 months ago
Haha! I did find it easier on the other bike even if the difference was only 4 lbs or so.
Reply
Allen Lloyd
1 year, 9 months ago
I am in the same boat, the tip that has helped me the most is hips down then back. It is a strange movement, but if you watch people they tend to get low then pop straight back, vs. moving diagonally from normal stance to behind the rear wheel. Someone explained it as making a L movement, straight down then straight back.
The one thing that jumped out to me is they tell you not to use the rear brake, in reality a finger on the rear brake is a must.
Reply
Cam McRae
1 year, 9 months ago
I think that’s a better explanation of the movement than I gave Allen. I feel like I never would have figured out how to find the balance point without the trainer - or maybe someone like you who could have given me some tips. I hadn’t spent a ton of time trying to manual a 29er but it always felt impossible before this.
Reply
Allen Lloyd
1 year, 9 months ago
My other tip is to get a huge backpack and fill it with trail tools, the ride like normal. At some point the weight will shift and you will manual whether you like it or not :) The best manual of my life was done setting course for an enduro.
Reply
Cam McRae
1 year, 9 months ago
Lol! Excellent tip. Or get some Kardashian booty on.
Reply
LWK
1 year, 9 months ago
I'm only a few years younger than Cam and have put a fair bit of time and energy into trying to learn MTB skills (manual, wheelie, bunnyhop, jumps, drops, basic trials moves, etc) over the past several years. my observations:
if you understand a given movement and are willing to practice (alot) you will improve. Maybe (likely?!...) not to Danny McAskill levels but certainly improve
I firmly believe that anything you can do to improve your balance on the bike will result in better riding overall
the manual is a J or L shape of pushing the pedals down and forward to loft the front of the bike. Your hips do need to be lower - a progression practice is to get your butt low enough to buzz with the back tire. You dont need to be that low to actually manual, but thats the general idea.
yea, its harder on bigger, longer bikes.
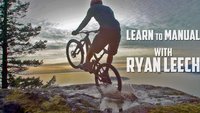
Ryan Leech (https://learn.ryanleech.com) is your friend. For a visual learner, I'm not aware of a better learning resource. Seriously, subscribe even if just for a short time to go thru a class (manual, wheelie, etc) that you might be interested in. More trials focused but I've also found https://trashzen.com to be a useful and free web resource
Reply
Cam McRae
1 year, 9 months ago
Excellent tips, feedback, and encouragement LWK. Thanks very much!
Reply
Raymond Epstein
1 year, 9 months ago
I shared this article with my riding pal who remodels homes. He's said what many including myself might be thinking. You could build one of these with some 2x6's, 2x4's and some tie down straps for probably less than a quarter of the price. What benefits do you see outside of the folding convenience and the added work stand (which costs even more) of this over a DIY?
Reply
Cam McRae
1 year, 9 months ago
I think doing a DIY version makes great sense assuming you have ample storage space - and no need for portability. This one folds up to be about the size of a couple of shoe boxes.
Not to mention the tools, know-how and space to build one. You’ll likely even find plans and/or a YT video to help.
I had similar thoughts myself but it never came close to the top of my list of projects so I guess time should be added to the list of Tilt advantages.
Please share your results and cost with us if you build one!
Reply
albert03
1 year, 9 months ago
Don't underestimate the benefits of small folding conveniences. If you build a trainer/ramp/training tool that's so big it's hard to store, you won't pull it out and use it. That's been my experience.
RideMTB (Kyle Warner w/ April) have some of the best free instruction out there, IMO, and as a side project they did exactly as Raymond says: one 2x4, one 2x6, and a strap (plus screws). It's pretty compact, but still not comparable in convenience to the Tilt Industries product shown.
Reply
Cam McRae
1 year, 9 months ago
Bang on Albert. I recently read Atomic Habits by James Clear and his entire thesis is that small changes to the way we do things and how we organize our spaces and our schedules can make the difference between creating good habits over the long term and jettisoning bad ones, or being stuck with the opposite.
One of the big points, and one I have been aware of without realizing it, is that you want to reduce friction around habits you want to foster. For me that was as simple as making sure my water bottle is full (suspension set up, tires pumped) after my last ride to reduce the effort and mental energy required to get out for the next one. Those were small things that made a big difference.
This is why I plan to have a bike set up on the Tilt Trainer as much as possible for the next few months. If you are a guitarist, having your instrument on a stand in your living area where you will see it often will help you play regularly if that's your goal. If you have the space to have a DIY trainer set up and ready to go then that shouldn't be a problem for you. Or if you are the sort of person who has an easy time making time for practicing a skill you are motivated to work on.
Reply
Markus Kainulainen
1 year, 8 months ago
Every smart gravity rider should have a bmx or dj bike to practise manuals and bunnyhops. Having even a bit of those skills can really save your day and hitting jumps or drops without those skills is like russian roulette :D
Reply
Please log in to leave a comment.