PRODUCT LAUNCH
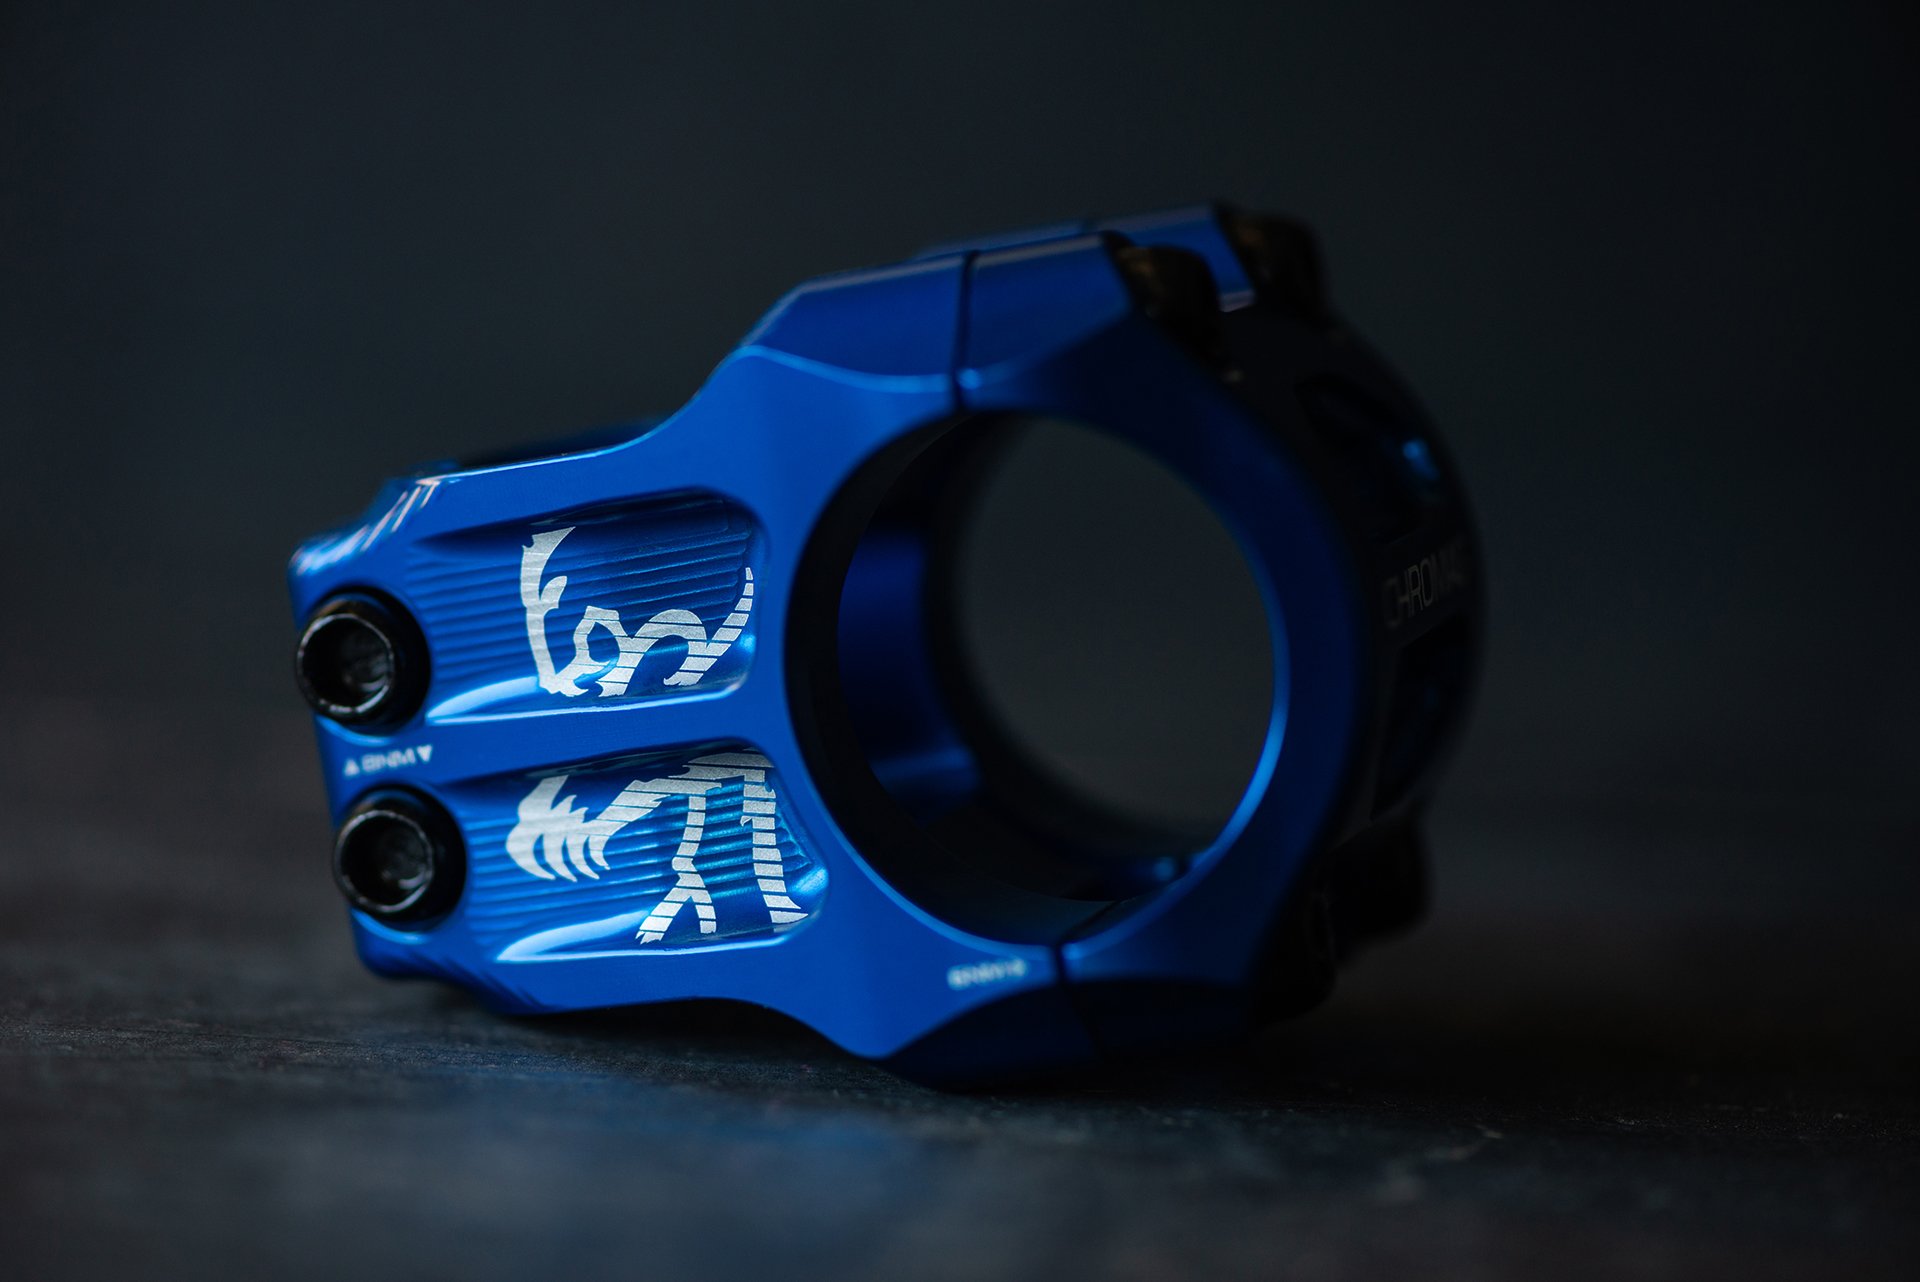
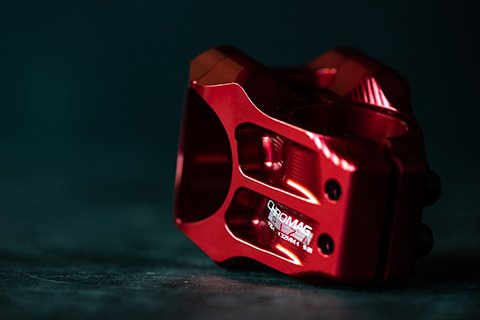
Creating the RIZA Stem
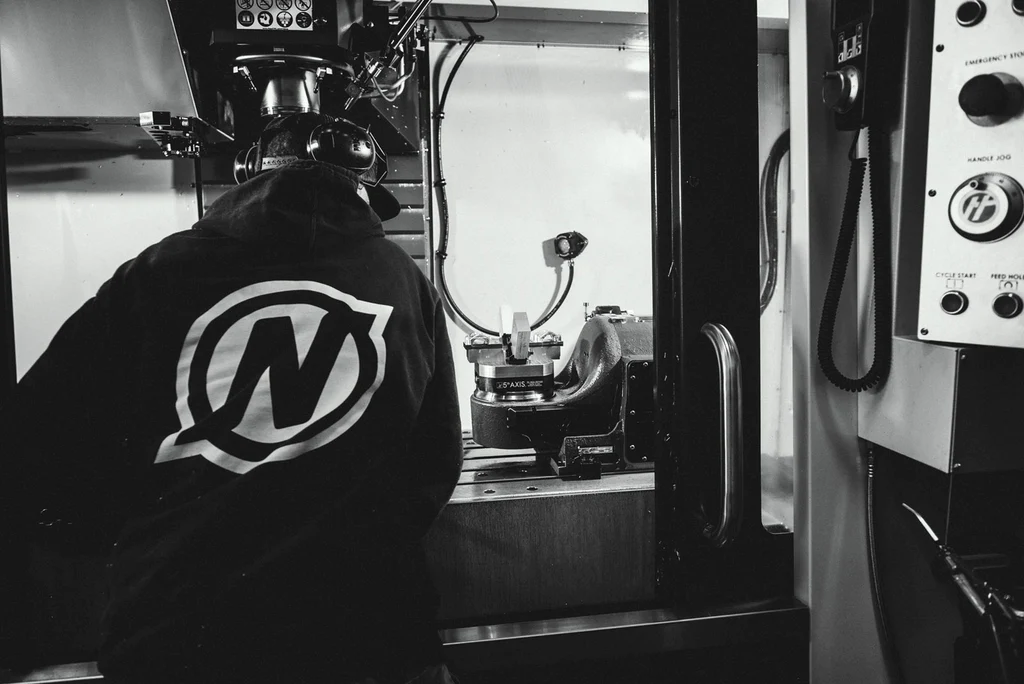
Not everything Chromag sells is made in Whistler, however a big part of their success lies in their relationship with North Shore Billet, with whom they share a building. Both companies owe a large part of their success to each other, and you can learn more about them both and that relationship, in our Makers Series films about them: Chromag // North Shore Billet.
What follows are words and photography from Chromag that detail the process behind their new RIZA stem.
We've used our knowledge of making stems for almost 20 years to create a new, highest level, Canadian-made bar grabber. Let's have a little walk through how the RIZA is produced, right here in Whistler, British Columbia.
A watched pot never boils.
It’s no secret we partner with North Shore Billet on a lot of our Canadian machined parts, and having them next door has been a crucial part of the design process. Working with them on a design that is not only physically possible to produce, but also cost effective is a large part of the development.
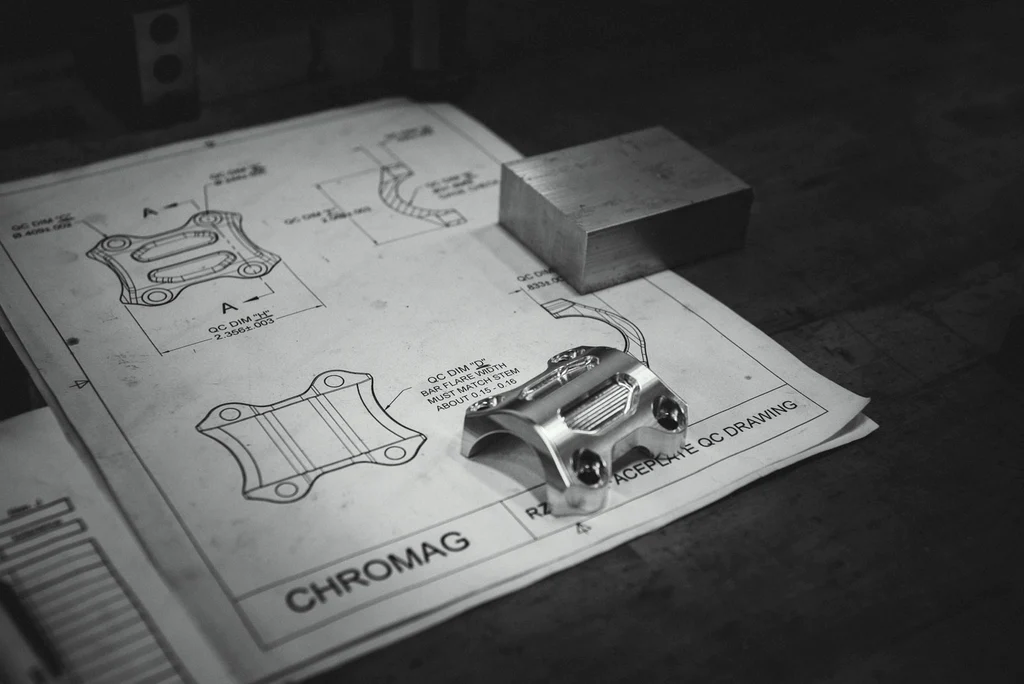
Once we have a design we’re happy with, we send it next door to begin the CAM process, knowing that feedback from NSB will no doubt lead to changes in the design. This feedback might relate to run-time, number of tool changes, number of setups, or even where the machining stepover lines appear and how much they overlap.
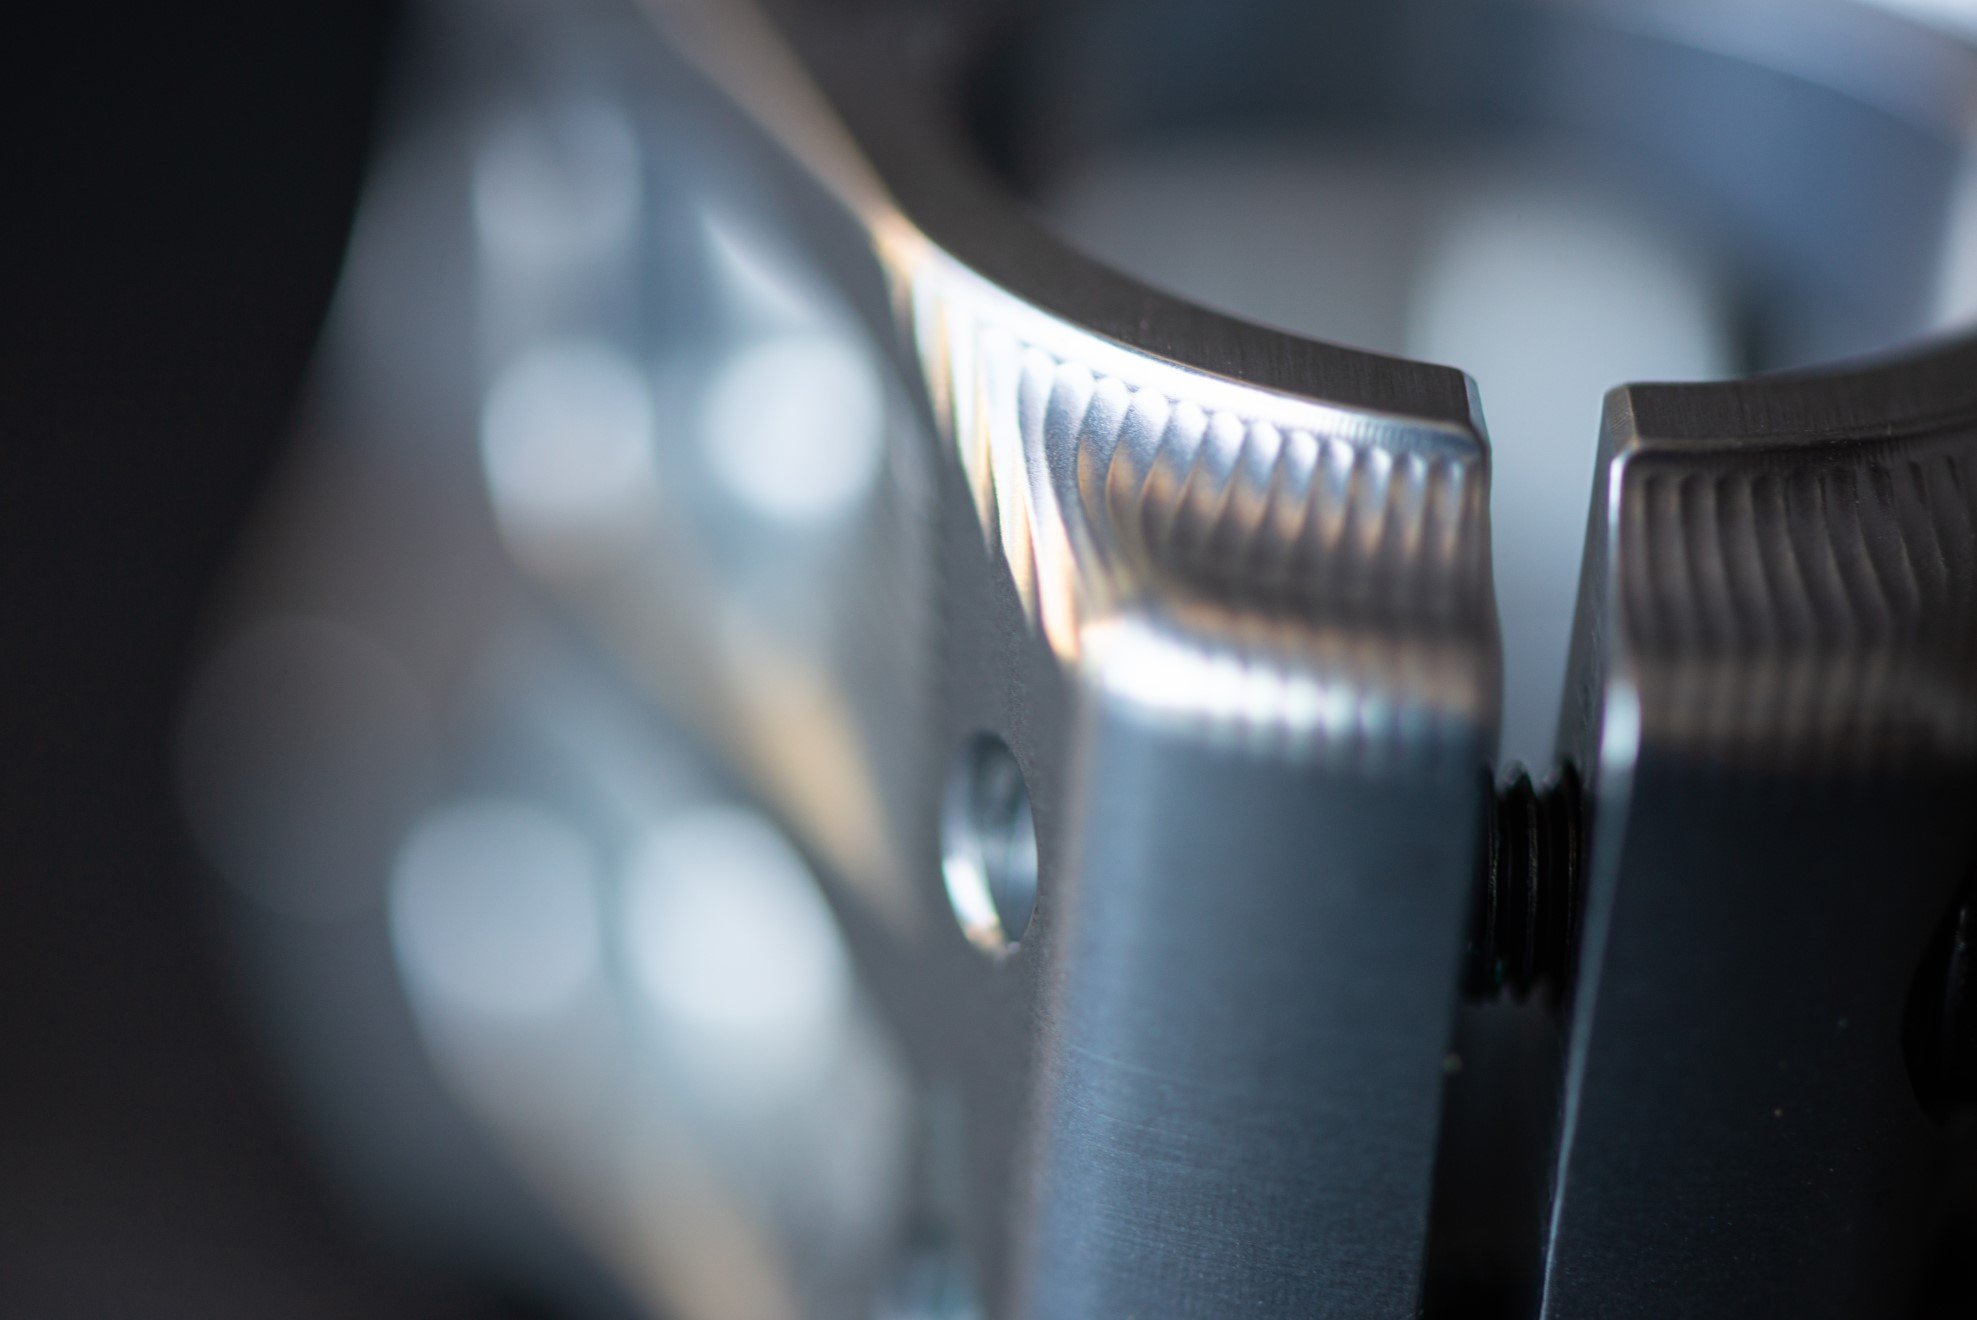
Chromag affectionately refers to this as corduroy.
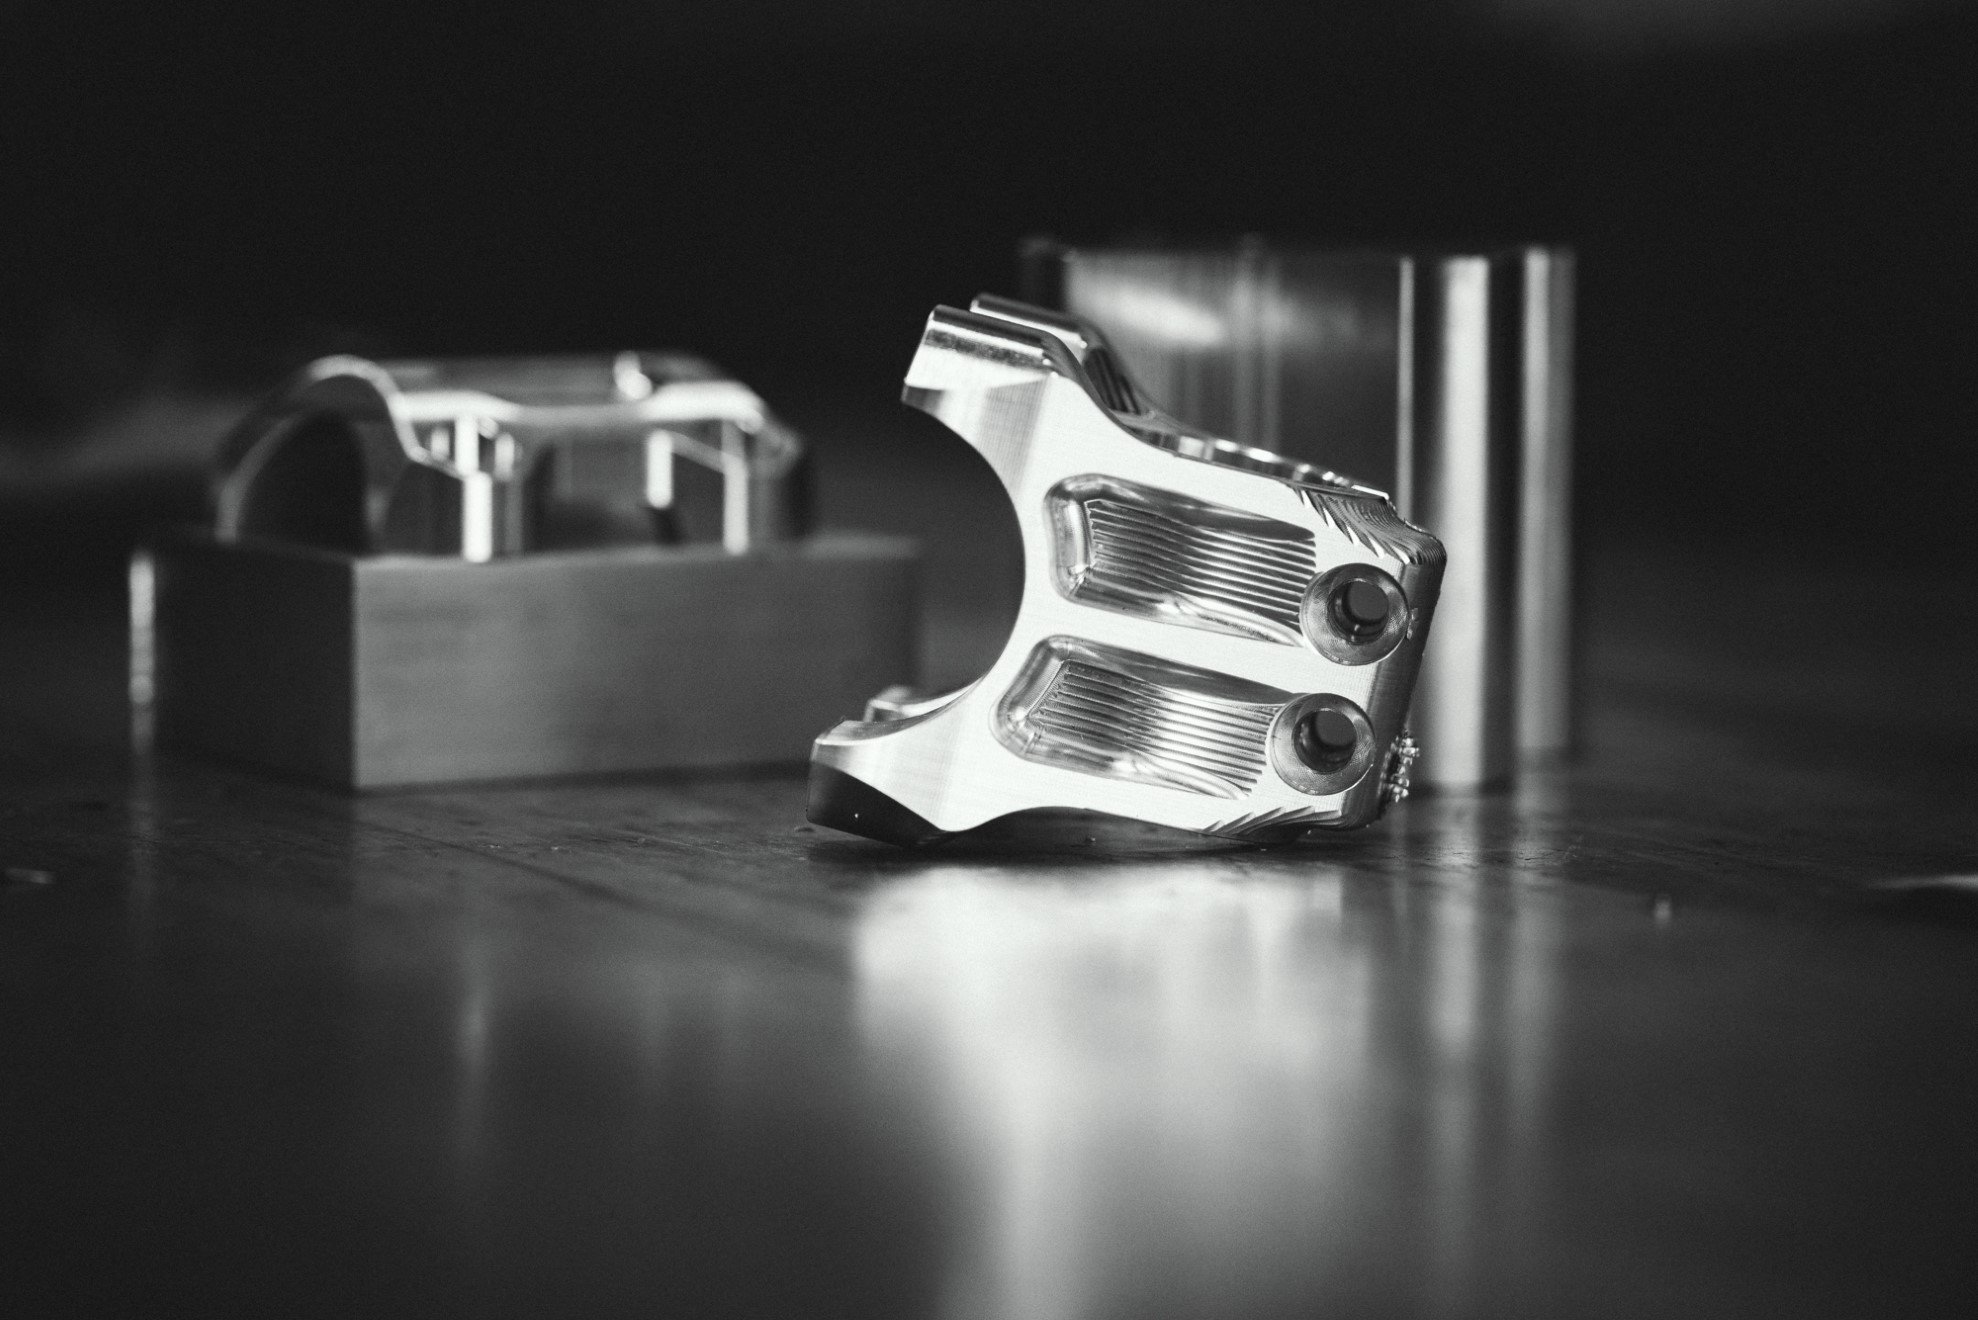
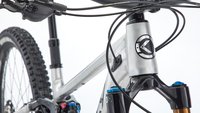
There is a tight feedback loop with the machine shop that can have large effects on the end result, and a lot of the time it’s about finding a balance between how we want the stem to look/function vs. how difficult it is to produce. For example, the new faded edge on the bar clamping surface was designed to reduce stress risers and hot spots induced into the handlebar and this was very important for us to keep, despite adding to the run time.

The new faded edge on the RIZA bar clamping surface.
Once we’ve hashed out the details with the NSB crew, they set to work on finalising the CAM side of things. This includes things like figuring out which tools are used for what, cutting speeds and feeds, number of setups or even which machine is better suited for each operation. We’ll also send some off to Zedler in Germany, usually with some of our bars, for testing.
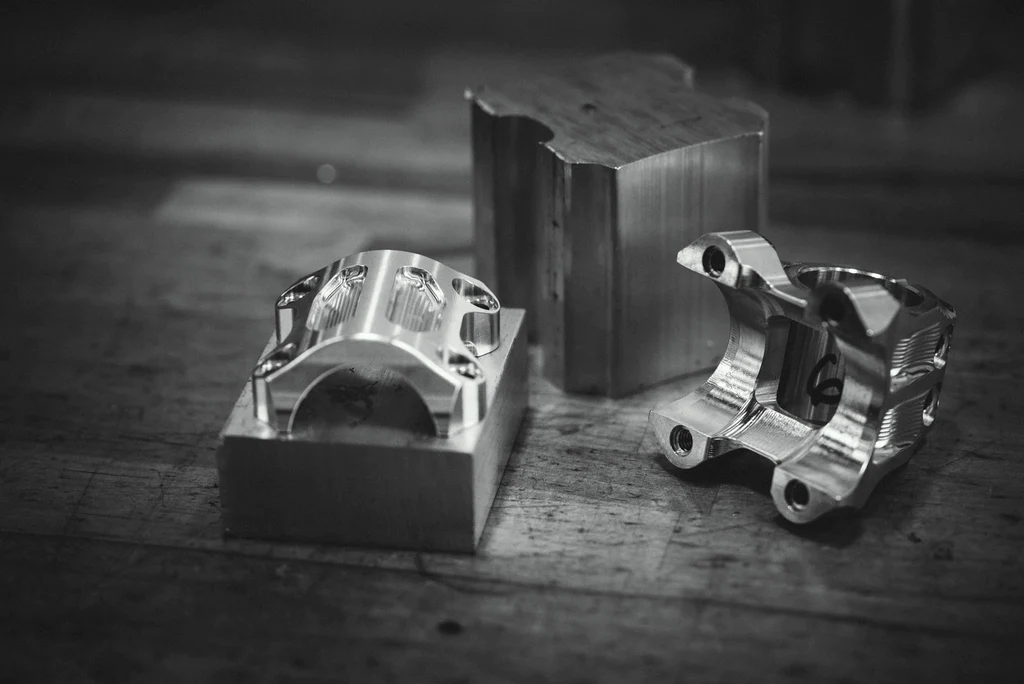
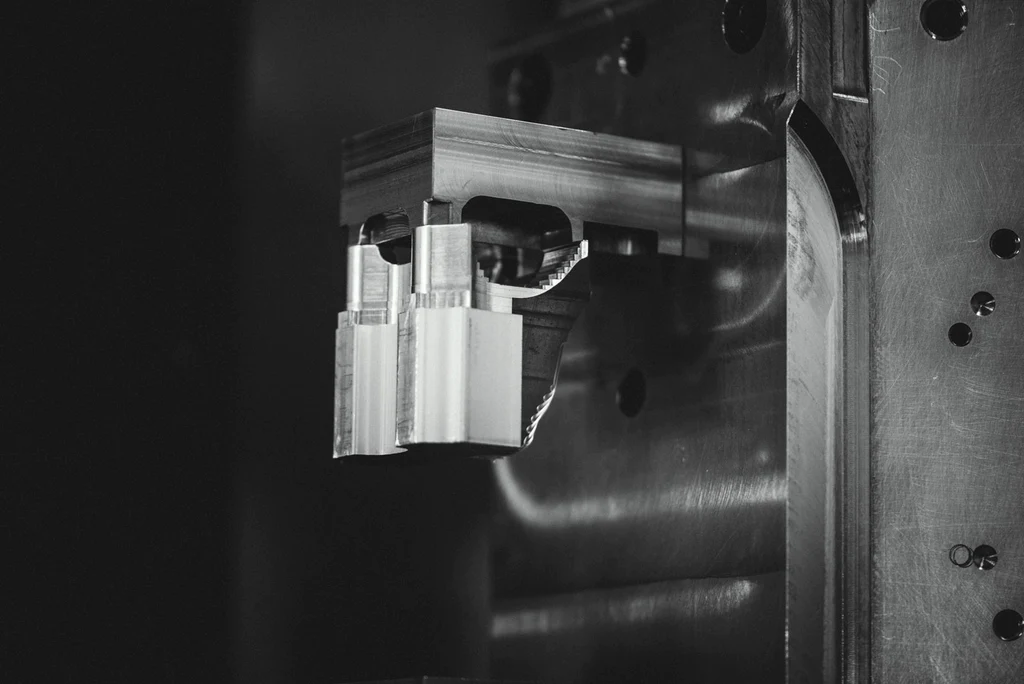
Rectangular billet and our custom extrusion.
For the faceplates we use a standard rectangular billet extrusion, but for the body, we have a custom extrusion made (think Play-Doh press). The custom extrusion reduces machine time as there is less material to remove because the extrusion is closer to the finished shape of the stem. It also produces less waste. NSB recycle all of the waste aluminium, but it’s still good practice to make as few chips as possible.
We might move to a near-net forging in the future (think waffle iron), which we have done in the past, but there is obviously quite a high cost barrier to do this. A near net forging basically squishes the alloy (in this case 6061 aluminum), into a shape that is very close to the finished shape of the stem, and then very little machining needs to be done. It’s not without its challenges, the biggest being you need a forging for each length/bar clamp size, whereas we can use one extrusion for all sizes at the moment. The reason we can do this, is the footprint of the stem is very close for all sizes, we just need to cut the stock to different lengths.
Even cutting the stock is a skill, working out the thickness of the blade and how many sizes you can fit to a bar to produce as little waste as possible.
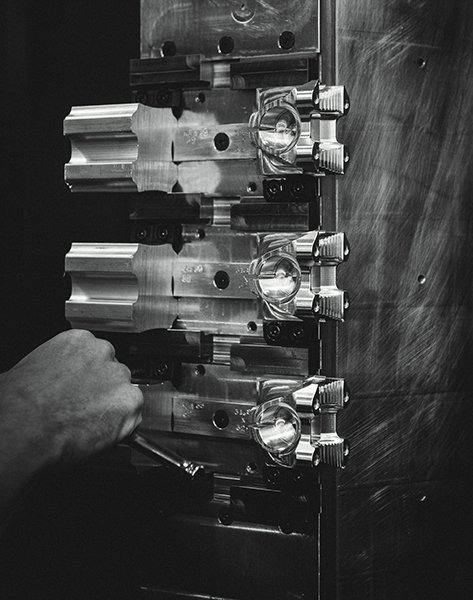
Loading up the tombstones on the Matsuura.
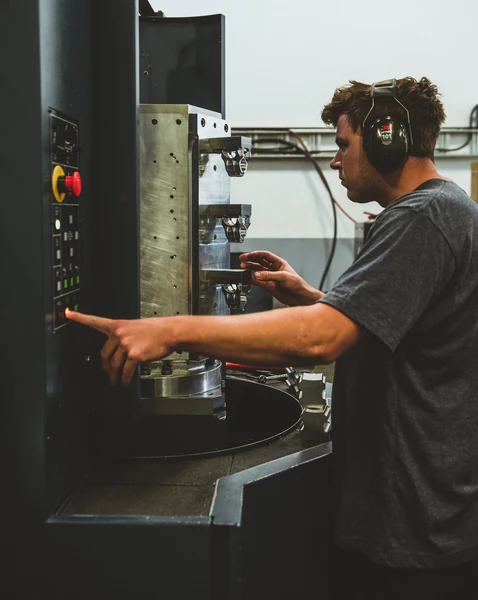
This bad boy can run unattended for over a day when fully loaded.
Once the stock is cut to length, it’s loaded into its respective machines ready to press the big green button. This must also be done with utmost care. The wrong size stock loaded with the wrong program can have catastrophic effects and cause tens of thousands of dollars worth of damage!
Chromag have been simultaneously working on a stem for Minecraft.
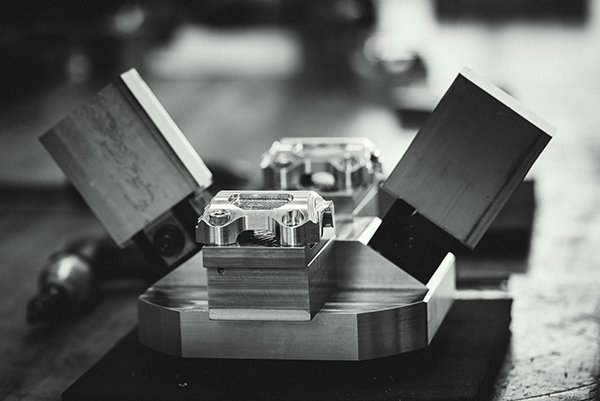
It’s a common misconception that you just put a piece of metal in a machine, press a green button and out pops your part. I think the best way to challenge this notion is to ask “but how do you hold it?” Usually you can hold your stock fairly easily in a vice as it has nice square sides, but once you machine that side, you need to flip it over and finish machining the side you were previously holding. This usually requires some innovative techniques and custom tooling. For a little challenge, take a look at the RIZA faceplate, and think about how you might hold it down!
The original machine had a base-plate of prefabulated amulite, surmounted by a malleable logarithmic casing...
...in such a way that the two spurving bearings were in a direct line with the pentametric fan.
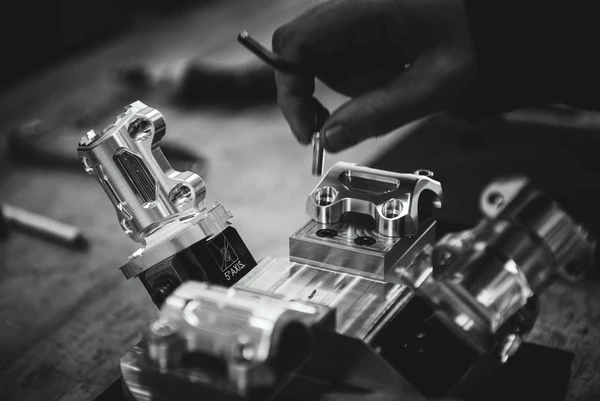
Once the part is ready it usually needs to be de-burred by hand. Changes can be made to the program to reduce the need for this, but usually at a cost to run-time. If the operator has some time between cycles (the RIZA faceplate being 18 minutes), the decision might be that there is time to perform some hand deburring while the machine is running.
You can see a burr on the steerer clamp (right) that needs taking care of, either by hand or by adjusting the program.
When the part is ready it’s removed, new stock is loaded, and the cycle runs again. The part is then run through QC. This might involve measuring certain features to a high degree of accuracy, using no/go gauges or simply checking the fit with its counterparts. The program may need to be adjusted as things change throughout the day, so a periodic tolerance check keeps tabs on this. The machine warming up can have an effect, or even changes in operator. One operator may tighten things down ever so slightly differently to another which can lead to a different outcome, sometimes in a crucial area.
Measure once, cut twice.
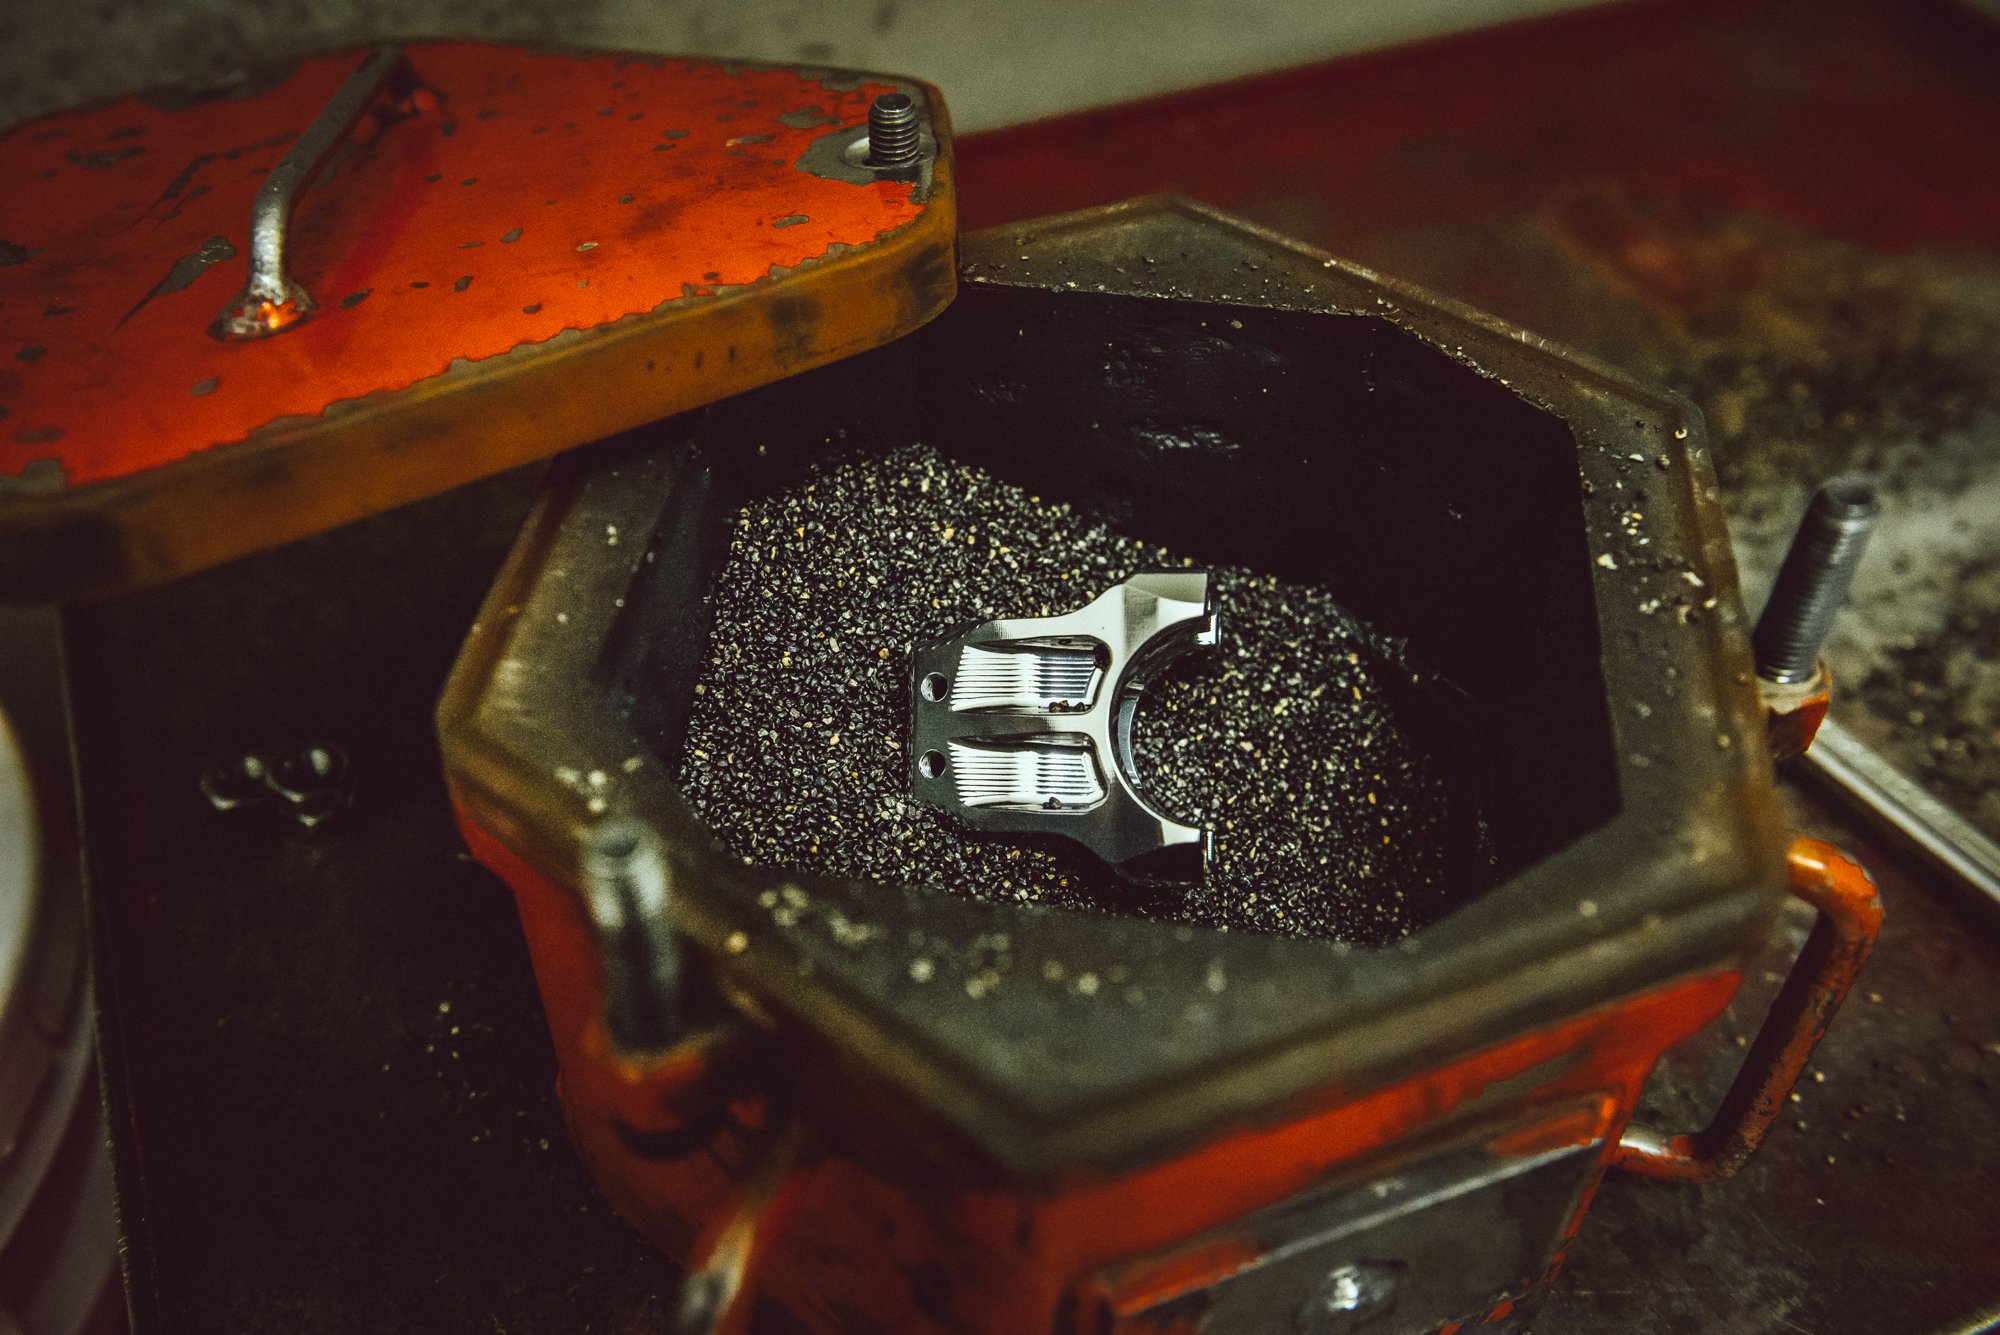
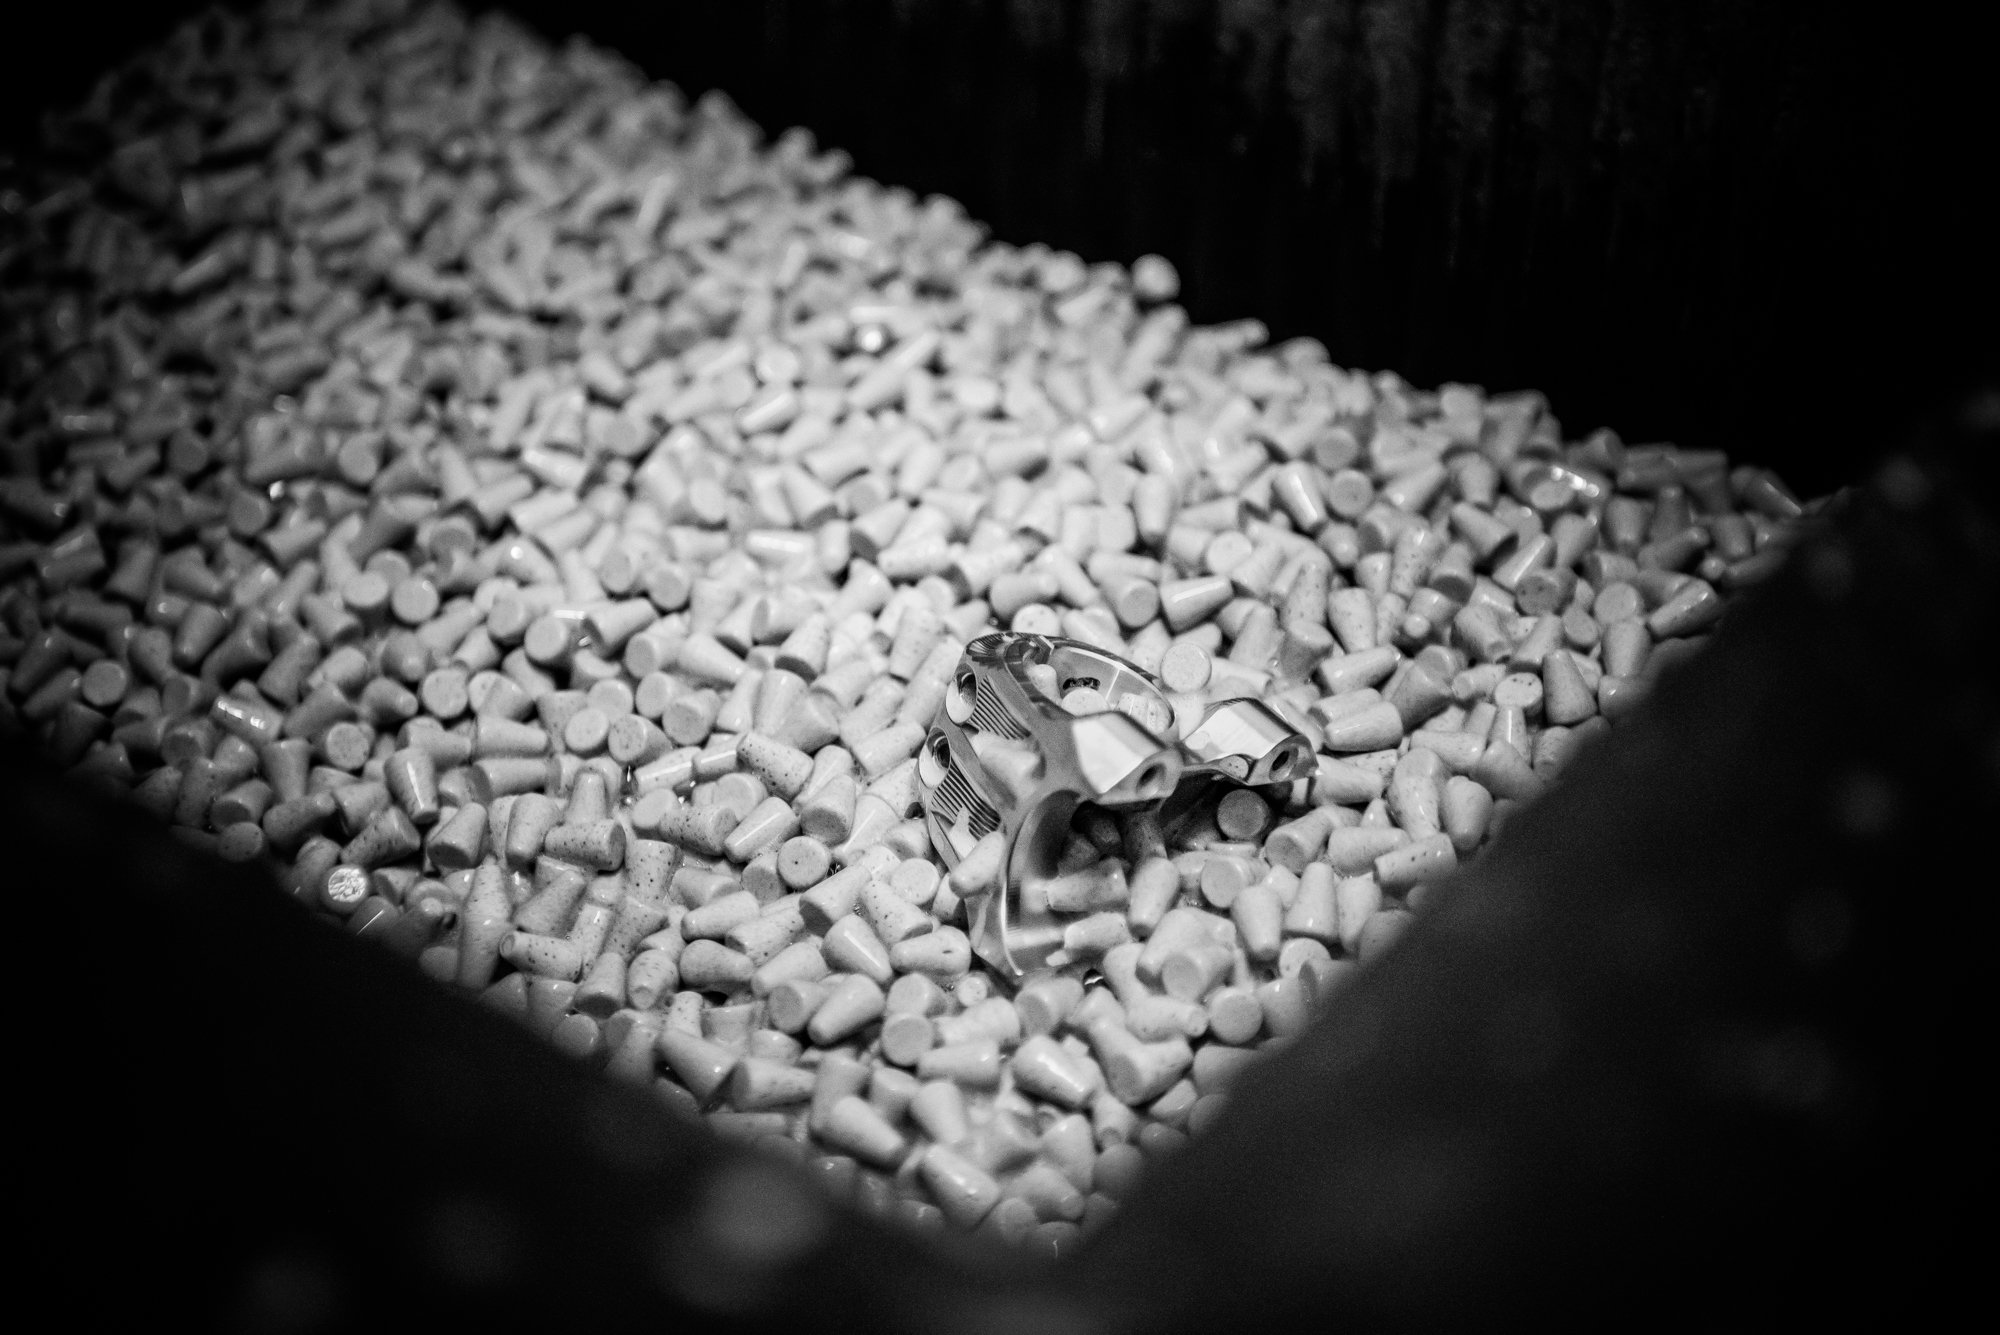
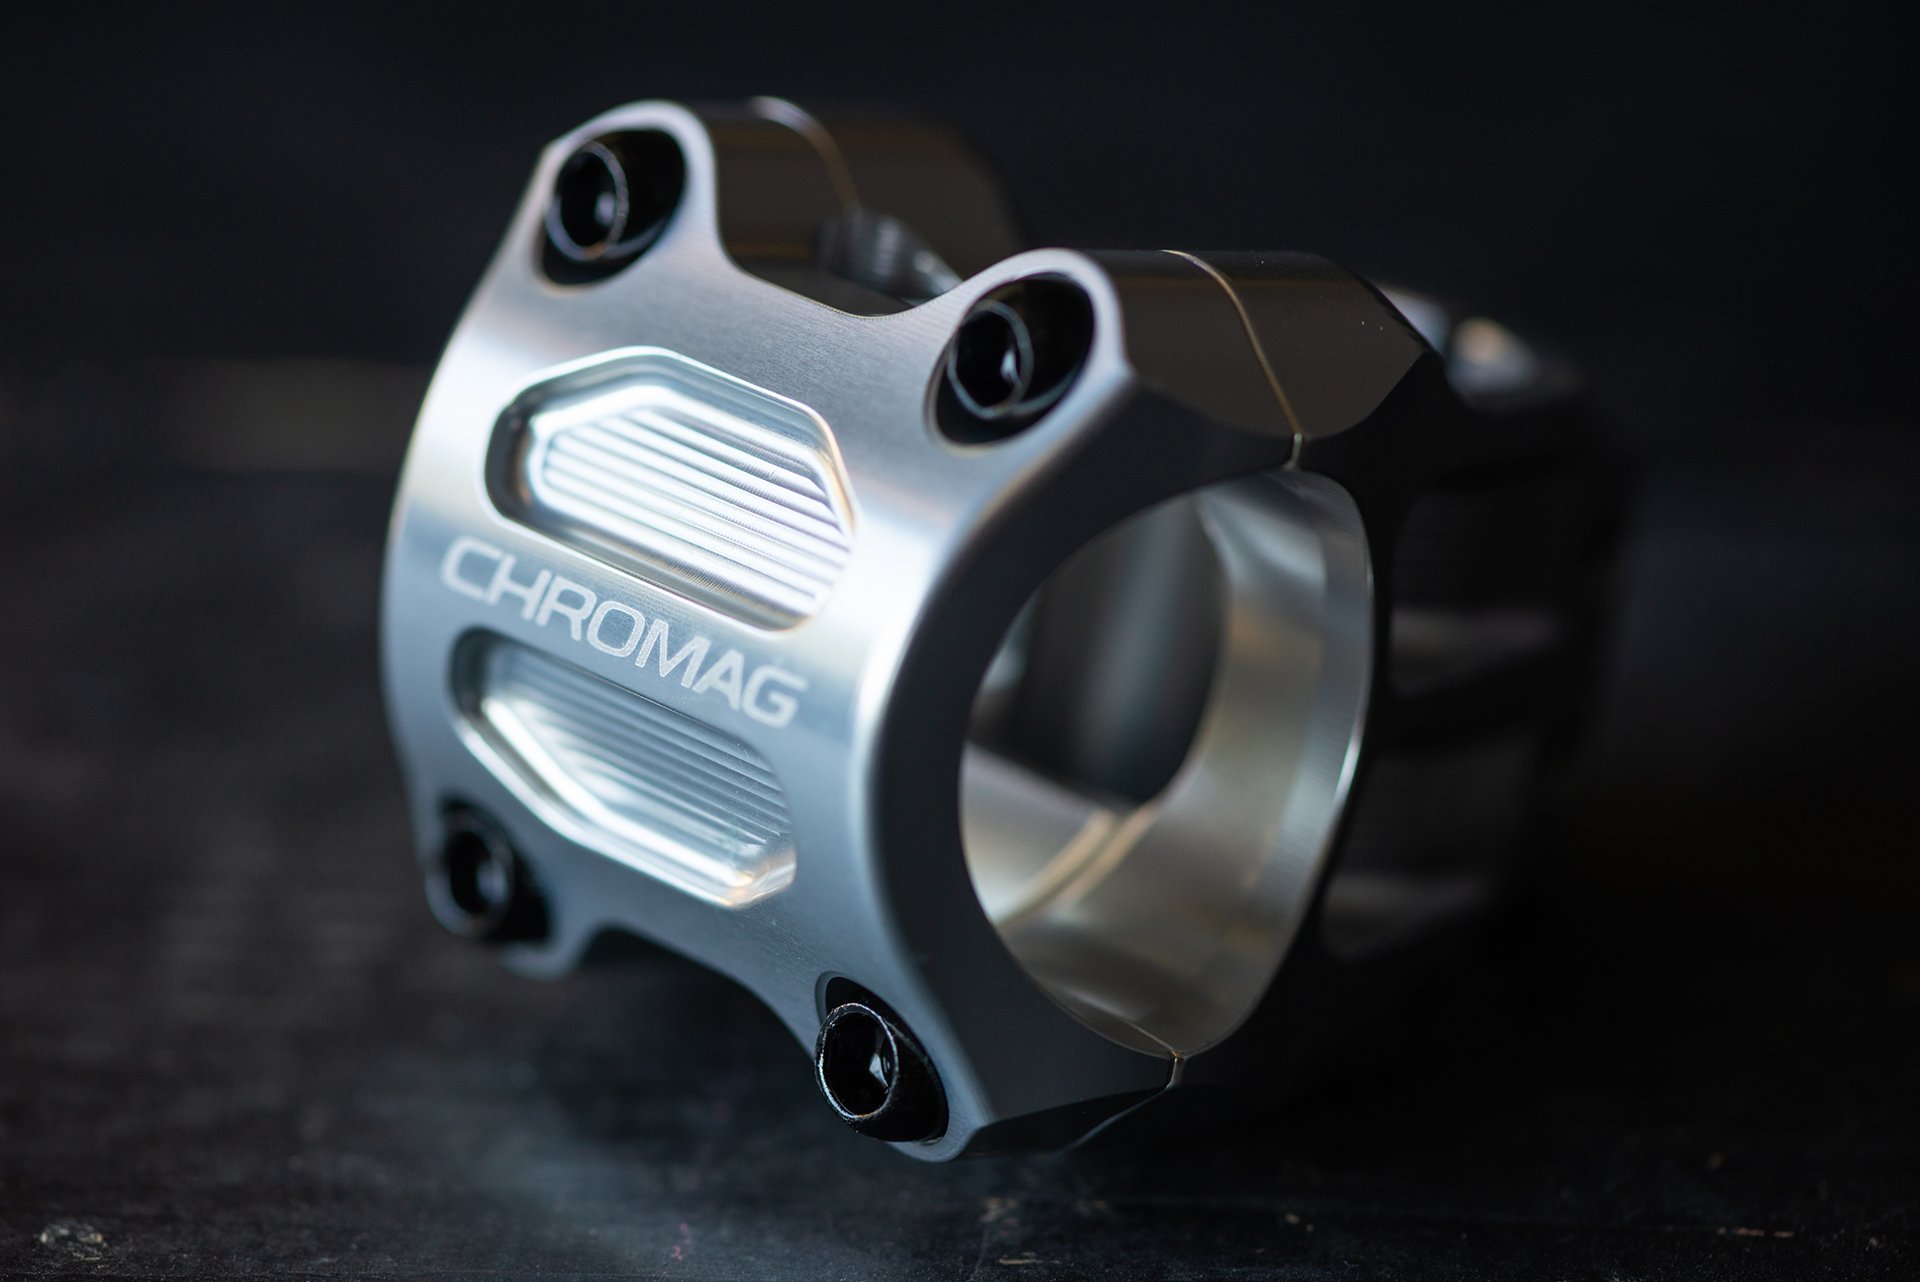
If the parts are within tolerance, they get put into a tumbler or polisher depending on the intended finished colour. The silver finish for example gets polished before anodising. The anodising in this case is clear, which allows the silver colour to show through, but protects it and keeps its brilliant finish from oxidising when you sweat all over it.
Polishing.
And tumbling.
When the batch is ready, they’re sent off for anodising in Alberta. They then return for laser etching at NSB, a process which can ruin weeks worth of work in a just a few seconds!

Fire the laser!
We then assemble them here at Chromag, package them up and get them ready to ship out to our loyal customers. Before this we will have usually produced samples for testing, photographing and for athletes to try out.
Hopefully the gives you some insight into the level of care and attention to detail we put into all of our products, and with any luck learned a little something!
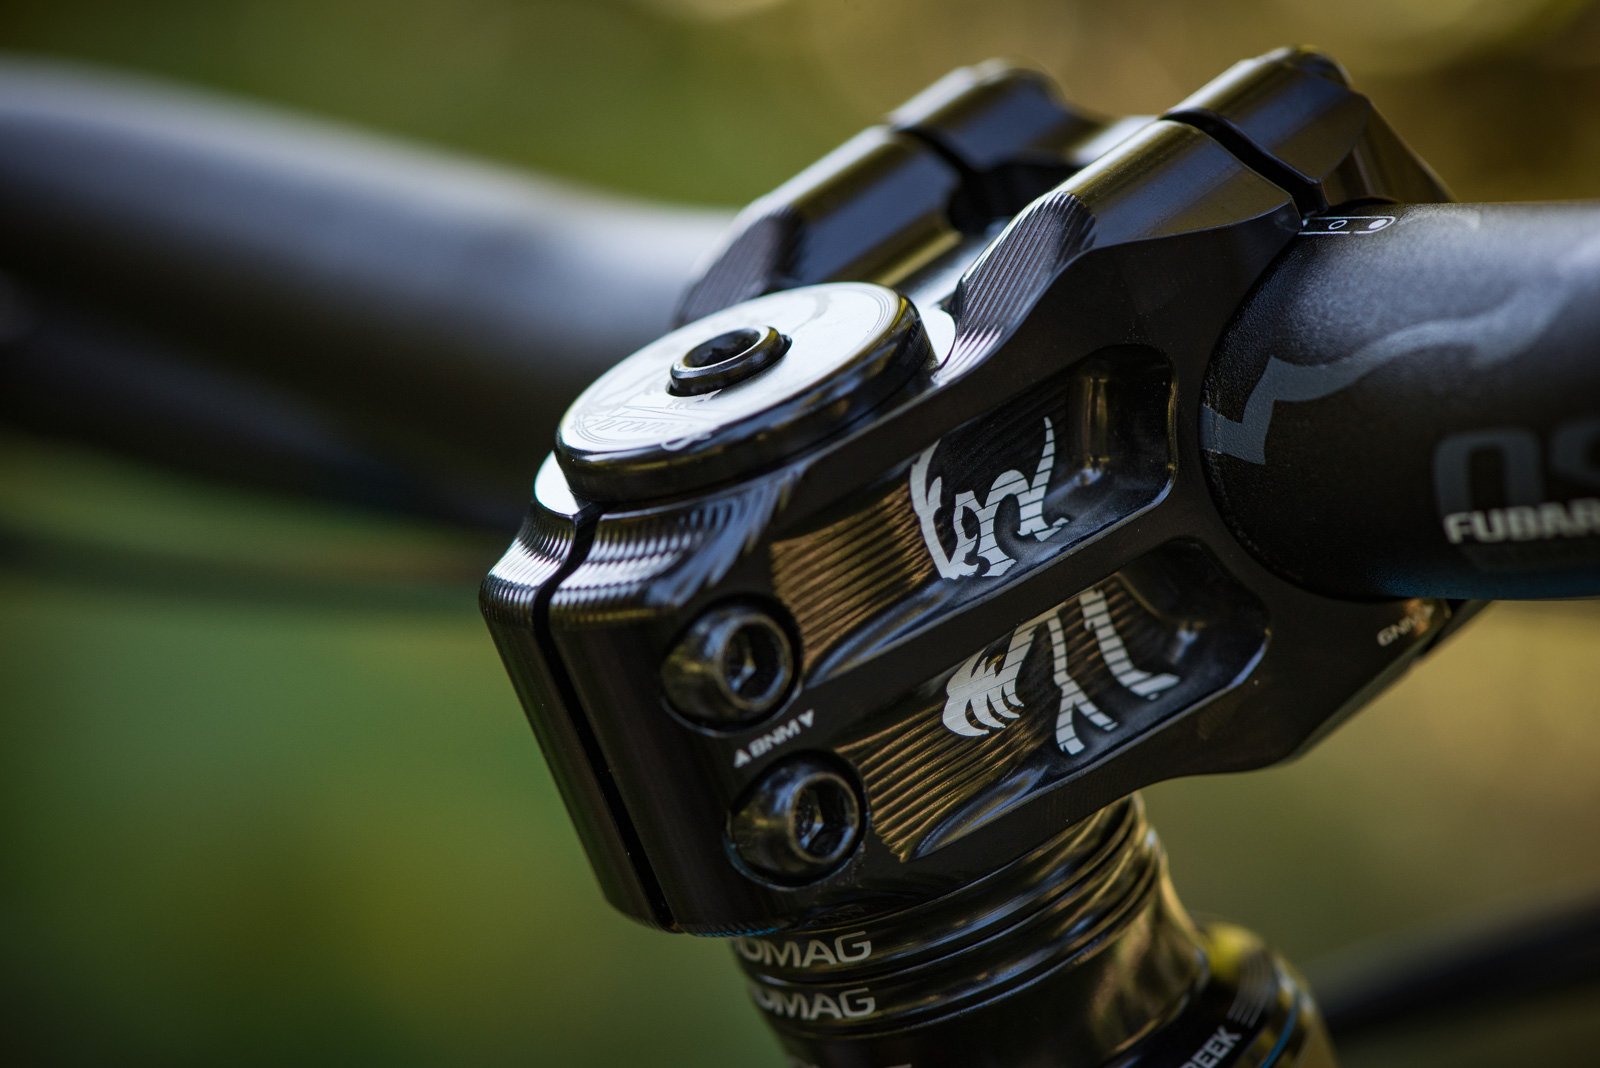
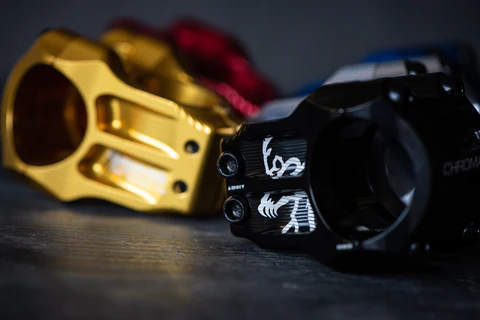
The RIZA comes in black, gold, red, blue and silver and weighs in at 176g (35x32mm). It comes in 31.8 and 35mm clamps and 32, 38 and 45mm lengths.

Comments
Mark
1 year, 5 months ago
Why Alberta for anodizing? There are bunch of places in Metro Van and shops in the Okanagan as well. AB seems like a long ways to go for ano.
Reply
Andy Eunson
1 year, 5 months ago
Possibly the more local anodizing shops only do larger batches? I was chatting with Steve at Vorsprung years ago about the Corset air sleeve. He said he’d found a machine shop to make them but a minimum order was 50,000 units. I think he ended up going to Alberta too. Now he has his own machine shop to do this.
Reply
Pete Roggeman
1 year, 5 months ago
I'll see if we can get a comment from Chromag about this, but Andy's likely correct about local shops requiring batch sizes that are too large.
Reply
AndrewR
1 year, 5 months ago
I had heard that there was an issue in the Lower Mainland about colour consistency both between and within batches.
Reply
Ian Ritz
1 year, 5 months ago
This is where we are currently getting the best and most consistent quality results. While there are anodizers in the lower mainland, and we have used most of them, and still do for some products that either have a more basic finish, or are only black, we haven’t been able to get a level of consistent quality there. Most likely because the focus for them is on heavier industrial products that don’t require a high level of detail. We’ve actually used many vendors for anodizing, in Canada, and in the US and are on a constant quest to find great partners to get the best result...Ian
Reply
Andy Eunson
1 year, 5 months ago
Consistency was the other thing Steve had mentioned with anodizing. Sometimes the coating was too thick or too thin. As a result my air sleeve leaked and needed a slightly thicker o ring. At least I think that was the issue. It was a while ago. When you get old the memory. Uh. The . What? Why did I come into the kitchen?
Reply
Mark
1 year, 5 months ago
Thanks for the response - and it makes total sense.
Reply
finbarr
1 year, 5 months ago
This comment has been removed.
Please log in to leave a comment.