The DIY Butcher
Bearing Swap - 2015 Juliana Roubion 1st Gen. (SC Bronson)
I'd like to think I approached this task with more humility, after botching both the swap on my Yeti SB150 and then, bursting with confidence from that failure, doing even worse with the Santa Cruz Tallboy. I realize in retrospect that I was pretty sure the mishaps I encountered in these two outings taught me enough to think a little more critically and to be a little more careful. Unfortunately, I think I was so proud of this approach that I was once again over-confident. Or that's what I'm blaming for my three bodged removal efforts. In the end I was rescued but if I'd gone back and read the comments beneath my my Tallboy article, I would have remembered the suggestion by Hbar and avoided the stress that comes with shitting the bed and only removing part of a bearing. Three times.
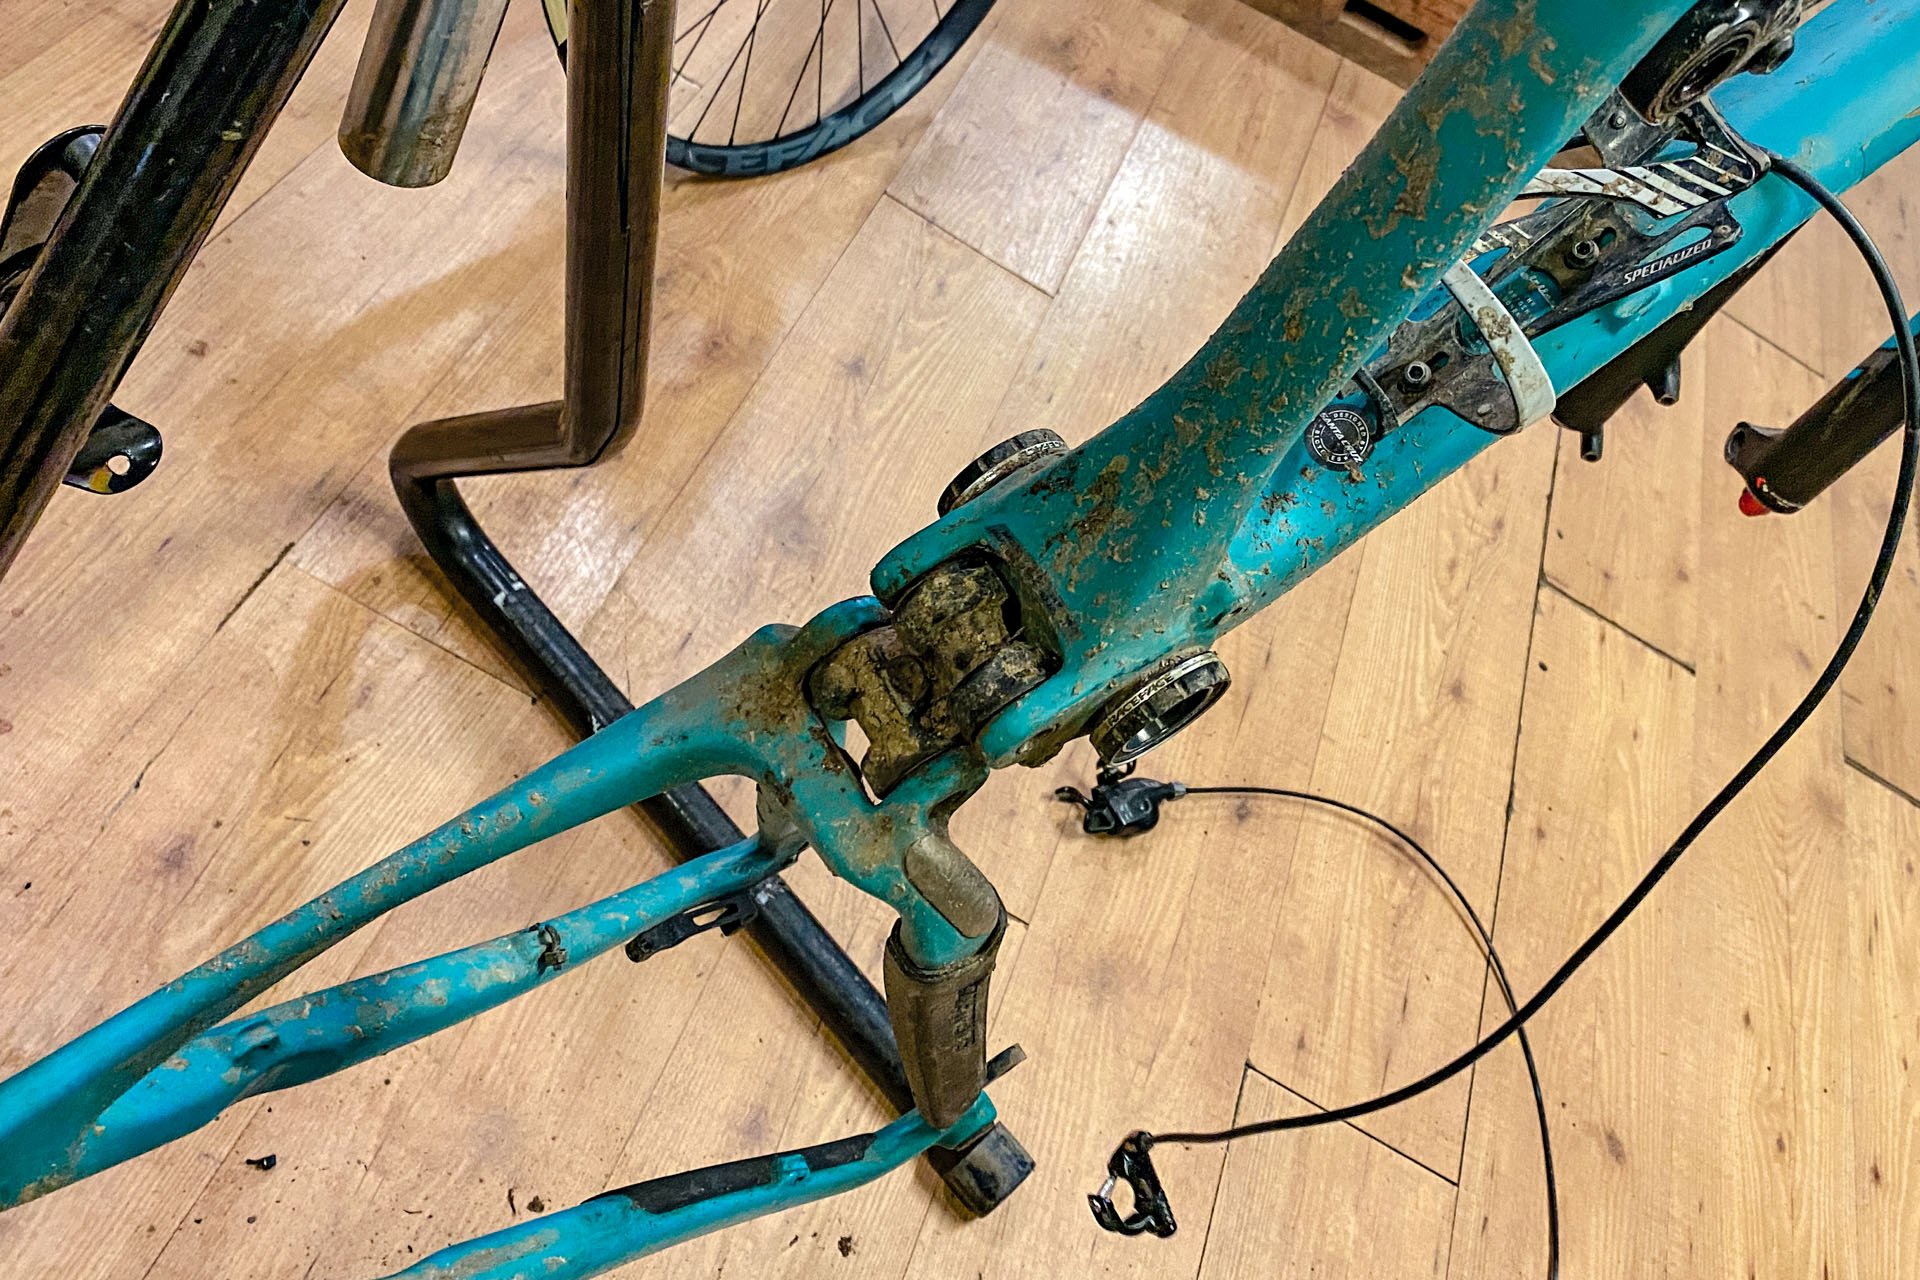
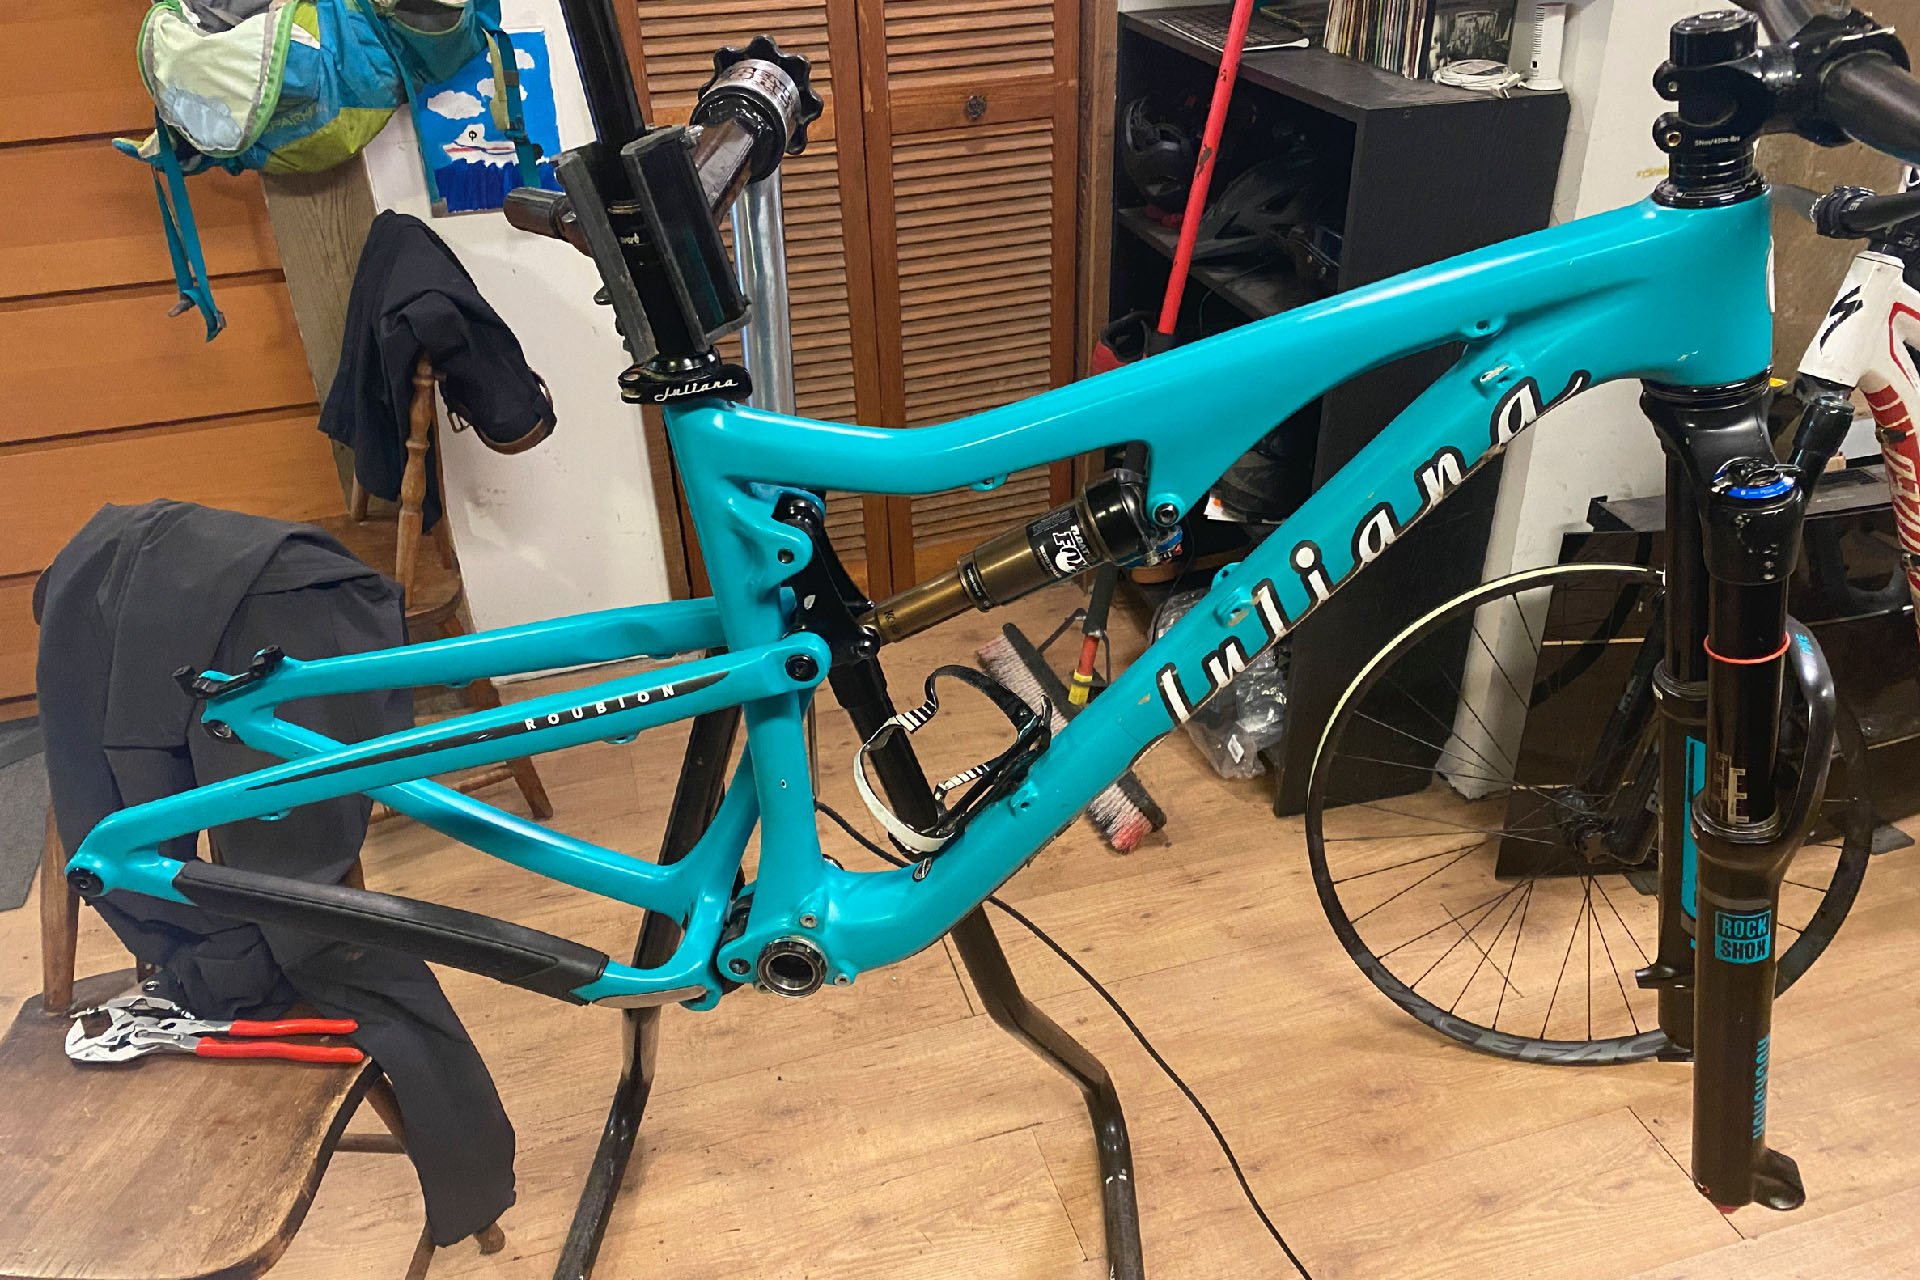
It appears some work could be done here.
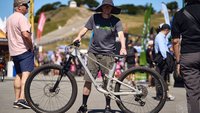
Before I begin, I should confess that I have been a bad mountain bike husband. While my wife's bike got a complete overhaul perhaps 3 years ago, I haven't been attentive enough in the interim. Beyond that, she was actually overdue for a new bike, and while I had planned to make that happen, I waited too long and things were so backed up by then, nobody would even take my order. My only hope was to completely rebuild the Roubion and make it run better than new. She's been riding the bike since 2015, and she rides a lot. I had already checked to see that her drivetrain, which is perhaps 3-years old, was completely pooched, but until last weekend it was, remarkably, not skipping. And it was only a 10-42 10-spd. She can turn that gear up our local climbing trail without any trouble, but the possibility of a bailout gear for long rides has been mentioned.
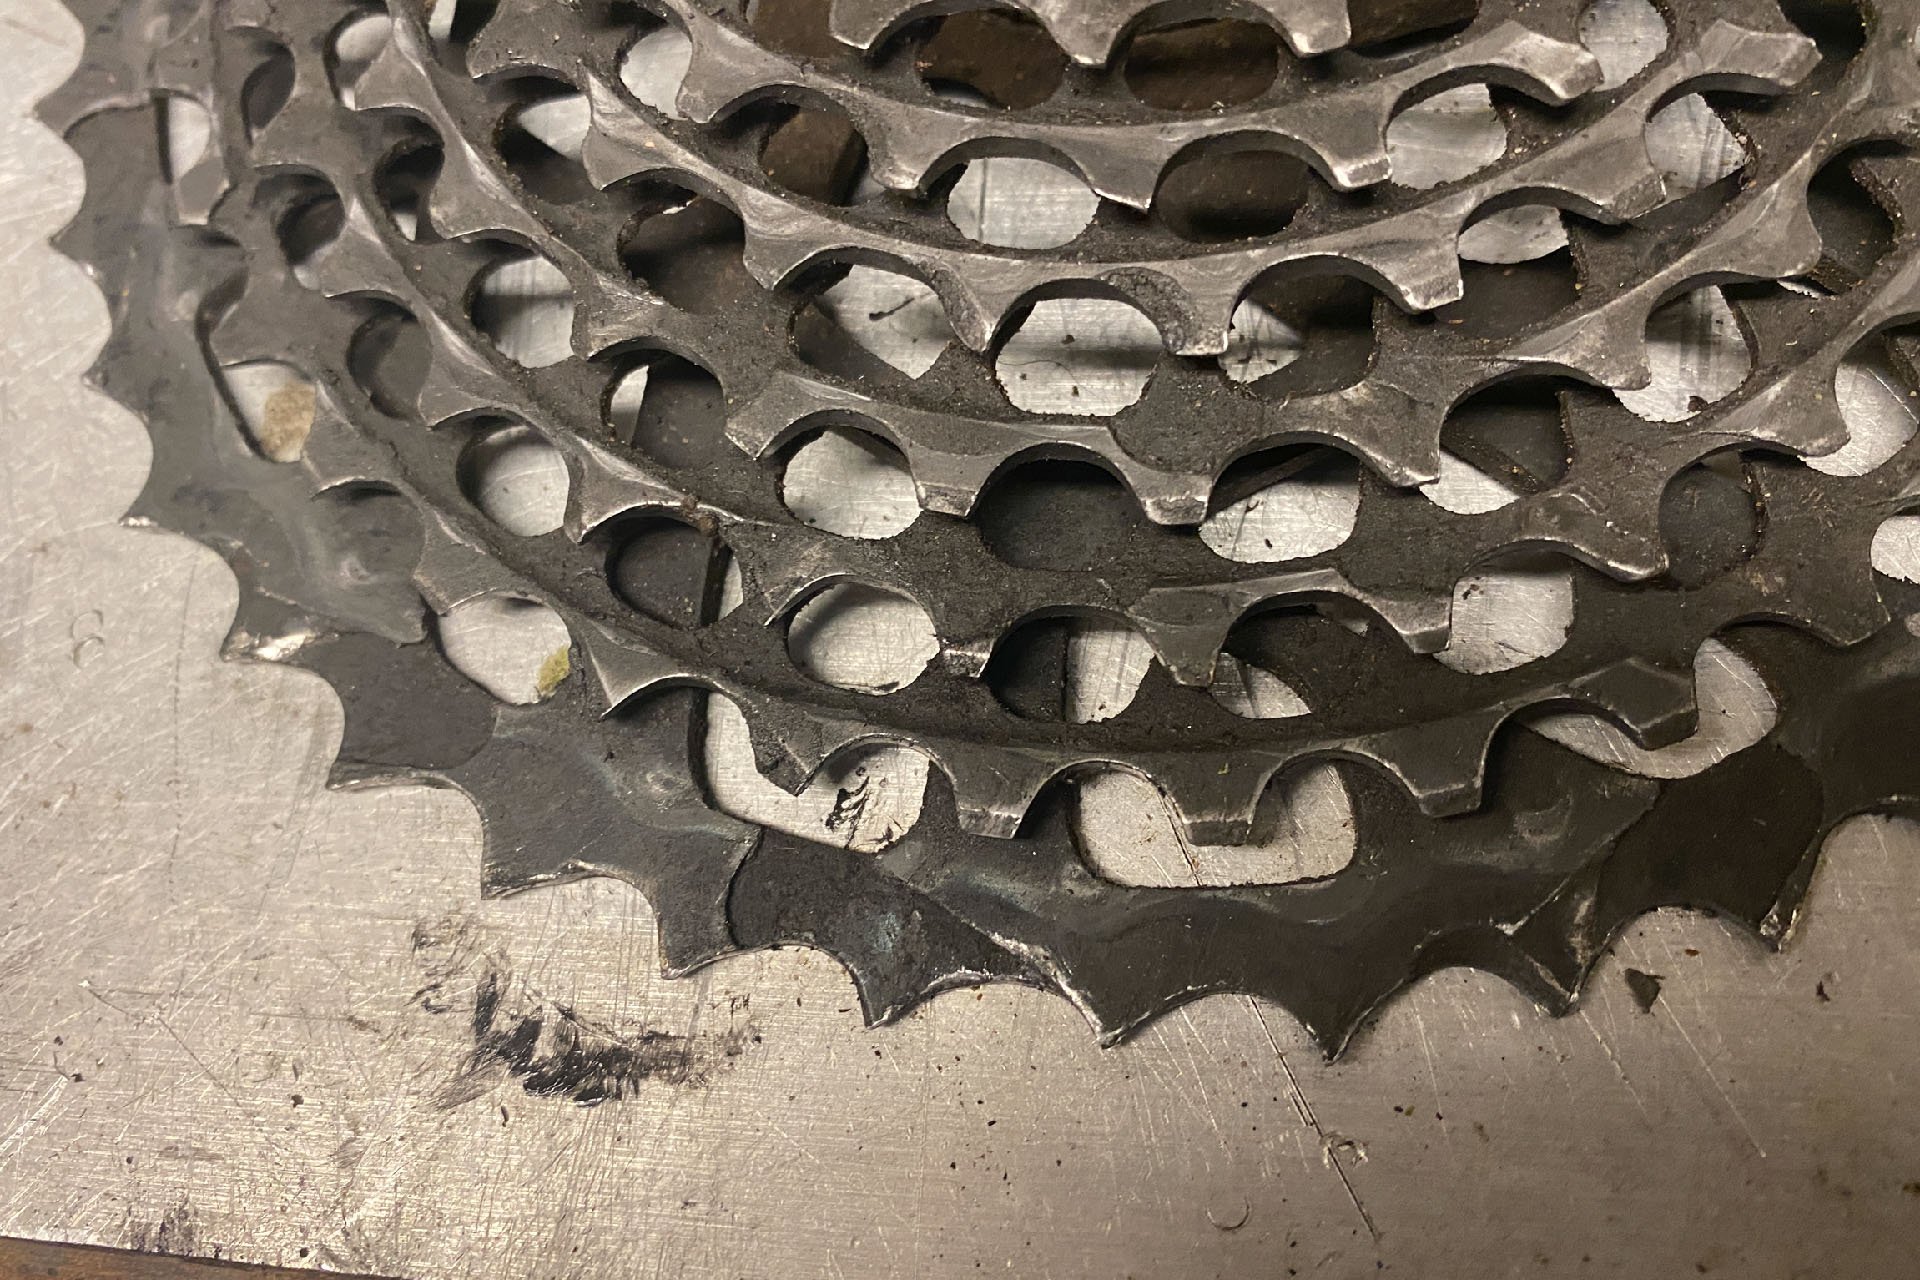
Remarkably the 42t chainring on this 10spd XX1 cassette didn't start skipping until last week.
The worst bits however were her brakes and her bearings, which were both original. The XTR brakesets of that generation, I later learned, were subject to warranty replacement for some engineering defect. In my experience, they didn't hold a bleed, wandered like a bloodhound on a scent, and recently it became almost impossible to push fluid through the front line. They were awful. As for the bearings, I'd noticed some play in the rear end recently that I'd mistakenly diagnosed as a loose hub, but it turned out to be the lower link bearings. I subsequently learned, while I was researching the bearing swap, that this generation of Roubion or Bronson uses angular contact bearings, so I could have simply tightened the collets to solve this problem. The bike's handling might have been a little imprecise as a result of this neglect. The bearing swap was step one in my effort to become a better MTB hubby, but the drivetrain and brakes will be replaced shortly as well, with actual working examples.
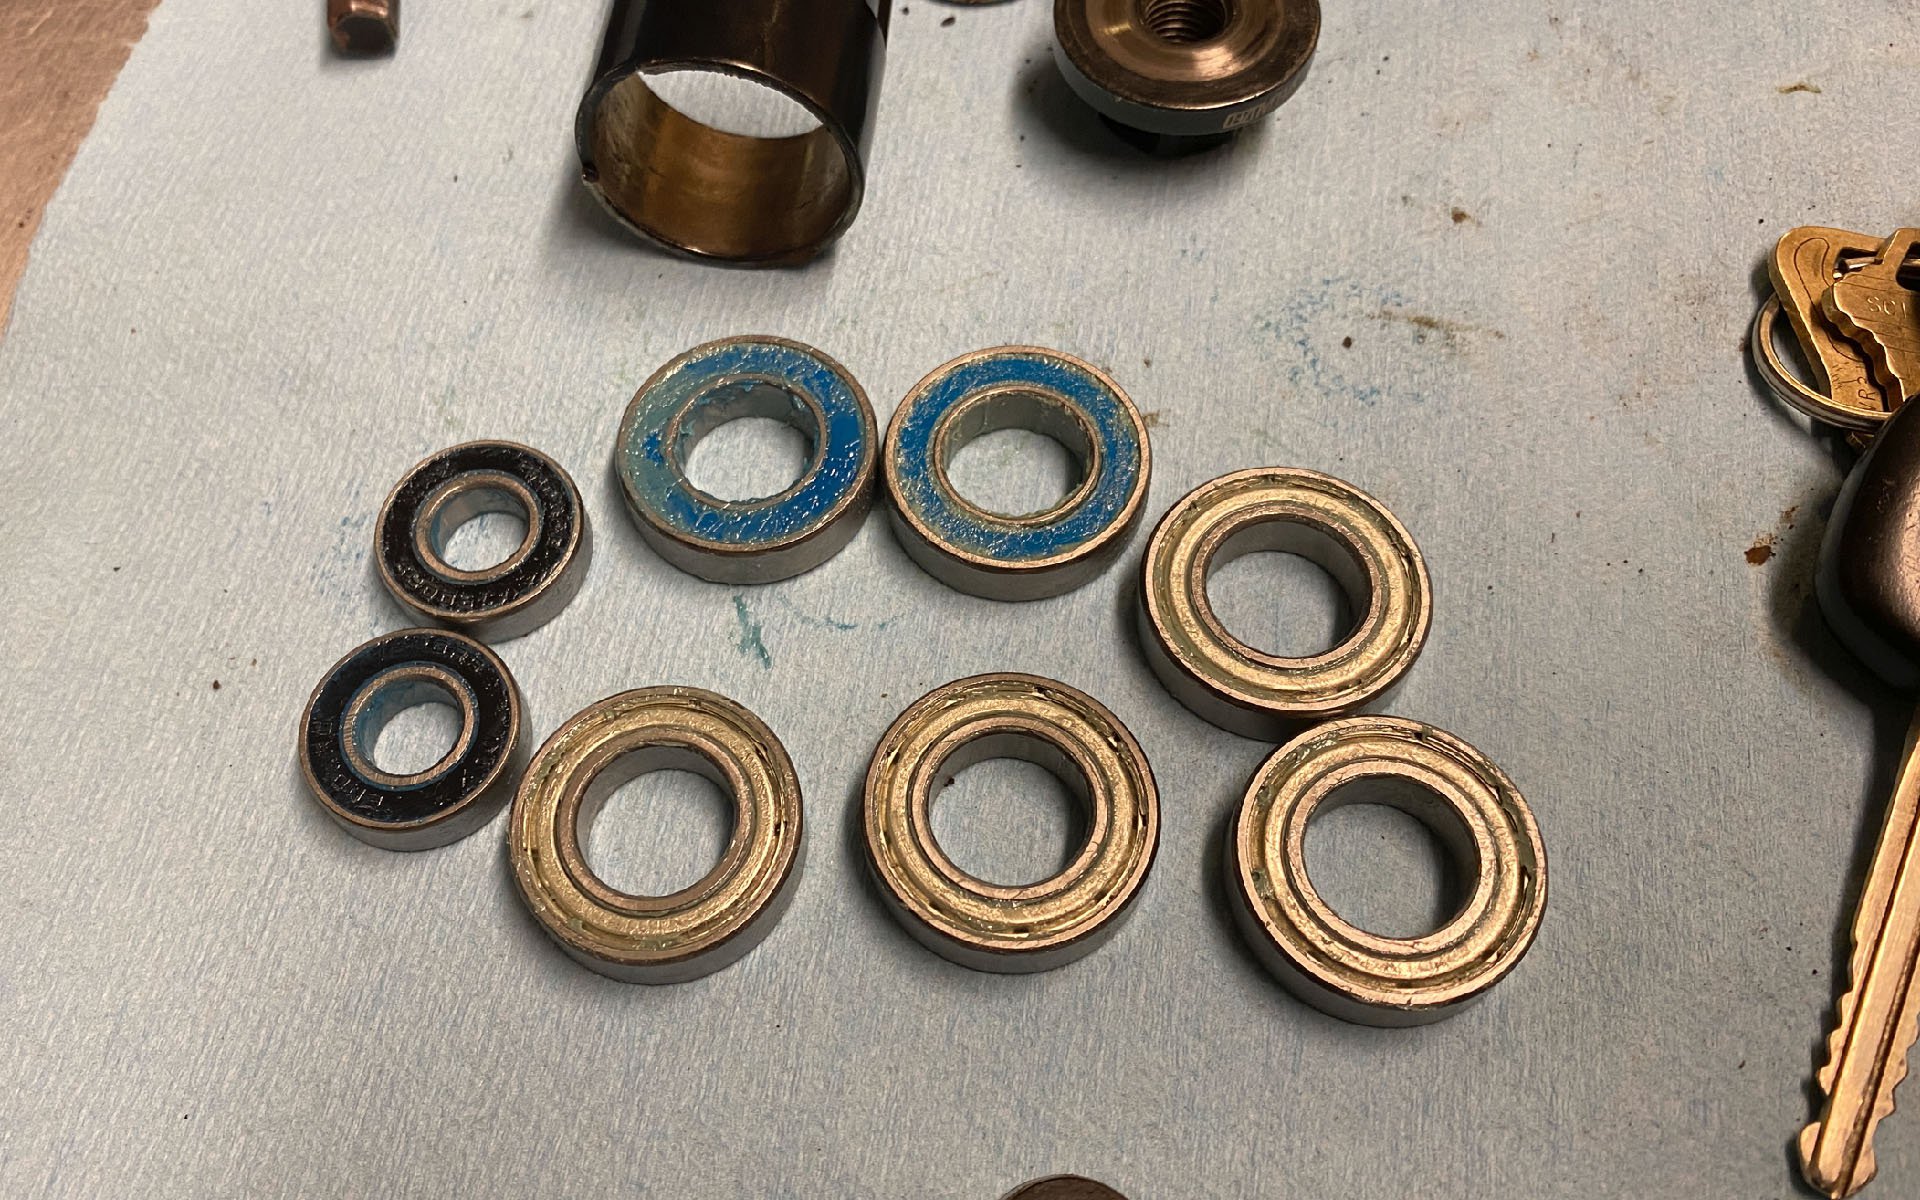
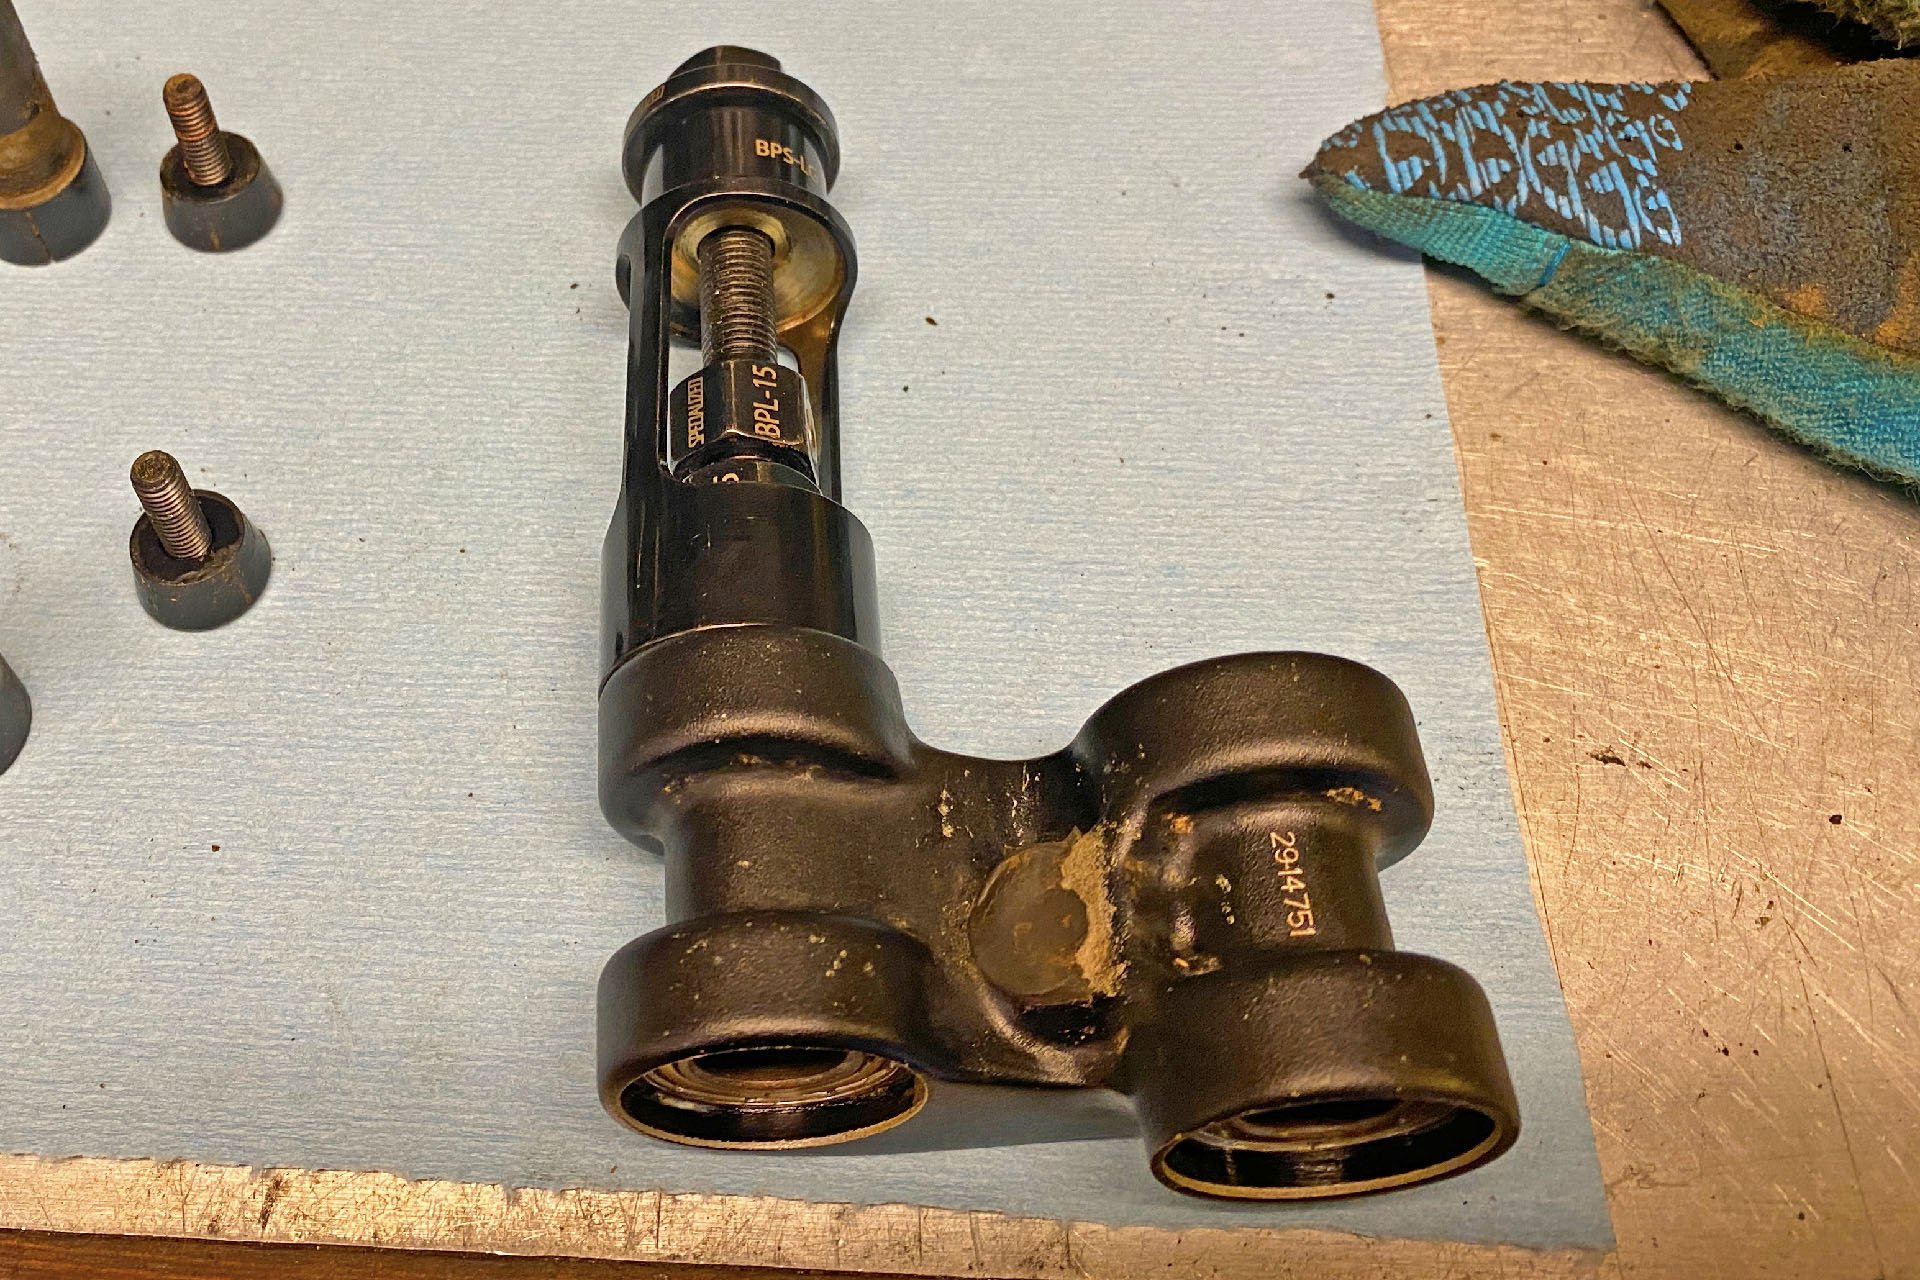
Pulled from the wreckage. The lower link and the bearings within were all in remarkably good shape, particularly considering they are constantly bombarded with water an grime.
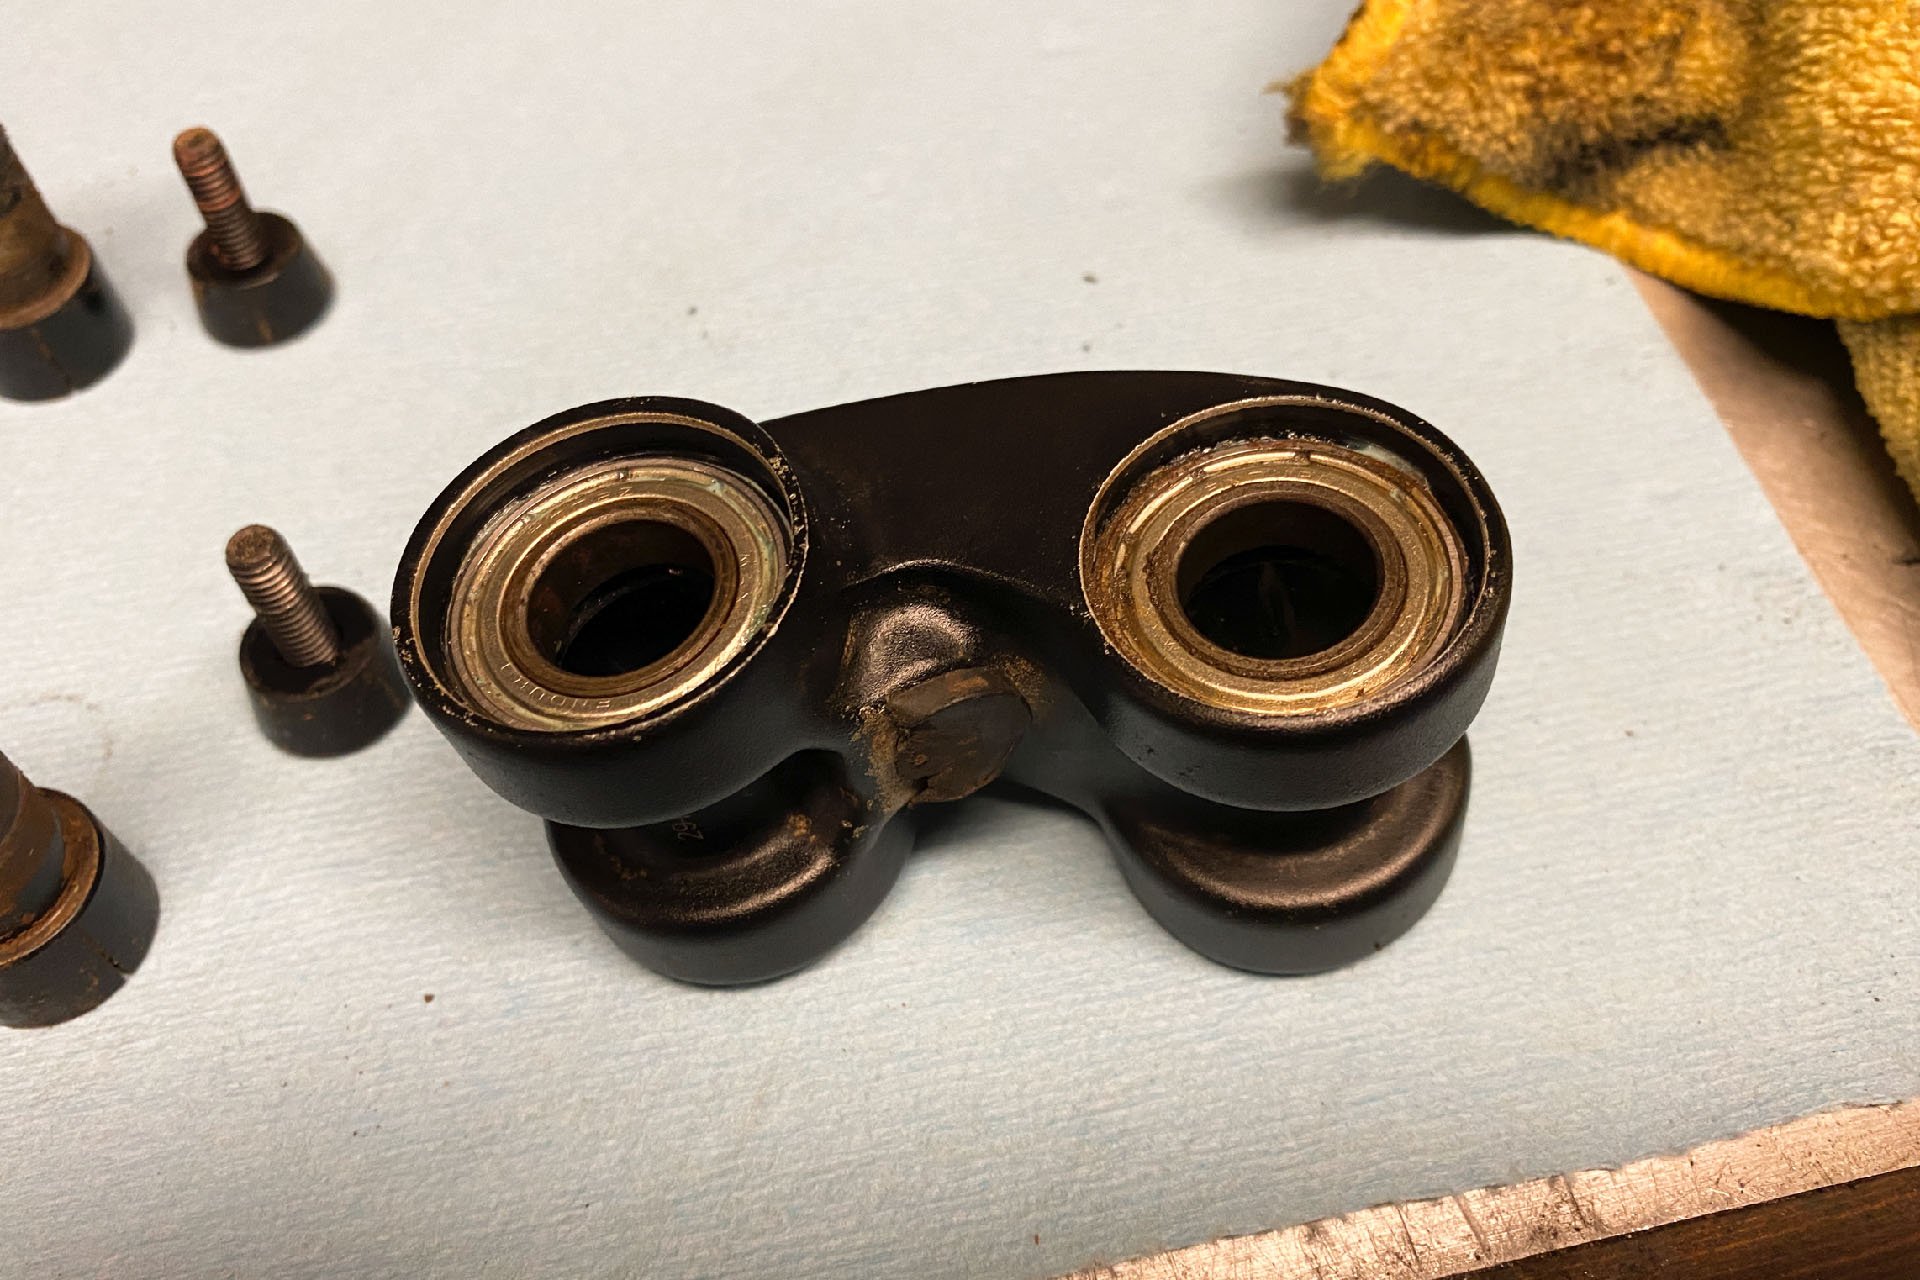
Shockingly, all four bearings were still spinning freely and relatively smoothly.
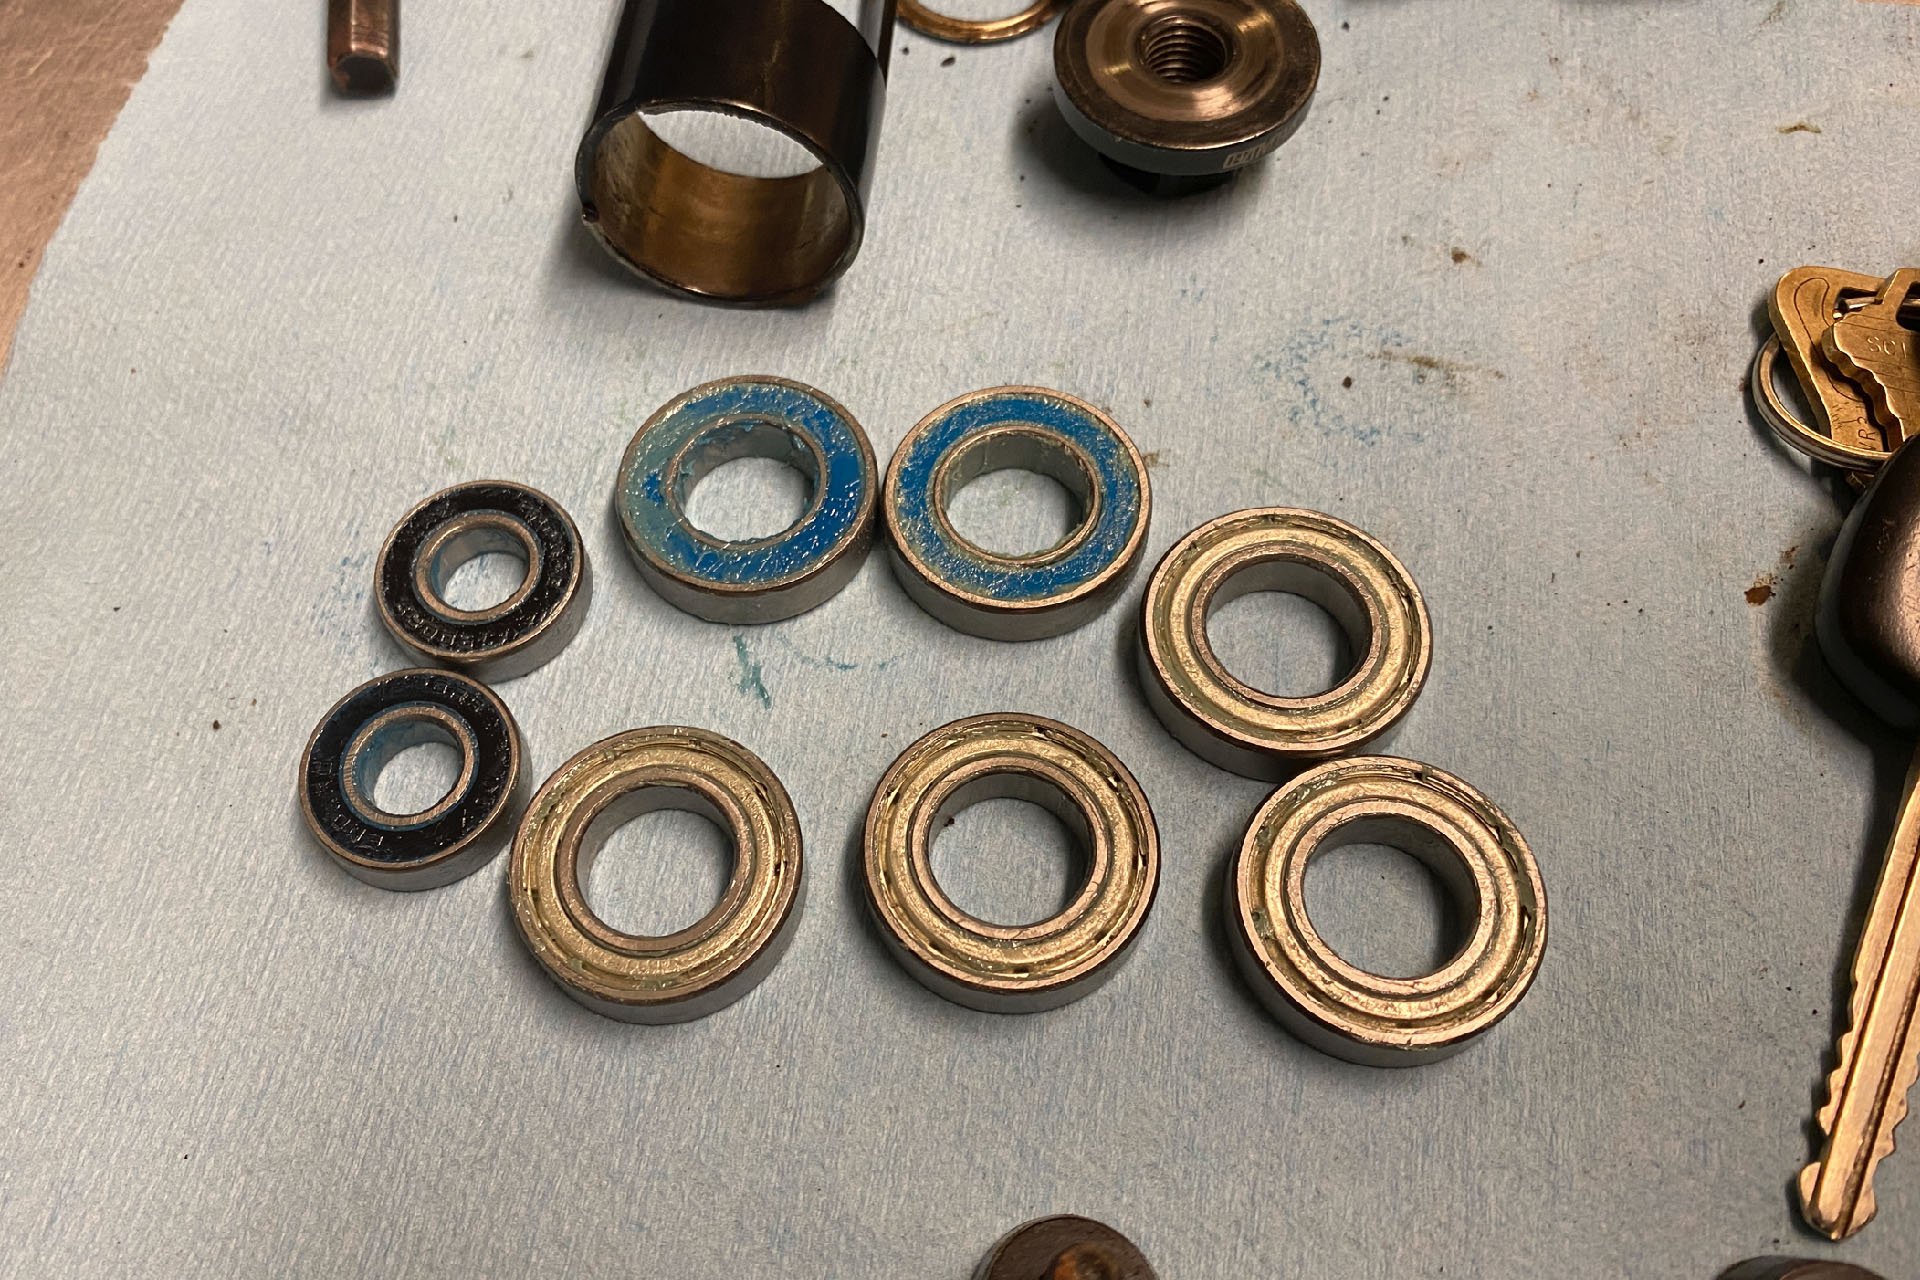
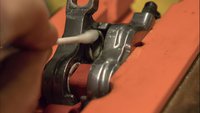
I ordered replacement bearings through the Santa Cruz website and they arrived in around a month, which I consider a victory in the time of COVID. This service was absolutely free, including shipping, and high quality Enduro Bearings, identical to the originals, were sent. The four bearings in the lower link are the aforementioned angular contact bearings, with no shields on the inside so grease can be added using the Zerk fittings and the supplied Santa Cruz injector. I chose to remove these bearings first. Fate, instead, chose to piss on these plans.
Santa Cruz original owners get replacement bearings for life - for free. And that includes shipping.
As I inspected the bearings in the lower link, I was surprised to find them spinning quite freely, and relatively smoothly, They weren't perfect, but if I'd tightened the collets and injected grease, they probably would have worked fine for another couple of years, which is even more impressive when you consider they sit below the bottom bracket of the bike and we live in a rain forest. Beyond the shield on the bearings themselves, Santa Cruz added an additional rubber seal and an aluminum cap to keep muck out. I would have been less surprised if the bearings had fallen apart upon disassembly that I was to find them working so well.
Triple shielding does a great job keeping these bearings uncontaminated.
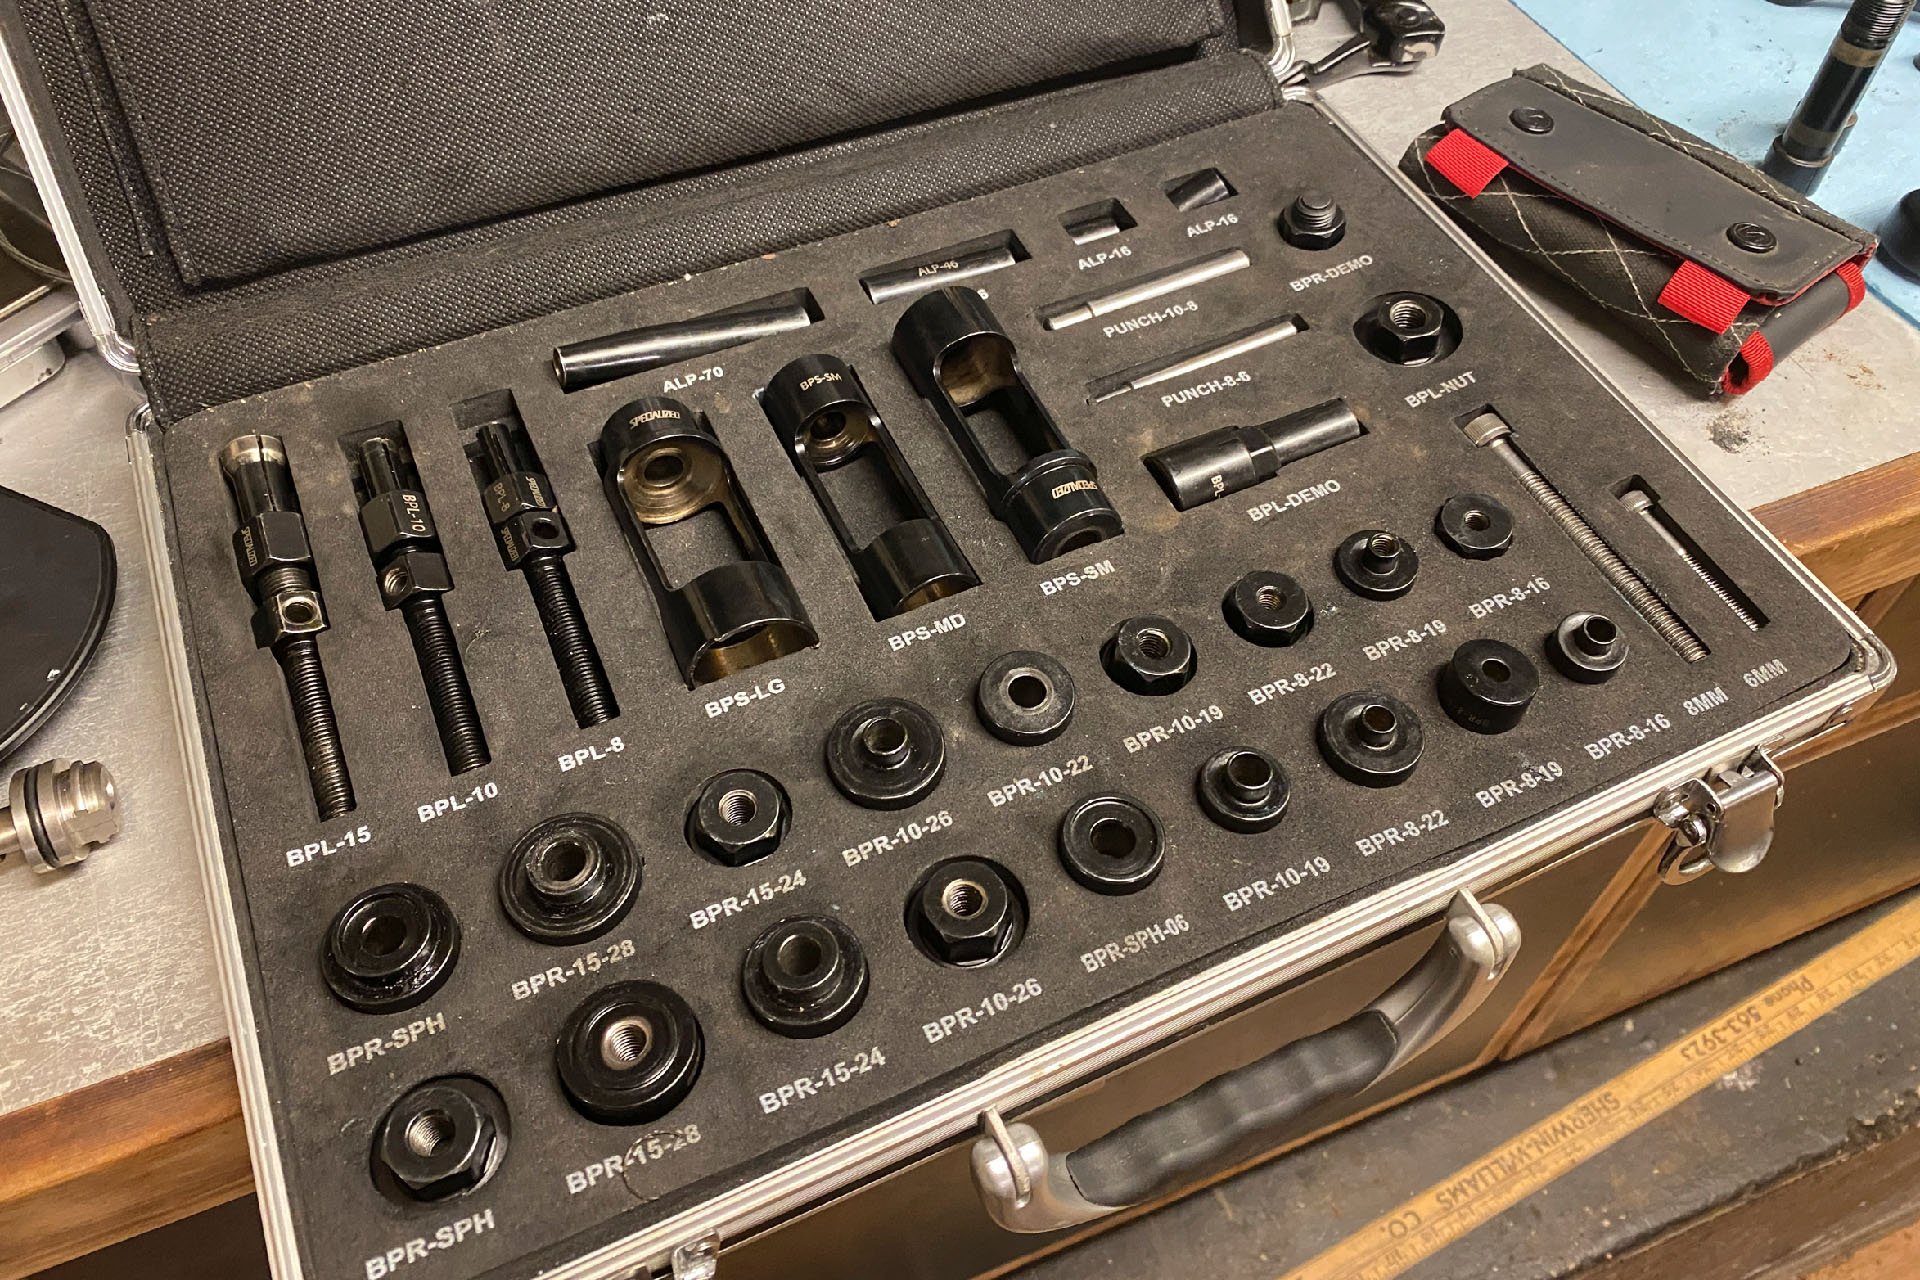
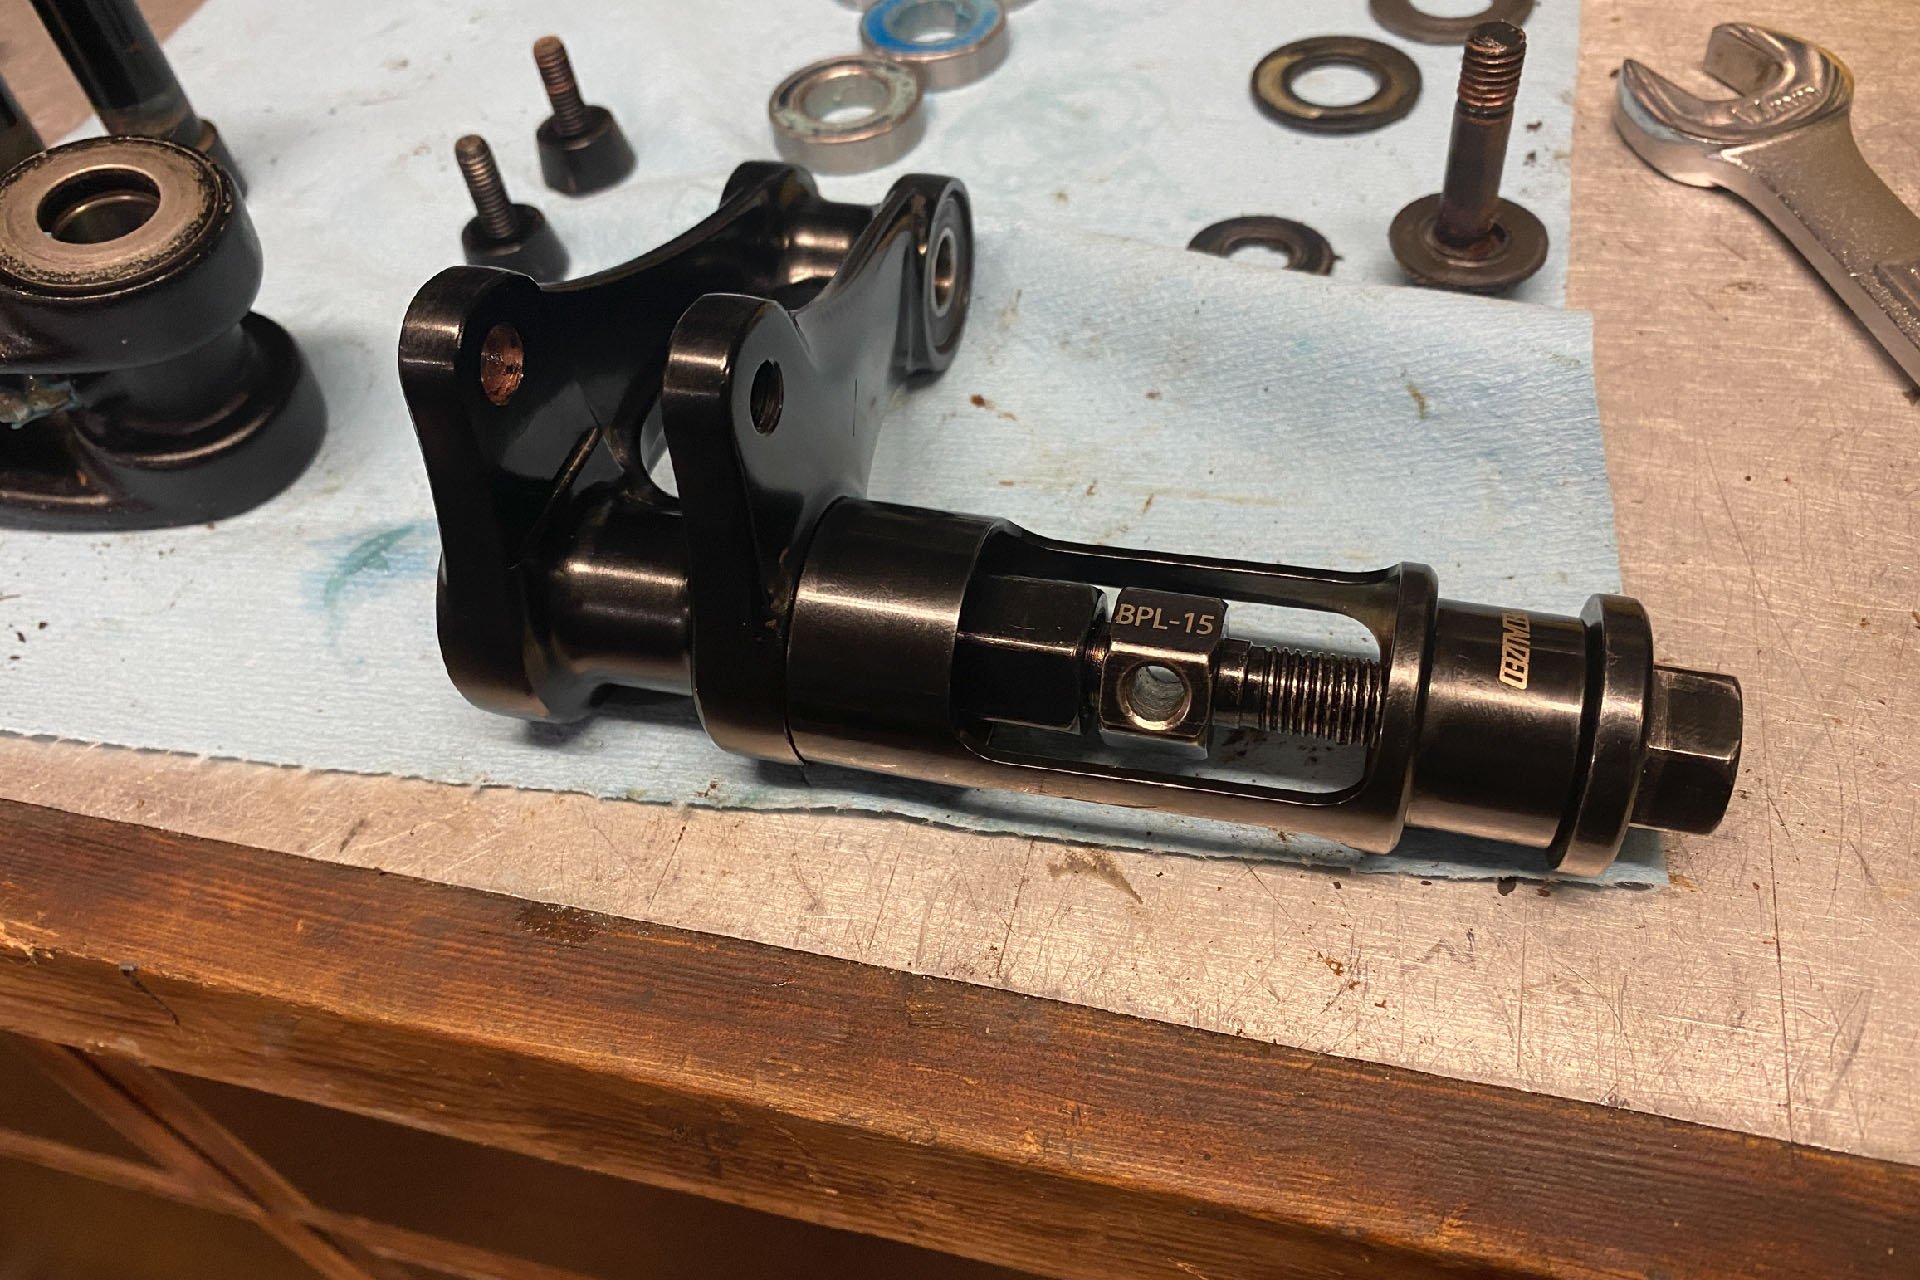
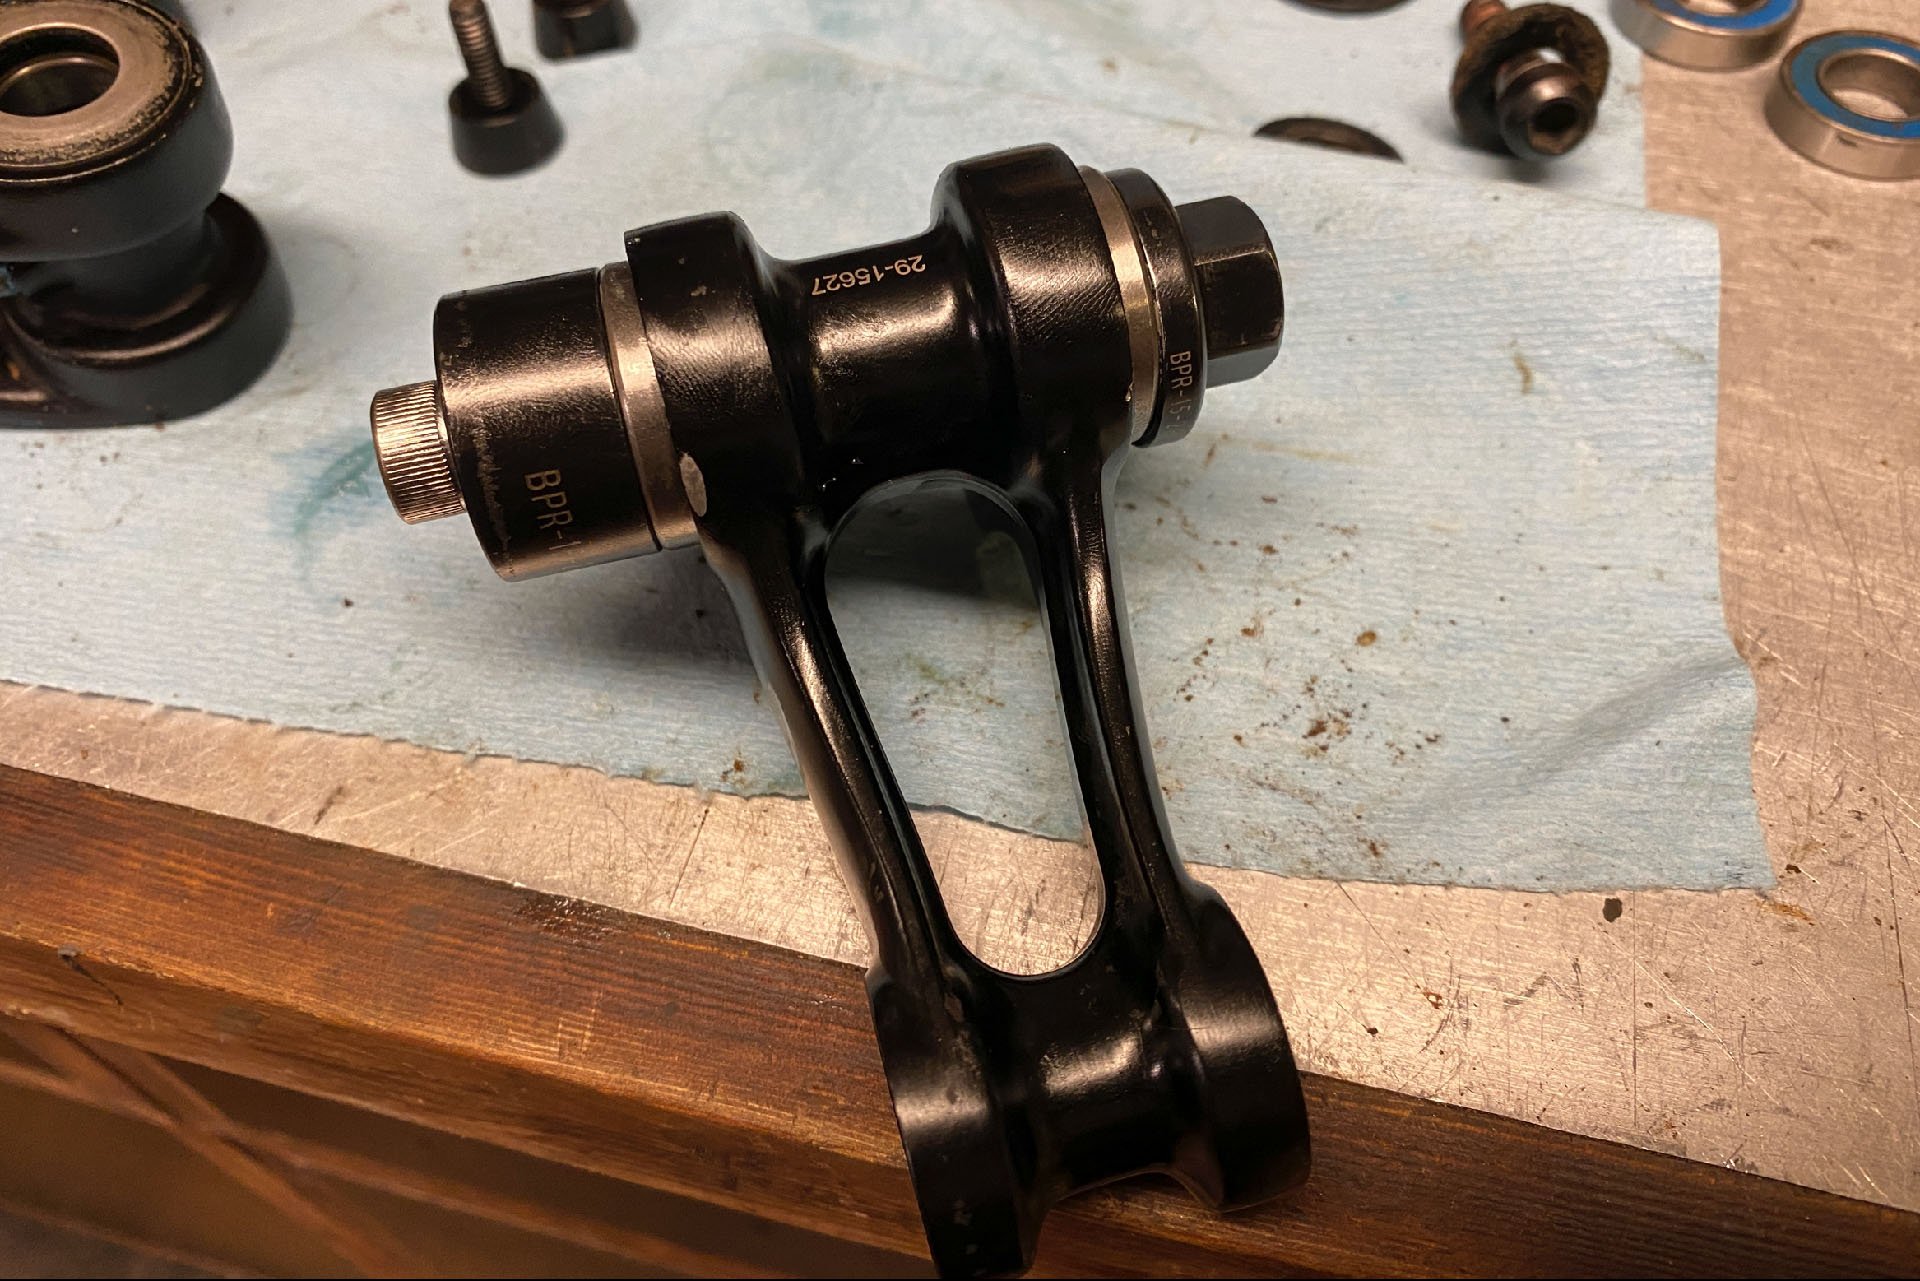
My weapon of choice, used with mixed results.
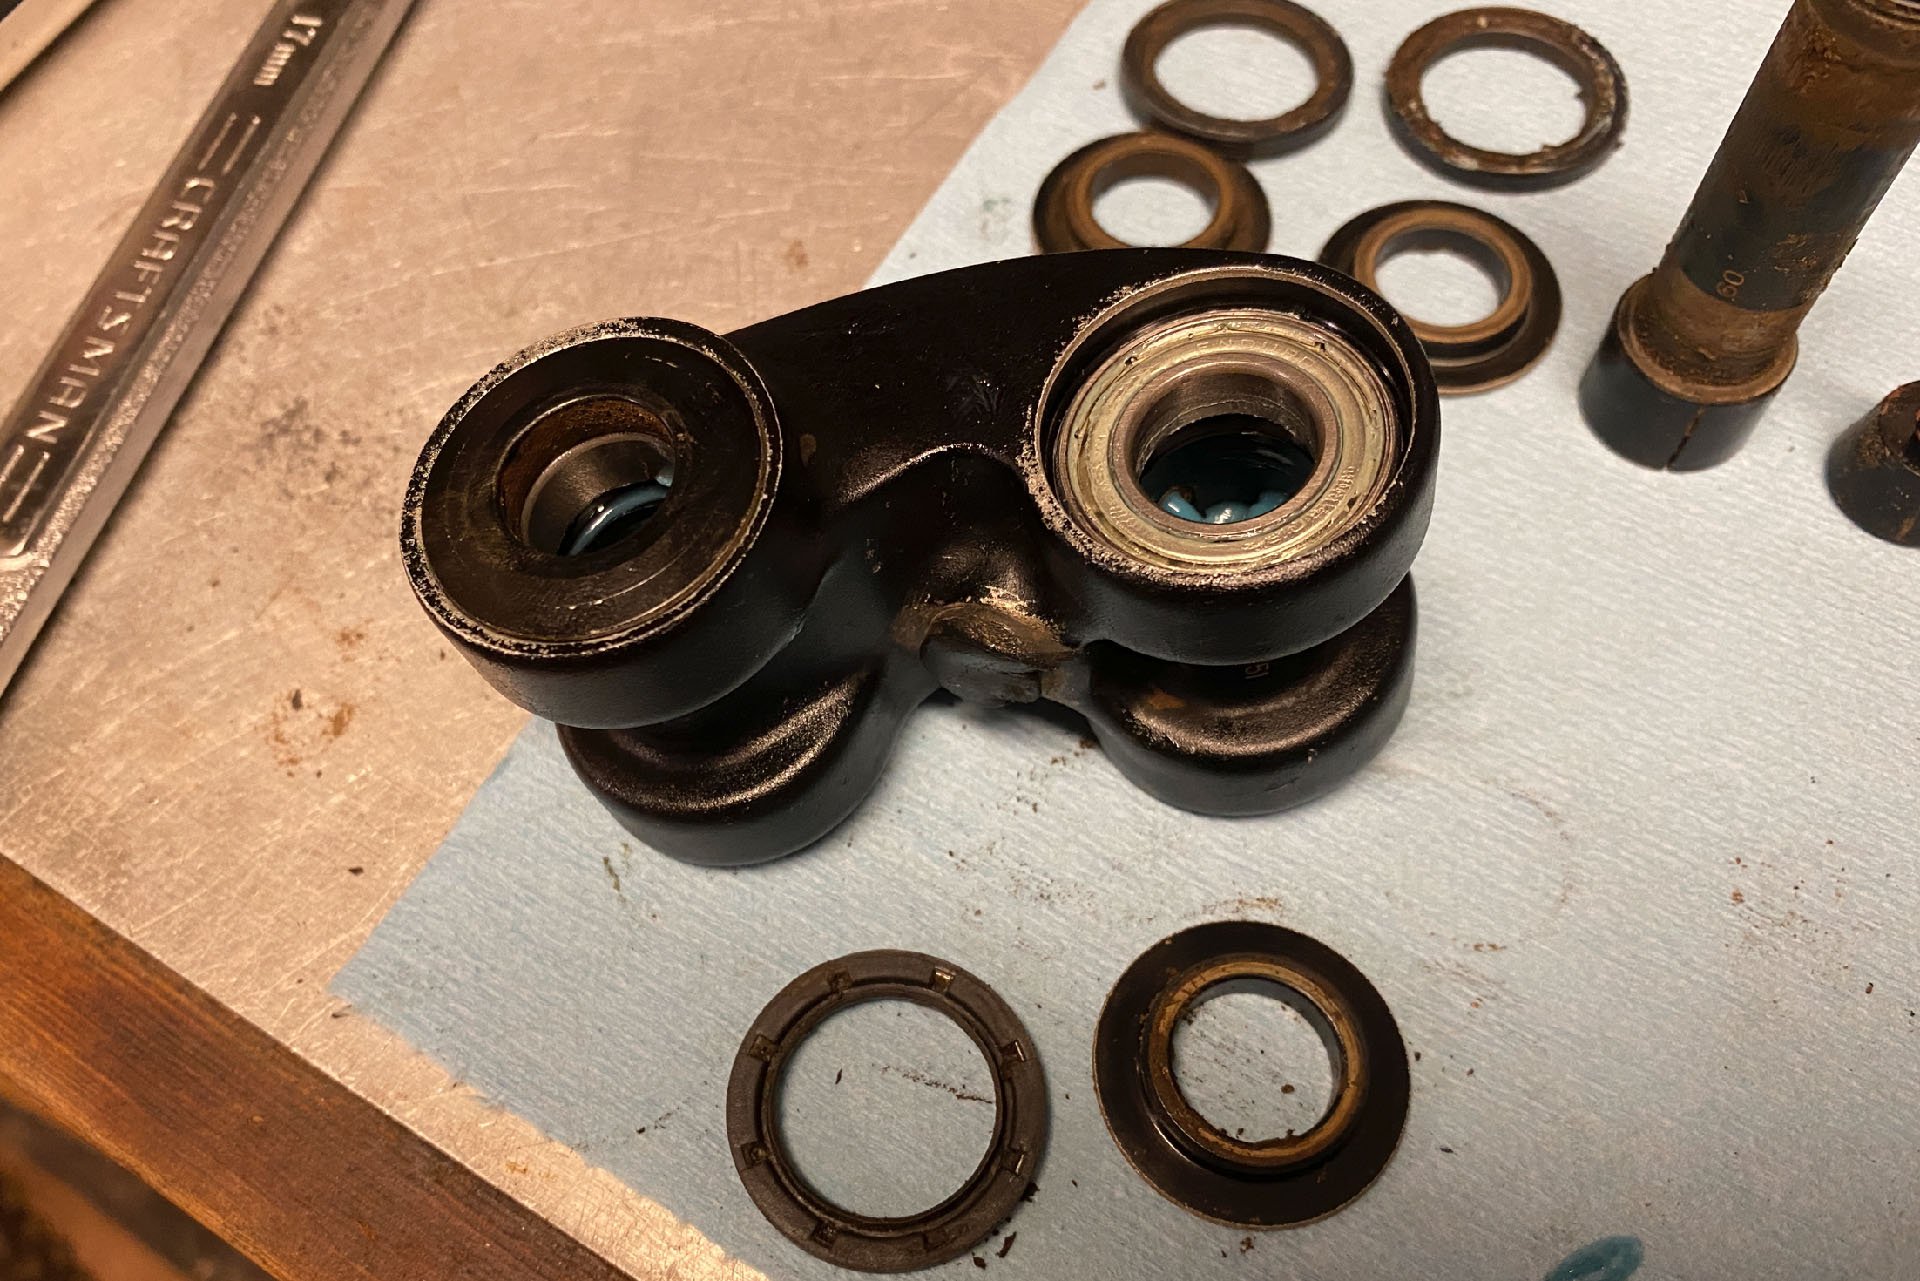
In my previous article, I called the bearing removal tool that involves an expandable collet, and expanding collet tool, but I've since learned it's actually called a blind hole puller, which is a much better name. It's also what I decided to use to remove the bearings in the lower link. While this plan wasn't entirely flawed, but my execution was. And I could have made the process very easy if I'd listened to the suggestion I mentioned above, and heated up the link before beginning the removal. Instead, I inserted the blind puller, but didn't fully expand the collet, and successfully extracted everything except the outer race, which remained in place as if cemented there. I didn't panic immediately however, it seemed to happen even faster than that. What if I'd ruined the entire frame? Was that link even available? I vainly tried to find a solution but there was no way to get a tool in from the other side, because of the narrow diameter between the bearings, designed to push the grease outward toward the open ends of the bearings, and there wasn't room to pry it out either.
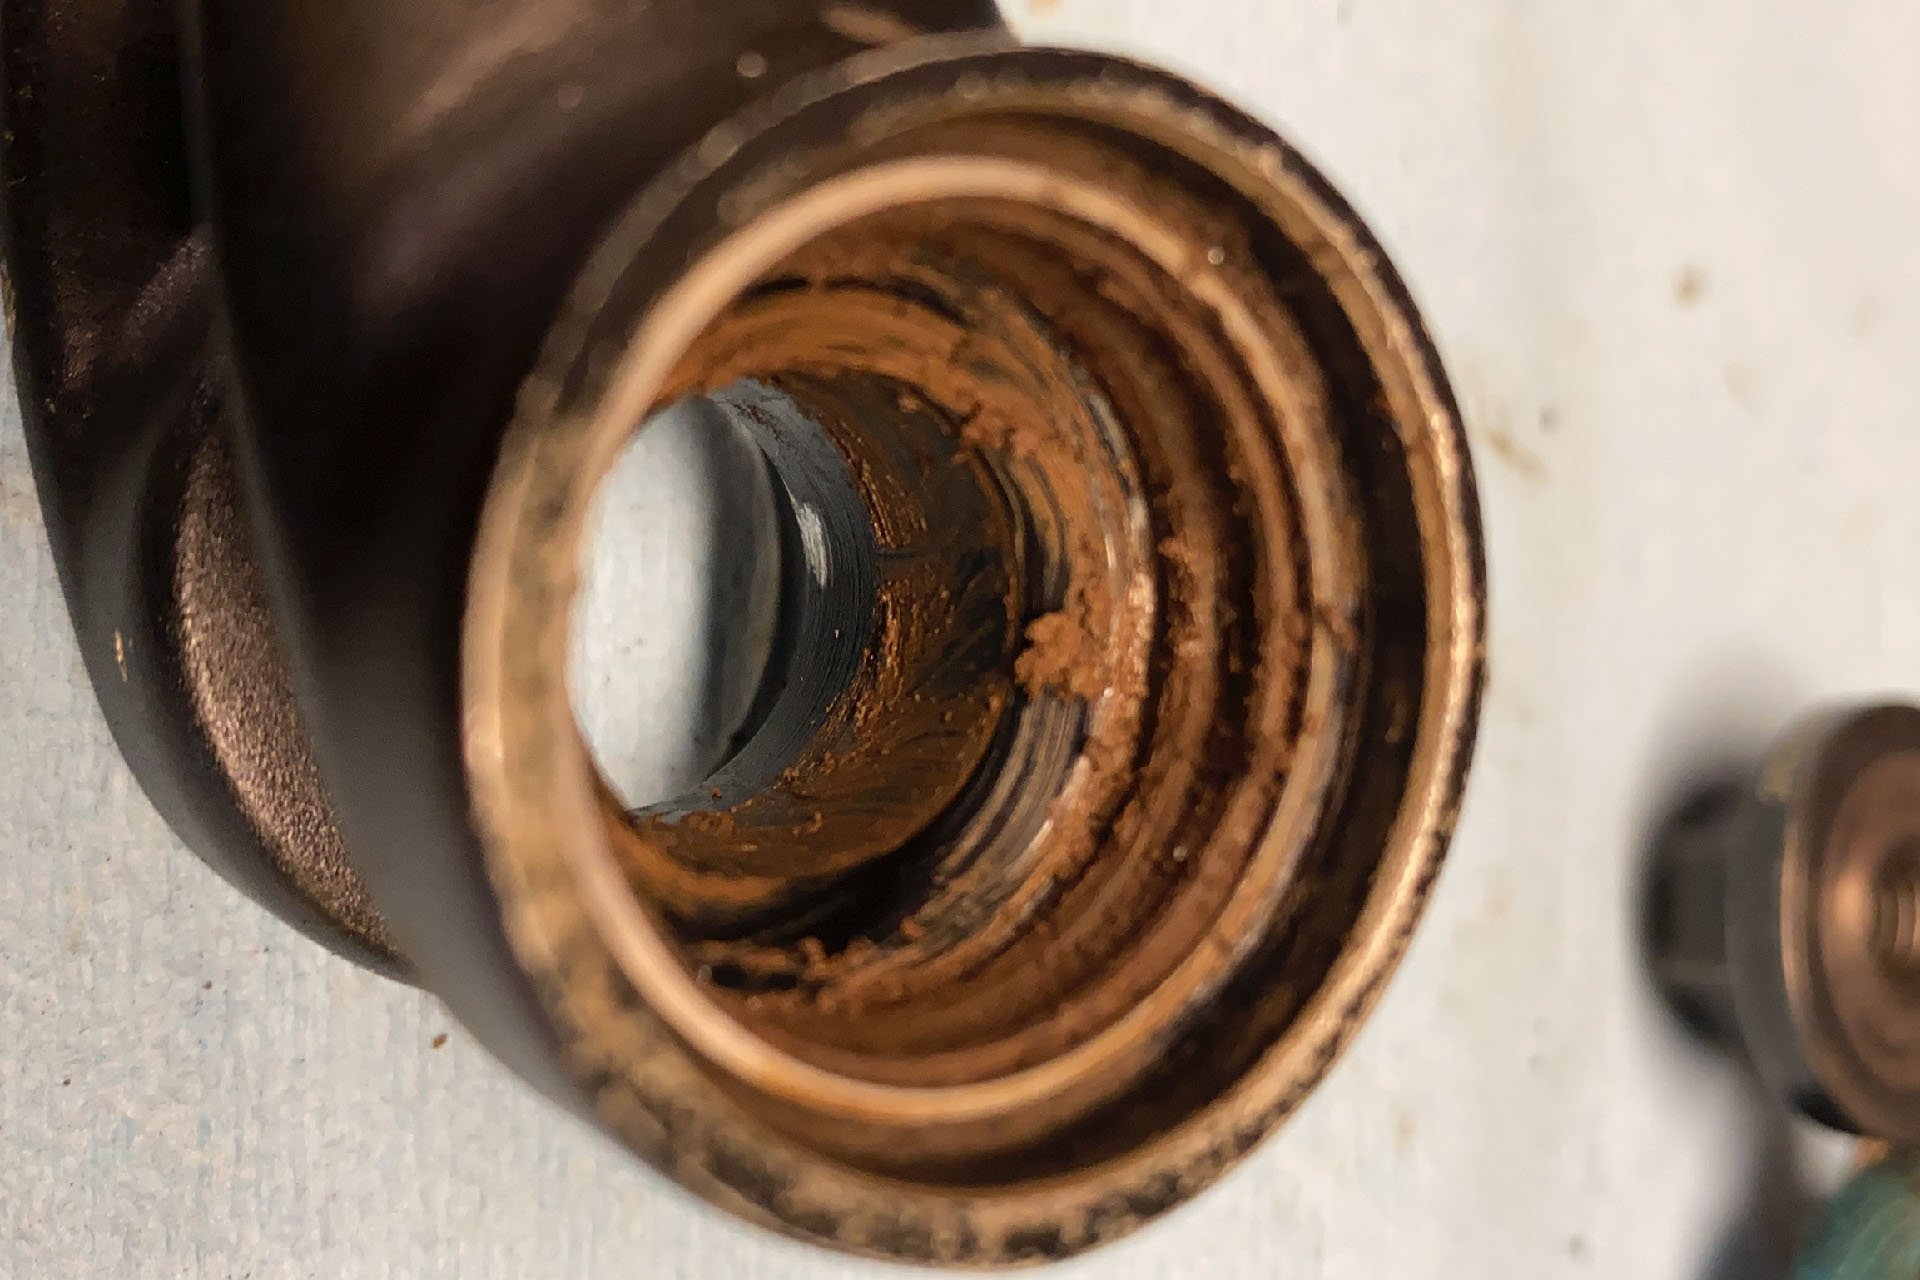
That part isn't supposed to stay in, but it wasn't coming out with the tools or expertise I had at my disposal.
Daunted, but still dumb enough to continue, I attempted the next bearing, only this time I expanded the puller as much as possible and the bearing popped out nicely. The next two did as well, so it was only the outer race of my first bearing that appeared to be permanently bonded in place. I sent a callout for advice and Deniz Merdano recommended I arm myself with beer and go see Topher, a mechanic who works downstairs at Obsession:Bikes, and who also appears to live down there. Topher was entirely undaunted by the challenge I'd presented, and as he pulled out the blow torch, I remembered the wisdom from Hbar; heat up the link and the bearings will pop right out. Or pop back in. In the end Topher needed another blind puller, in a size I didn't possess, but once that was deployed it did indeed pop right out, and I got to have beers downstairs in a bike shop, which is pretty much the best. Thanks Topher.
Santa Cruz sells a tool just for this job, but my approach worked for 75% of the bearings in this link.
This now-discontinued Specialized bearing kit has been discontinued, but it gets more valuable to me every year.
Pressing the replacement angular contact bearings into the lower link went smoothly, and I had the right size drifts to allow me to press matching pairs in together while only pressing on the outer races, unlike my successful, but rightly criticized efforts with the SB150. I smeared a little grease in first and then, realizing this was an opportunity, used the grease injector and watched fresh lube coil into the void between bearings where the collet axle would eventually reside.
Next it was time to tackle the upper link, with my newfound know-how. Unfortunately I only used some of it. Instead of placing the link in the oven to bake, or on the rotisserie in the barbeque, or buying a blowtorch,* I figured my "expand the tool fully" strategy would continue working. Instead it failed, and this time I managed to leave two outer races in the link. A quick examination made it clear I could get a tool behind the races and attempt to pry them out. Unfortunately the leverage was being provided by the other edge of the race, meaning I was pressing one side in as I pressed the other out, with a screwdriver. If you'd asked me to honestly assess my prospects of success I think I would have said about 1 in 20, but I patiently levered around one half of the first bearing until it popped out. I checked immediately to see if my lopsided removal had damaged the bearing seat, but it was pristine. My next effort was similarly successful, and I avoided the shame of returning to the Obsession basement, but I also missed out on more beers, laughs and wisdom from the basement dwellers.
*None of these approaches are recommended in Santa Cruz's literature
I wish I could report that I was second link lucky, but my results were actually even worse.
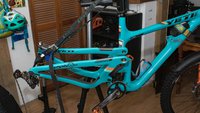
Eventually I was able to press the bearings into the upper link and reassemble the bike.
The larger of the two bearing sets on the upper link were the most pristine of the bunch, and I'll be keeping them as spares. The final small set, which came out easily with a smaller blind puller, were a little rough. They would still turn but their time had come. I cracked open a celebratory stout and revelled in the joy of a successfully completed task. And then I began to panic realizing I had a set of brakes to install and bleed and a drivetrain to bolt on and set up, all with the weekend rapidly approaching.
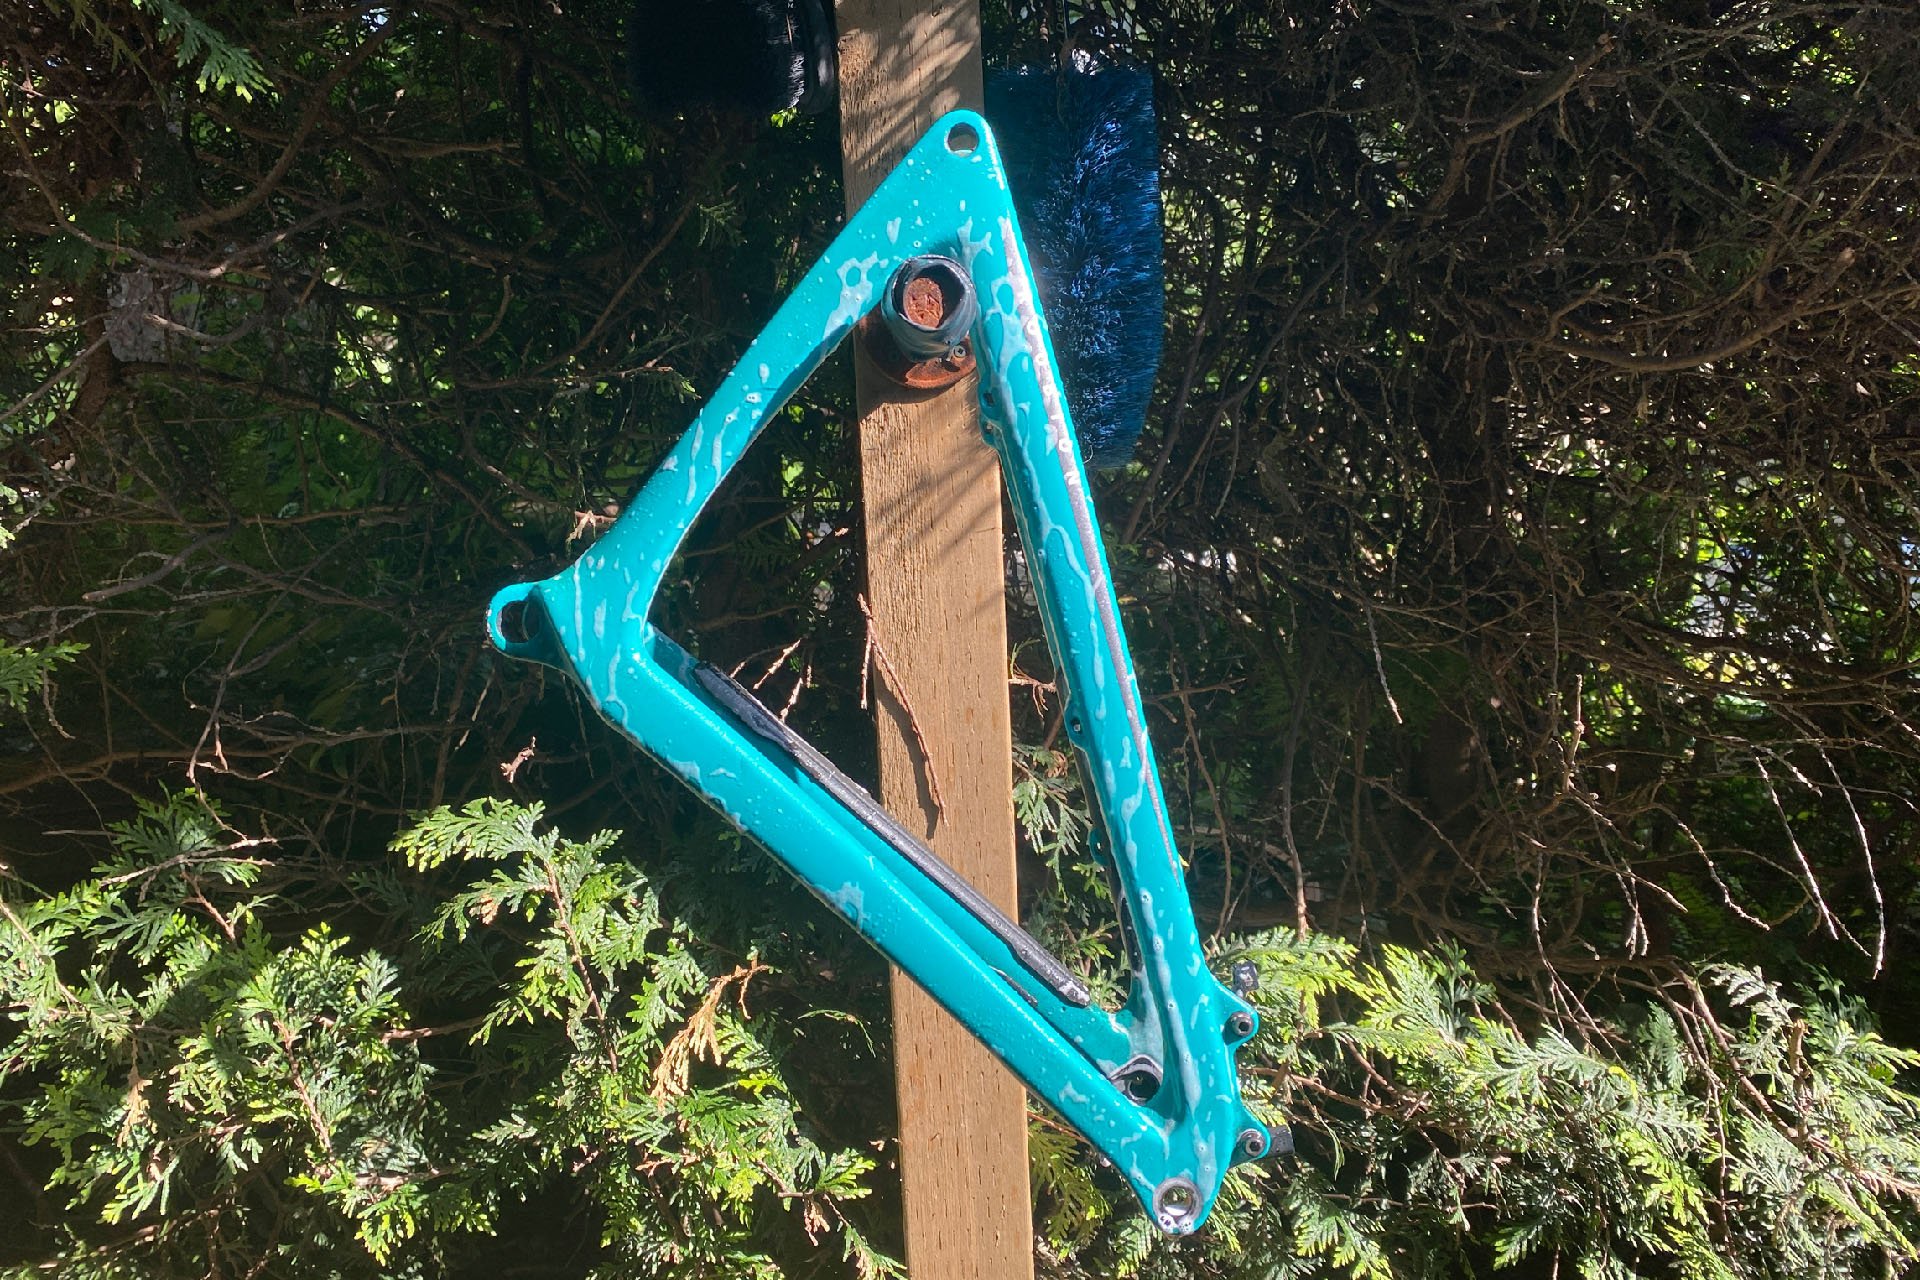
Once I had the frame apart I was able to scrub every wee orifice on the frame and then make it sparkle.
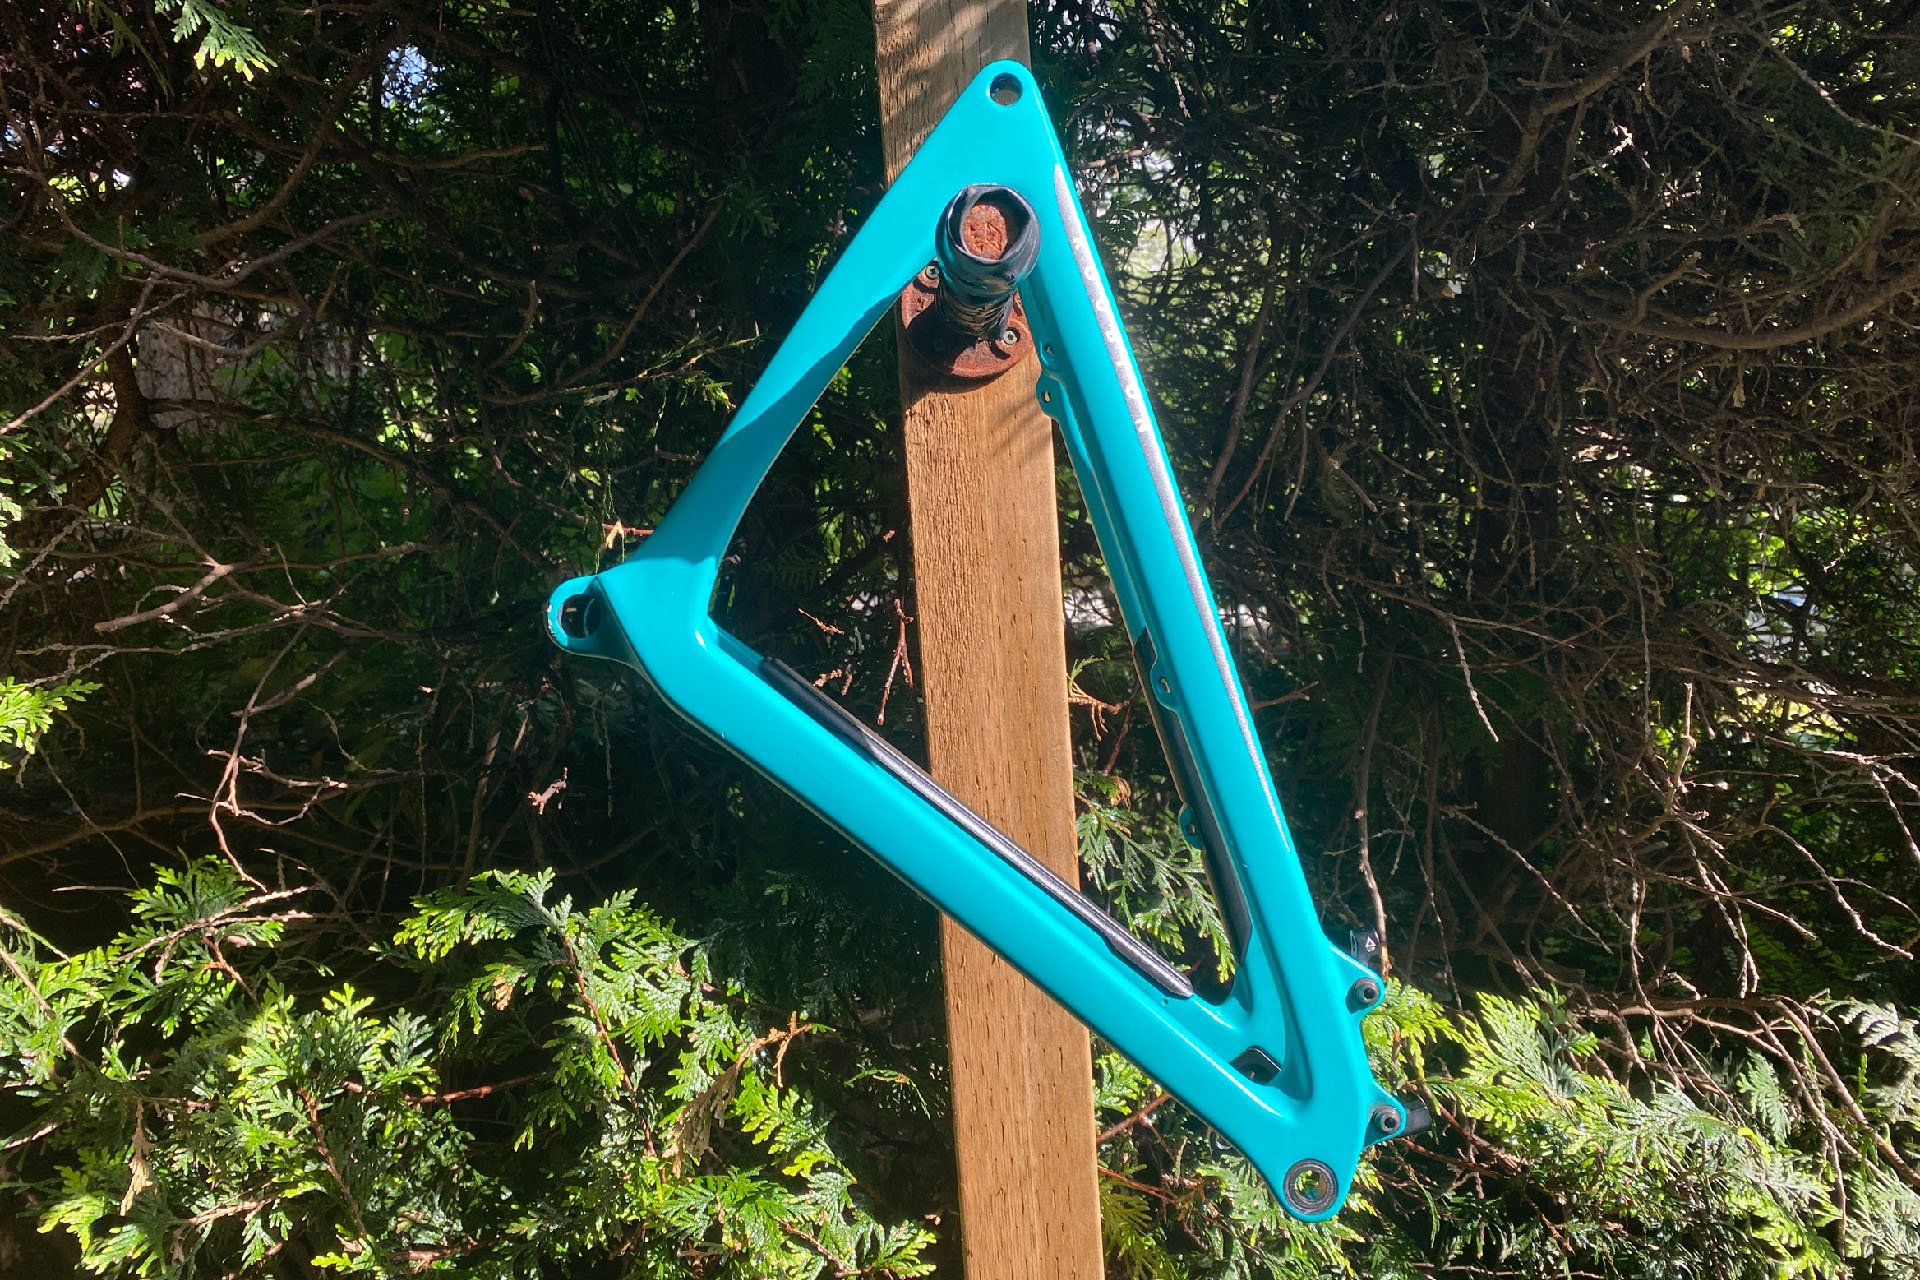
After the wash I've been using Motorex Silicone spray for the final polish and protect and the results have been remarkable.
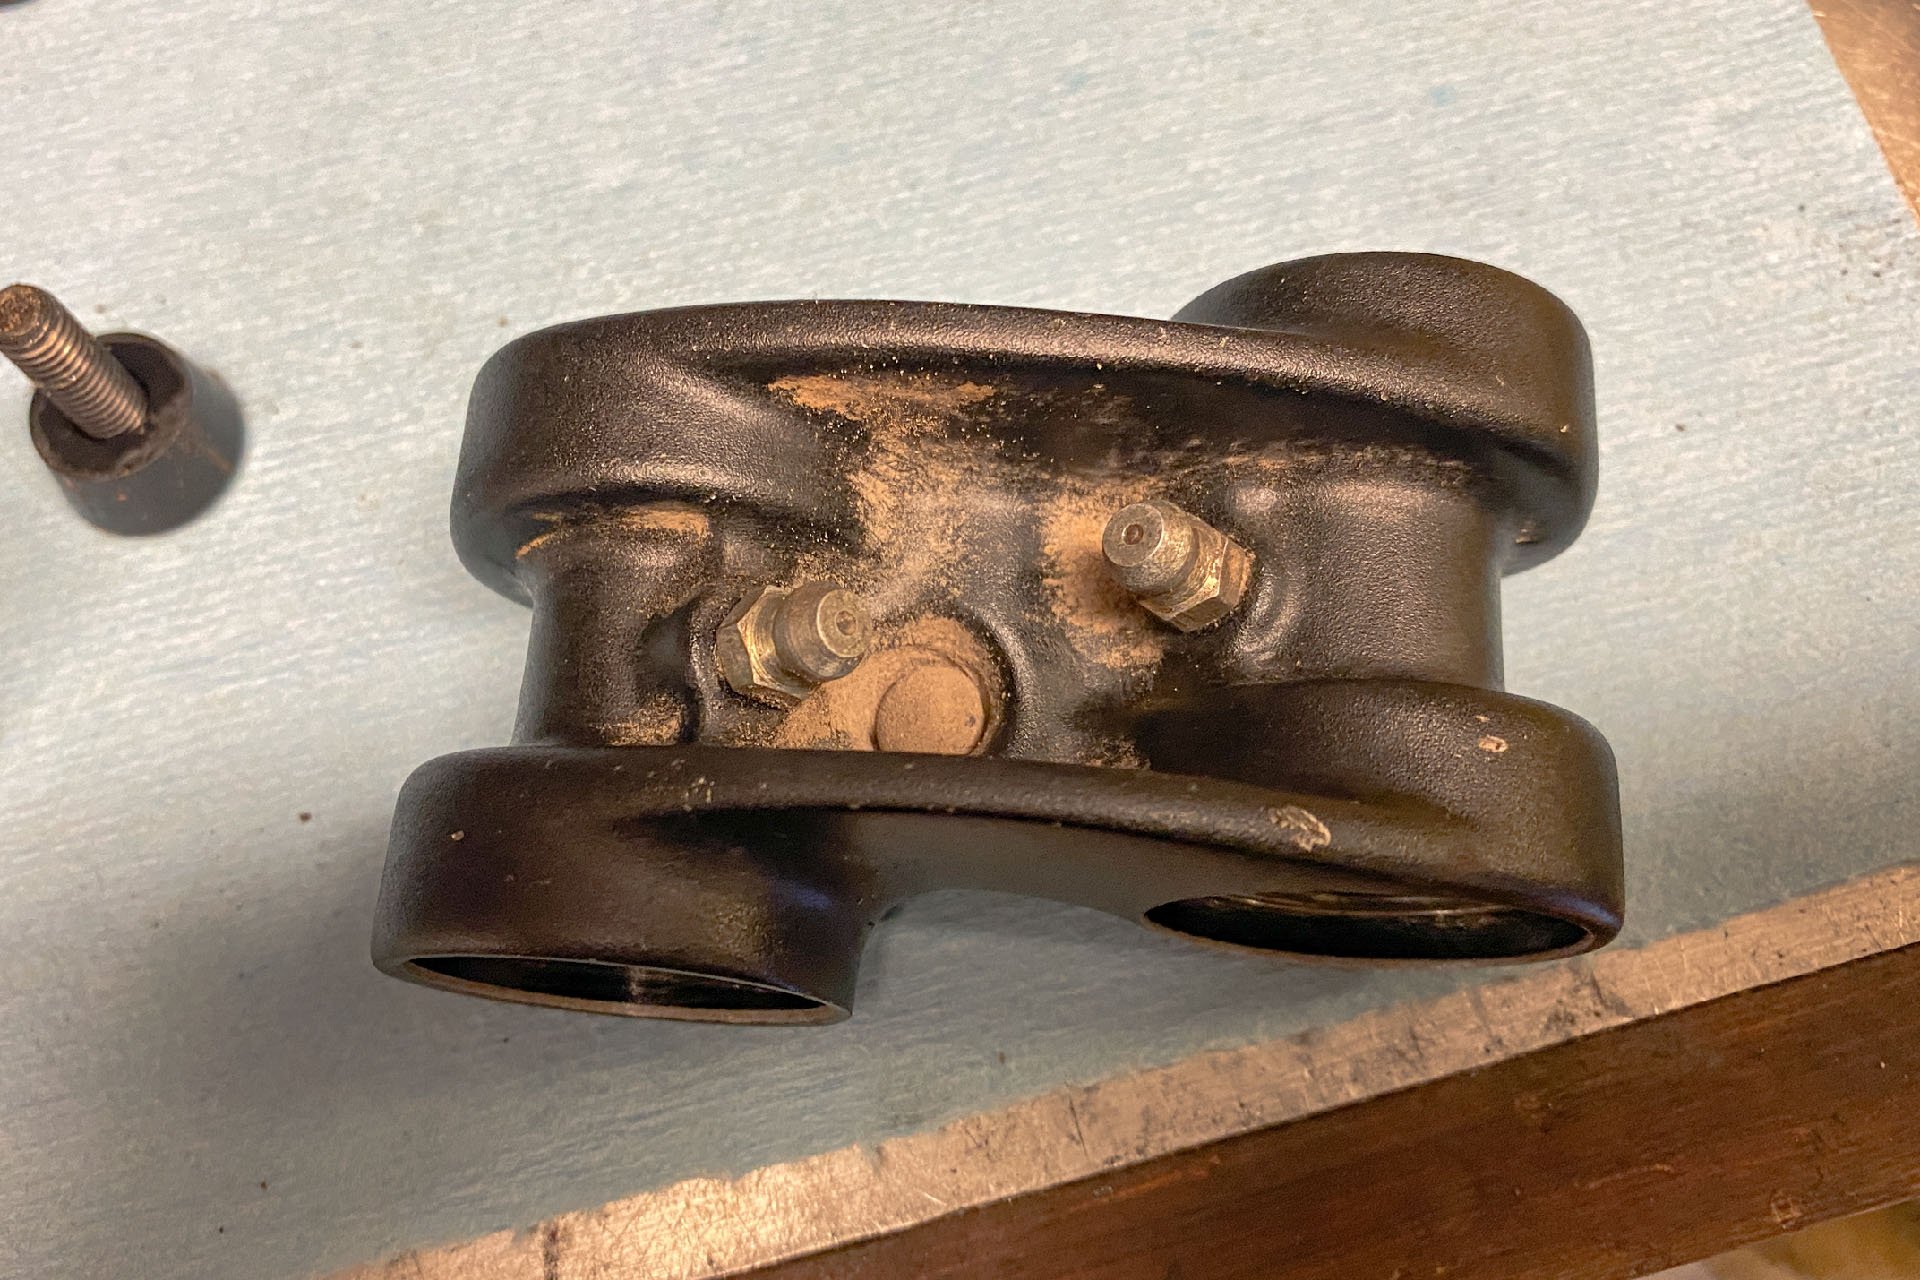
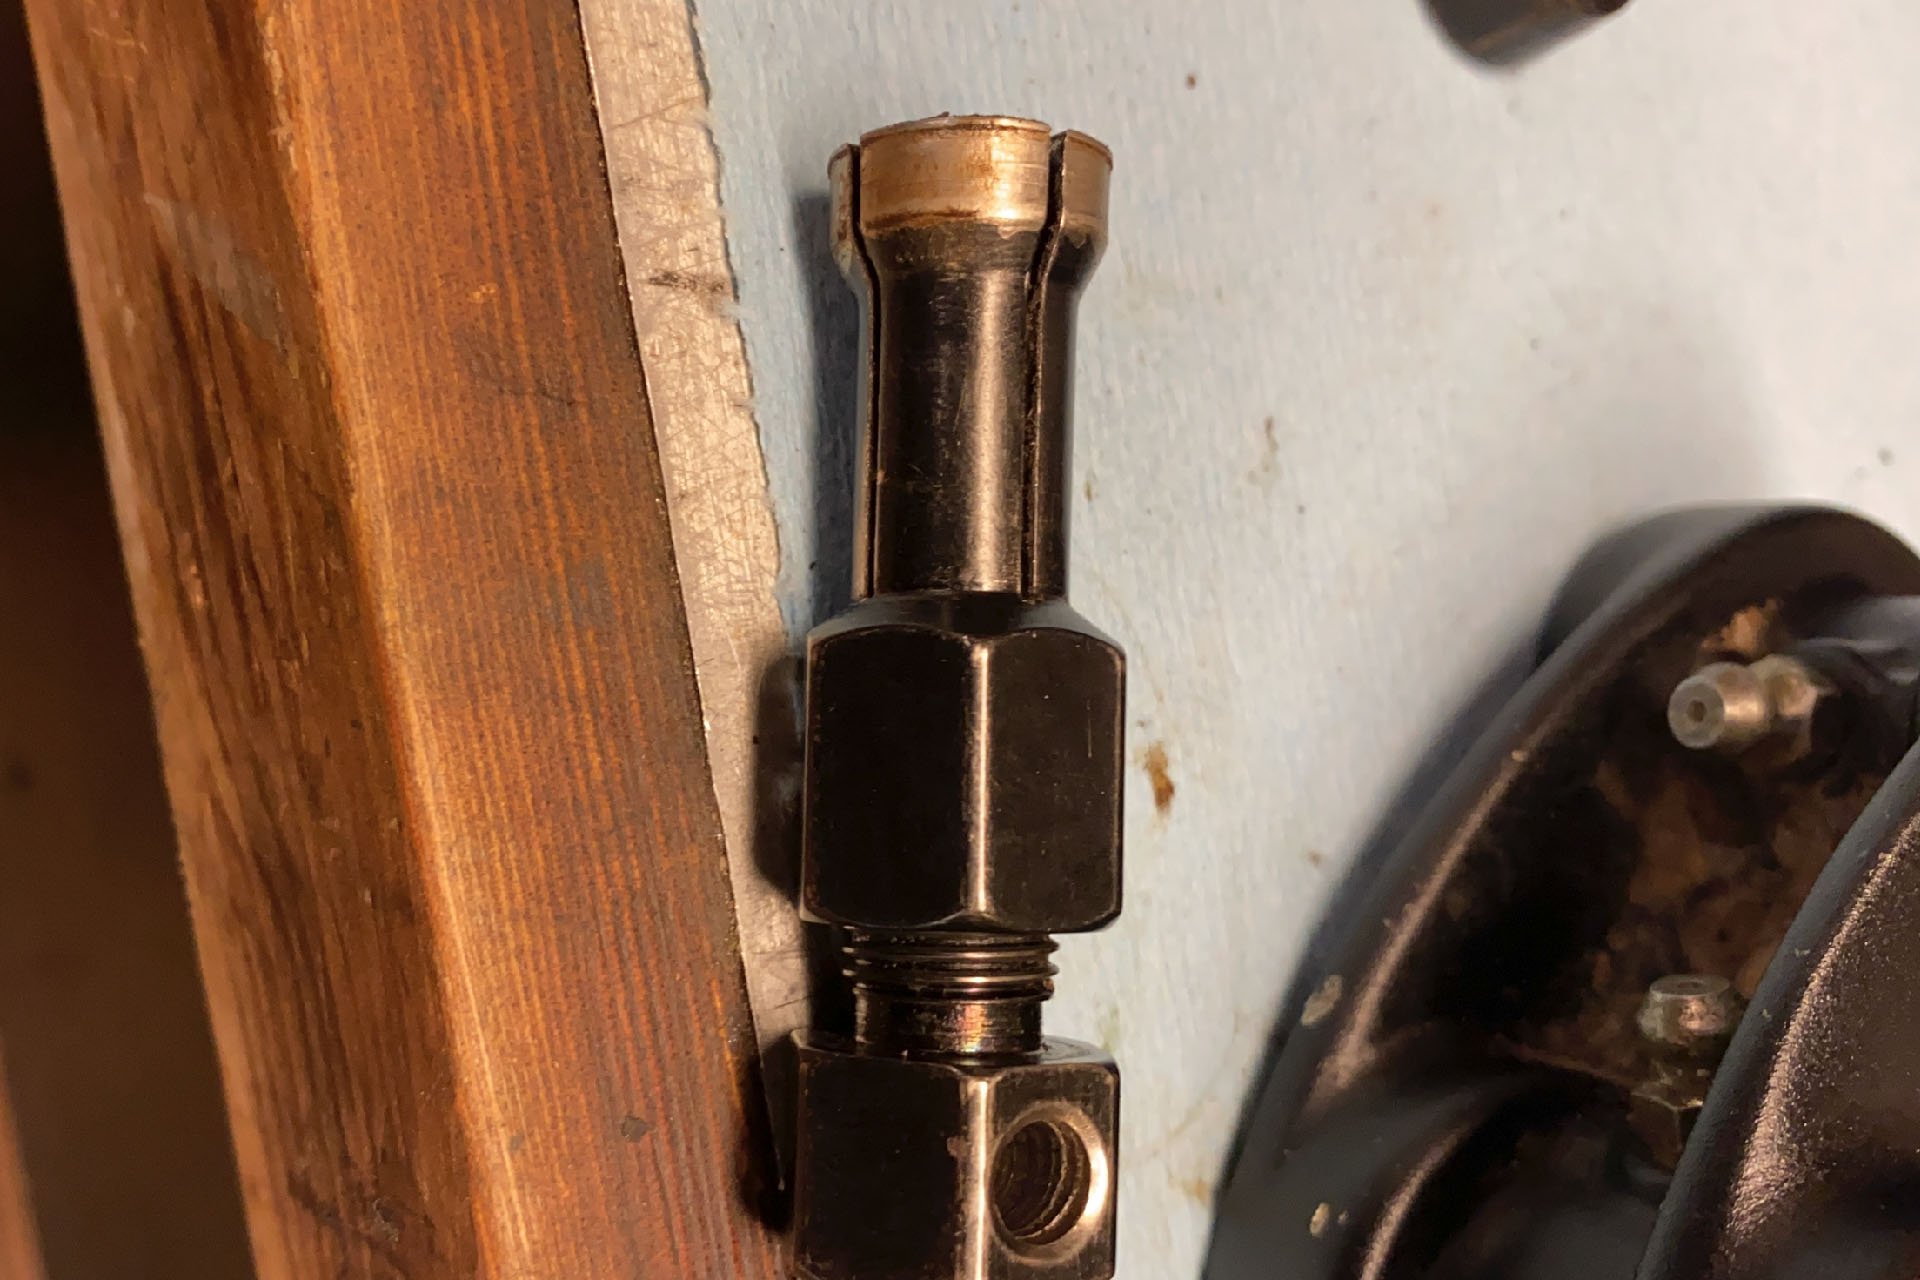
Reinstalling the links was actually a little tricker than I expected, but I managed to muddle through despite not finding Santa Cruz's detailed instructions until the end. (I used Santa Cruz's website search bar at first and then, after switching to google, found more info). Instead I was using the exploded view document to reference torque numbers. I soon realized this was a flawed strategy. Once I converted the foot-lbs units to Newton metres, I torqued down the collet axles to spec. Without the shock attached it was clear this approach would cause the bearings to bind. Instead I ditched the torque wrench and tightened the axles until the point where there was no play but no binding, like an old school headset. After that I torqued the bolt that holds the wedge in place to the recommended reading, since that will keep things from moving. Santa Cruz recommends greasing the axles and a drizzle of Lockite (I used blue) on every one of these bolts. I will check the axles for play after the first rides to see how they are doing.
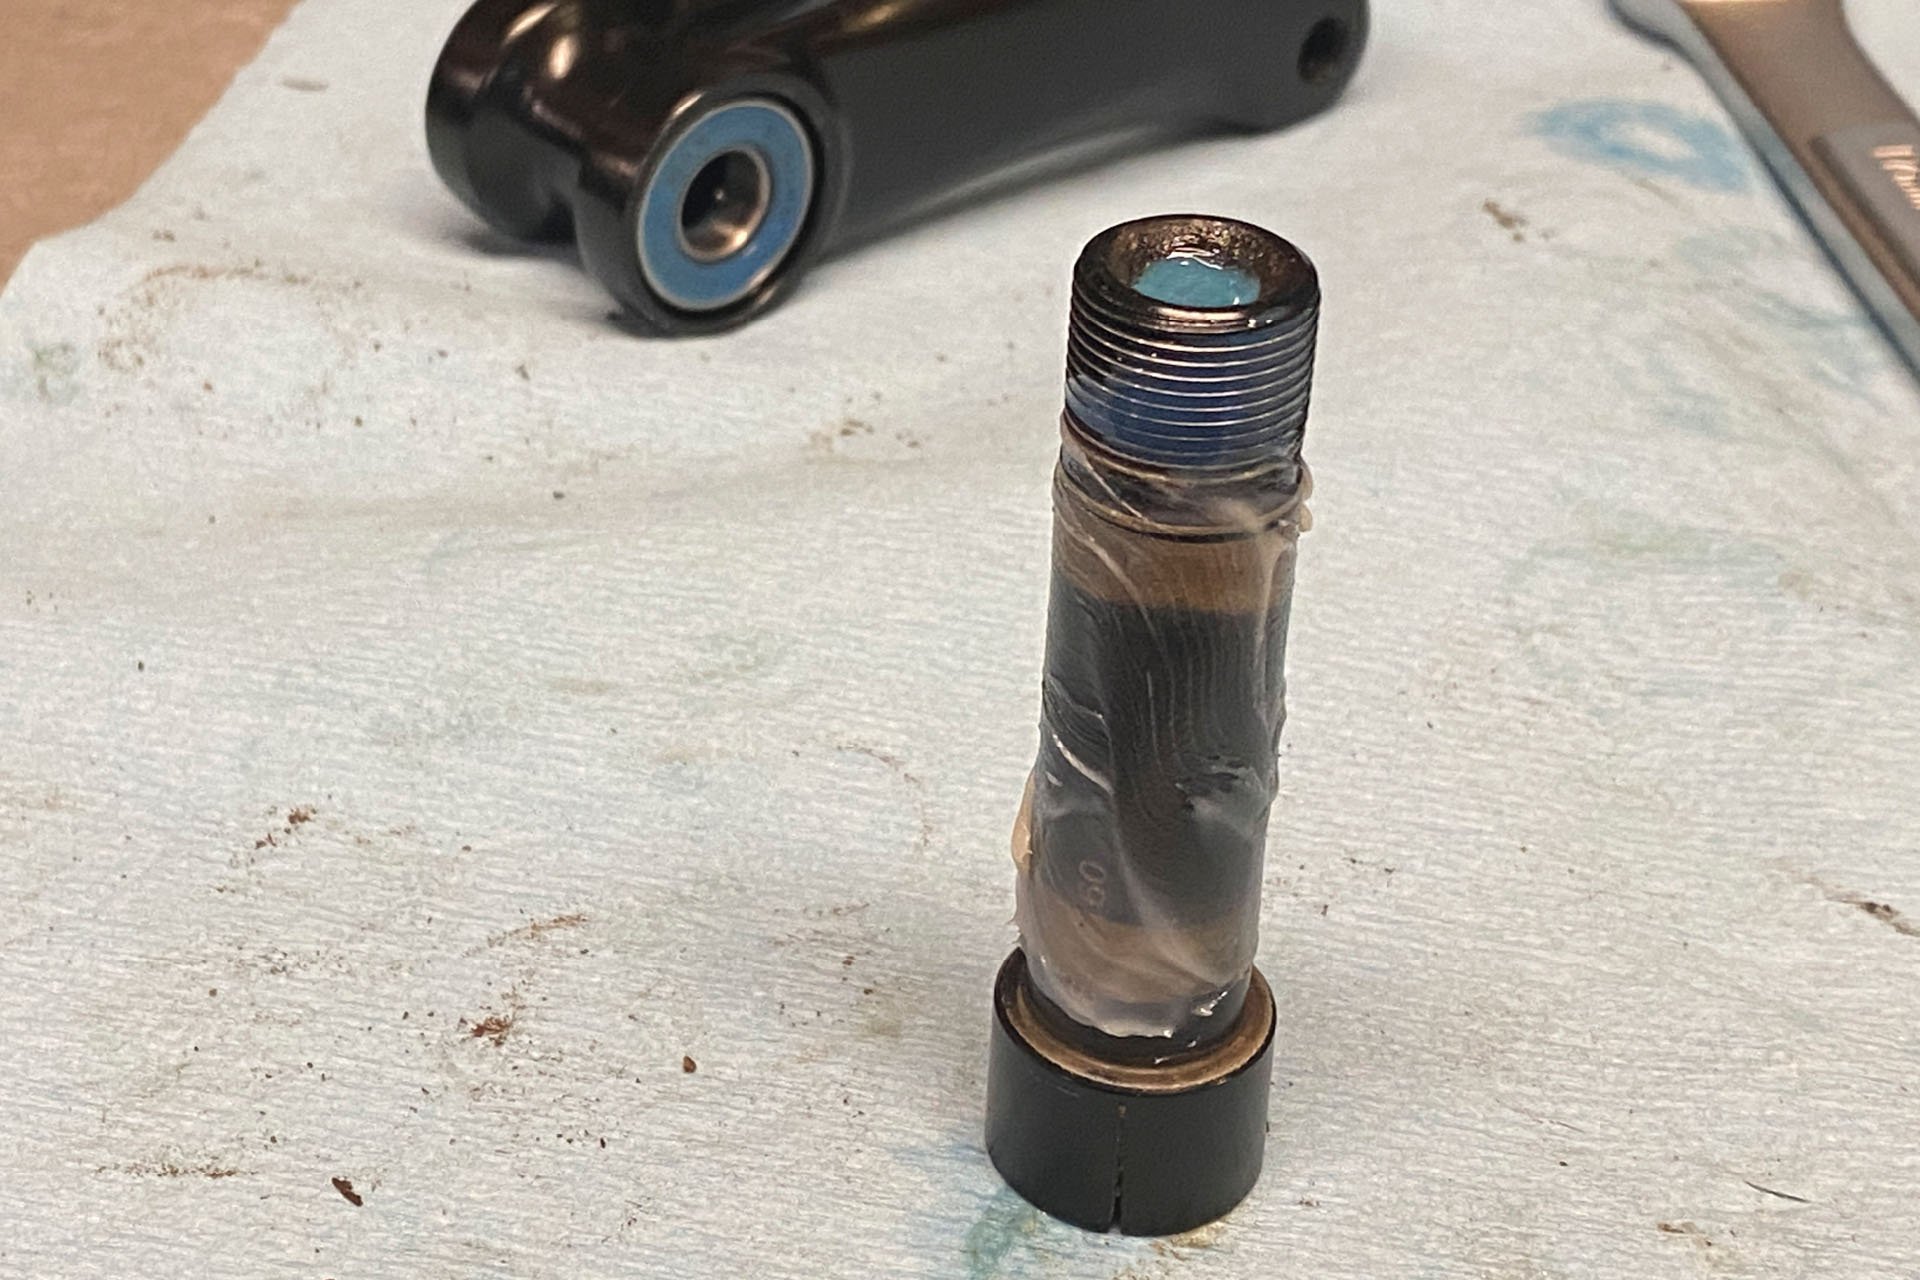
A slathering of grease on the axle and a drop of Loctite on the threads.
While I had the frame disassembled, I used the opportunity to wash, inspect and polish up the frame. As the grime was removed, what I discovered underneath was paint in excellent condition, and virtually all the blemishes I found were so cosmetic they easily buffed out. From the bearings, to the seals, to the fittings and logos and word marks on this 6-year-old, extremely well ridden machine, there was nothing about the finish, quality, engineering and construction that failed to impress me. Santa Cruz builds a hell of a bike.
"Sure honey, it'll be ready for the weekend." Project 'better than new' is coming along, but not very quickly.
The company also stands behind their bikes and guarantees spare parts availability for at least 10 years. There are a few gaps in the current inventory, but you can buy a lower link for this bike, with bearings already pressed in, for a mere 53 USD. As luck would have it, and likely COVID, that particular piece is currently out of stock, but you can bet supply will be replenished once the backlog is dealt with. Unfortunately that remains a moving target.
Santa Cruz has some good information about swapping and tightening bearings. They also sell a comprehensive line of tools and replacement parts.


Comments
Bikeryder85
2 years, 11 months ago
Great article Cam! These kinds of teardowns/stories are why I frequent this site. Keep up the good work! Heat (and sometimes cold) is definitely your friend with any press fit interface!
Reply
Cam McRae
2 years, 11 months ago
Thanks!
Indeed another suggestion (that I forgot!) was bearings in the freezer for install. Fortunately that part was easy in this case but I could see it coming in handy in an emergency or if you are trying to get by with inadequate tools.
Reply
Mammal
2 years, 11 months ago
Early in Mech Eng schooling we visited an Aerospace manufacturing plant that were installing bearings that were half a meter in diameter. A bit of liquid nitrogen, and they slid right in. Great lesson about interference fits and the value of heat/cold.
Reply
Cam McRae
2 years, 11 months ago
So cool.
I saw that happen at the Marzocchi factor in Bologna years ago. They had that process automated to install stanchions into the CSU. As I recall the system lived in a 40-gallon drum. I'll see if I can dig up the video.
Reply
Hugo Williamson
2 years, 11 months ago
And one wonders why Orange Single pivot bikes have such a following in the equally wet UK!! They may not deliver the level of suspension subtlety as a multi pivot, but I do wonder how much difference there is in the dirt, particularly when to function optimally multipivots need all their bearings running as smoothly as possible ( and the linkages all in the same plane of tolerance.)
Reply
Cam McRae
2 years, 11 months ago
I was amazed at how sensitive the bearings were to the pressure generated by the collet axles, let alone mud and grim, and how easy it was to over-tighten them. This could be why Santa Cruz went to linear bearings after 2017, but if you are on top of things this system seems ideal.
Reply
yycbarbarian
2 years, 11 months ago
Could not agree more!
I decided to hang onto my 2016 Heckler with 2013 geo for that exact reason. Having only 2 bearings to worry about is a positive in mu book. I do wish Orange frames were a wee bit cheaper to get a hold of here, the simplicity of the design makes me think of Occam’s Razor approach.
Reply
Poz
2 years, 11 months ago
I highly recommend either inspecting the axles or completely replacing after that many years. I had one shear on my SC a couple years back while finishing a climb. Ended up bending the rear triangle a bit from the force. And getting the broken part out of the threads almost didn’t happen even with all my tools. About the same vintage actually.
I keep a couple spares with me now in my pack for longer rides.
Reply
Enurjetik
2 years, 11 months ago
"I didn't panic immediately however, it seemed to happen even faster than that. What if I'd ruined the entire frame? Was that link even available?"
This resonated so strongly with me that I felt it in my core. My wife will no longer be in the same room as me when I'm working on a bike. It's just too much to handle the roller coaster of emotion that goes something like:
1) Stress as I realize I'm in over my head but decide to plow ahead because dammit I'm riding today
2) Panic as a I think I've broken something
3) Small glimmer of hope as I find a potential solution in a forum or on YouTube
4) Elation as I fix what I just broke
5) Moving on to the next part of the project
6) Feeling rising stress as I realize I'm in over my head...
A neighbor stopped me while I was walking my dog last week to ask if I'd put together her kid's new bike. She had seen me working on my bikes in my open garage. I had to tell her that none of us wanted that stress. It's one thing to break my own stuff. It's another to send the neighbor's kid out into traffic with a potentially faulty brake.
Reply
Cam McRae
2 years, 11 months ago
The roller coaster! It’s all worthwhile when something works out!
There has never been a busier time for those of us who are known by friends and neighbours to have some Nike know how. Lots of ‘should I buy this bike?’ questions as well as help repairing and setting up bikes. I enjoy. Eing able to help out when I have time luckily.
Reply
Mammal
2 years, 11 months ago
Zerk fittings.
Lifetime bearings is a great incentive, and a pristine 6yo bike that gets consistently punished is very impressive.
Reply
Cam McRae
2 years, 11 months ago
Thanks for that. Corrected.
Reply
Tim (aka DigitBikes/DirtBaggies)
2 years, 11 months ago
Those earlier VPP bikes use a finer thread pitch on the pivot axles than more recent versions. In my experience the threads are prone to stripping out in the carbon parts. Though the photographed parts look in OKish shape, you can see where the anodizing has worn off of the thread crests and the bolt head bearing surface. I'd recommend periodic replacement of the axles to give the female threads in the rear triangle their best chance of longevity.
I believe adjusting the tension for free running of the bearings, like on an old headset, can also lead to failure. Inadequate tension on these axles can allow play in the threaded interfaces, which causes them to wear away - liberal application of Loctite probably helps to relieve this. I guess one reason SC moved from angular contact to deep groove bearings with a spacer between was to allow higher tension and thus less movement in these threads. If there's room in your link for a spacer it might be possible to fit deep groove bearings kits from later versions, though I've not tried.
Reply
Cam McRae
2 years, 11 months ago
Excellent observations and good advice.
Reply
lance-h
2 years, 11 months ago
At least SC uses sleeves between the bearings now. How fucking long does it take to figure that out!
Pulling ACB’s aways leaves the putter race stuck in the links. I’d much prefer they used max bearings now the sleeves are a thing.
Reply
cheapondirt
2 years, 11 months ago
These bearing swap articles make a compelling argument for a rigid bike.
Reply
Cam McRae
2 years, 11 months ago
The way some parents/kids make a good argument for celibacy? Lol.
TBF - my mishaps here could have been avoided if I’d warmed up the links in the oven or with a torch. And it gets a little easier every time.
Another factor for most riders is they don’t have to deal with so many bikes. Test bikes, family bikes, personal bike... it ends up being a learning experience every time and I’m quite sure that when I repeat one of these, the experience will be much smoother.
Reply
Lu Kz
2 years, 10 months ago
Or a compelling argument for finding and paying a competent mechanic....
Reply
Lu Kz
2 years, 10 months ago
Or a compelling argument for finding and paying a competent mechanic....
Reply
sospeedy
2 years, 11 months ago
Thanks for the insight Cam Although this leaves me sufficiently scared to avoid attempting this on my wife’s Bronson V2. ;)
Reply
Cam McRae
2 years, 11 months ago
Lol. That wasn’t my intention, rather to make the mistakes for you so you can avoid them. Cheers!
Reply
sospeedy
2 years, 11 months ago
Absolutely. Thanks for that!
Reply
Skooks
2 years, 11 months ago
Hey Cam, just wondering how often you pump a little grease through the zerk fittings? Seems like this should greatly increase the service life of the bearings.
Reply
Cam McRae
2 years, 11 months ago
Not nearly often enough! I’m sure Santa Cruz has a recommendation. I’ll have a look when I have a minute.
Reply
Doug M.
2 years, 10 months ago
3 seasons into squishy bike ownership, my approach has been to disassemble the frame and inspect bearings each winter. If any feel gritty or notchy, pop the seals to clean + flush + re-grease. Have done most of them now, so far so good!
Reply
Skooks
2 years, 10 months ago
Sounds like good practice. What do you use to flush the bearings in-situ?
Reply
Please log in to leave a comment.