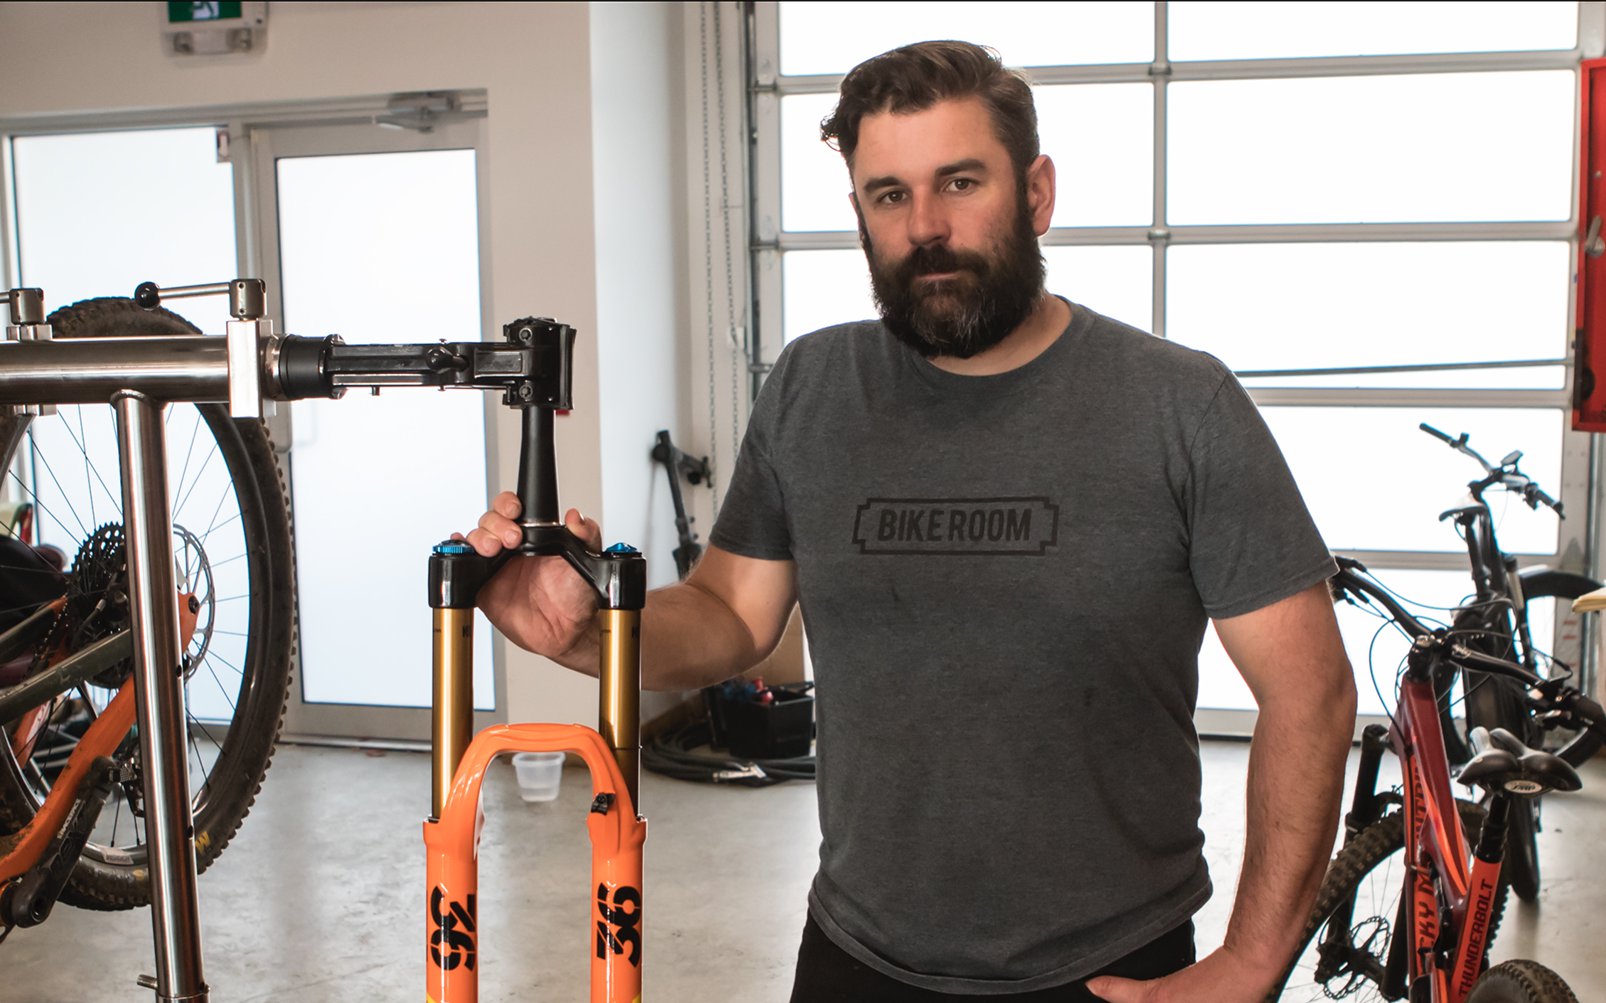
A Pro Service with Jeff Bryson
2019 Fox Float Factory 36 Grip 2 Service
I get immense satisfaction from fixing things. When it goes well. With youtube as my guide, I recently tore apart our non-functional clothes dryer. It was making a noise pulled from a sci-fi thriller, the moment just before a planet is obliterated, and the drum wouldn't turn. On the journey to get it fixed, I took the entire machine apart and put it back together twice and, because it's a steam dryer with a water supply, flooded our basement. Twice. That's the kind of handyman I am. In the end I got 'er done for a total of $17.54 in parts.
Maintaining, cleaning, and any other tasks that prolong the life of the machines in my life are similarly satisfying (and often as fraught with missteps). Maintenance takes a much lower priority than it should however. Going to the dentist is automatic when it feels like an ice pick is stabbing your tooth, but if it aches periodically, or nothing hurts at all... that can probably wait.
Note: this is meant to be an overview of the process rather than a comprehensive how-to guide, but it's probably enough for most of you to get 'er done. Consult youtube for several good step by step guides.
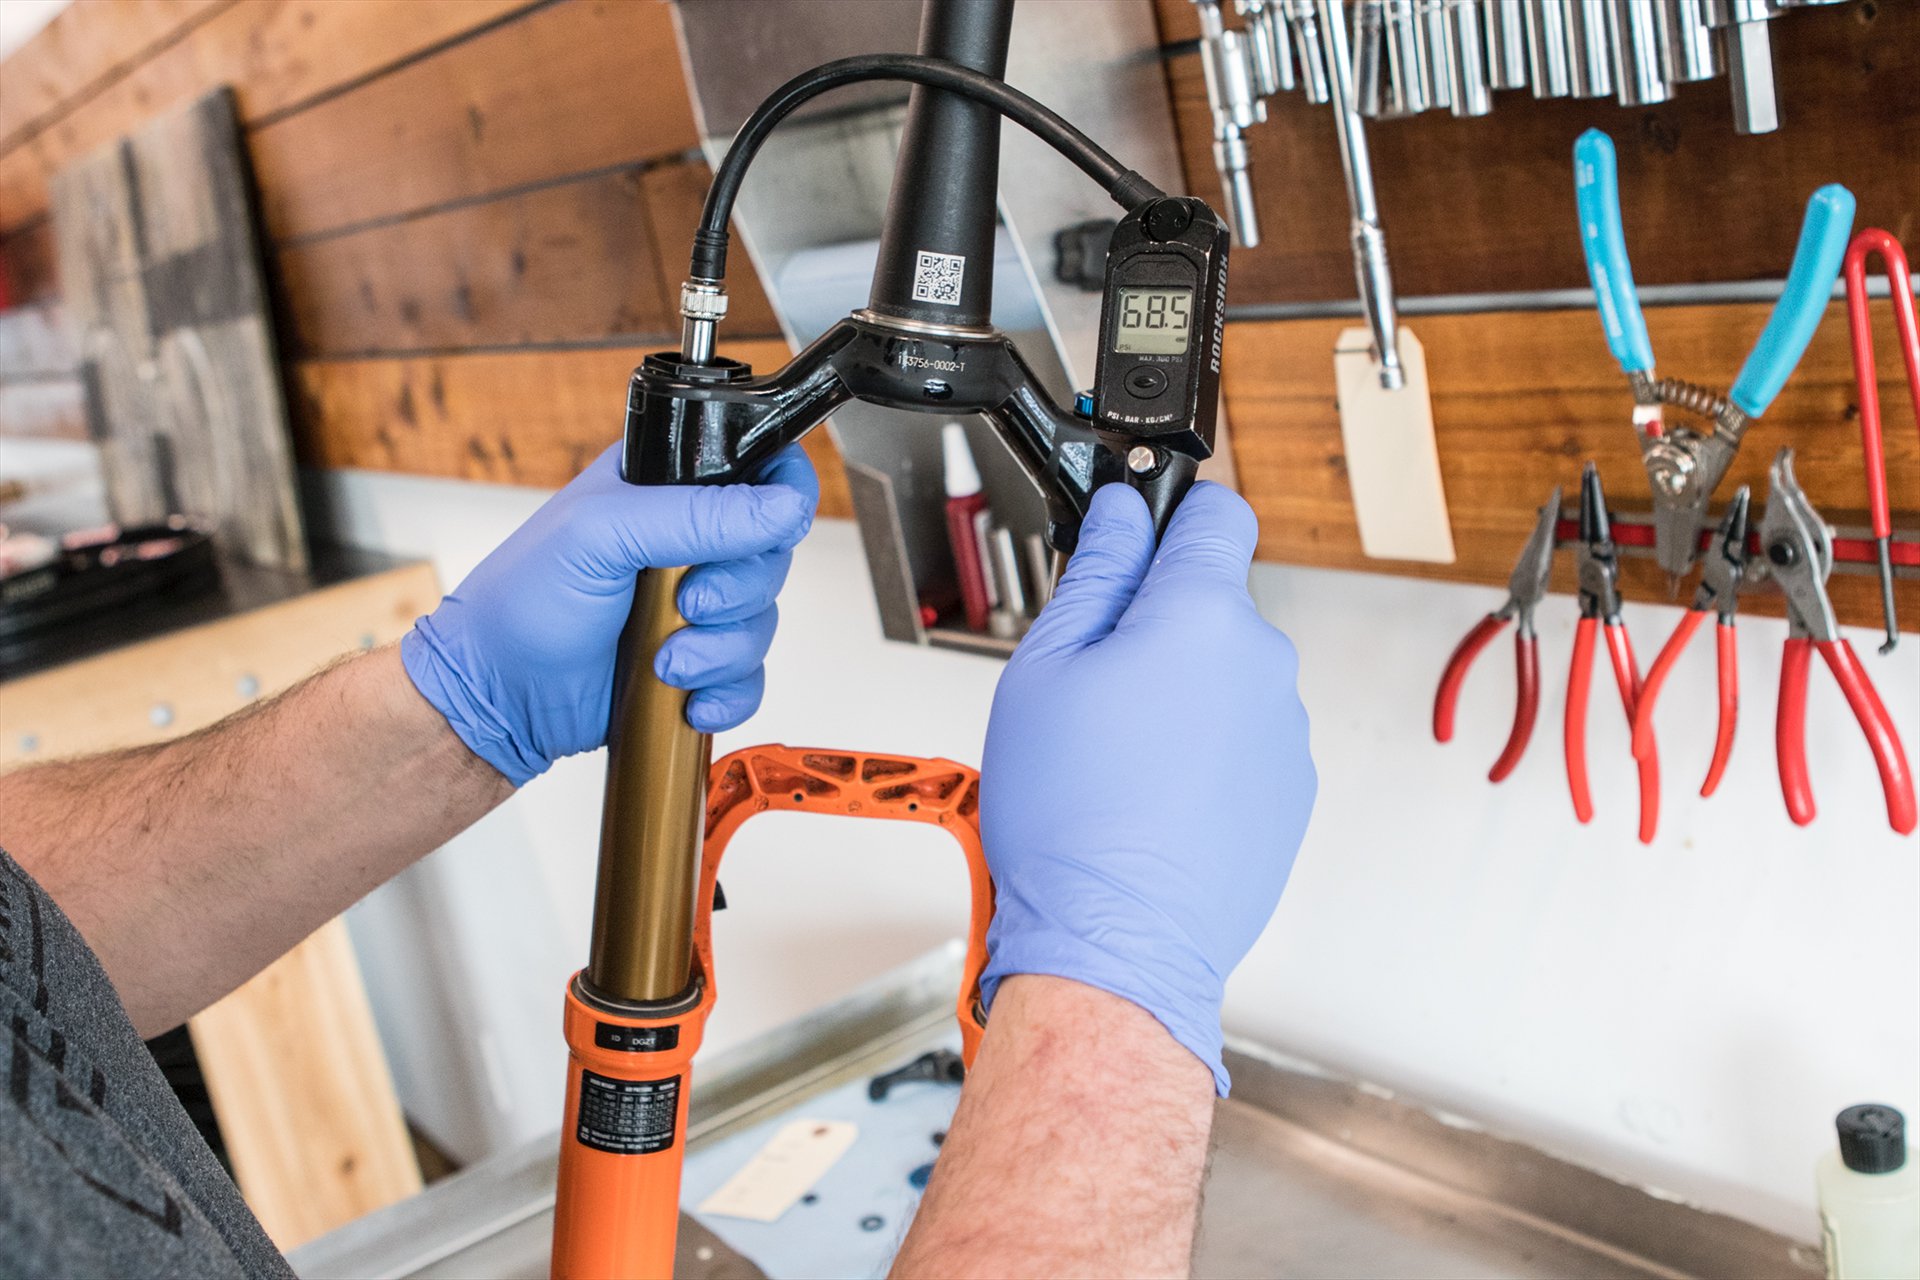
Step one: measure the air pressure and damper settings and record them.
Jeff Bryson of Wheelthing getting down to work. Disassembly begins at the bottom of the fork legs. The rebound damper knobs are held on with a 2mm hex head set screw.
We all know a little regular maintenance will keep forks working better and make them last longer. But if you're like me, if it's working relatively smoothly you probably don't think much about it. Fork maintenance schedules vary, but manufacturers often recommend a lower leg service after between 50 and 75 hours of riding, while a damper service is suggested between 150 and 200 hours, depending on the conditions you ride in. But keep in mind that some auto manufacturers recommend oil changes after as little as 4000 kms...
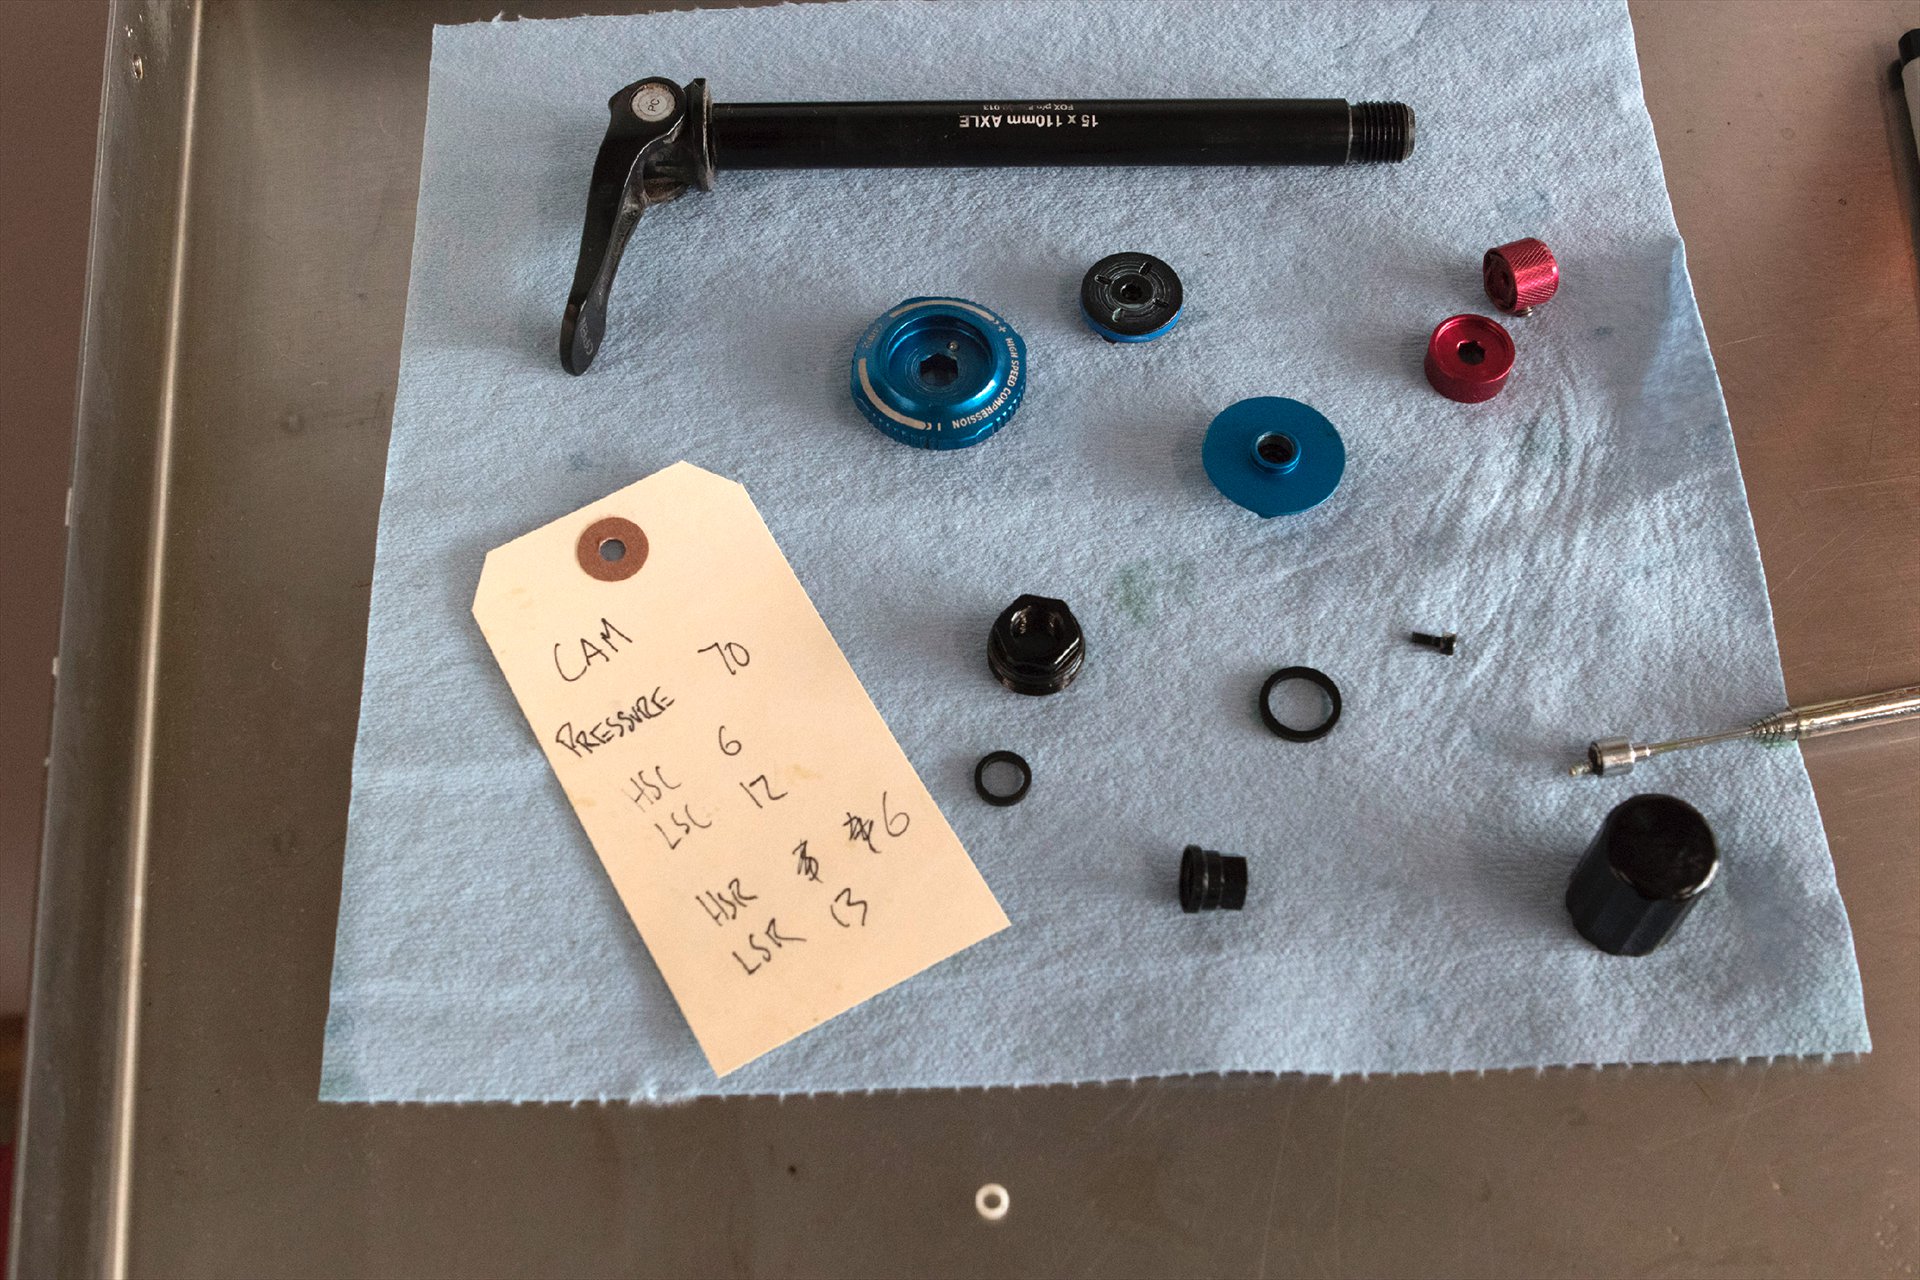
My settings written down and everything laid out after disassembly. Pro style.
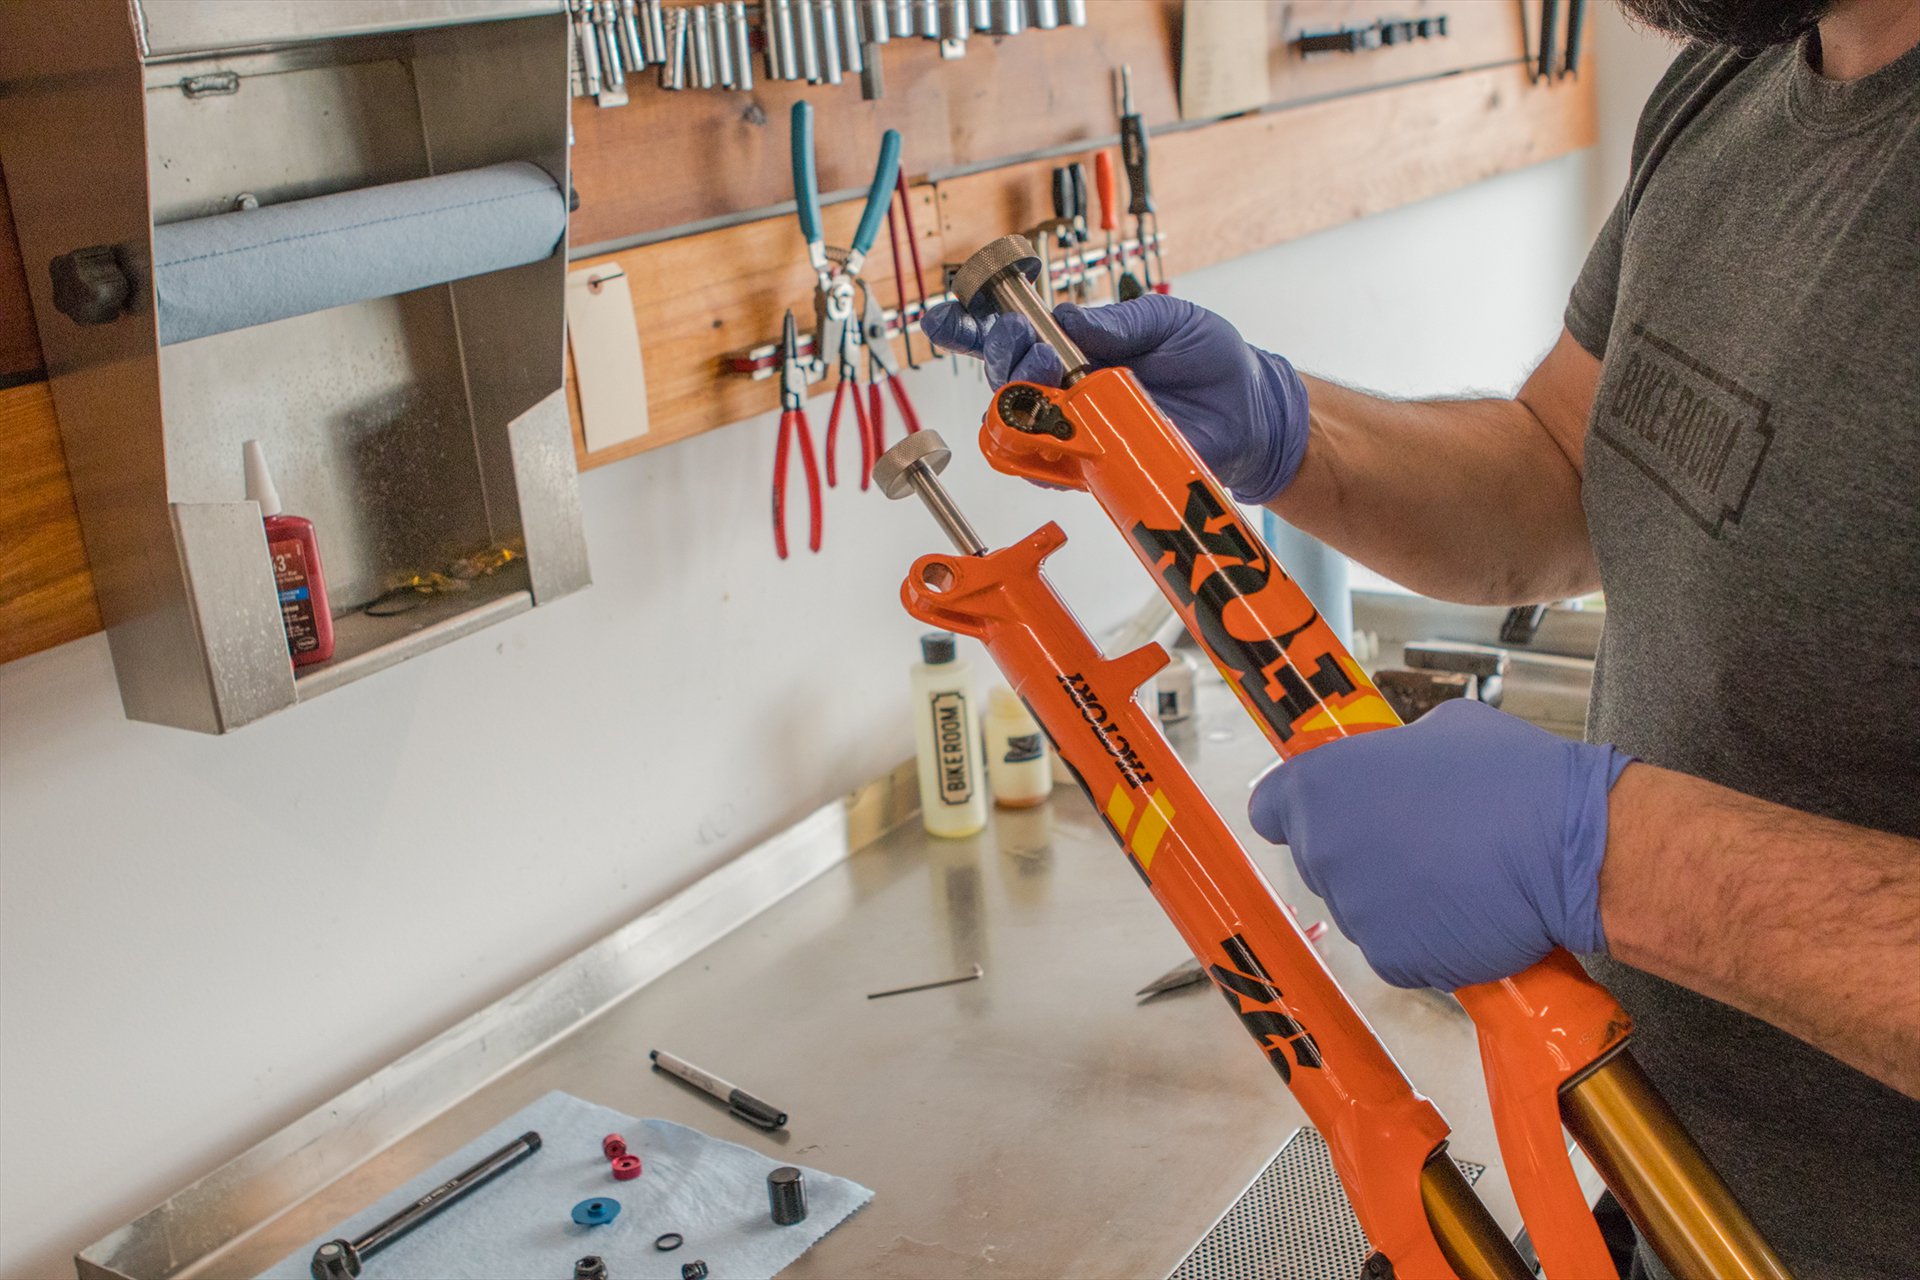
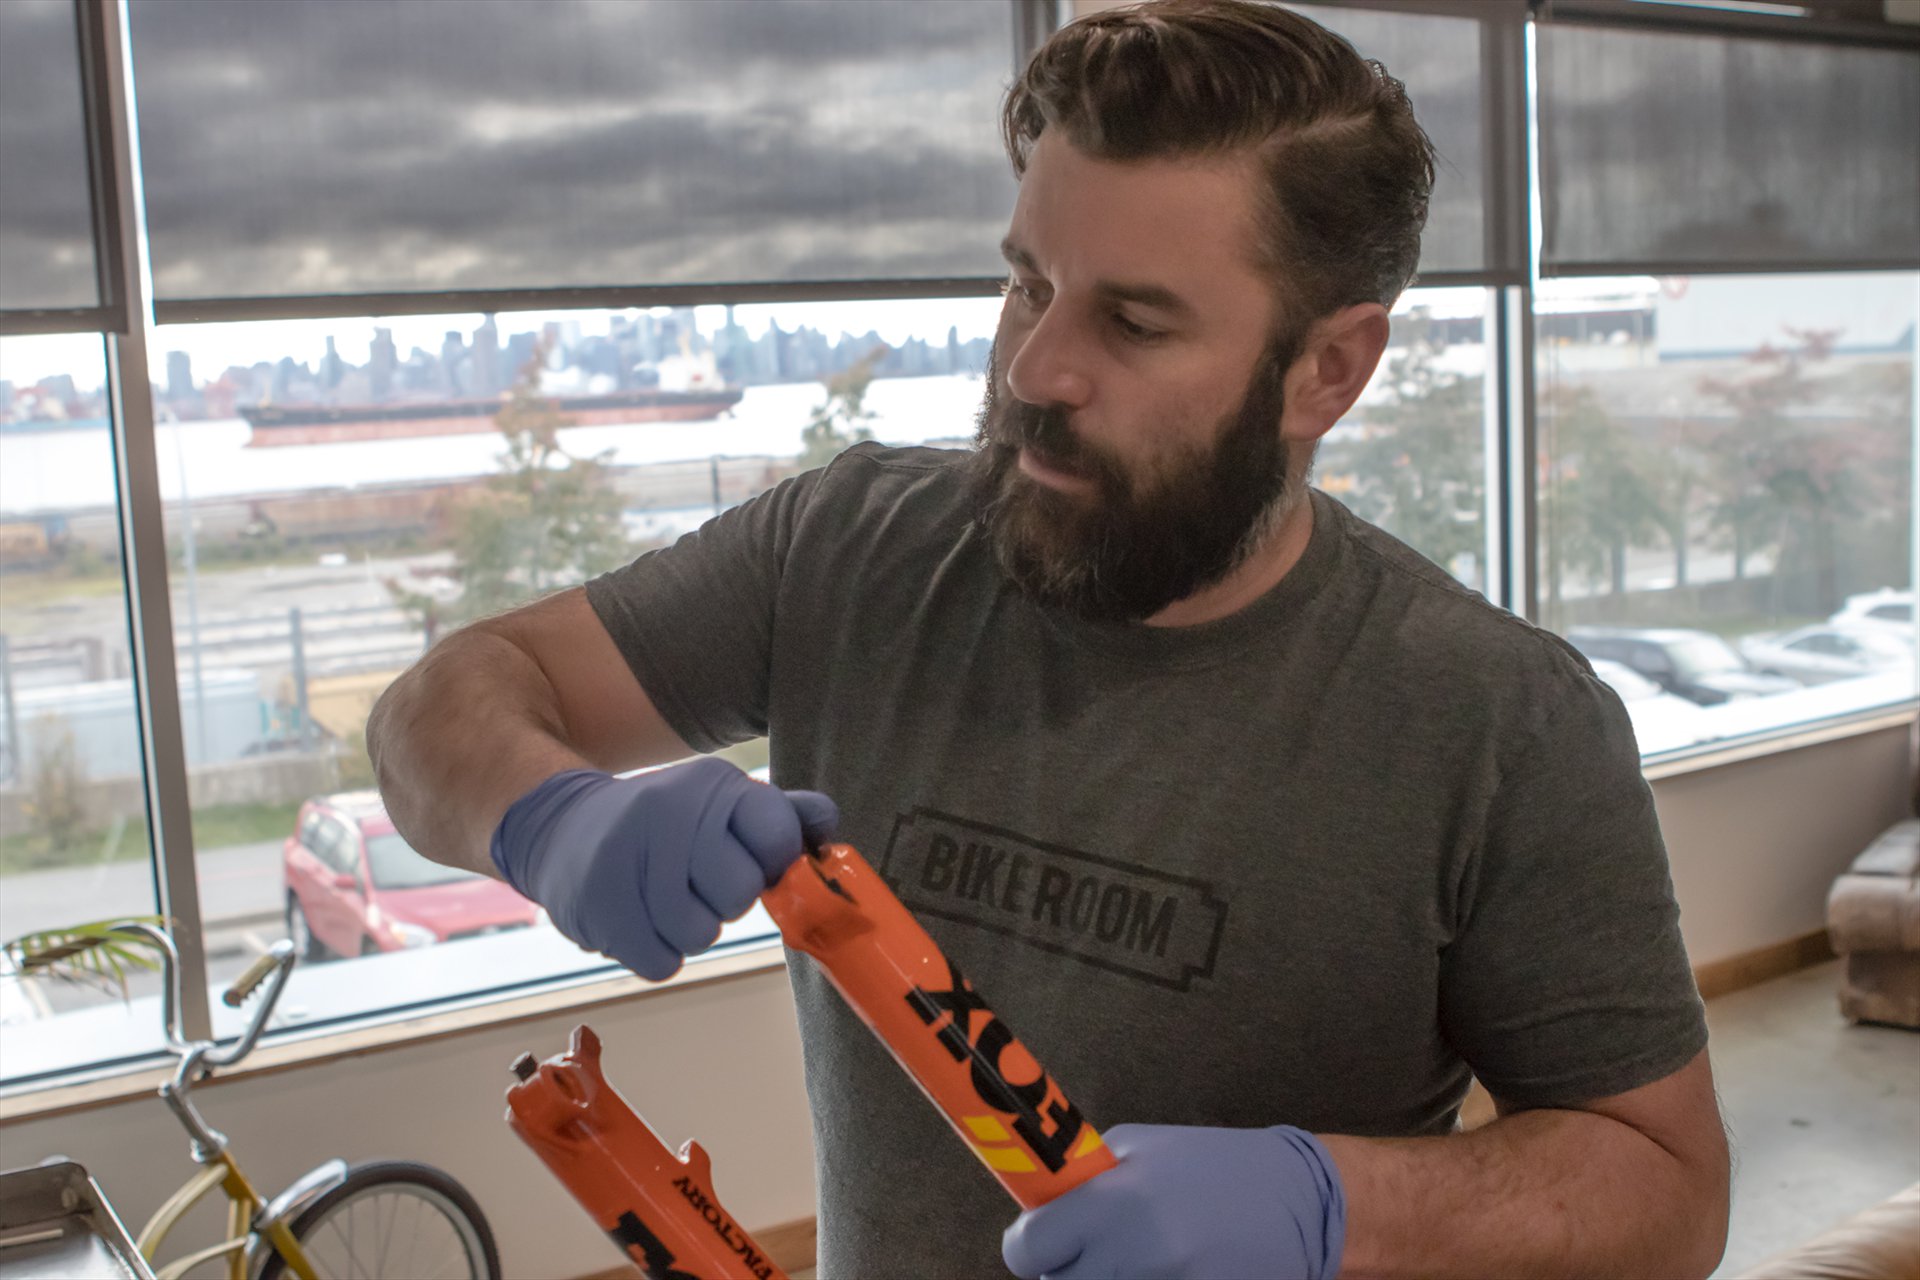
Jeff threading on the removal tools to free the air spring and damper from the bottom of the lower legs. Home mechanics can use sockets with a mallet to perform this task.
Because of test bikes and various products in rotation, I don't always need to do regular maintenance on suspension. This time around my Fox 36 seemed mildly grouchy* after what I'd guess is somewhere around 80 hours of riding, so I thought I'd use the opportunity to get a pro lower leg service (without a damper rebuild) from Jeff at Wheelthing and share the results. Beyond the work in his shop, Jeff did a campaign as Jesse Melamed and Rémy Gauvin's mechanic on the EWS circuit, so the man knows his stuff.
*There have been some problems with forks coming from the factory with excess slickoleum in the spring side of the fork, which can block the equalization dimple and cause air to build up in the negative chamber. I've wondered periodically if that was the case with my fork because of intermittent harshness, and indeed there seemed to be too much lube inside.
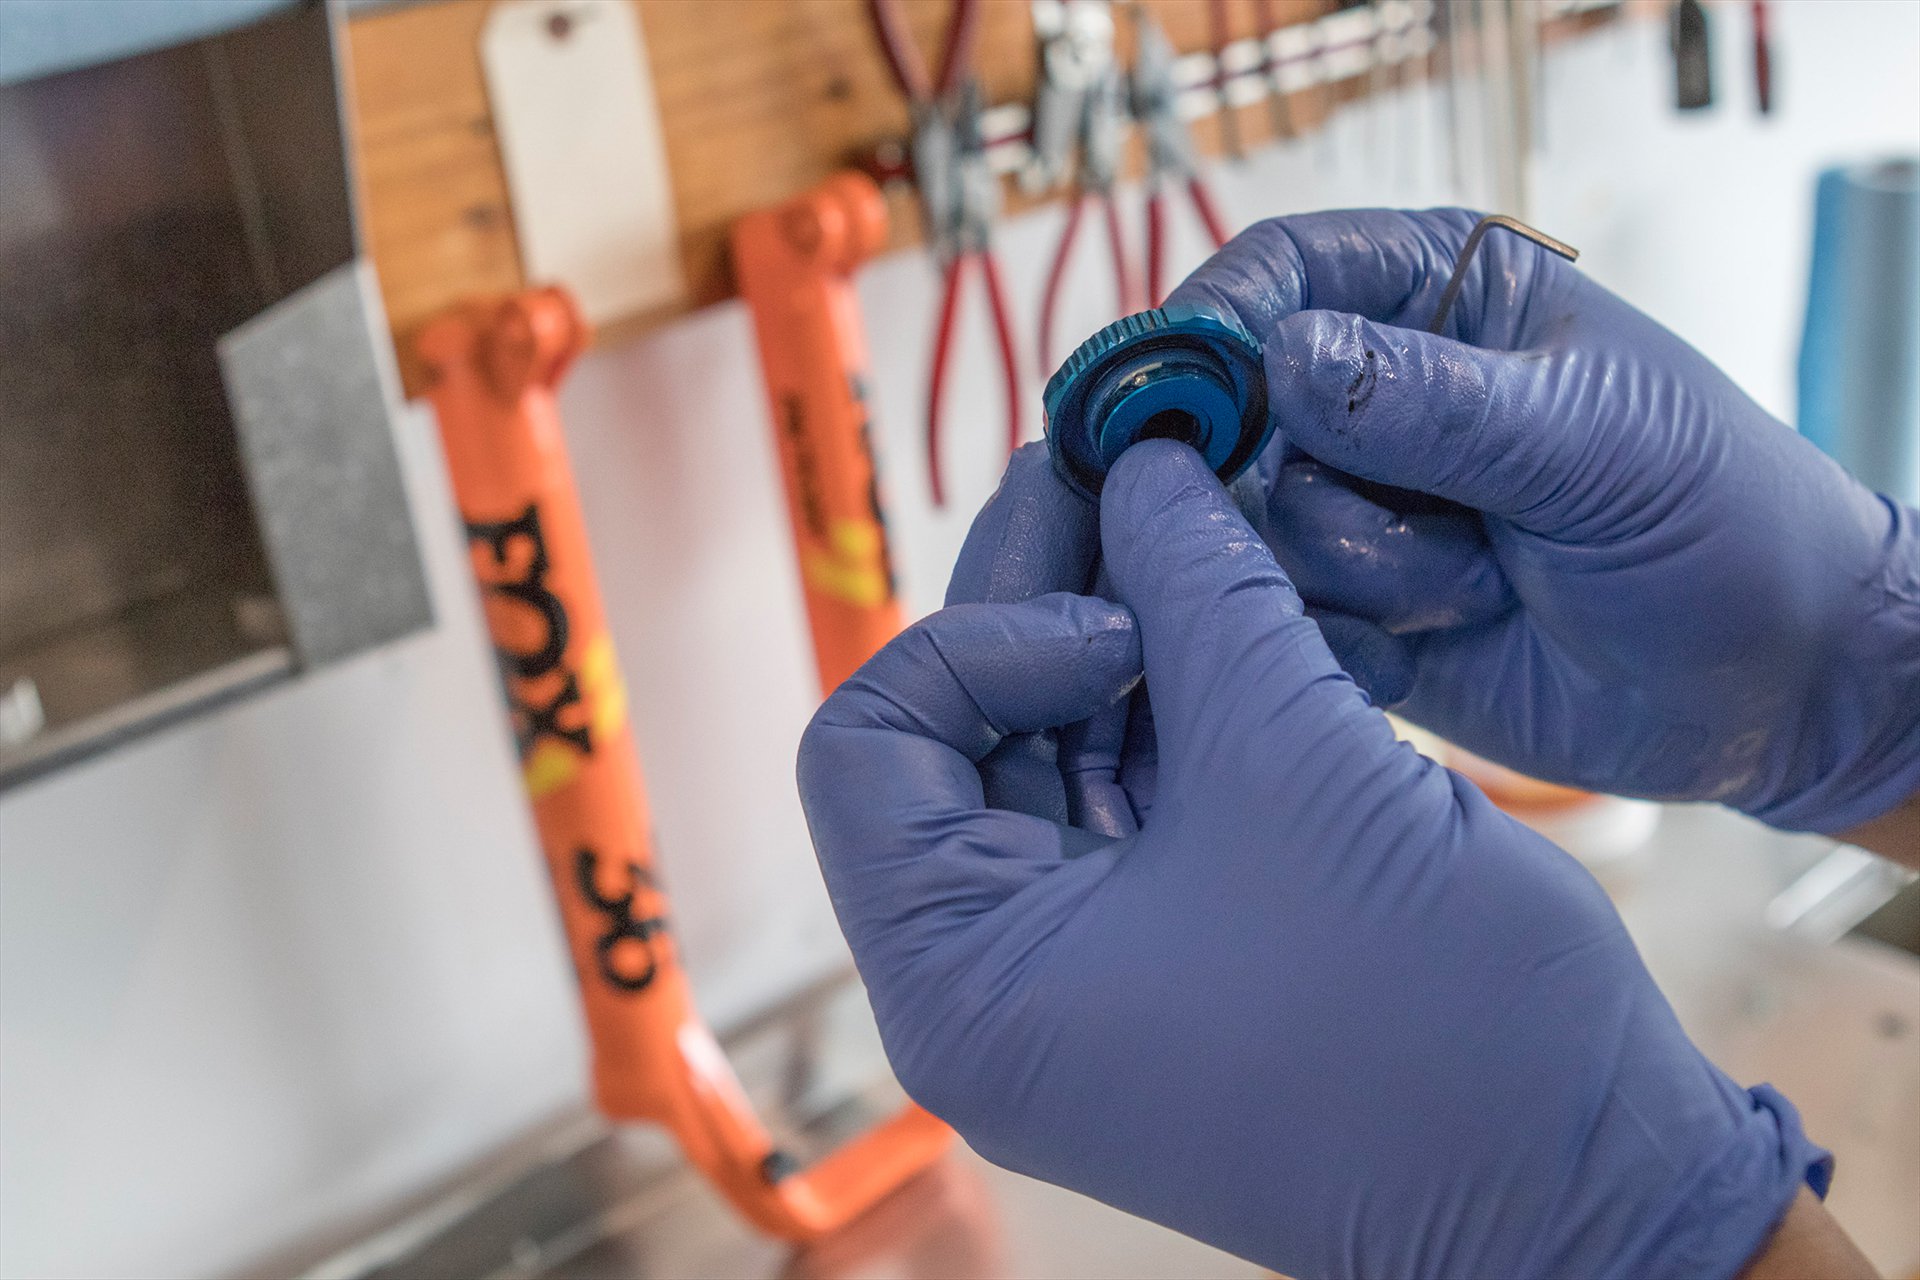
Removing and cleaning the adjustment knobs, including the detente bearings and springs, is part of this process for Jeff. This isn't essential for a more basic lower leg service but my dials now feel better than new.
Jeff disassembled the fork seemingly effortlessly, thanks to years of experience, the right tools, and a dialled workspace. Before pulling the fork apart, he checked my settings so he could put them back once he was done, something I probably would have forgotten. After that he took off the rebound adjusters on the lower right leg and the nut on the air spring side. The pro method, after the nuts at the bottom of each leg are removed, is to thread on proprietary removal tools. If you use a hammer you'll damage the threads and other mechanisms at the bottom of each leg, but an alternative is to use a 15mm socket on the partially removed bottom nut on the damper side and a 10mm socket on the air spring side, and gently tap each side free. It's a good idea to perform this part of the operation with the fork upside down so you don't spew fluid onto your shoes or your dog.

Fluids still looking fresh. Notice the difference between the volume, colour and viscosity of the fluids in each leg. Assuming the volume was correct, as a home mechanic I would have been tempted to re-use these fluids.
At this point it's useful to have a container to dump old oil in so you can properly dispose of it. Here in North Van, nasty fluids can be dropped off at a transfer station. Because of Jeff's set up he simply pulled off the lowers at this point and let the fluids go down the drain... His drain for nasty fluids that pours into a bucket that is. For the rest of us, after tapping the lowers off using the bridge/arch, you'll likely want to tip the fork downward and and let things drip into a nearby jade or spider plant. An old yogurt container might ruffle fewer feathers.
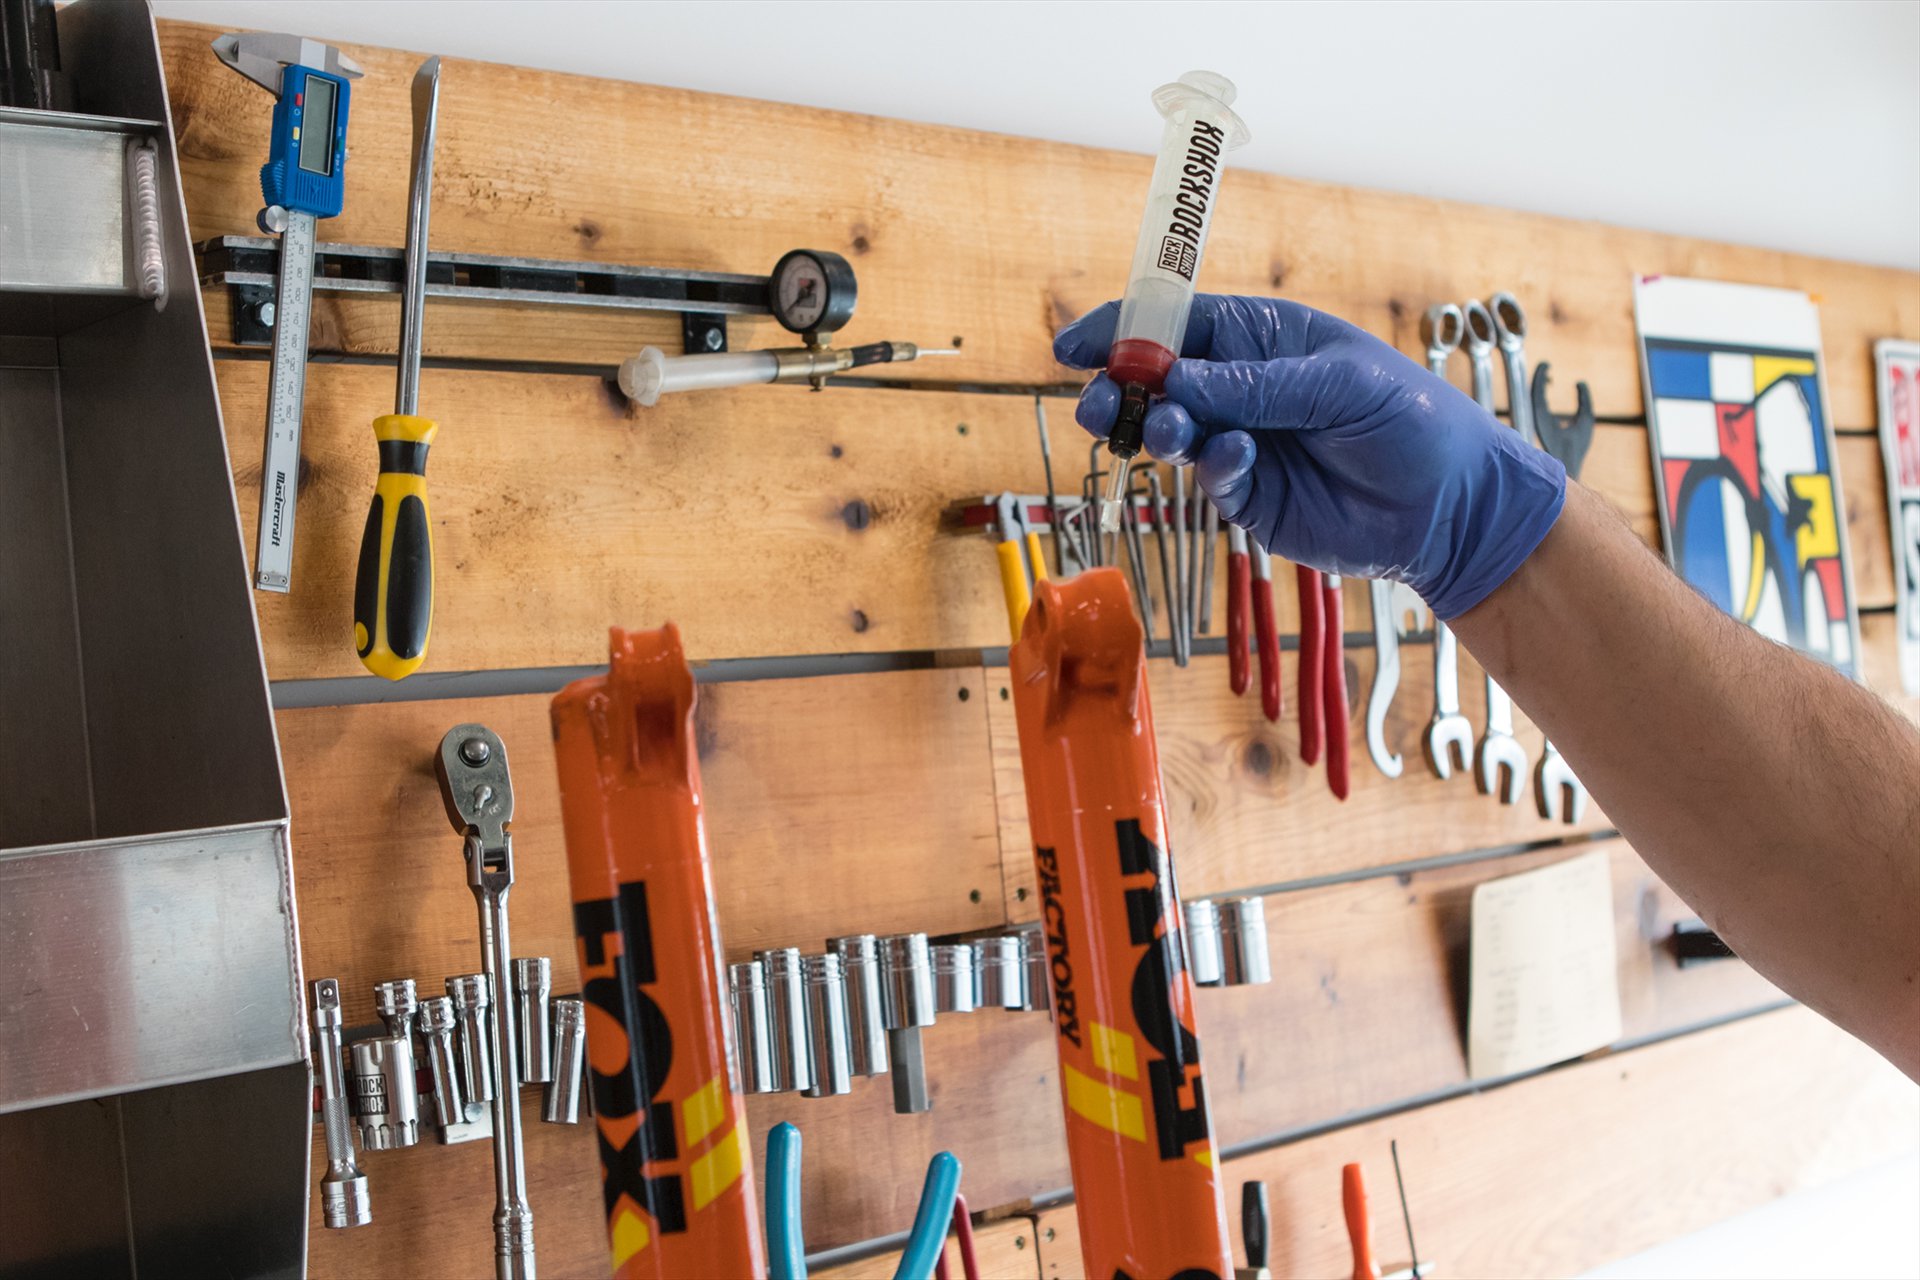
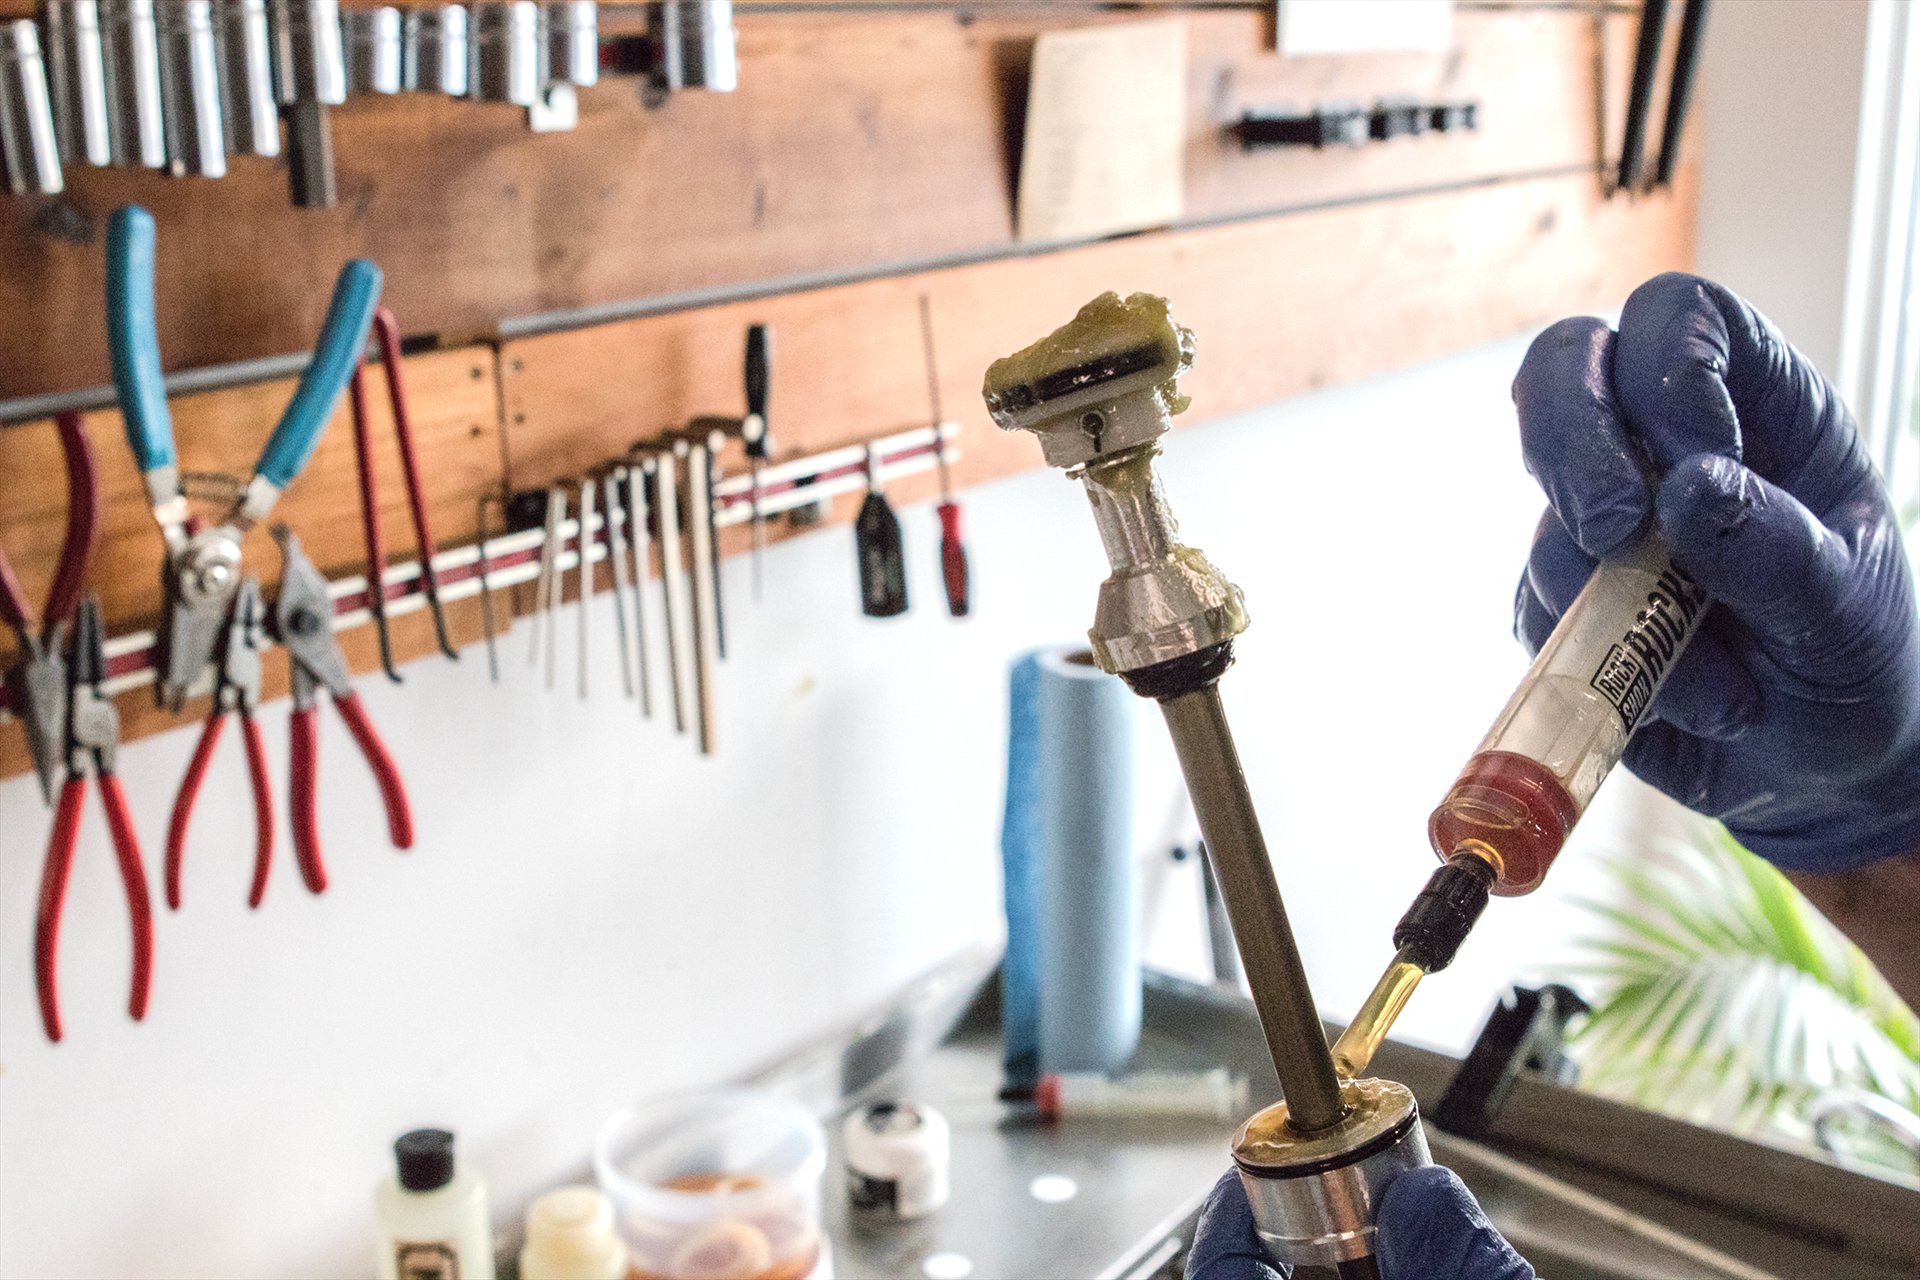
Refilling fluids on either side of the fork requires a syringe or graduated cylinder for accurate measurement.
The fluid came out of my fork remarkably clean. I likely could have gone another 50 hours without having to worry, aside from the possible equalization issue, but the beginning of winter seemed like the right time to get 'er done. At this point, with the stanchions exposed, it's time to clean everything so your new fluids won't be contaminated immediately. Isopropyl alcohol will do the trick but there are commercial grade cleaners that can be used as well.
Jeff adds a little Fox 20wt fluid to the void within each wiper seal.

This keeps things moving smoothly
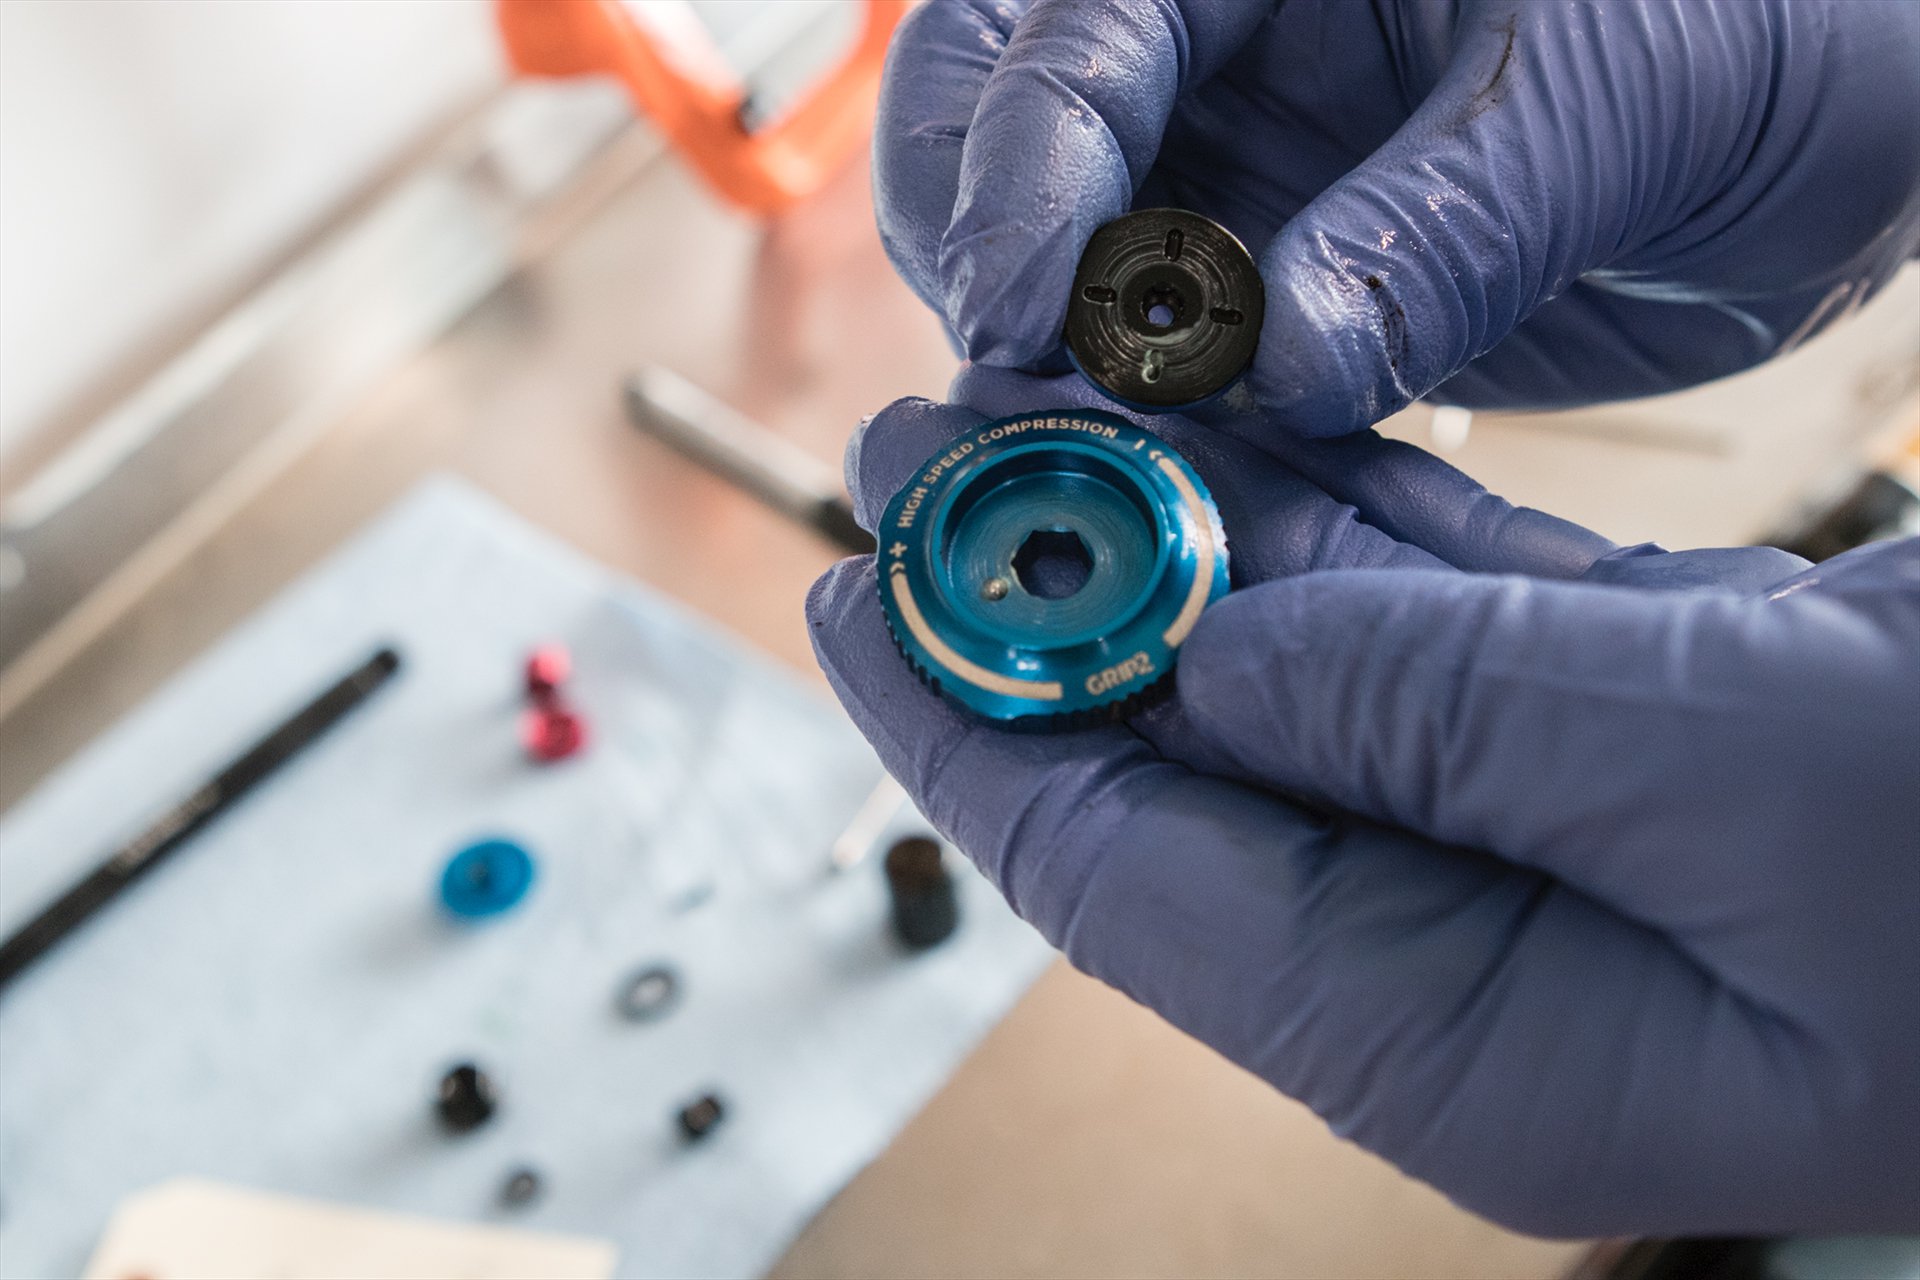
Dealing with the detente bearing and spring was the only finicky part of the job.
After this Jeff disassembled the compression dials to clean and inspect them and then removed the damper assembly. He even pulled the ball bearings and springs that produce the clicks that help us make clear damping adjustments, and this made a significant difference . Then he removed the air spring assembly as well. These are not an essential steps when doing a lower leg service but Jeff goes the extra mile. This gave him the chance to inspect seals and lubrication and make sure everything was operating smoothly. He didn't however think a damper overhaul was necessary.

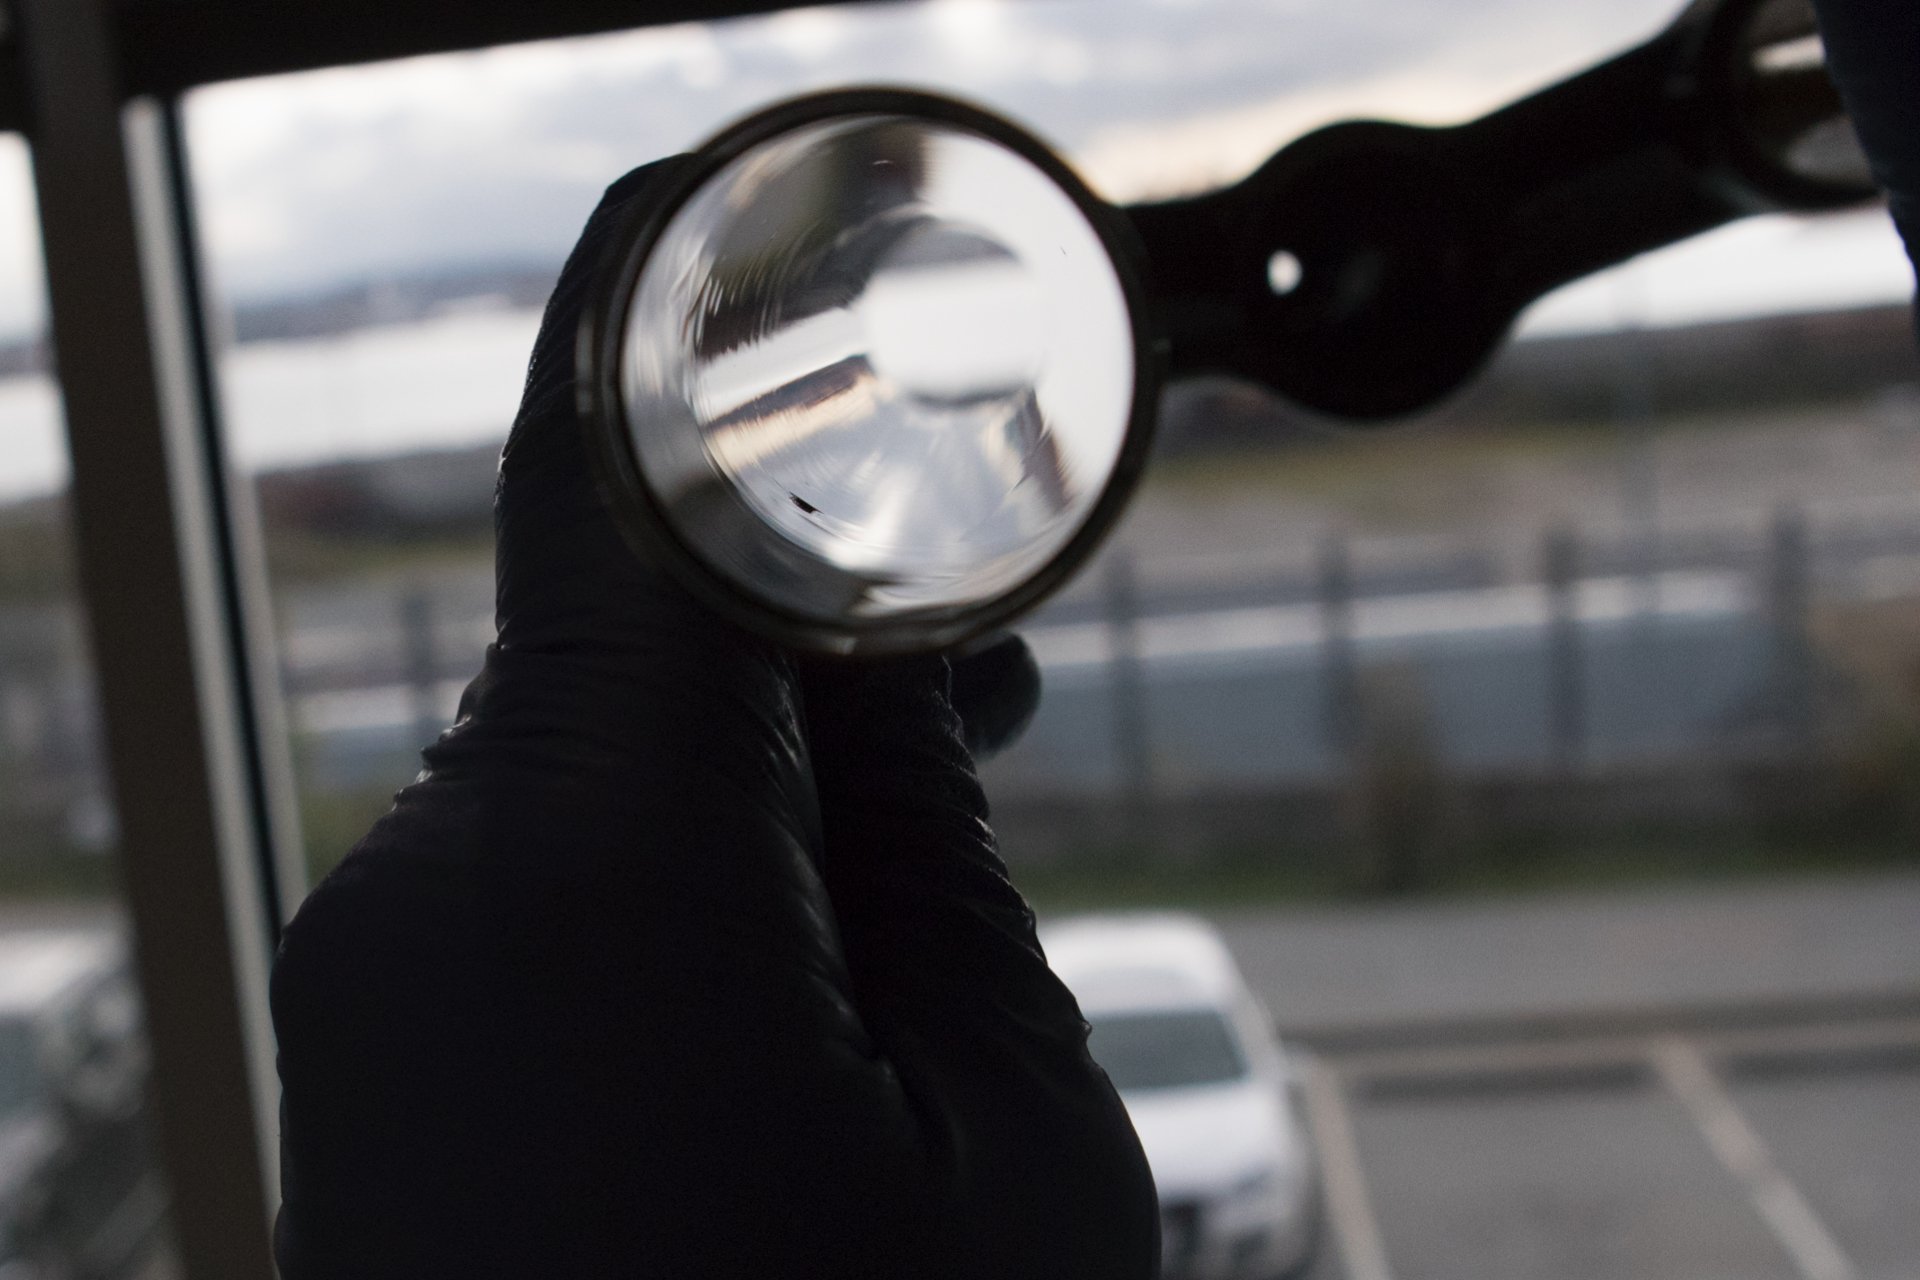
The view from Wheelthing is not bad.

Jeff's pup Lenny keeping an eye on the proceedings.
Jeff is a believer in only replacing seals, particularly dust seals, when necessary. If a fork is properly maintained the seals should actually improve over time and friction in the system should decrease over time. New seals are always a little stickier and tighter, which is why new forks generally don't feel great for the first couple of rides. In the 18 months since Wheelthing opened, Jeff has only replaced one set of dust seals.
The foam rings, which sit below the dust wipers, need to be removed and soaked in Fox 20wt before they are resintalled. These keep things lubricated by storing and distributing lubricant continuously while the fork is in use.
The magic dimple that allows air to equalize between the positive and negative chambers.
Putting things back together went very quickly because Jeff's a pro, but there are a few tricks. Once both assemblies are re-installed it's time to slide the lower legs on. Angling the lowers up and down or side to side will allow you to insert one side of the stanchions first to get over the lip of the dust wipers. If you have trouble pushing the lowers up you may need to let some of that air out.
Lubing specific areas of the air spring mechanism before re-assembly.
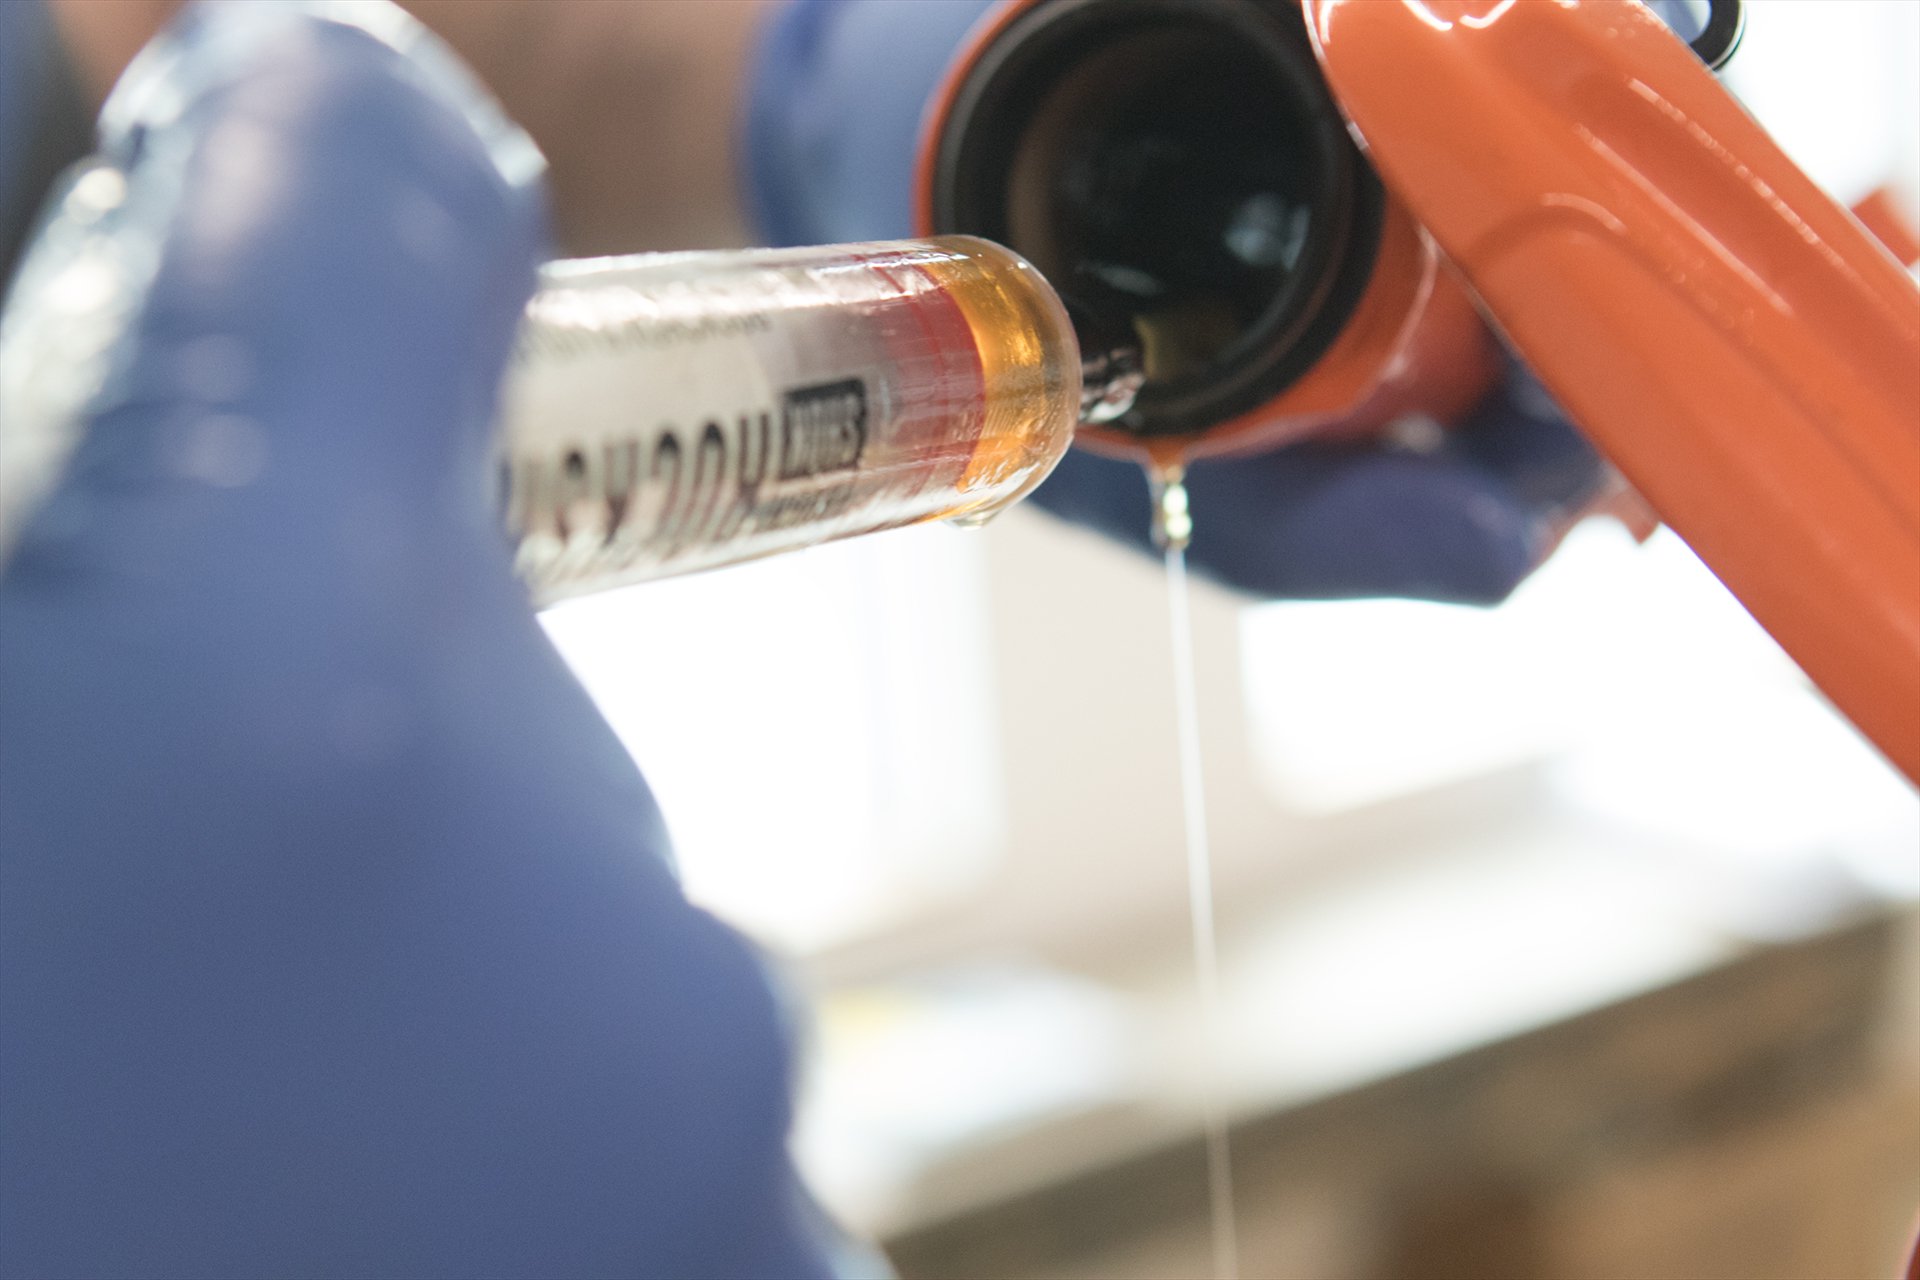
Once things are back together the fork needs to be tipped upside down (or at least pointing above level) so you can add fluids. These volumes and viscosities/fluid types have changed for the Grip 2 so make sure you consult the fluid chart. The air side takes 10cc of Fox 20wt Gold while the damper side requires 40cc of Fox 5wt Teflon infused. It's a good idea to wear gloves when handling this stuff because it can cause cancer or interfere with your reproductive bits. If either of those concern you that is. Once the fluids are in push the lowers until the damper and air spring rods extend through the bottom of the lowers. If the air side won't reveal itself, some air pressure can be used to push it into place.
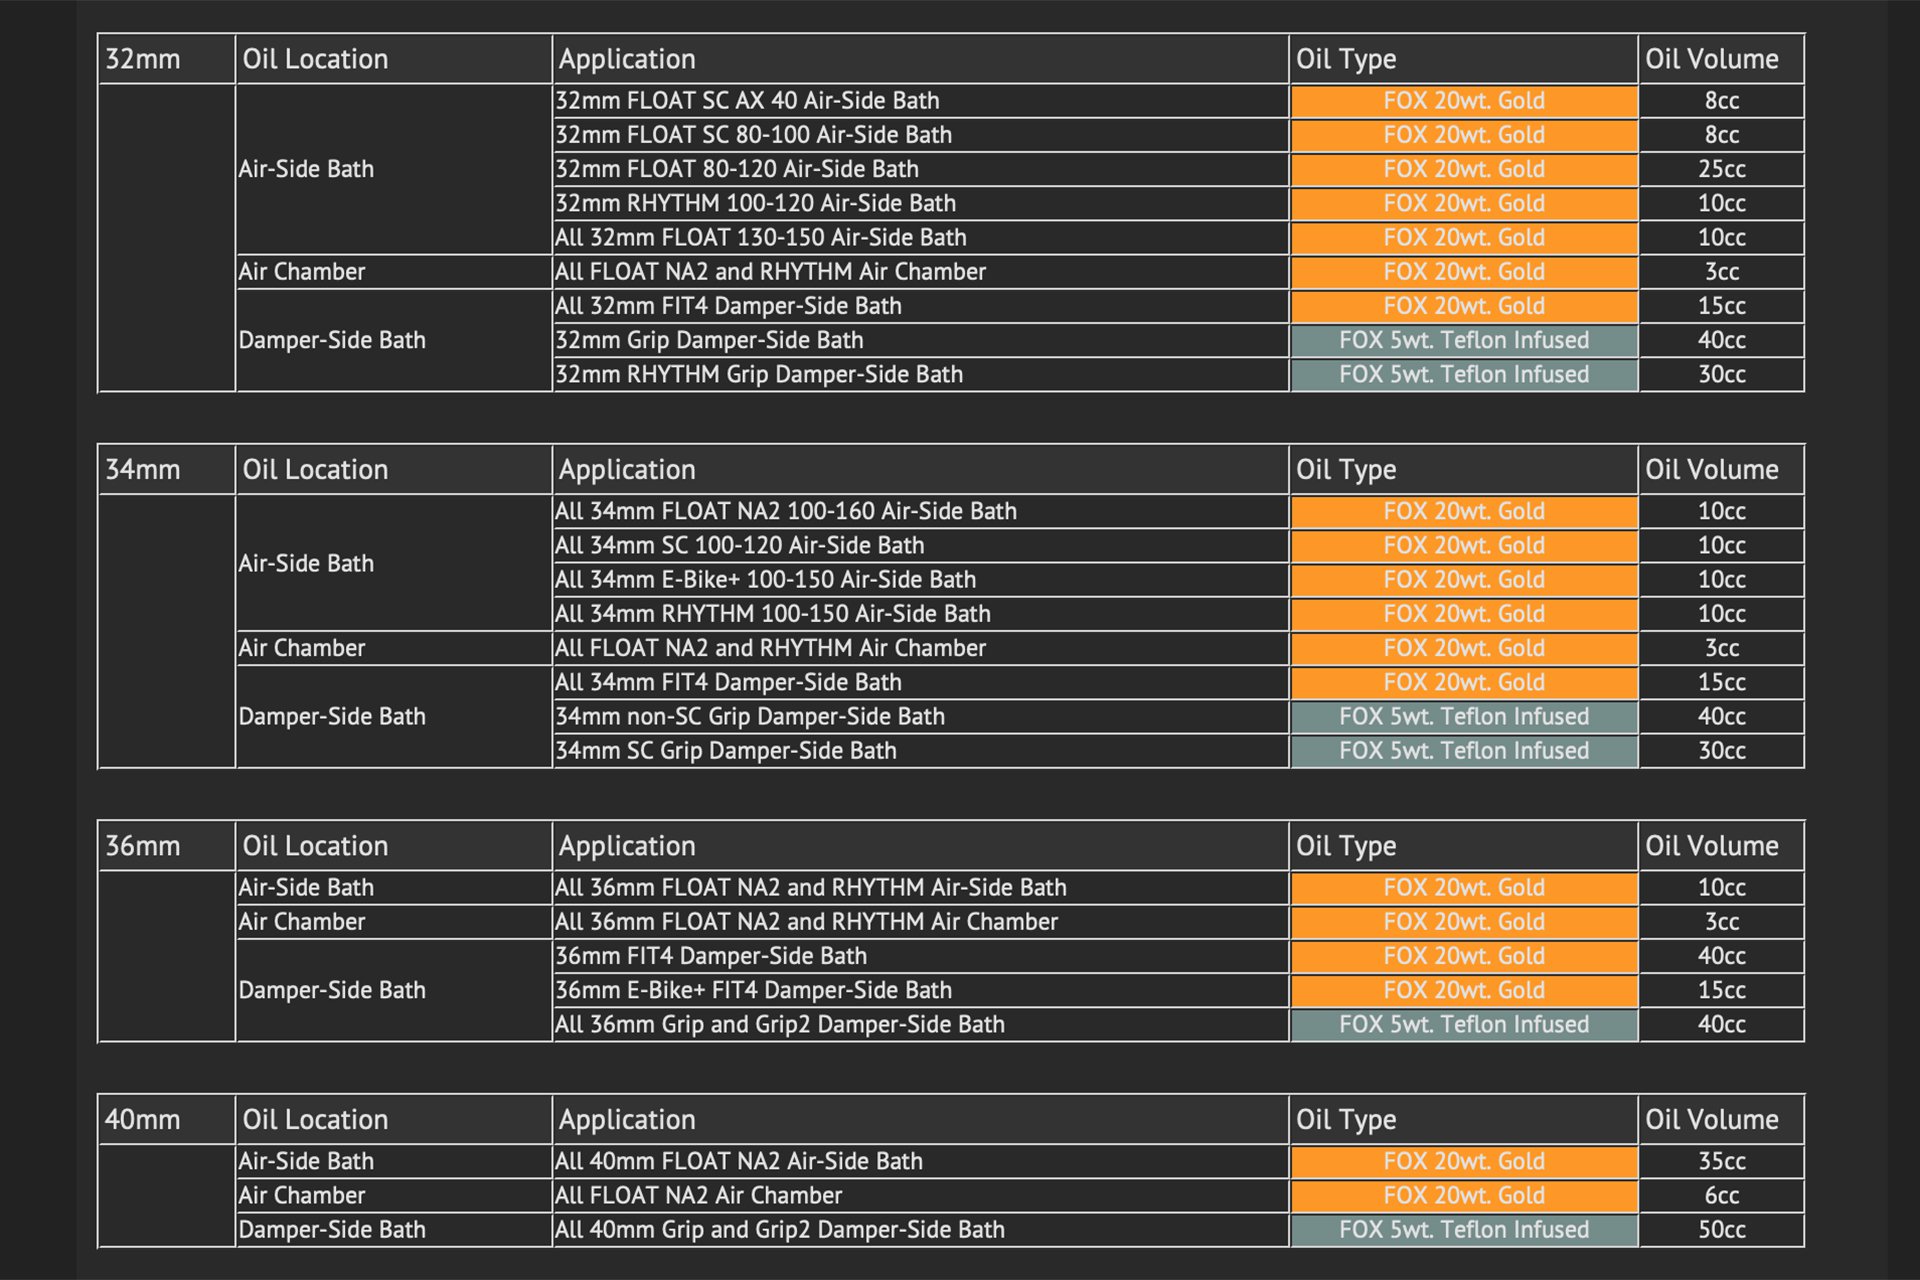
The correct volume and fluid weight/type are very important.
New crush washers at the bottom of each leg should be used and then both bottom nuts should be torqued to 5.7 Nm (50in lbs).
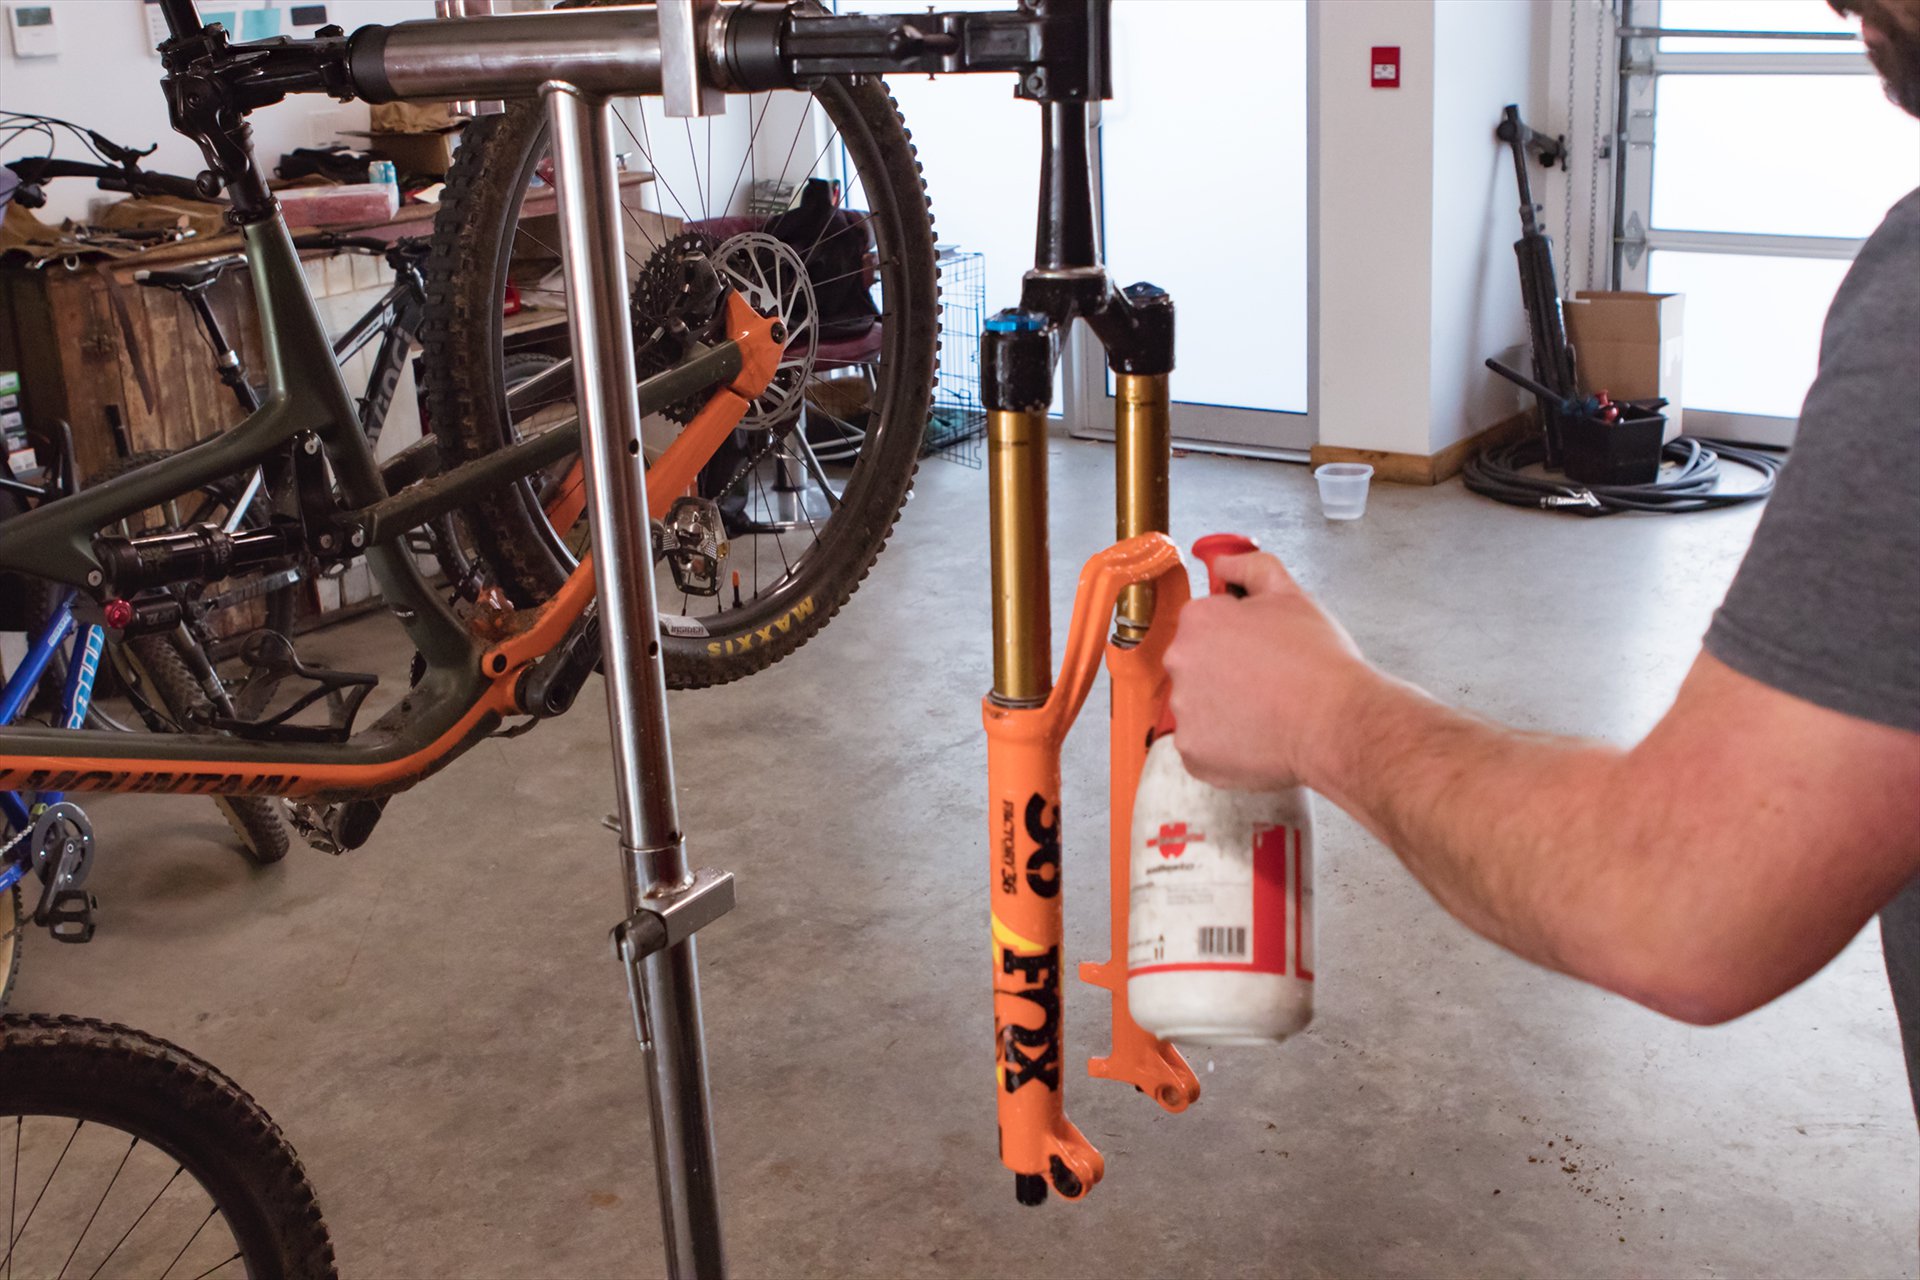
Spray everything down with a mild degreaser once everything is back together.
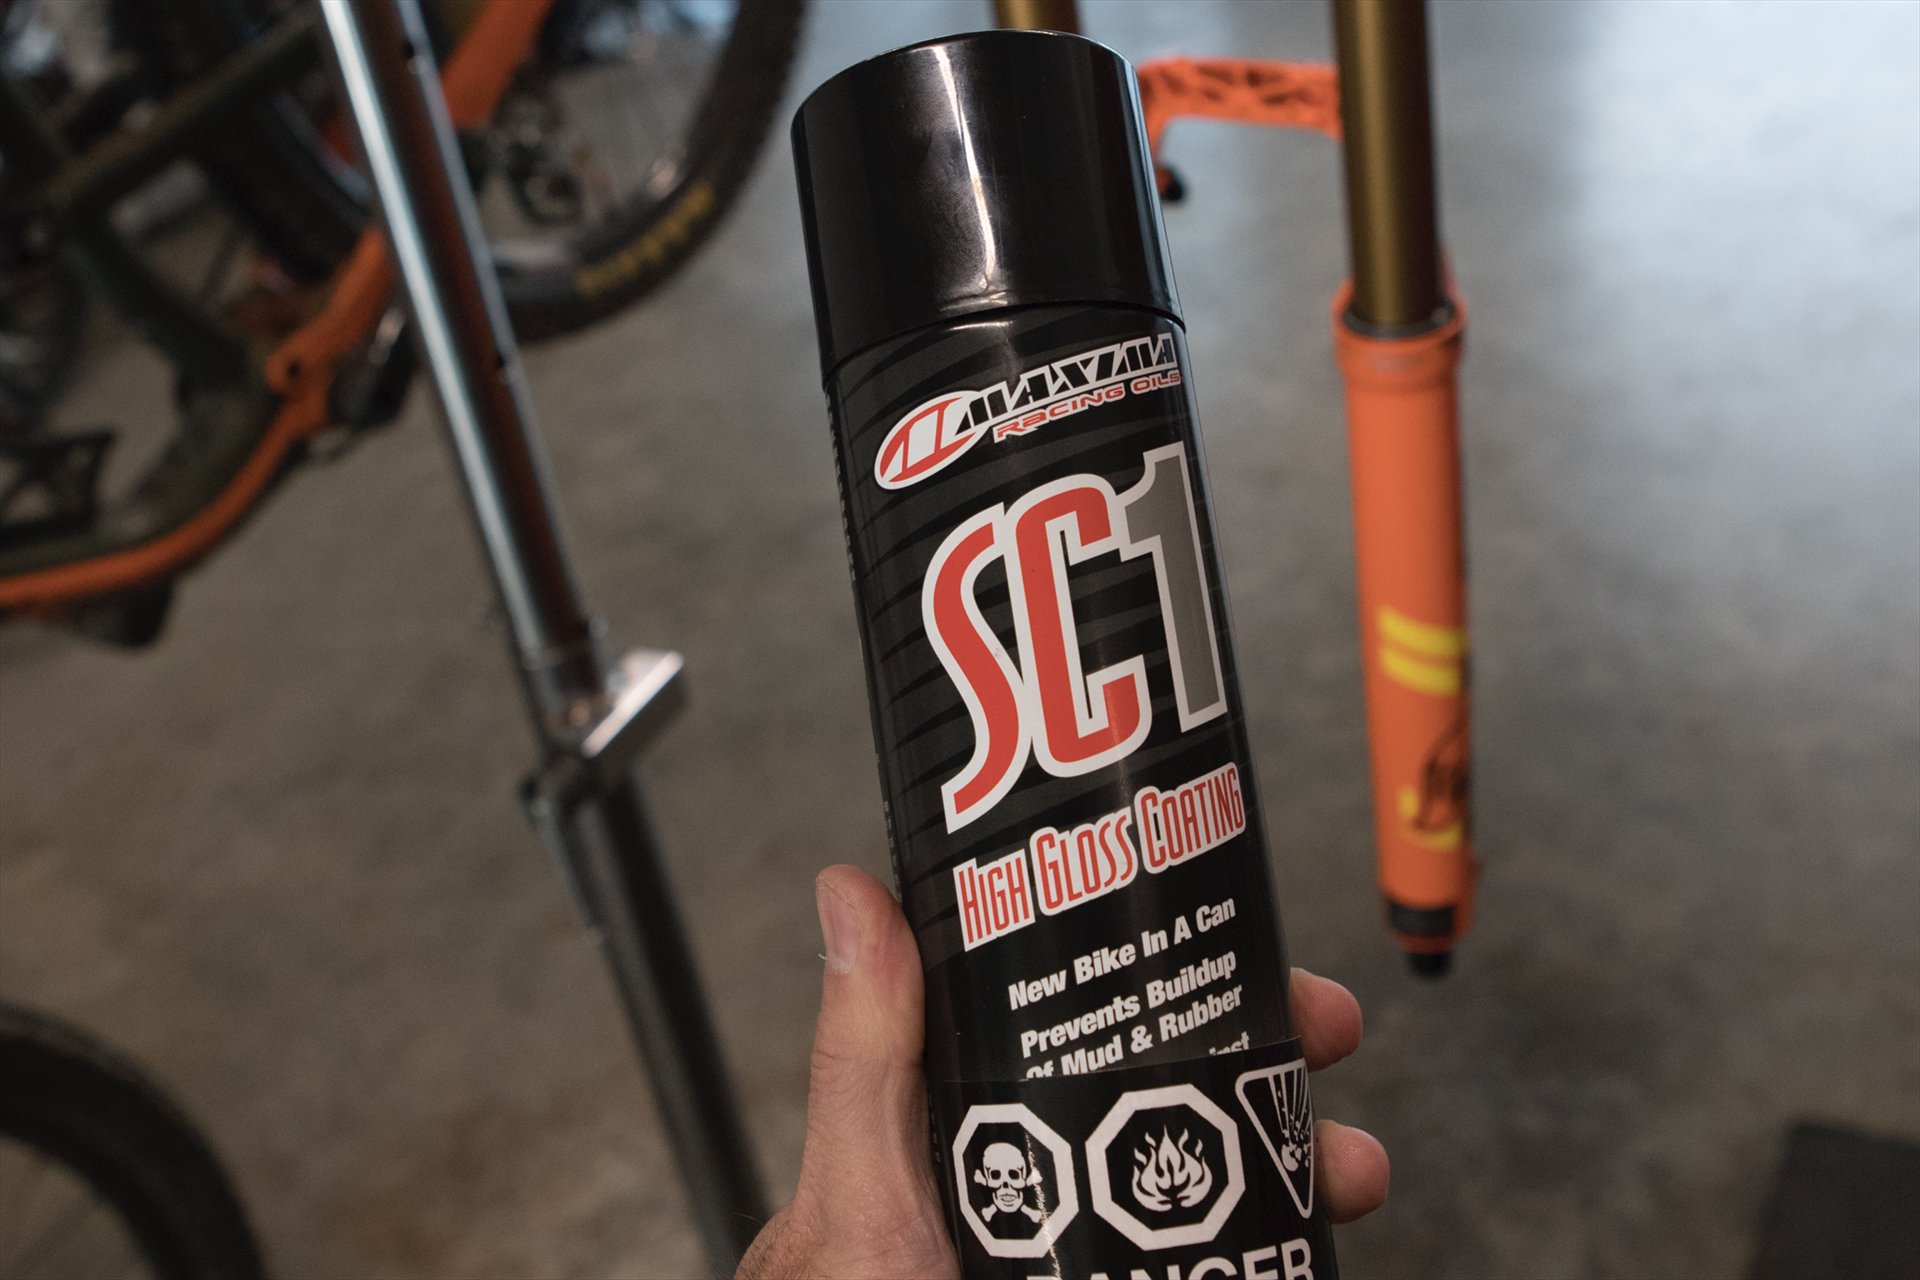
After the clean, Jeff uses Maxima SC1. This is a silicone-based polish that makes your bike looks shiny and new and also makes it tougher for mud to stick.
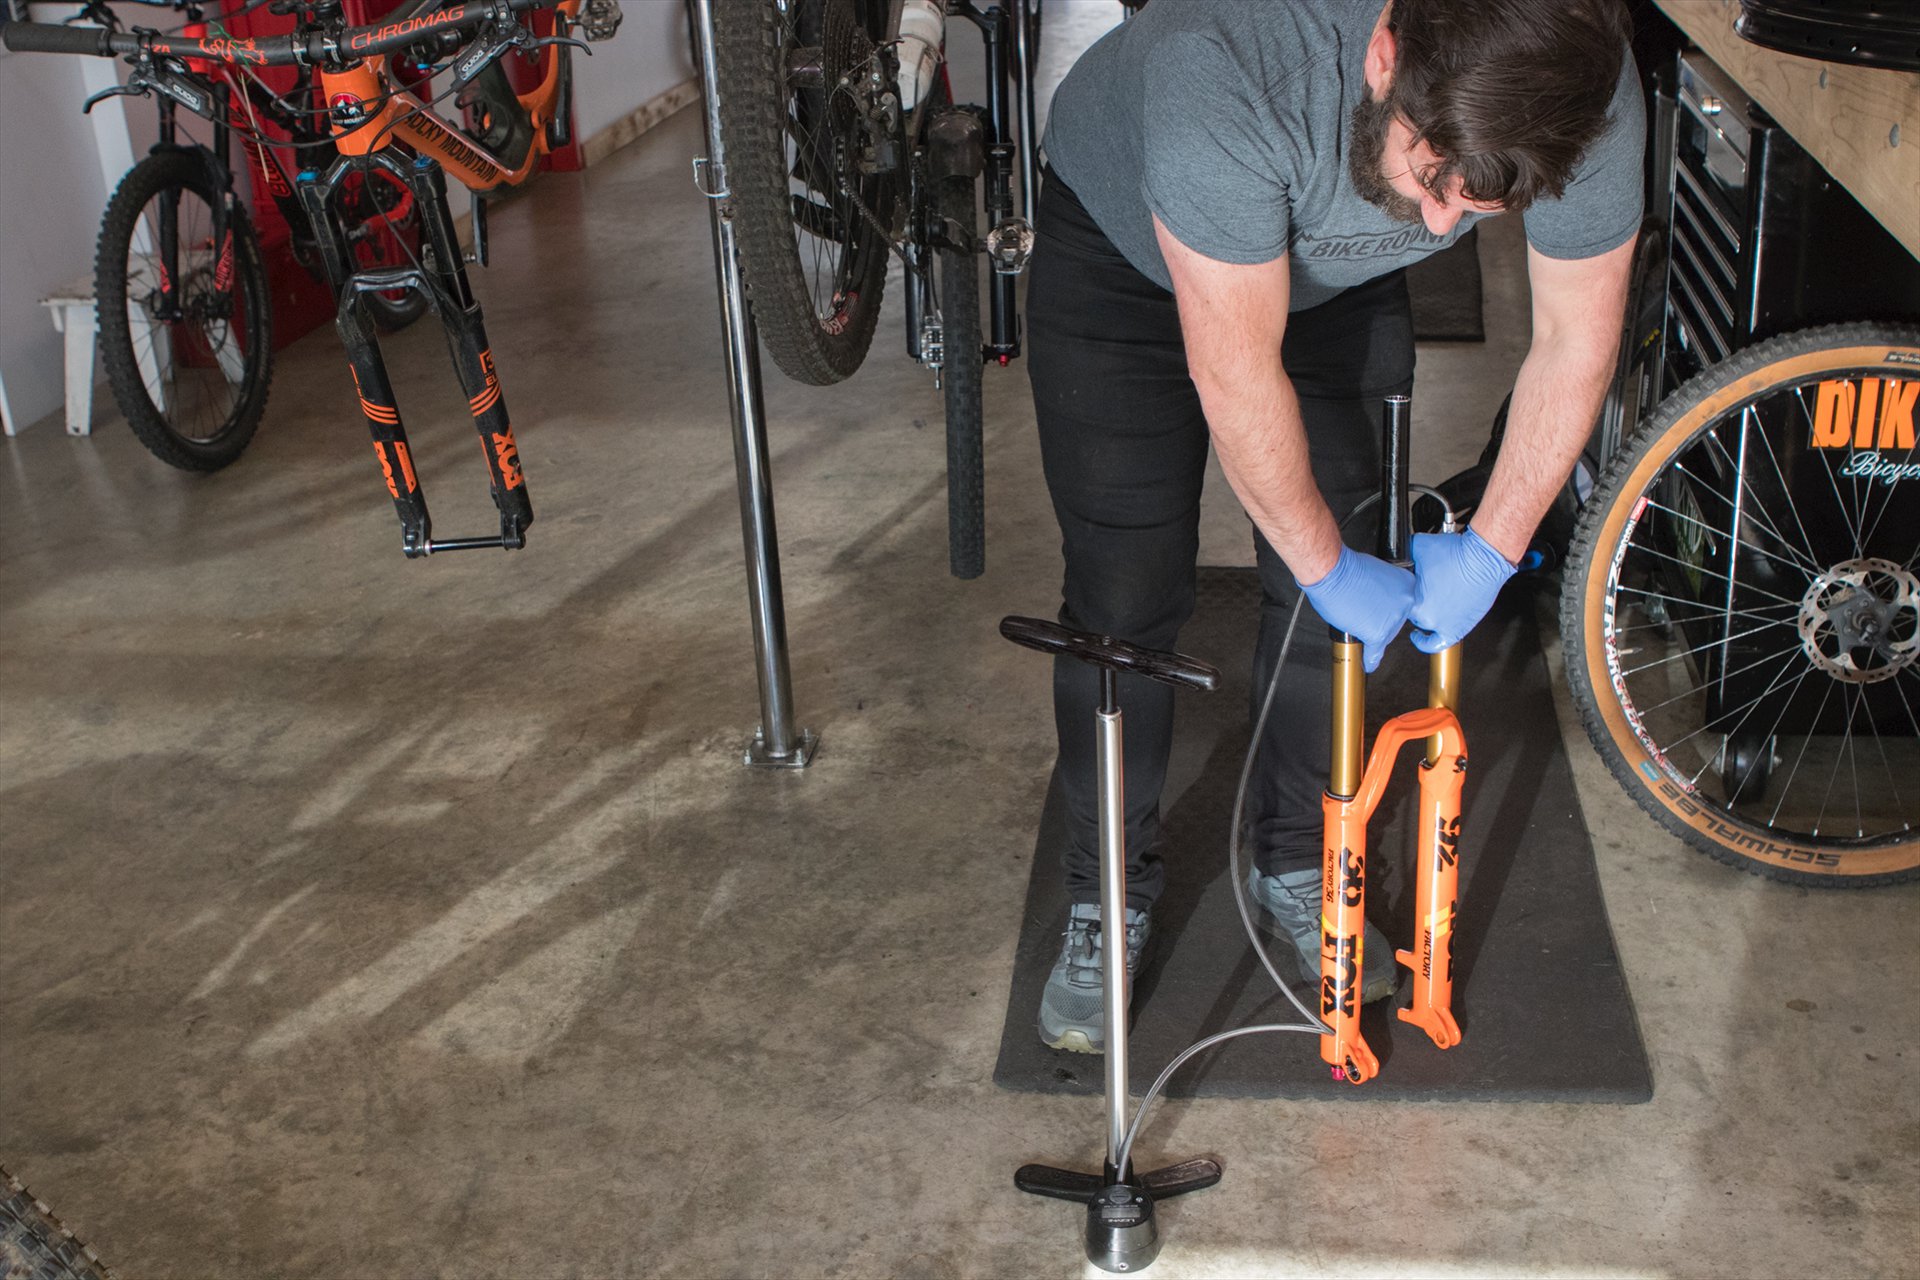
Remember to equalize the pressure in your fork by cycling it into its travel slightly.
And now your fork is shiny and new. After watching Jeff do this I'm confident I could manage it myself, possibly without flooding the basement. Consult support documents for your fork to determine the maintenance interval and take your climate and savage riding habits into consideration. This guide from Vorsprung provides some general guidelines and encourages you to do it yourself. Happy wrenching.


Comments
Andy Eunson
4 years, 5 months ago
I know that in the past both Vorsprung and Suspension Works do record settings. I took the air spring apart in my 36 about a month ago. Indeed there was enough slickoleum type grease that I could have saved it in a small jar for several future overhauls.
Reply
Shinook
4 years, 5 months ago
This is apparently fairly typical for Fox and RS at the moment, along with insufficient bath oil.
As a matter of practice, I drop the lowers and pull the air spring on every fork I buy when it shows up. It seems like everything is either under or over lubricated.
Reply
Peabobryson
4 years, 5 months ago
yep. I reccomend customers ride 20 hours, break in the seals and then do a basic service
Reply
Brad_xyz
4 years, 5 months ago
A few questions / comments:
Is mixing Gold 20wt with 5wt Telfon infused damper bath oil on the damper side a good idea? I know Gold 20wt is a lot better lubricant for the wiper seals but my concern is that it will eventually migrate and mix with the 5wt Telfon infused damper bath oil. As long as these play nicely together (don't form some weird emulsion or something) I'm sure its fine, but since this oil can also work its way into the damper itself on the Grip 2 (since its not a completely sealed damper) that kind of bothers my OCD :) I debated that myself the last time I did mine and ended up just using the 5wt Telfon exclusively on the damper side.
I didn't see you mention putting a little (3ml?) of 20 wt on top of the air shaft seal head (from the top cap side) as I think Fox recommends. I know some people object to this as they have concerns it could eventually get caught in the negative air chamber (which I still don't see a problem with unless you put more than 3 ml in). Was this a purposeful omission? I find it makes my fork extra buttery for a longer period of time.
Where do you get replacement crush washers without also buying the wiper seals?
Reply
Cam McRae
4 years, 5 months ago
Great questions for Jeff - aside from the Torque specs. I just double checked those and they appear accurate based on this link.
Reply
Brad_xyz
4 years, 5 months ago
Interesting. I'm wondering if the damper side bottom nut torque spec you referenced is for an older Fox 36 (2011?). I found two other fairly recent Fox videos both with different damper torque specs:
The Fox 36 NA2 (2018) video at:
https://www.ridefox.com/fox17/help.php?m=bike&id=845
Lists a whopping 16.9 Nm for the damper side bottom nut but I believe this is not a Grip 2 damper.
The '2019 Grip 2' damper video at:
https://www.ridefox.com/fox17/help.php?m=bike&id=947
Lists 9 Nm for the damper side bottom nut for a Grip 2 damper on a Fox 36 or Fox 40.
Strangely they don't seem to have an updated full lower leg service video or instructions for the 2019+ Fox 36 Grip 2 (or an updated overall torque spec such as the one you linked to).
That all being said, I doubt that the 5.7 Nm spec would cause any issues if used on both sides.
Reply
Cambo
4 years, 5 months ago
Hey Brad, I’ve encountered these discrepancies on the torque between various videos. I phoned fox and they mentioned they had 8NM on the damper side foot nut of the 36. That seems like a compromise that works pretty well. At higher torques like 16NM I’ve found the damper rod to sometimes spin before reaching full torque.
Reply
Brad_xyz
4 years, 5 months ago
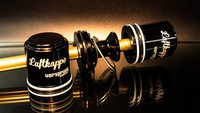
Yeah that 8-9 Nm feels like the sweet spot for the damper side foot nut to me as well. I was in there last night swapping out my airshaft (I'm changing out the Luftkappe I currently have for a DSD Runt to see if I like what that does better) and I can't imagine going to 16/17 Nm and 5.7 Nm feels a little light.
EDIT: I found a second Fox Grip 2 service video that also says 9 Nm for the damper shaft foot nut so that will be my go to from now on:
https://www.ridefox.com/fox17/help.php?m=bike&id=988
Reply
Cambo
4 years, 5 months ago
As for comment 4, we get individual crush washers for damper and air spring legs from Fox / raceface. Any shop should be able to get those for you.
Reply
Peabobryson
4 years, 5 months ago
Secret it out
Reply
Peabobryson
4 years, 5 months ago
1; Not sure
2; I would be exclusive too
3; We dipped the air piston in gold before installation
4; Secret
Im so "OCD" i think it should be "CDO"
Thanks for your comments
Reply
[user profile deleted]
4 years, 5 months ago
This comment has been removed.
thaaad
4 years, 5 months ago
When I worked at OGC we had a shit loads of them. James @ Susworks most likely has them now.
Reply
pdxkid
4 years, 5 months ago
Keeping track of psi, compression and rebound settings before disassembly? Unheard of! The last few places I've taken my forks to don't do this, so when you get it out to the parking lot for the old bounce test, it feels like garbage.
Reply
Peabobryson
4 years, 5 months ago
Always! Consistency and repeatability is our game.
Reply
Please log in to leave a comment.