Teardown and Overhaul Procedure
Teardown - Shimano XTR M9100 Hubs
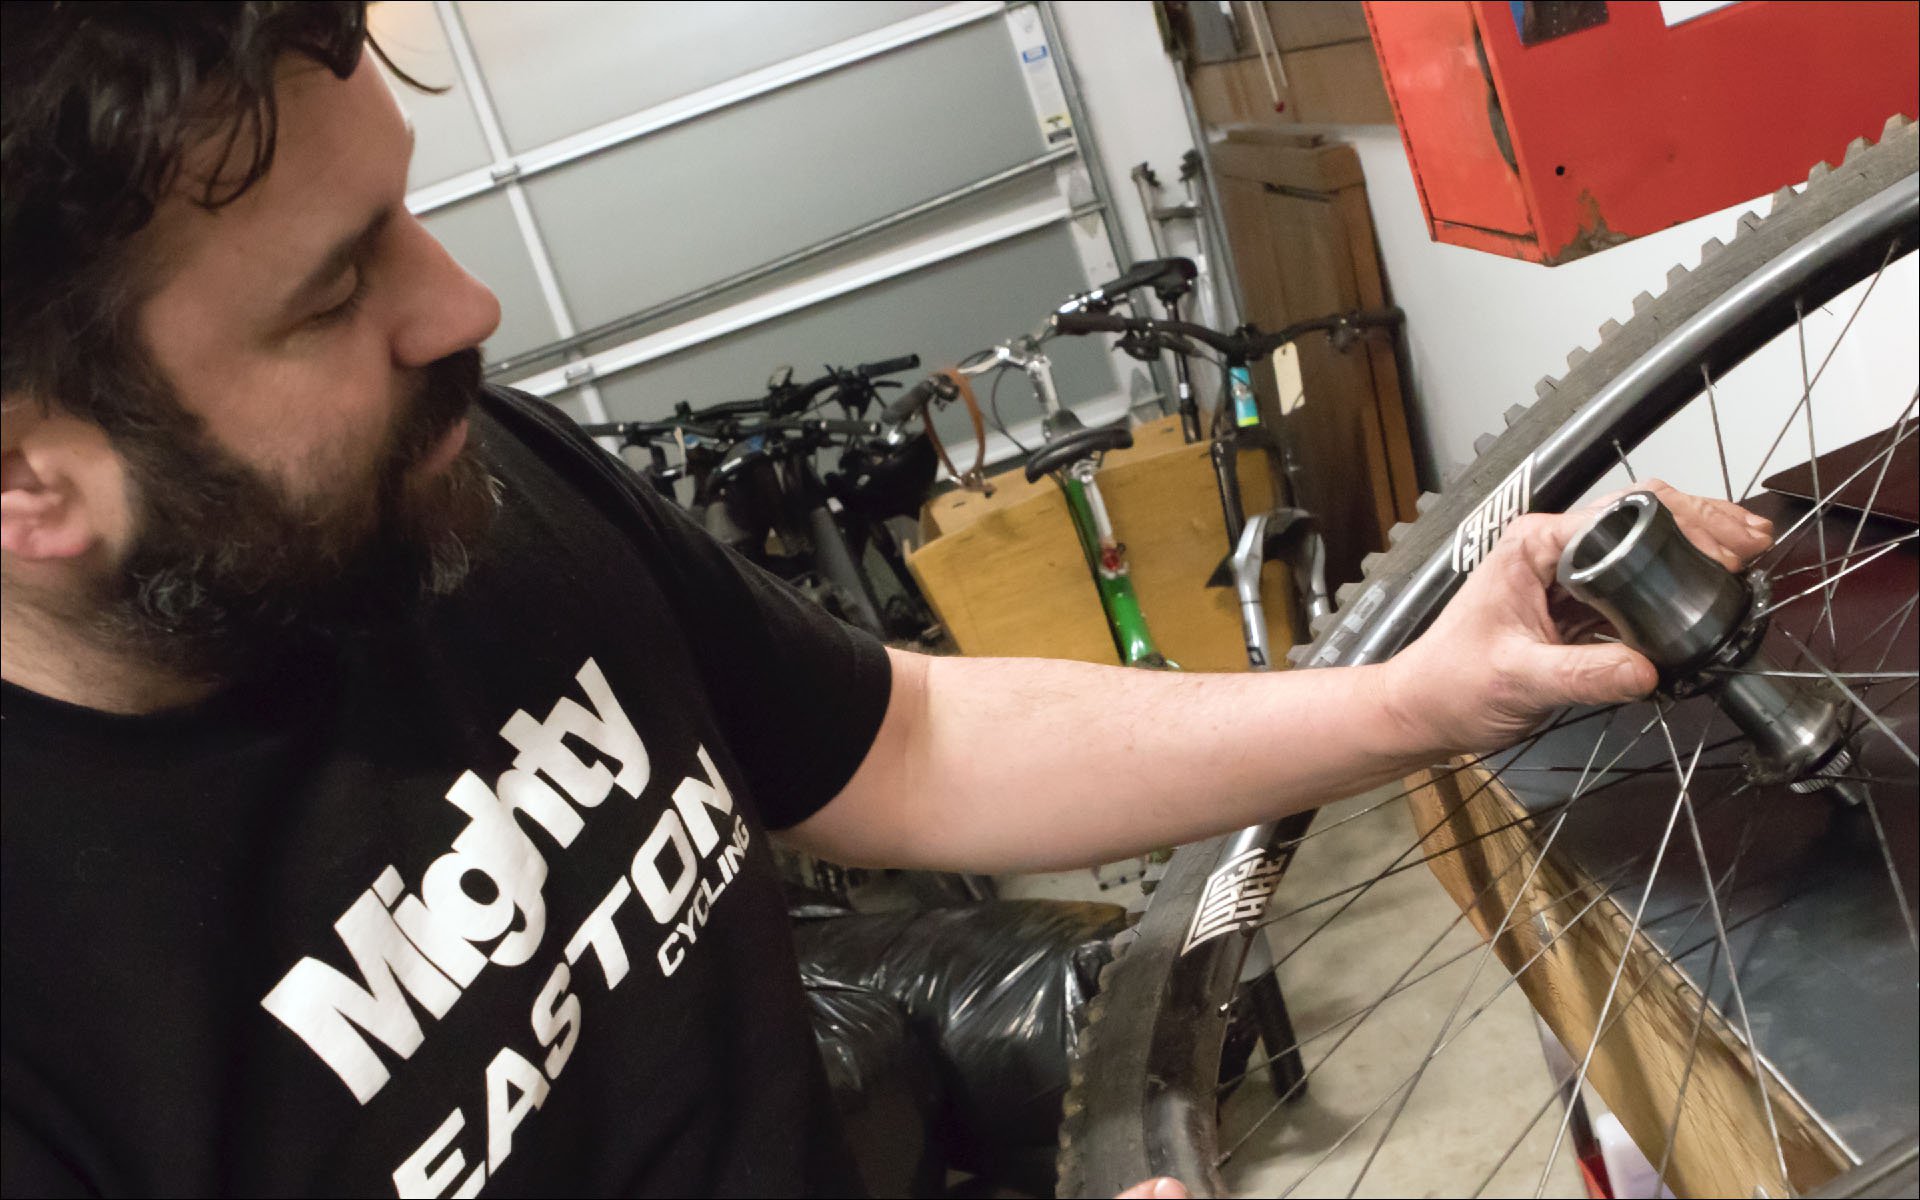
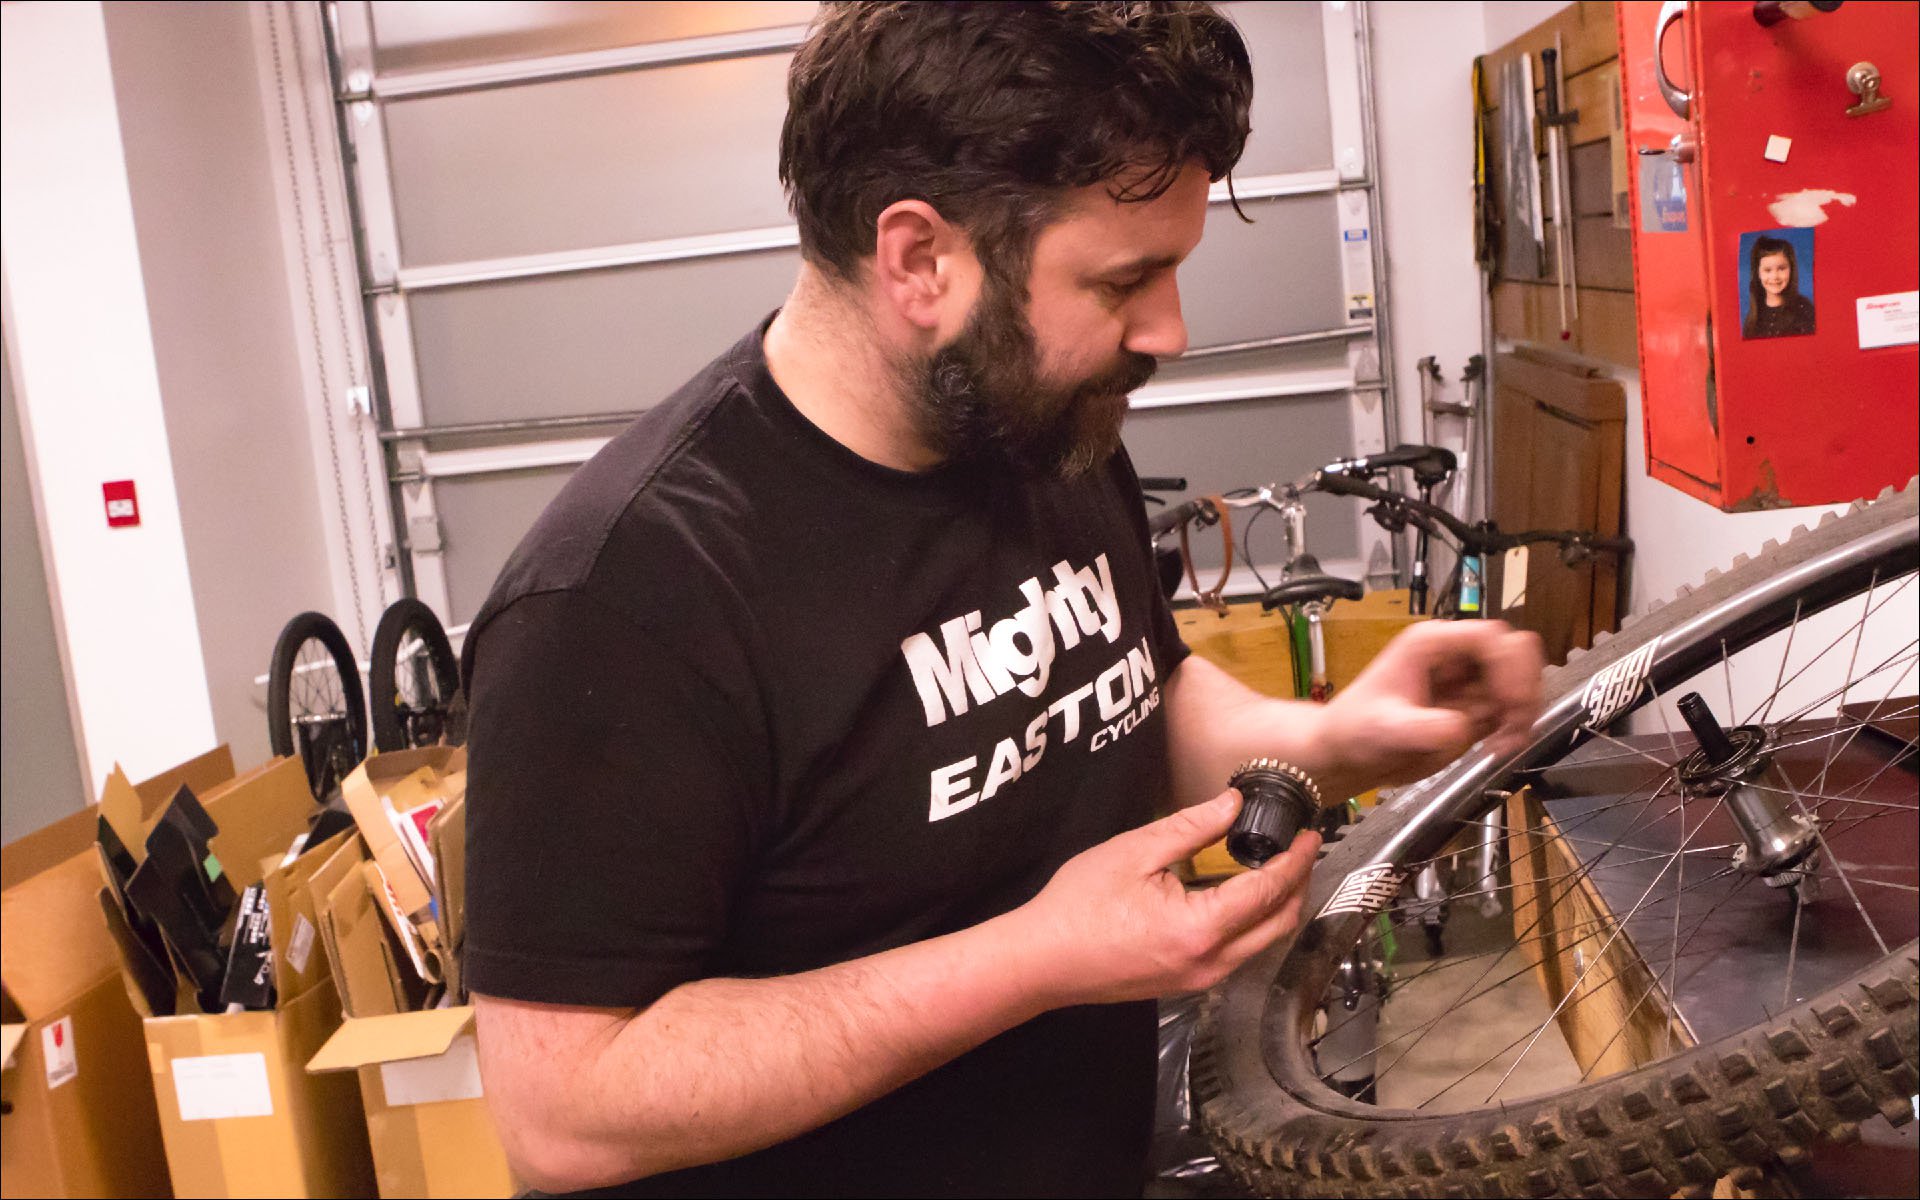
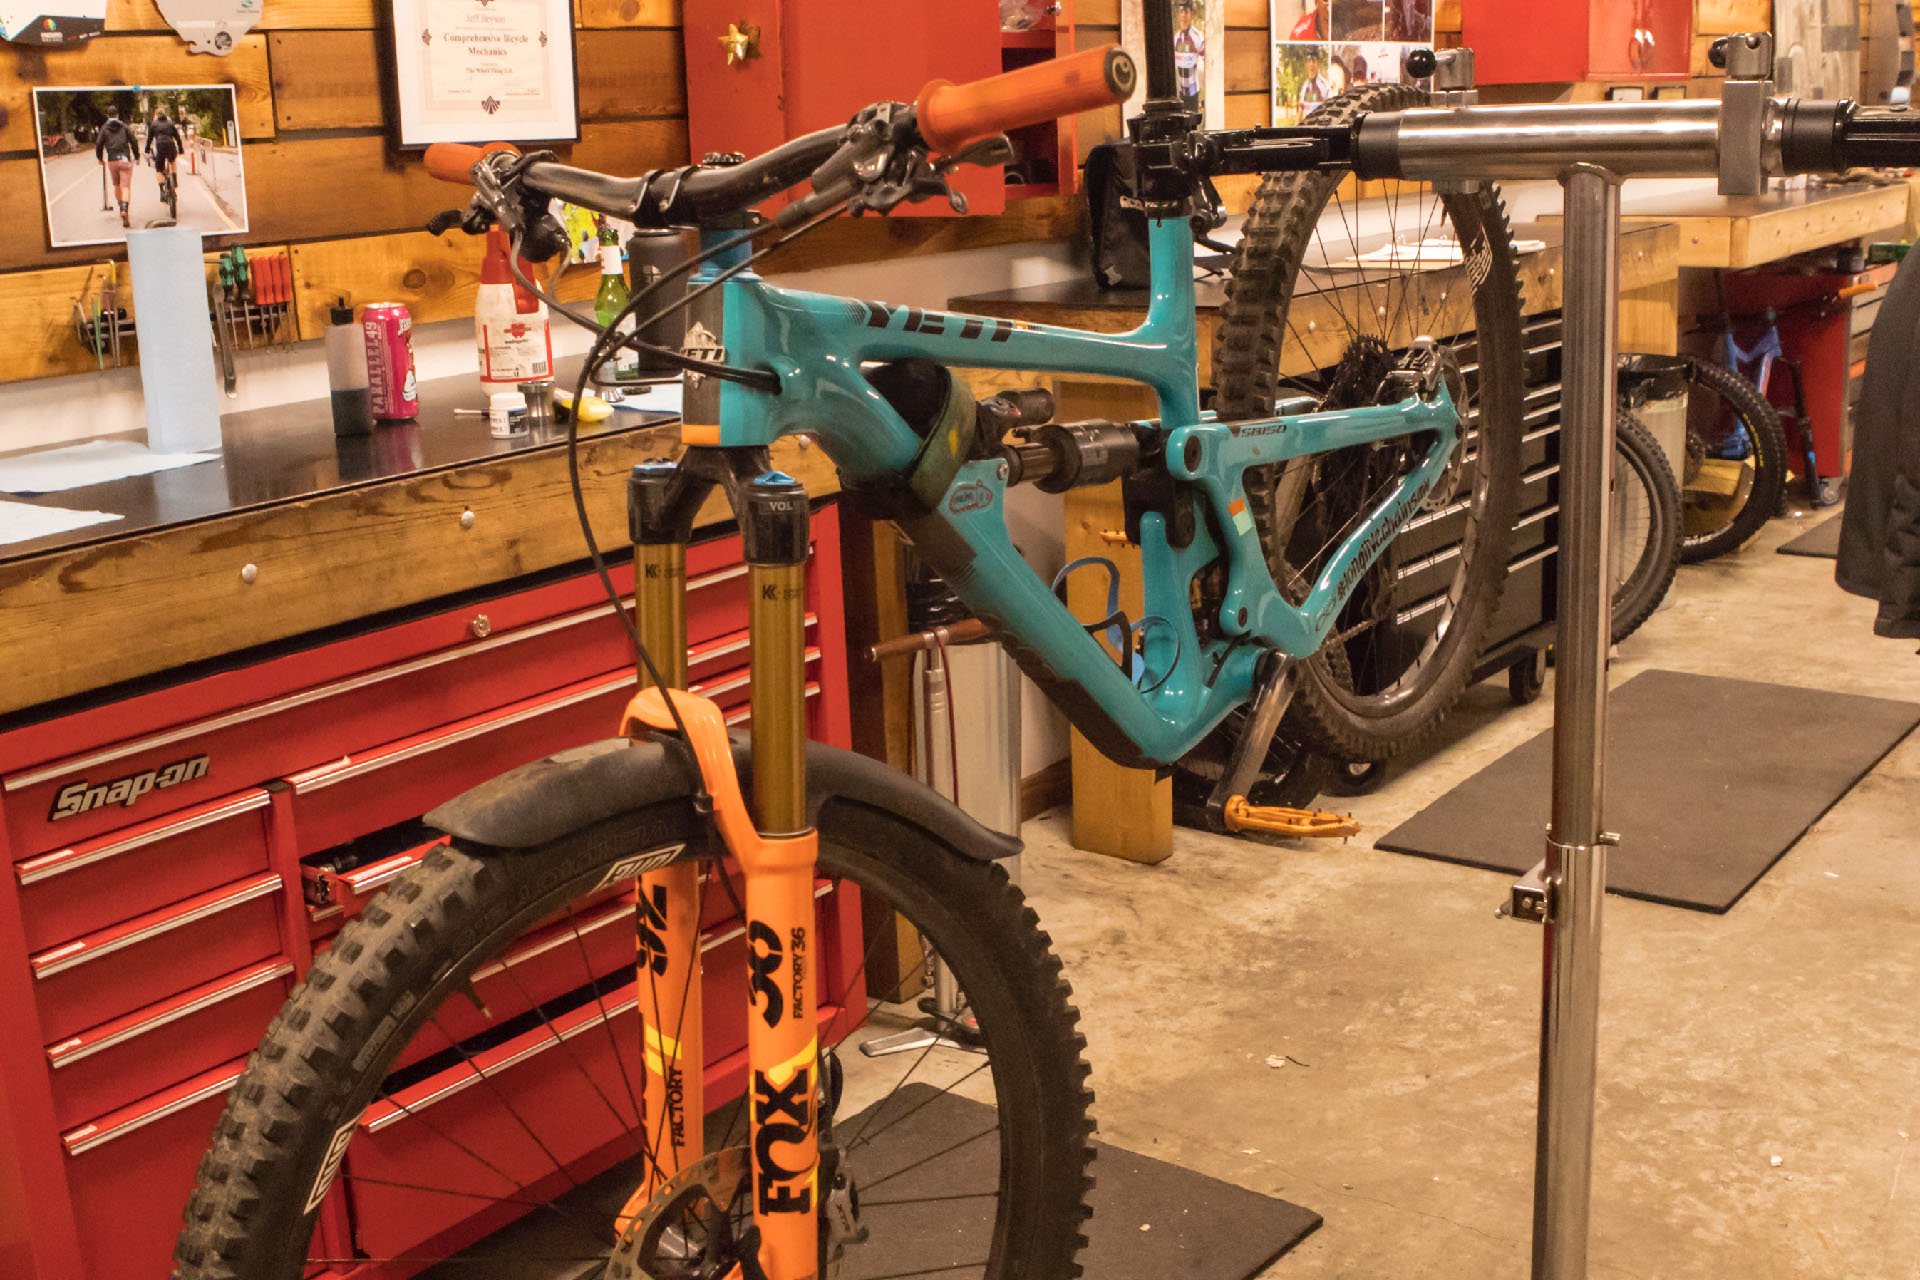
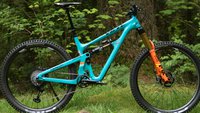
I wrote recently about rebuilding a bike for my sister-in-law, and how it made me realize how clean and straightforward many elements of modern bike maintenance are, with the obvious exceptions of hydraulics, electronics, and suspension. There are certainly bits I miss however, and one of them is the satisfaction of overhauling a set of cup and cone hubs. This got me thinking about the XTR M9100s on my Yeti SB150 and doing a teardown article with (surprise!) the incomparable Jeff Bryson of Wheelthing here in North Van.
This is an area I have experience with, but Jeff is the sort of mechanic who has travelled on theEWS circuit and wrenched for the Canadian team at World Championships. On top of that, I can take photos while he reveals the many tricks up his sleeves.
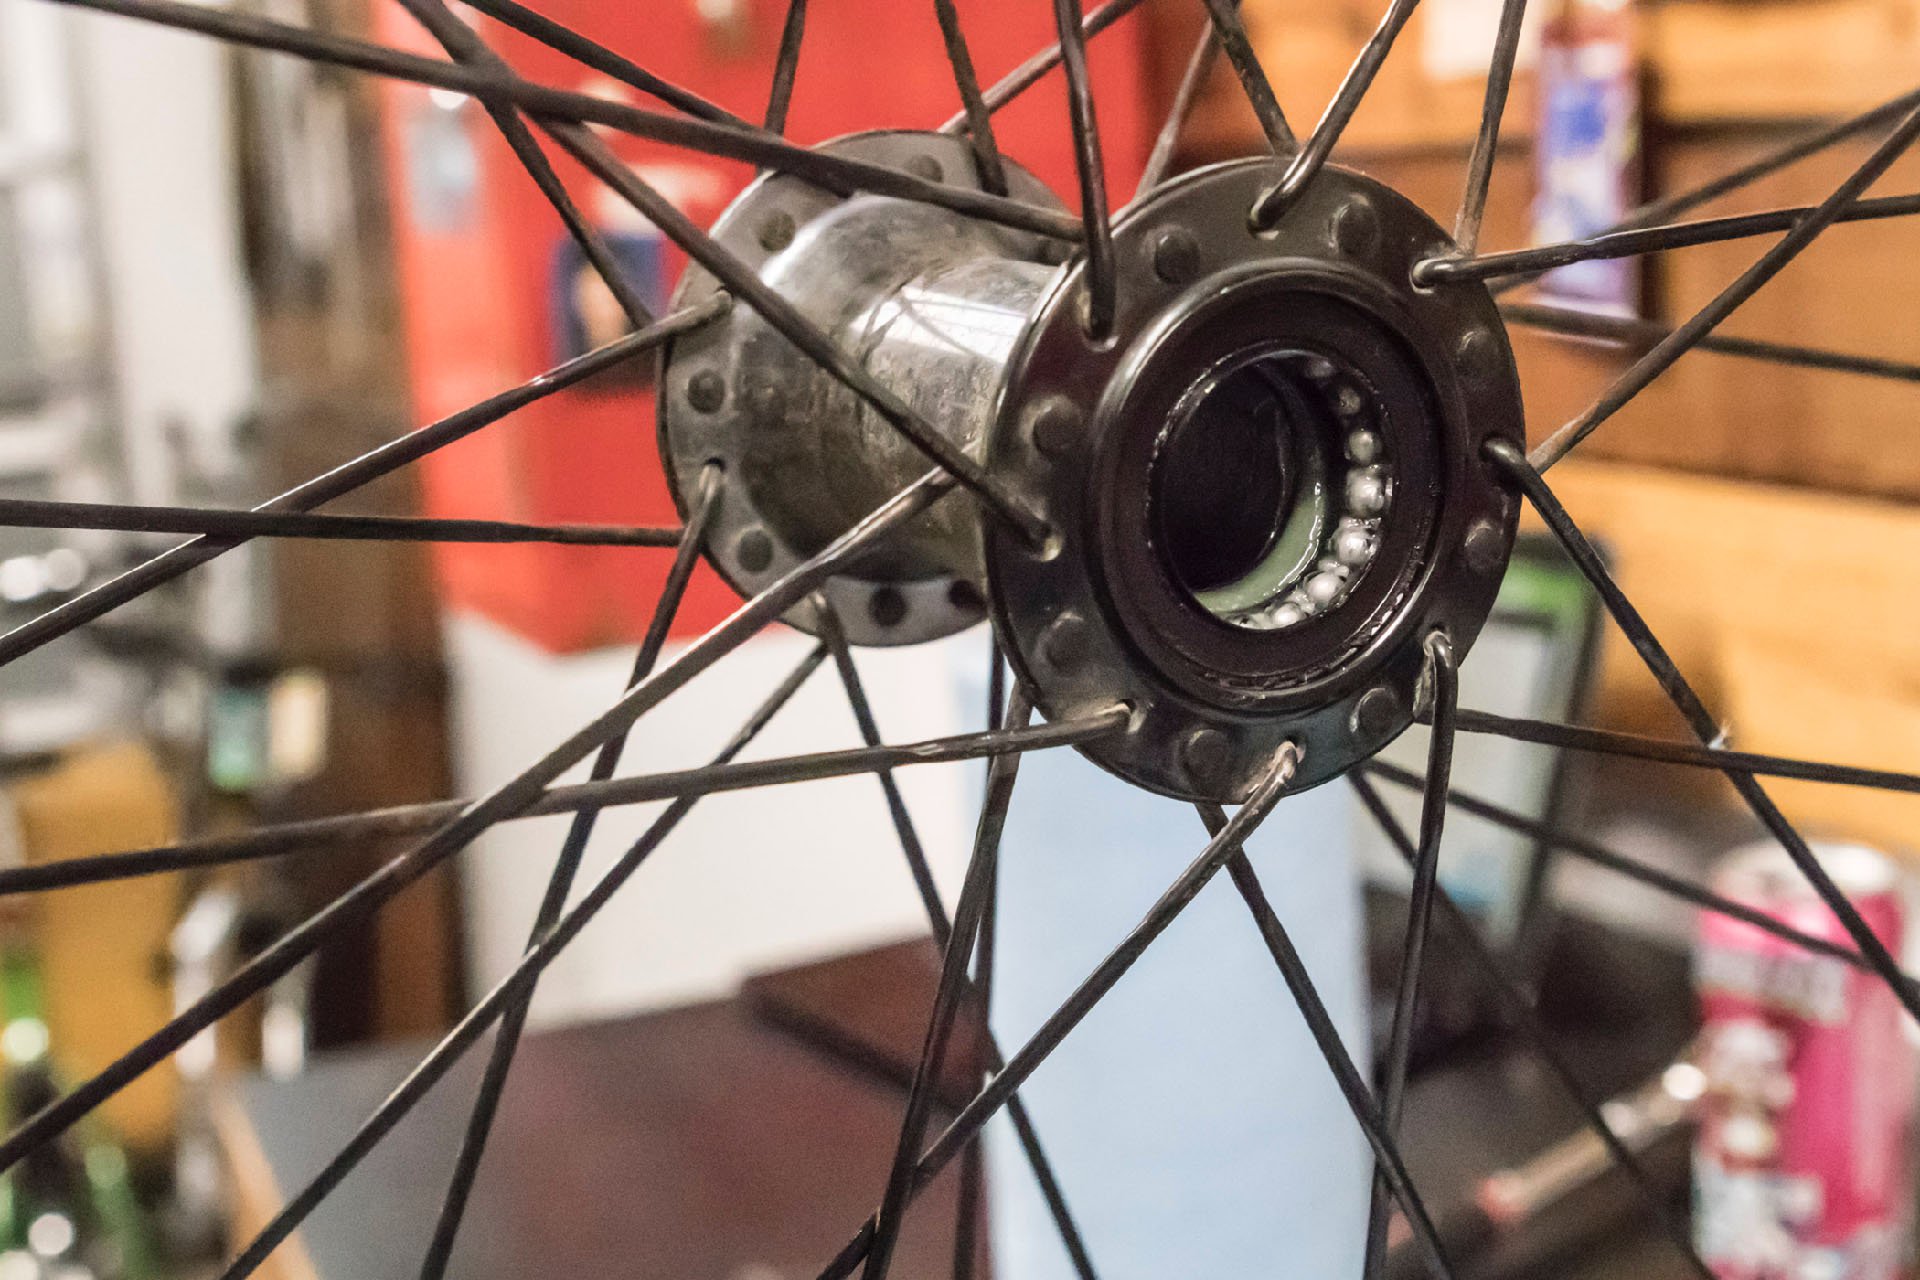
The grease in both hubs was starting to turn a little white, which is a sign of contamination, but it was clean and lubrication was still ample. Jeff told me that when this discolouration occurs the grease has begun to break down and loses sealing ability and heat resistance.
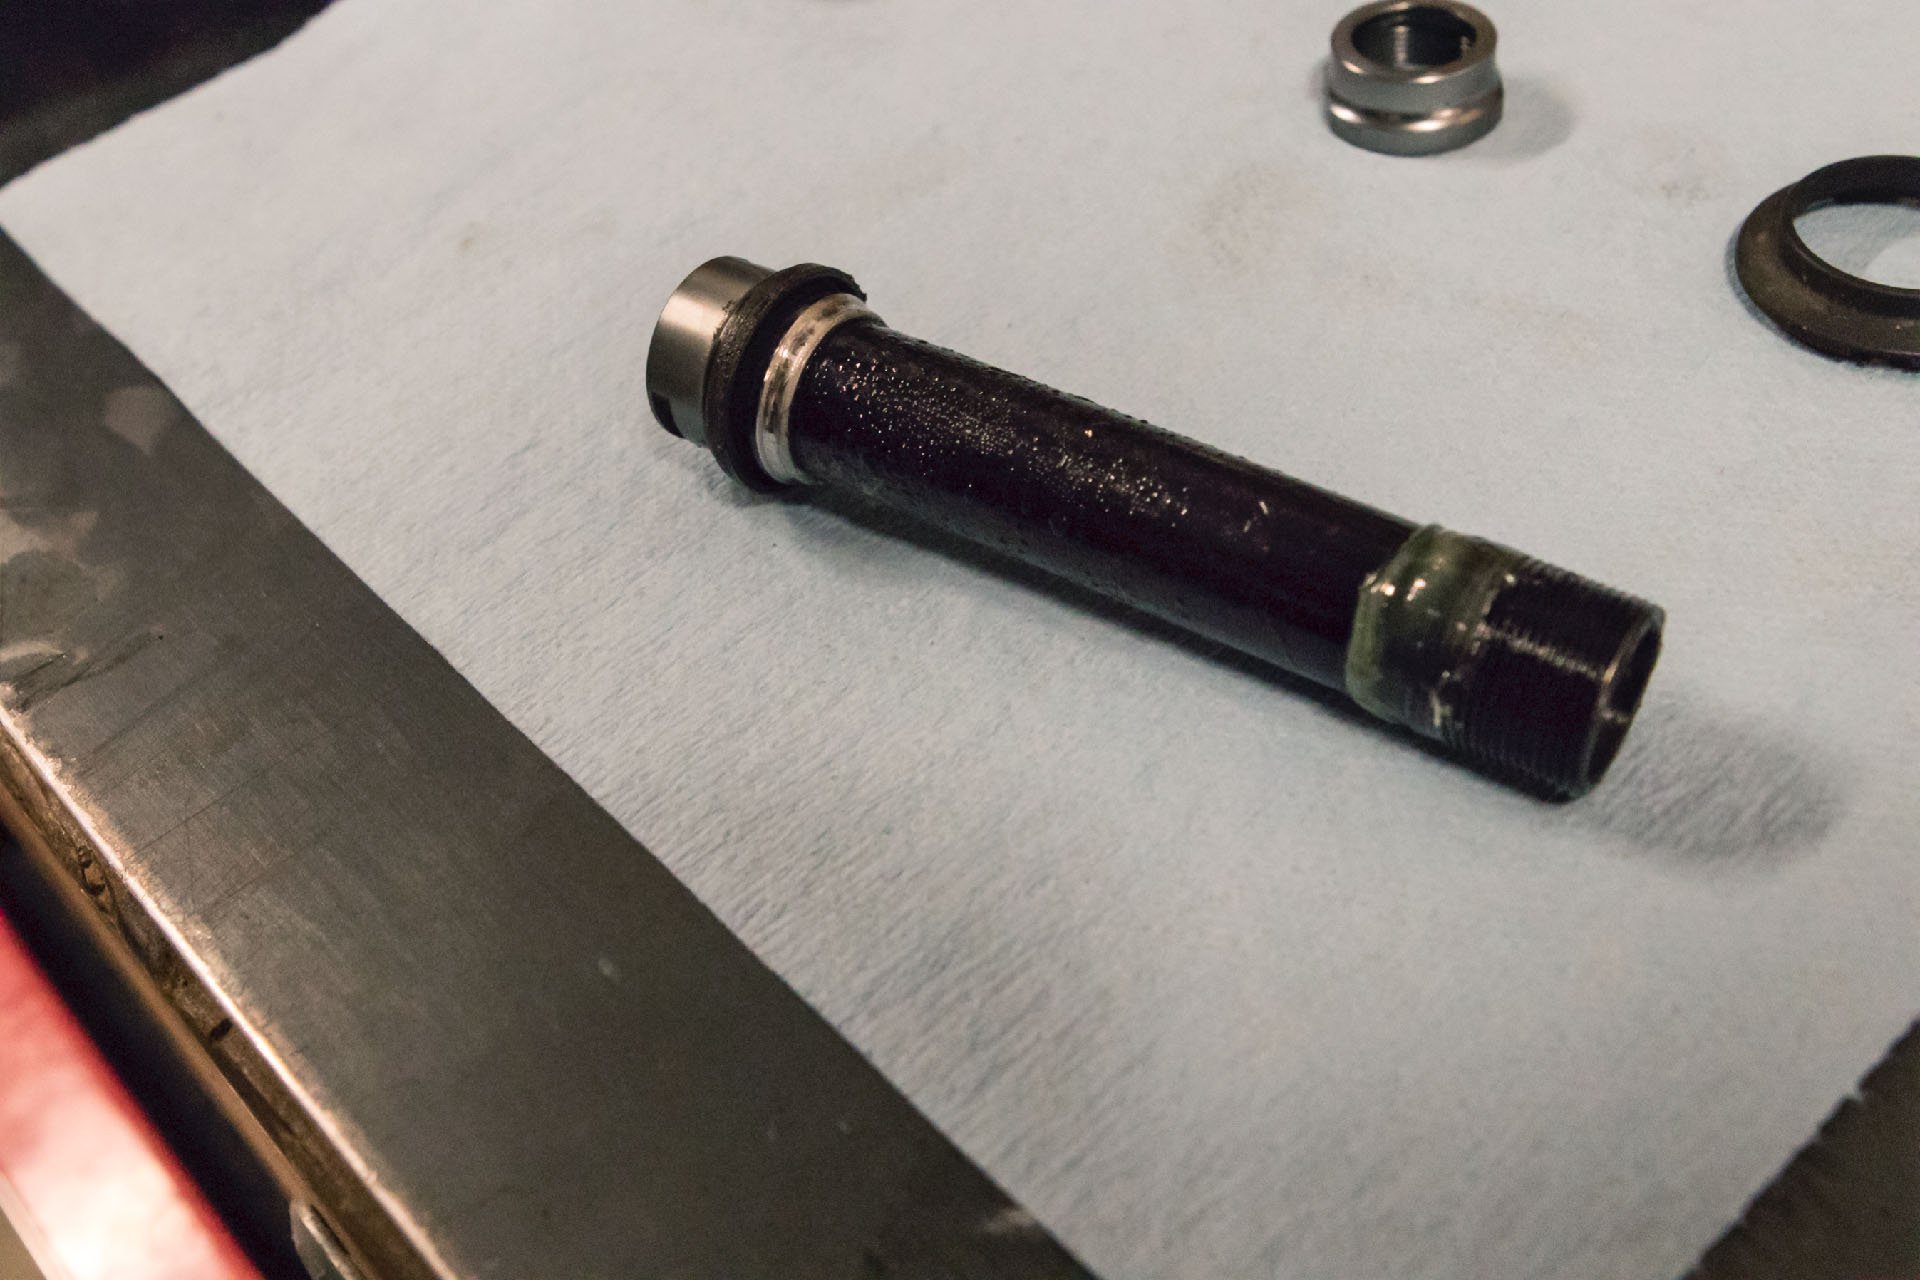
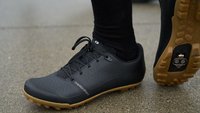
The cone is fixed on the left side of the front hub axle for simplicity.
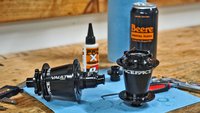
When I got in touch with Shimano about sourcing replacement bearings, which are caged in nylon rather than loose, they wanted to make sure I had all the right tools. They sent some cone wrenches (22mm for most of this job), a gratuitously pretty seal press, some made in Germany grease, some seal grease (who knew?) and of course the bearings needed. The Shimano tools are very nice, and the seal press works well, but nothing proprietary was needed to do the job. Another brand of cone wrenches will work just fine, and the padded blunt end of a crescent wrench or something similar would replace the press adequately if used carefully.* I'm not sure about the seal grease, but another high quality bearing grease could replace the Shimano lube.
*Nick Murdick from Shimano told me that it's quite easy to bend the metal spine inside this seal and almost impossible to straighten it once it's bent, so clearly the fancy tool is the best way to go.
The races are wearing in nicely and should get smoother over time, a benefit of cup and cone hubs that are appropriately maintained with quality parts.
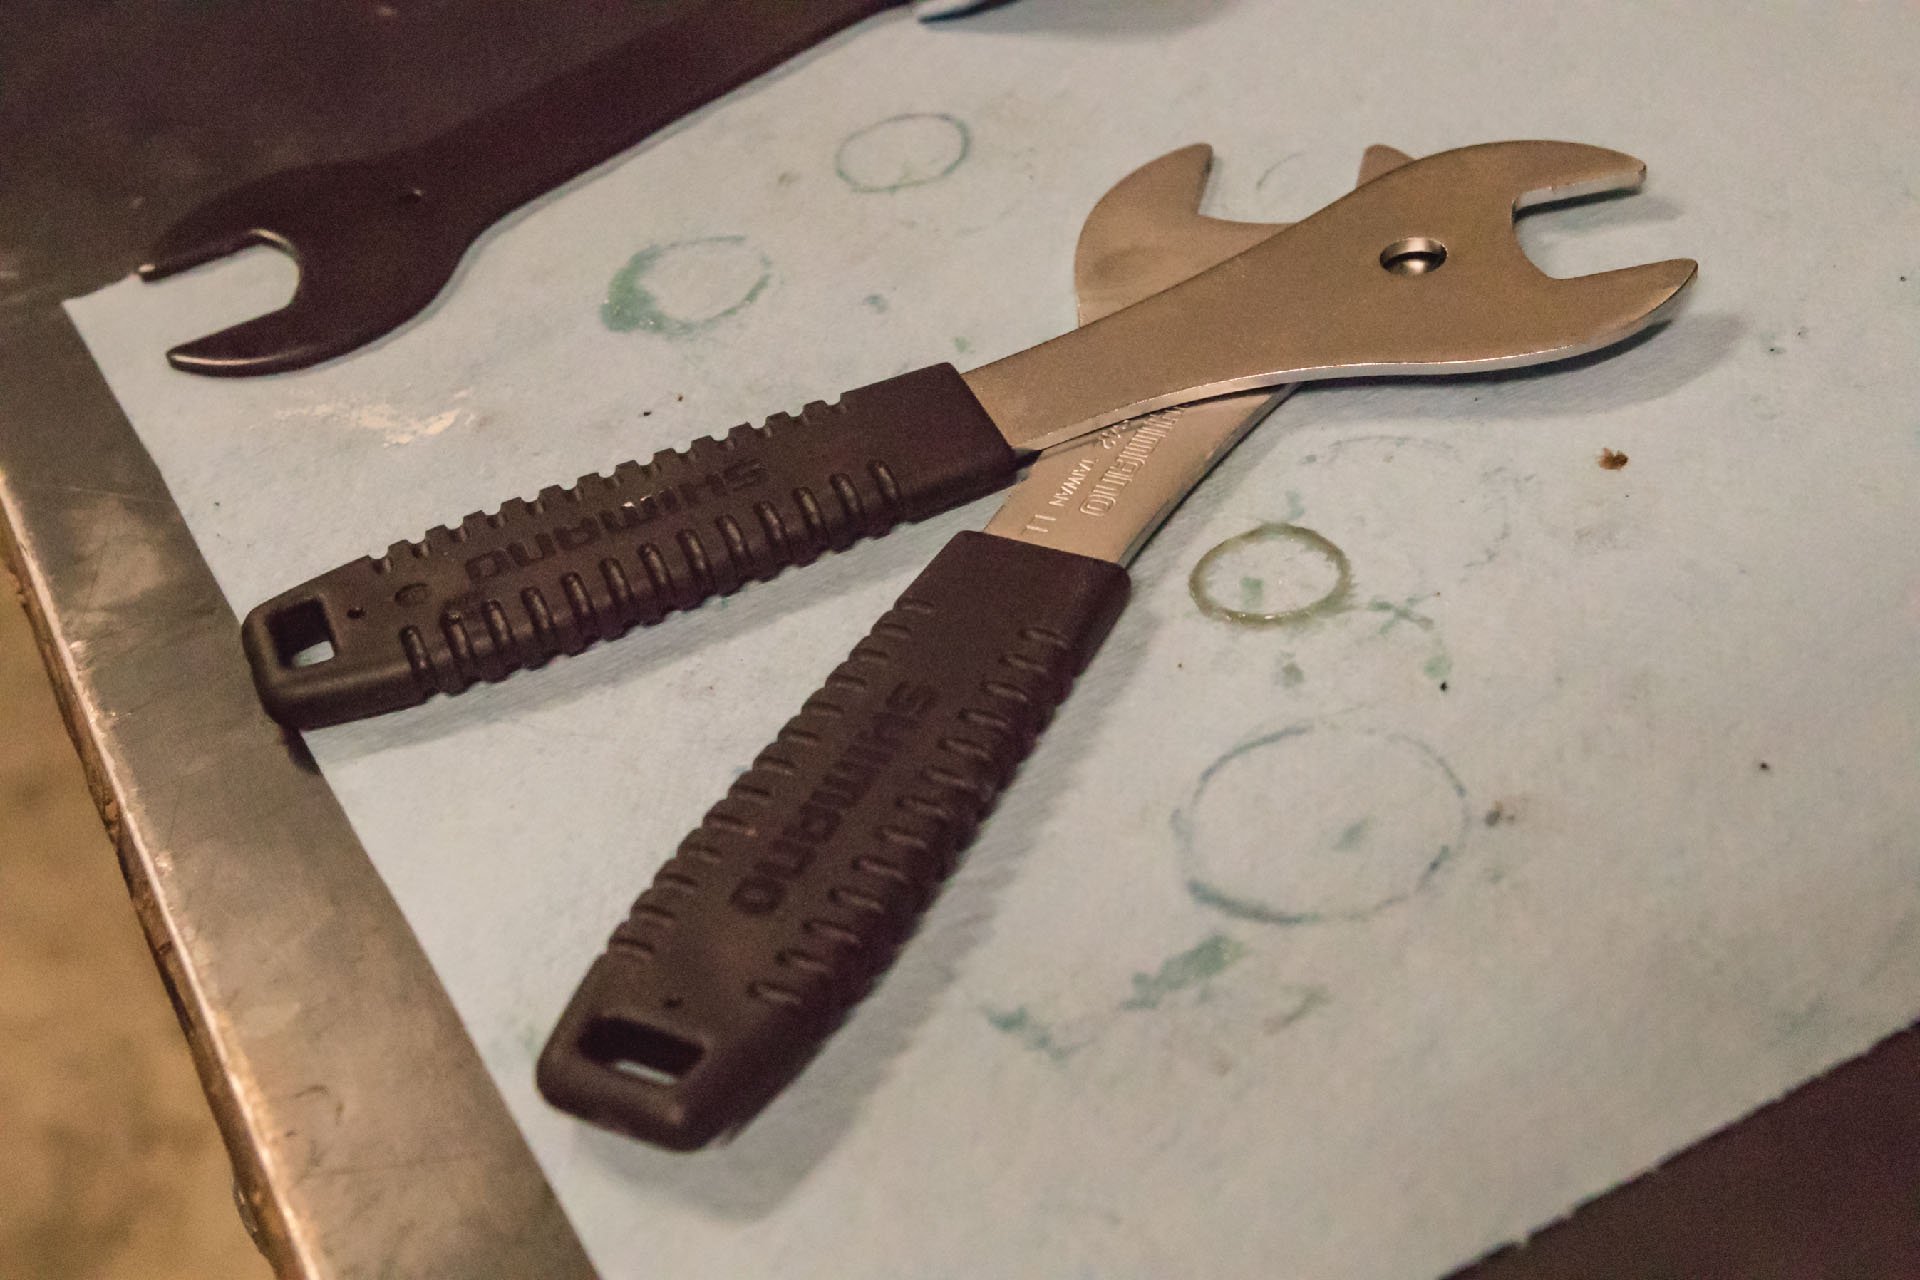
The 22mm cone wrenches required for the front hub were not in my tool collection. The juicy handles make these Shimano tools very nice to handle.
At first, when all of these tools were on the way and I discovered the balls were caged, I thought the biggest advantage of cup and cone hubs, as I see it, had been erased; the ability to get replacement bearings almost anywhere in the world. As it turns out this still holds true as you can either pop the old balls out of the carrier or simply install balls with no carrier at all but that may not be the best plan. Studies indicate that caged ball bearings actually reduce rolling resistance because the balls are never in contact with one another.
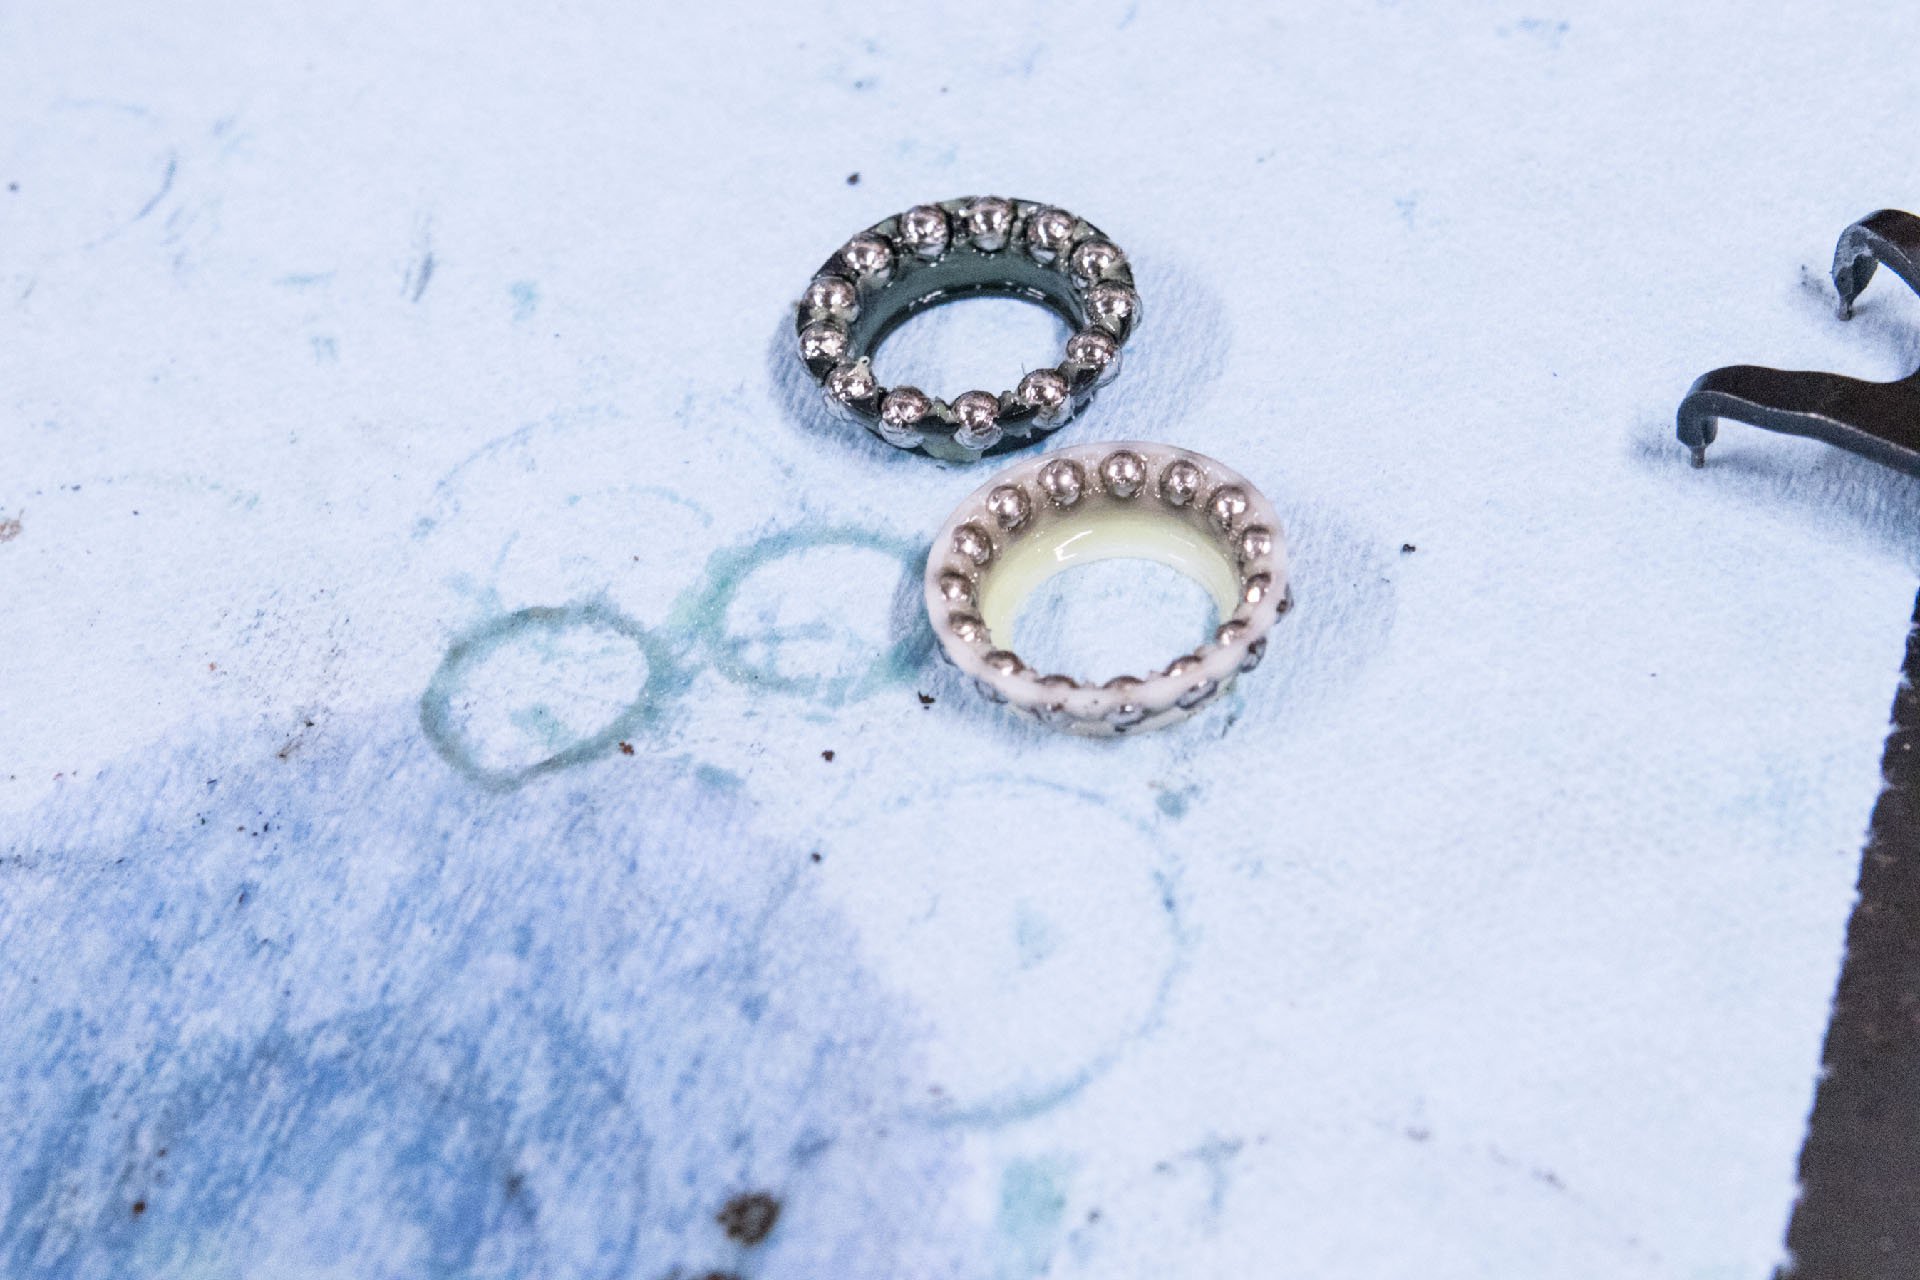
Both front and rear hubs use 5/32 ball bearings. 17 on the drive side and 15 on the disc side.
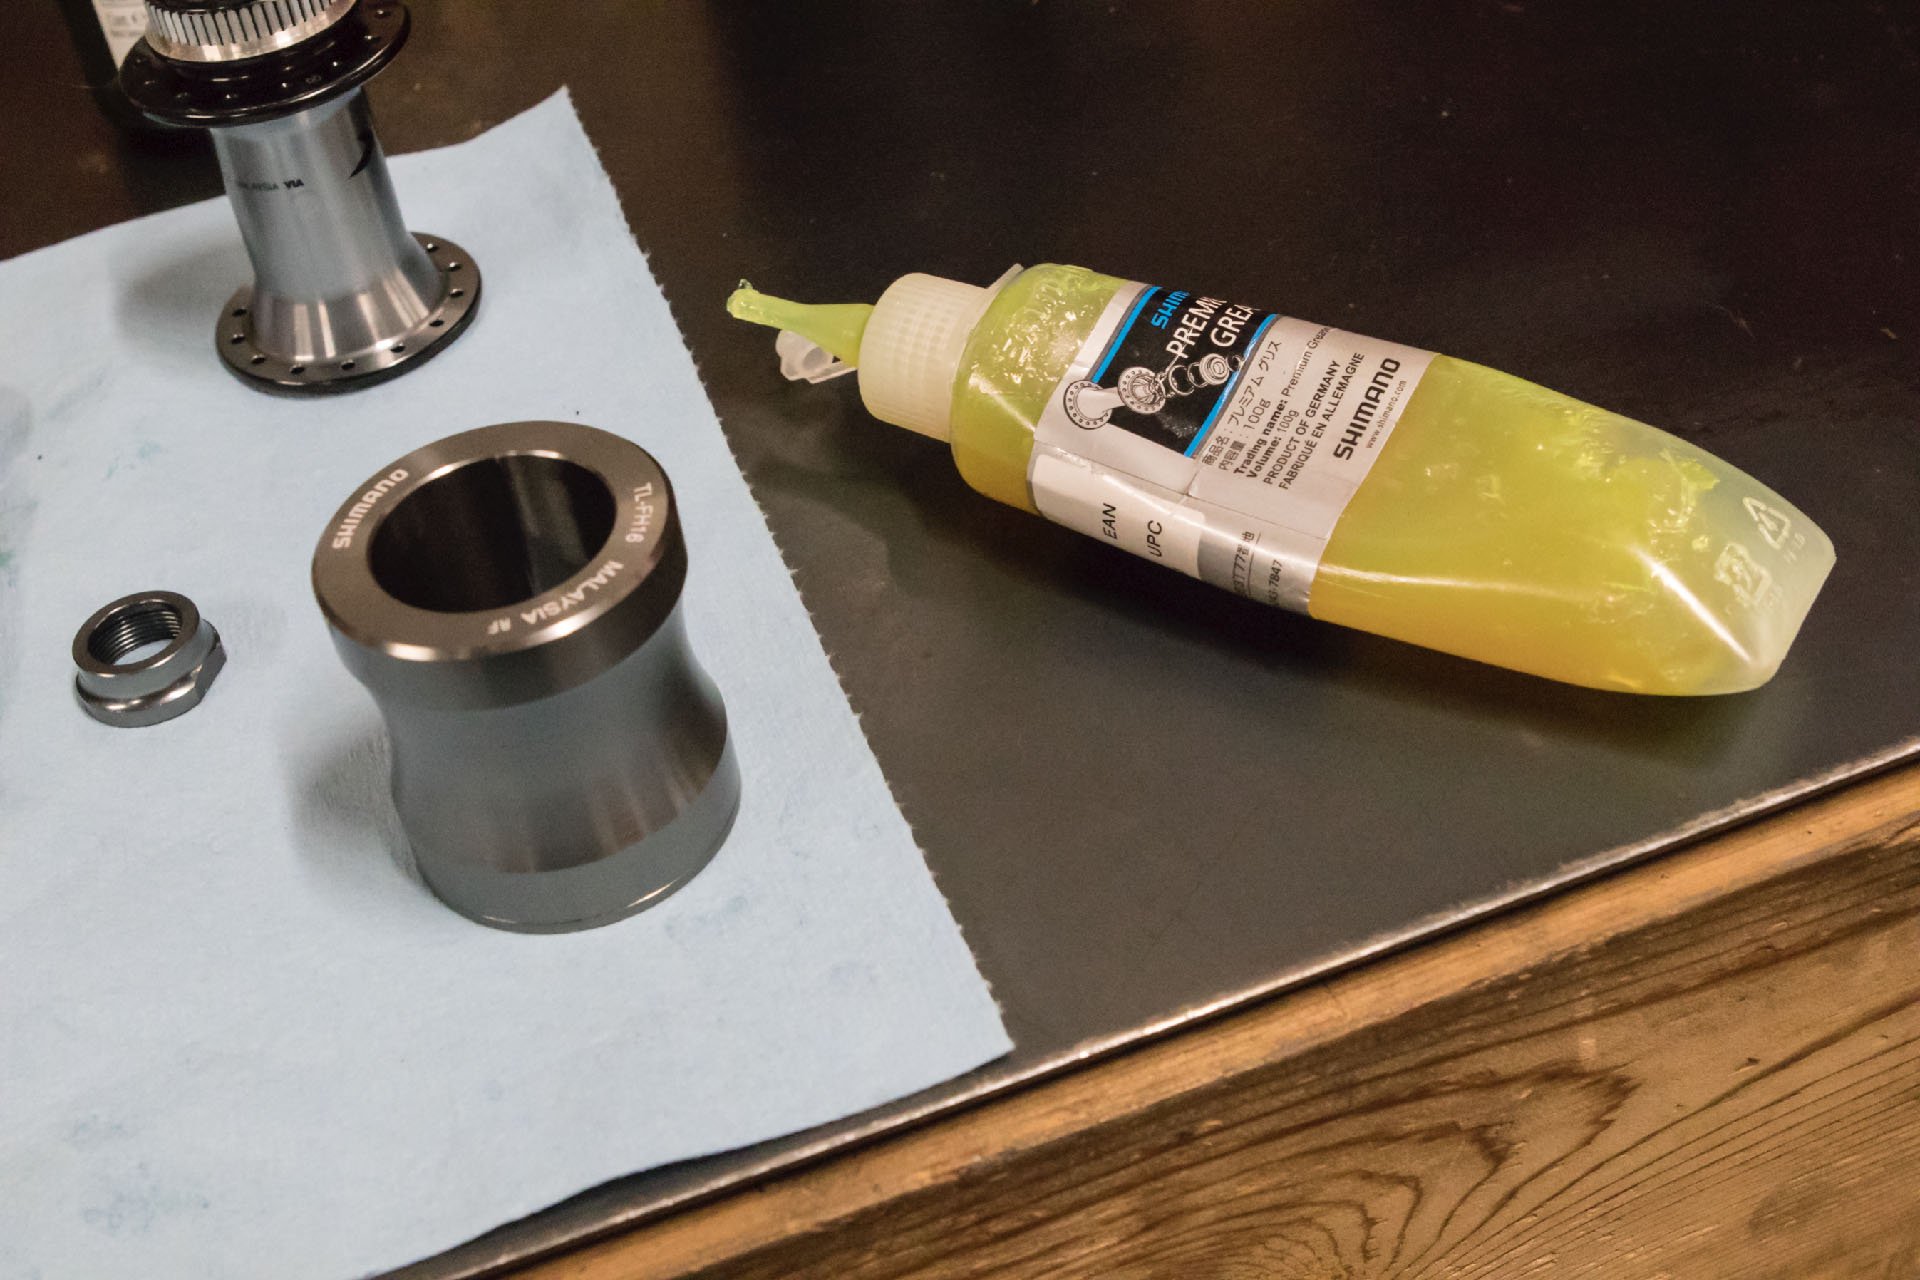
Shimano Premium grease, made in Germany where many of the best things are made.
The Teardown and Overhaul
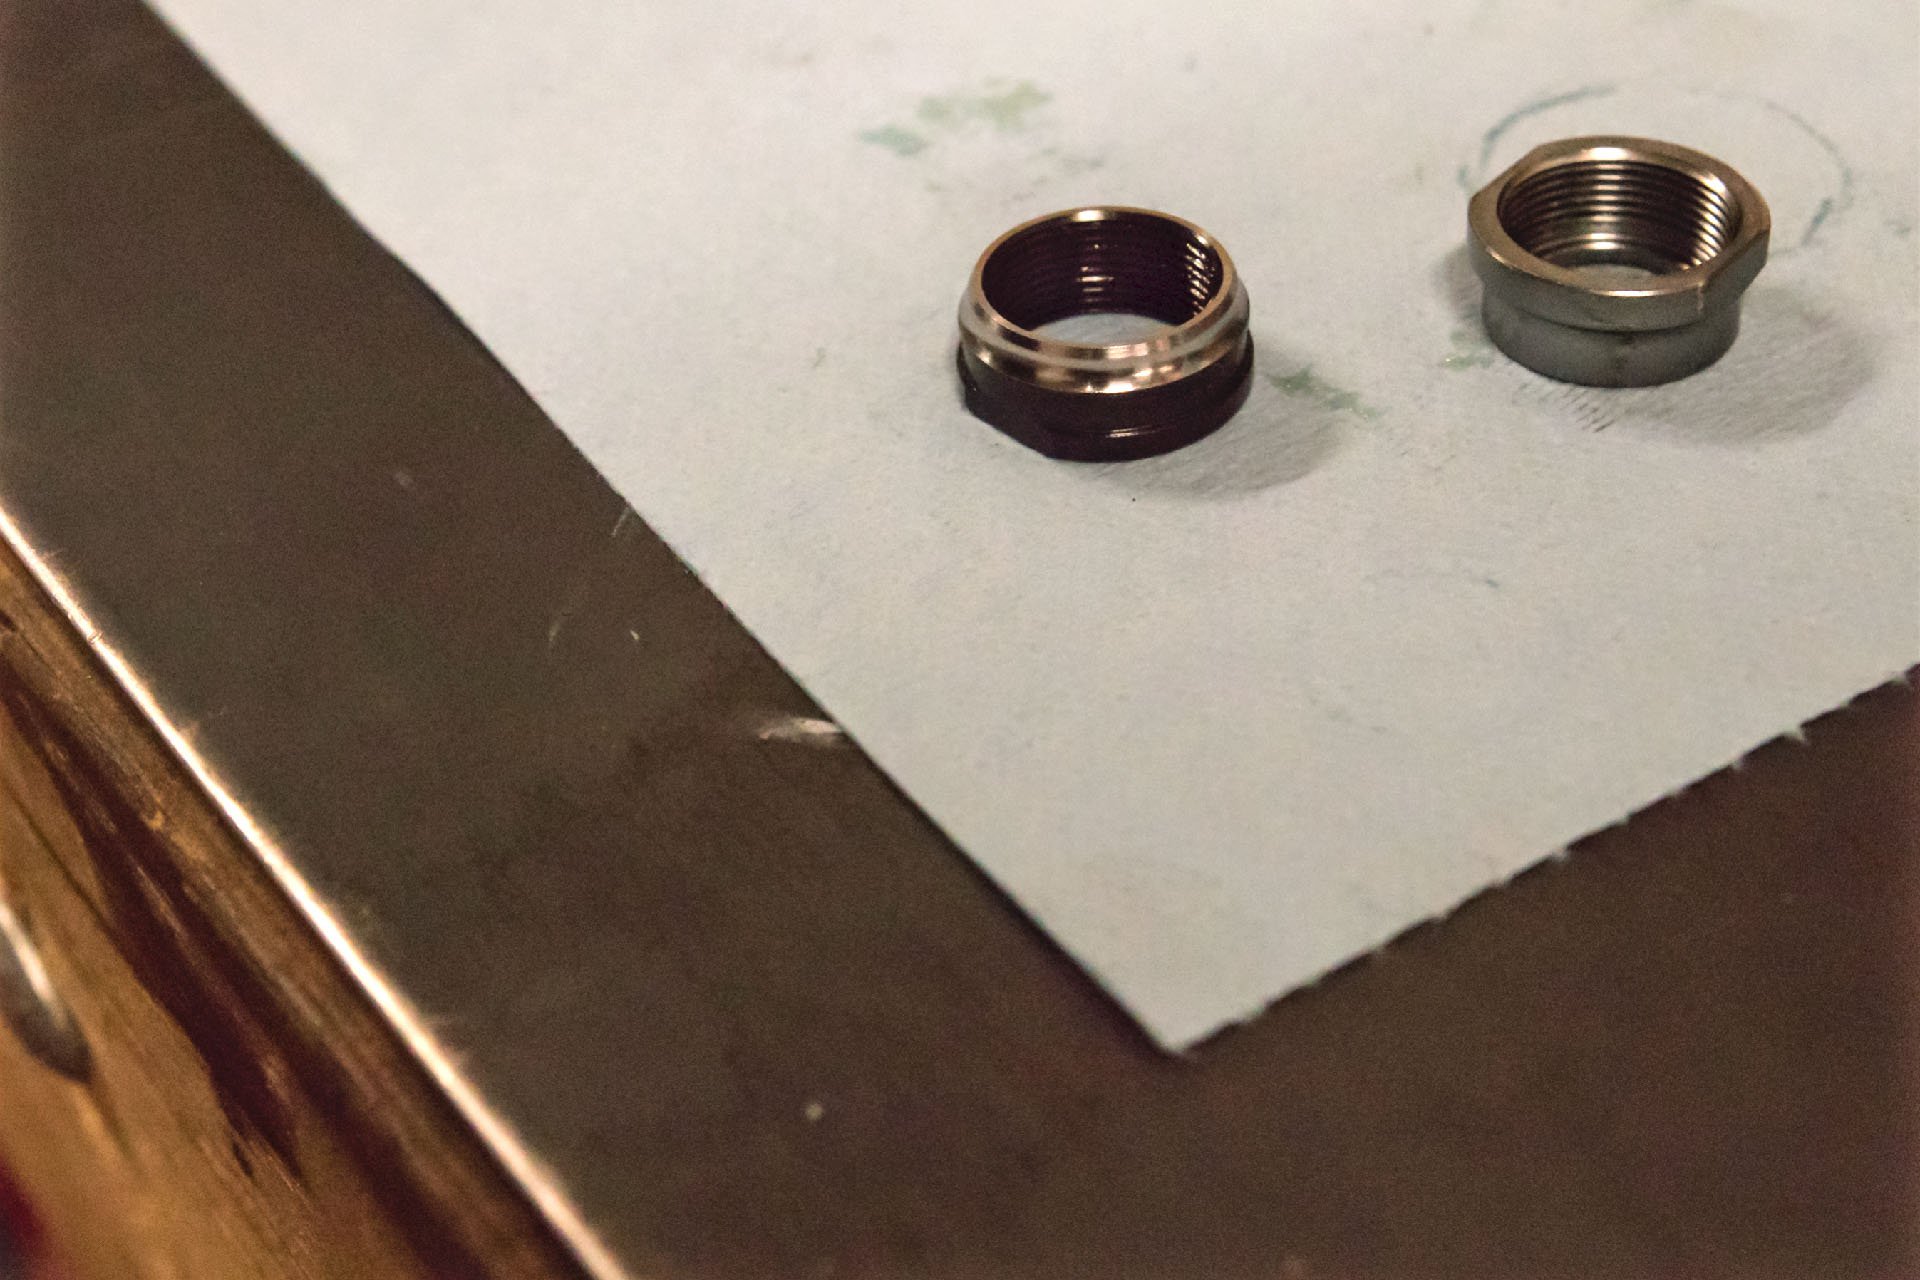
If only hubs had been so cleverly designed when I was in a damp windowless bike shop basement regreasing and adjusting the bearings on bikes I was building back in the 80s. It used to be that each side had a lockring and a cone threaded against each other, but with these hubs one side is non-adjustable, simplifying the process.
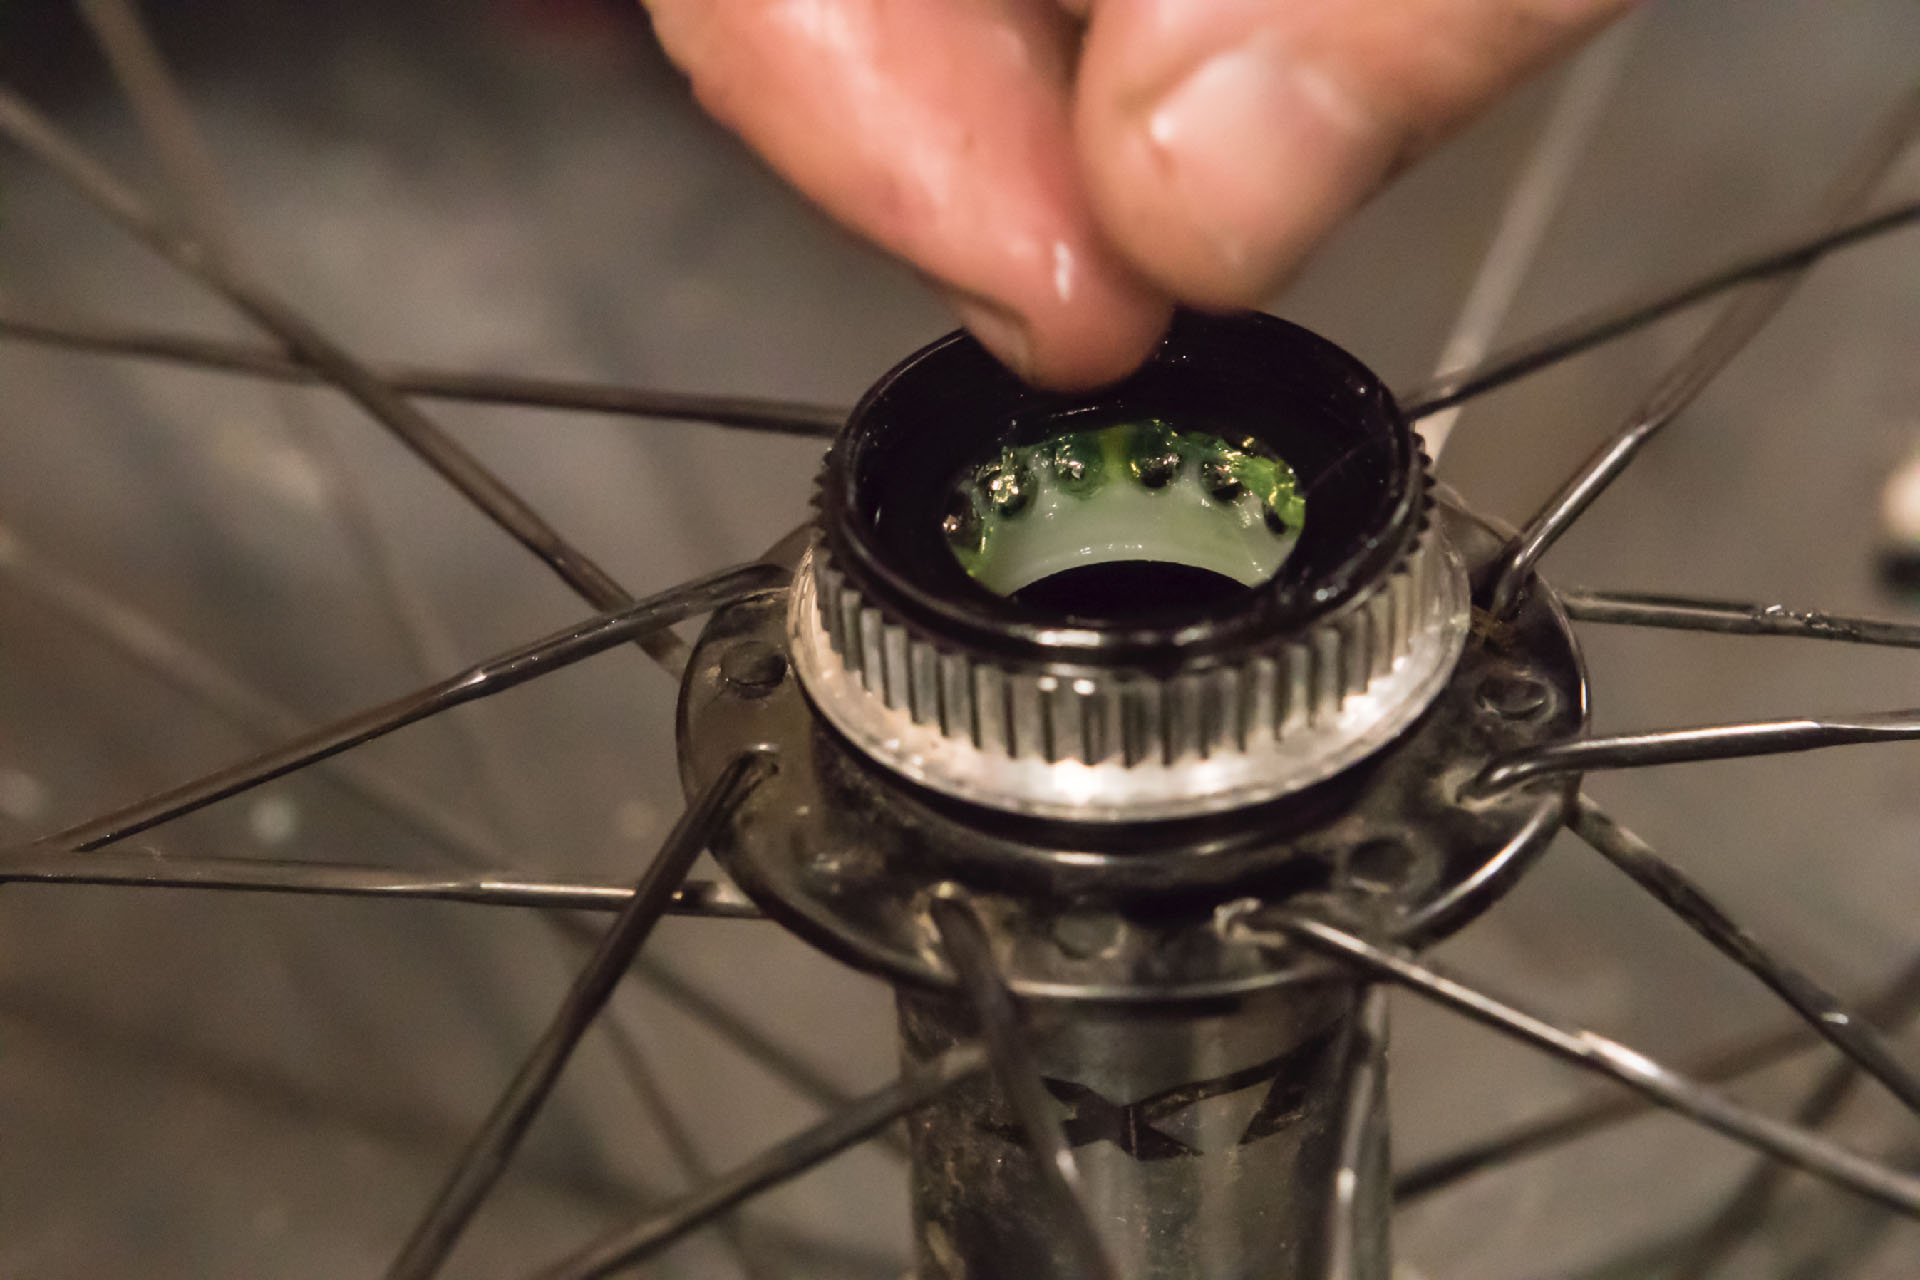
A smear of grease first on the cups inside the hub and then a squirt on the bearings and you're ready to reinstall the seals and slide in the axle.
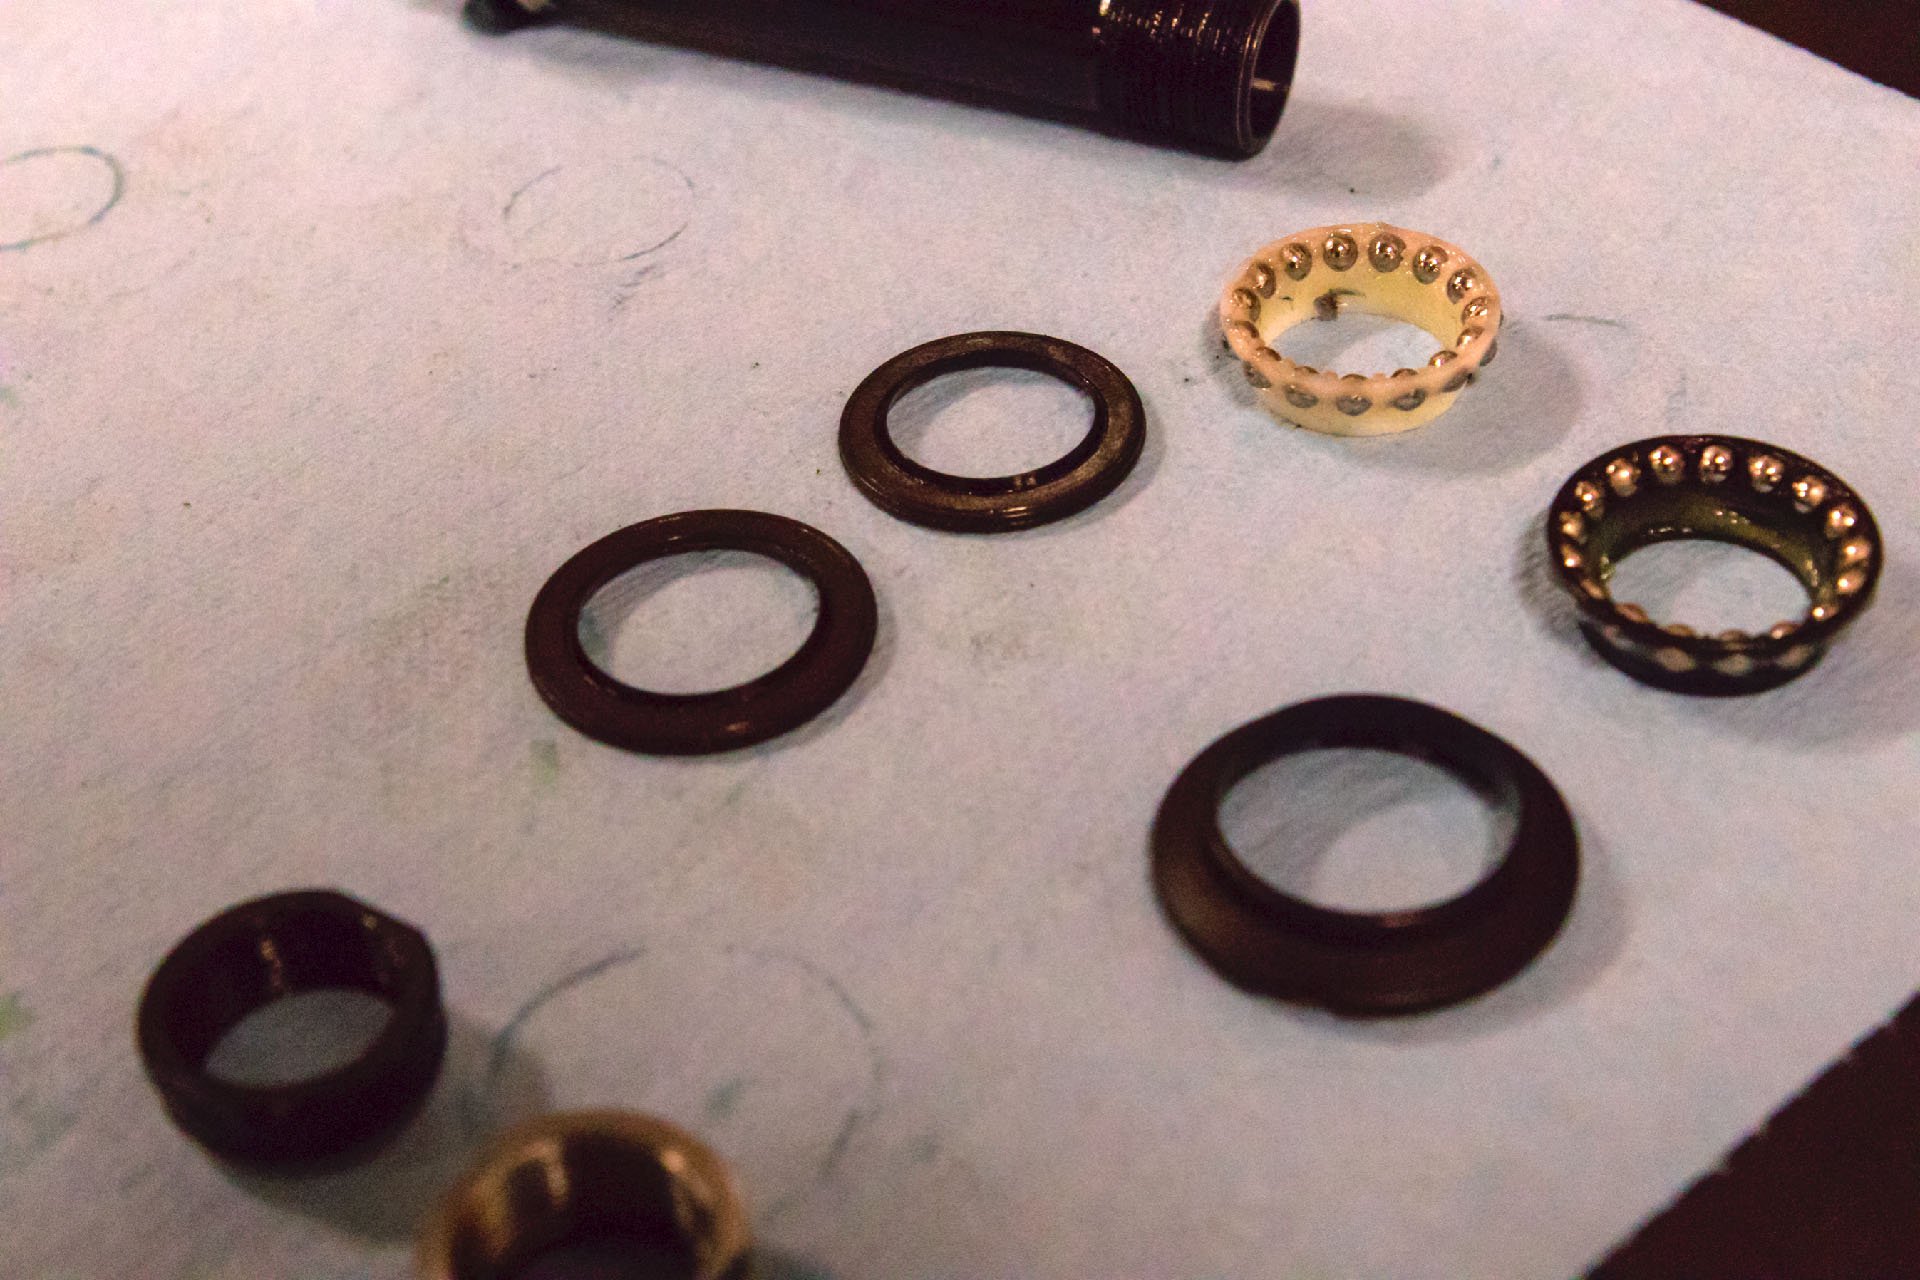
Aside from the axle, these are all the parts you need to overhaul the front hub. Bearings should always be replaced if at all possible.
Front Hub
And it's really as easy as it was in the 80s, and easier in some respects. For the front hub you simply loosen the drive side of the axle, remove the lockring and cone, remove the axle and caged bearings, clean everything off, reassemble with fresh grease and new bearings and adjust appropriately.
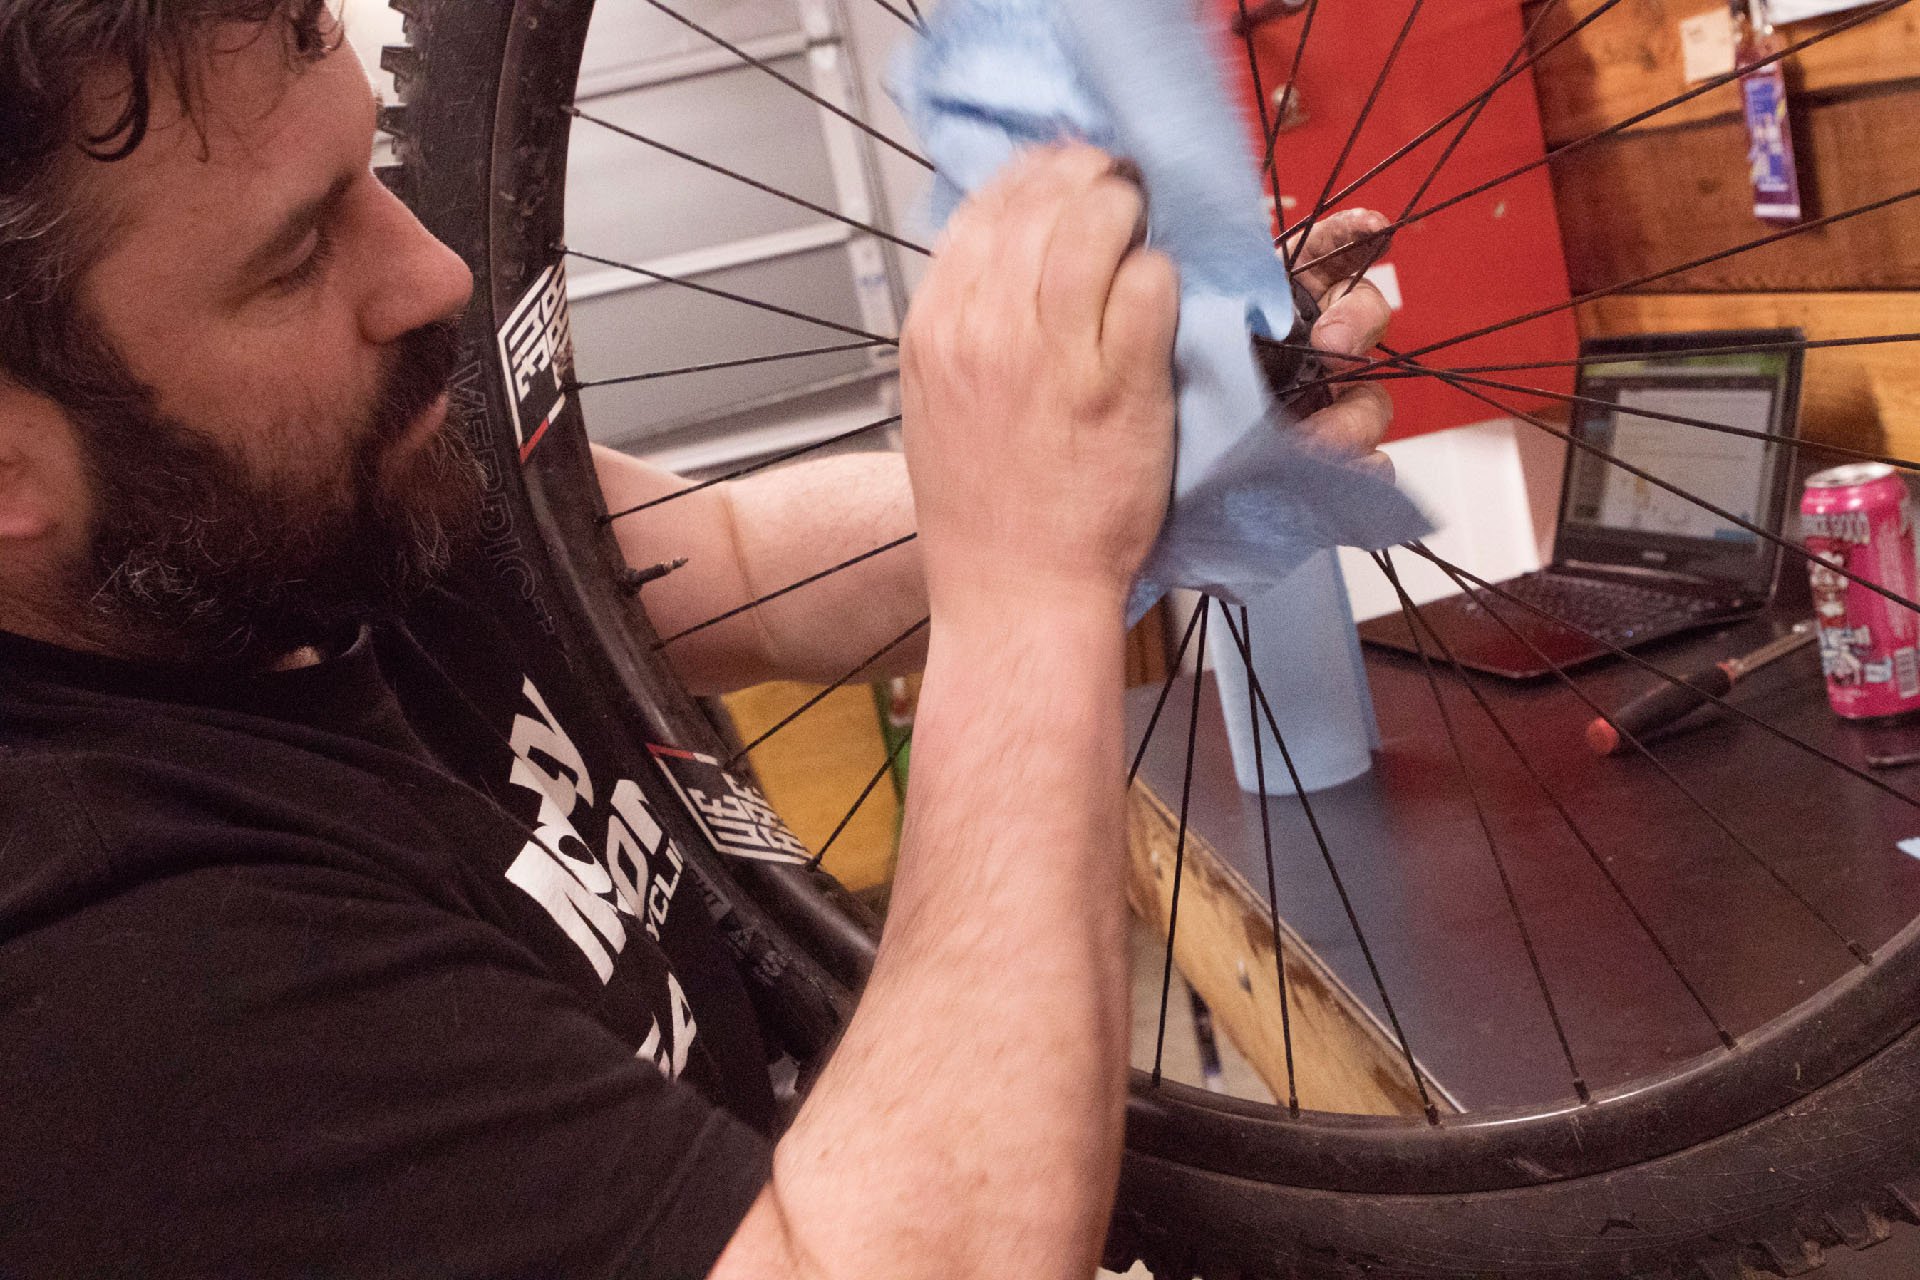
A little polish and the front hub is done.
On to the rear Micro Spline hub.
In order to achieve perfect adjustment without any play or binding, the hub should be adjusted with a small amount of play at the axle before assembly. For Fox 36 forks, the 15QR or Kabolt axles will both apply a small amount of compression to the axle to cinch up that remaining play. Check at the axle, readjust if necessary, and you're done.
Rear Hub
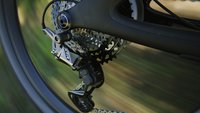
The rear hub is certainly more complex to work on than hubs in the old days, because the freehub body must be removed. On some hubs, like DT Swiss, this is a tool free job that involves a simple pull. With XTR 9100 rear hubs the process is more involved, but nothing a competent home mechanic can't handle.
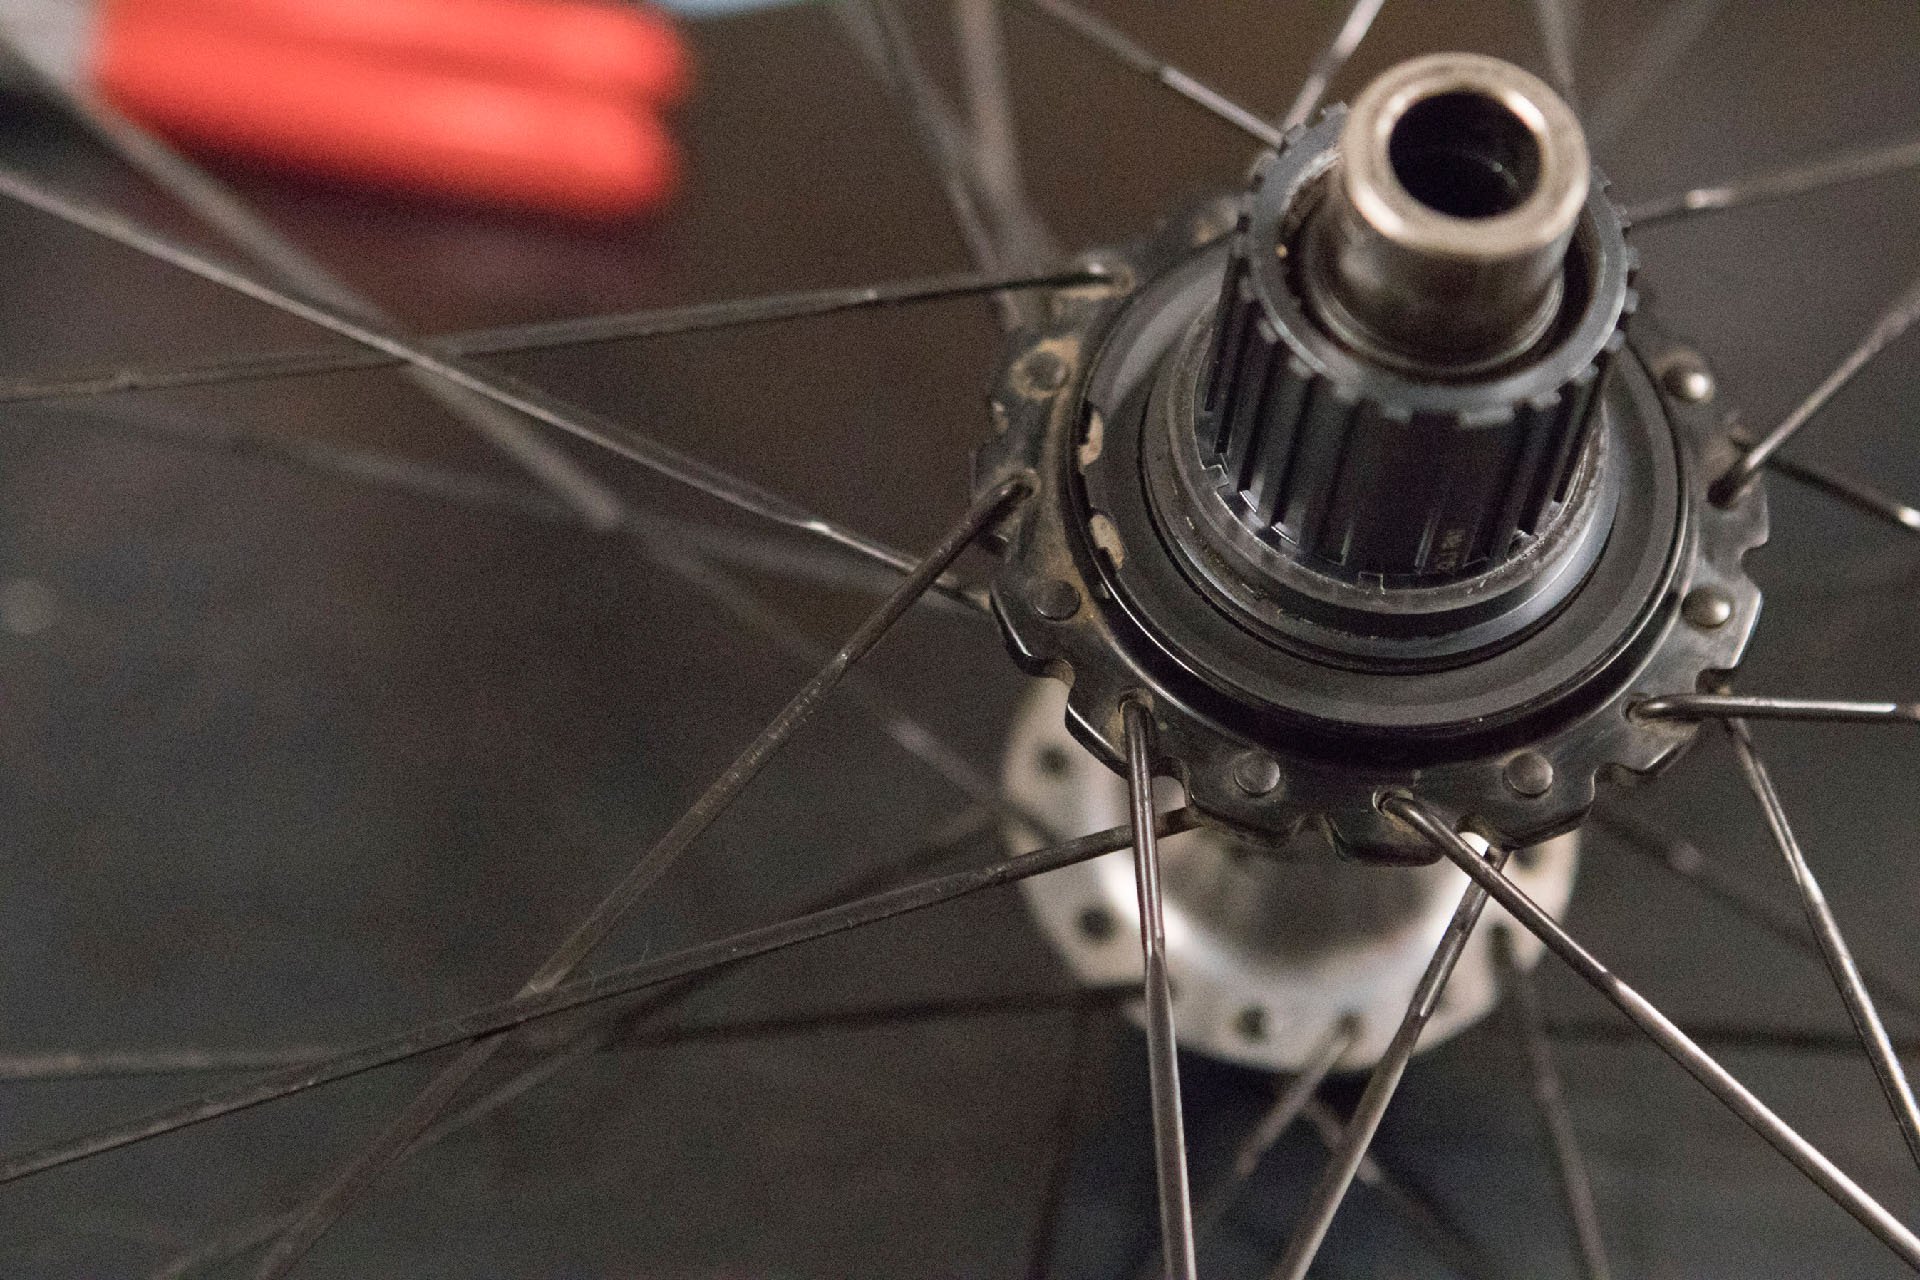
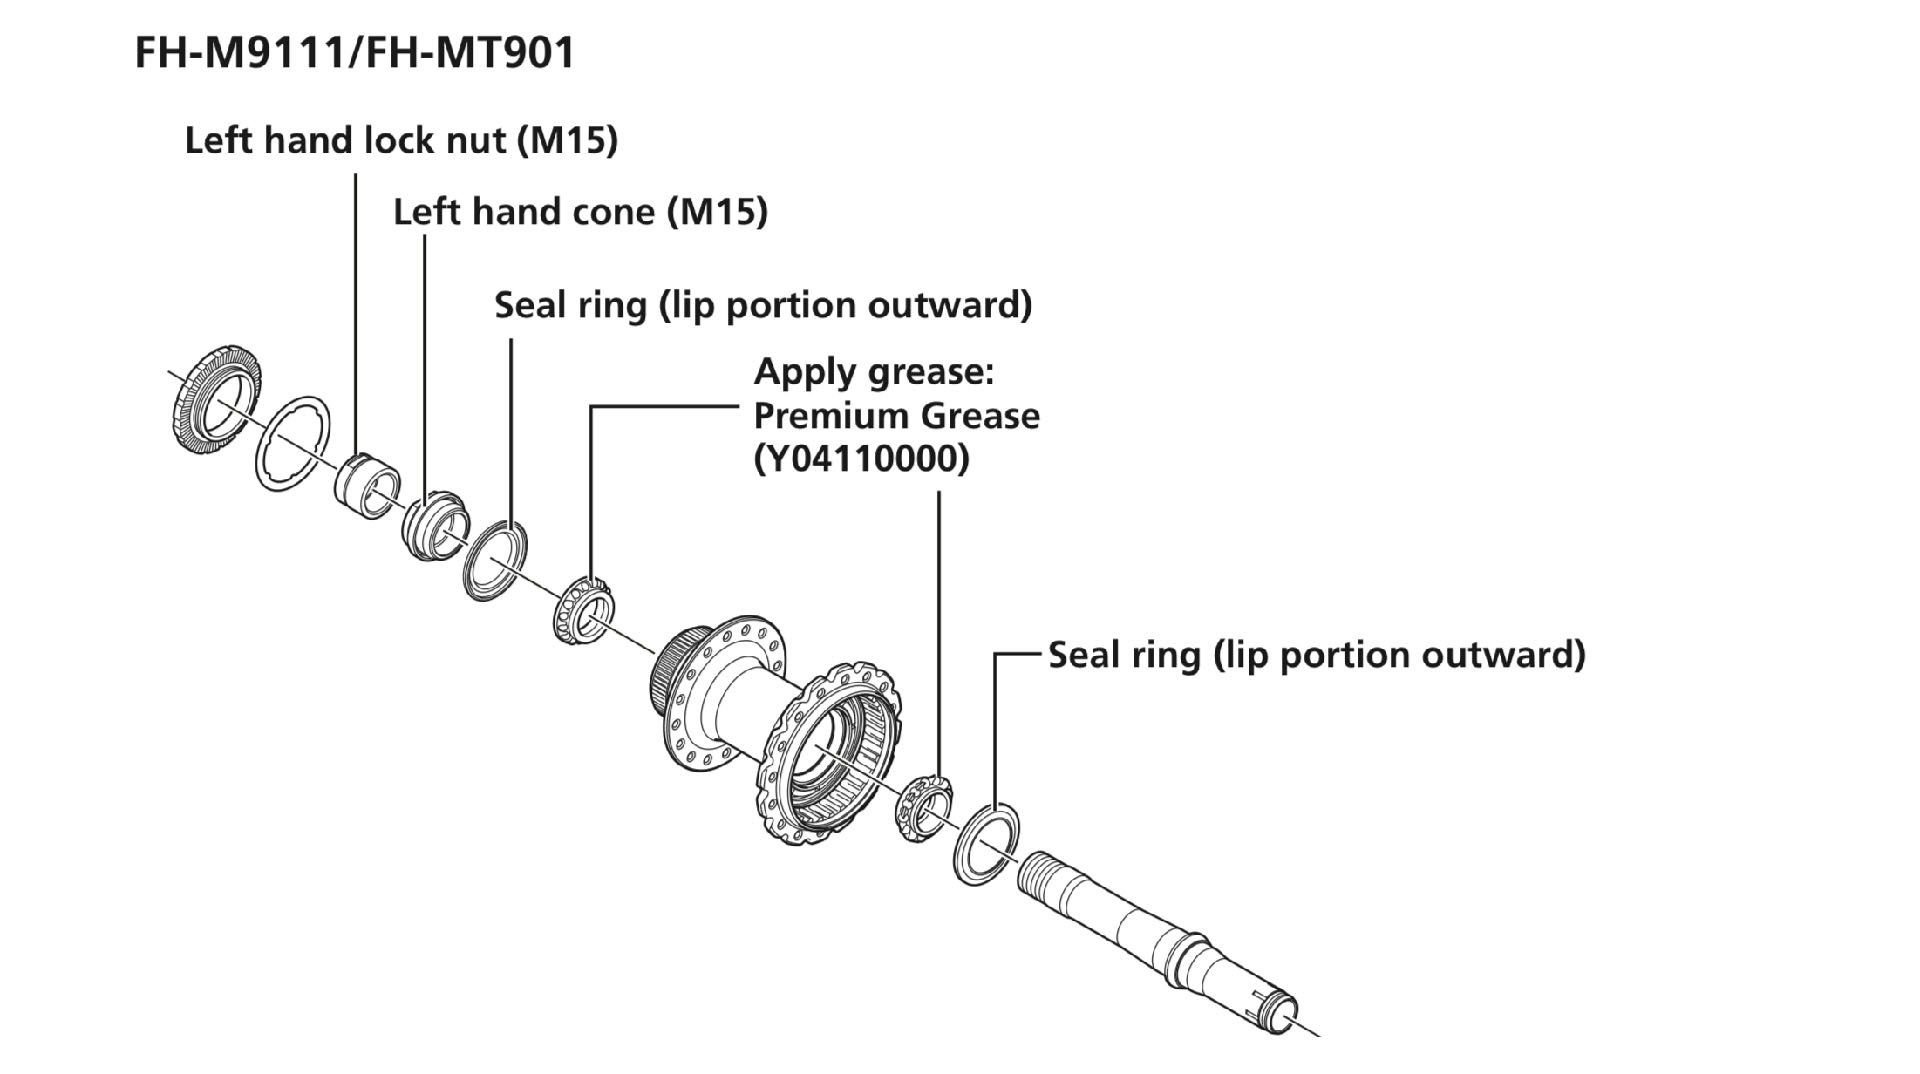
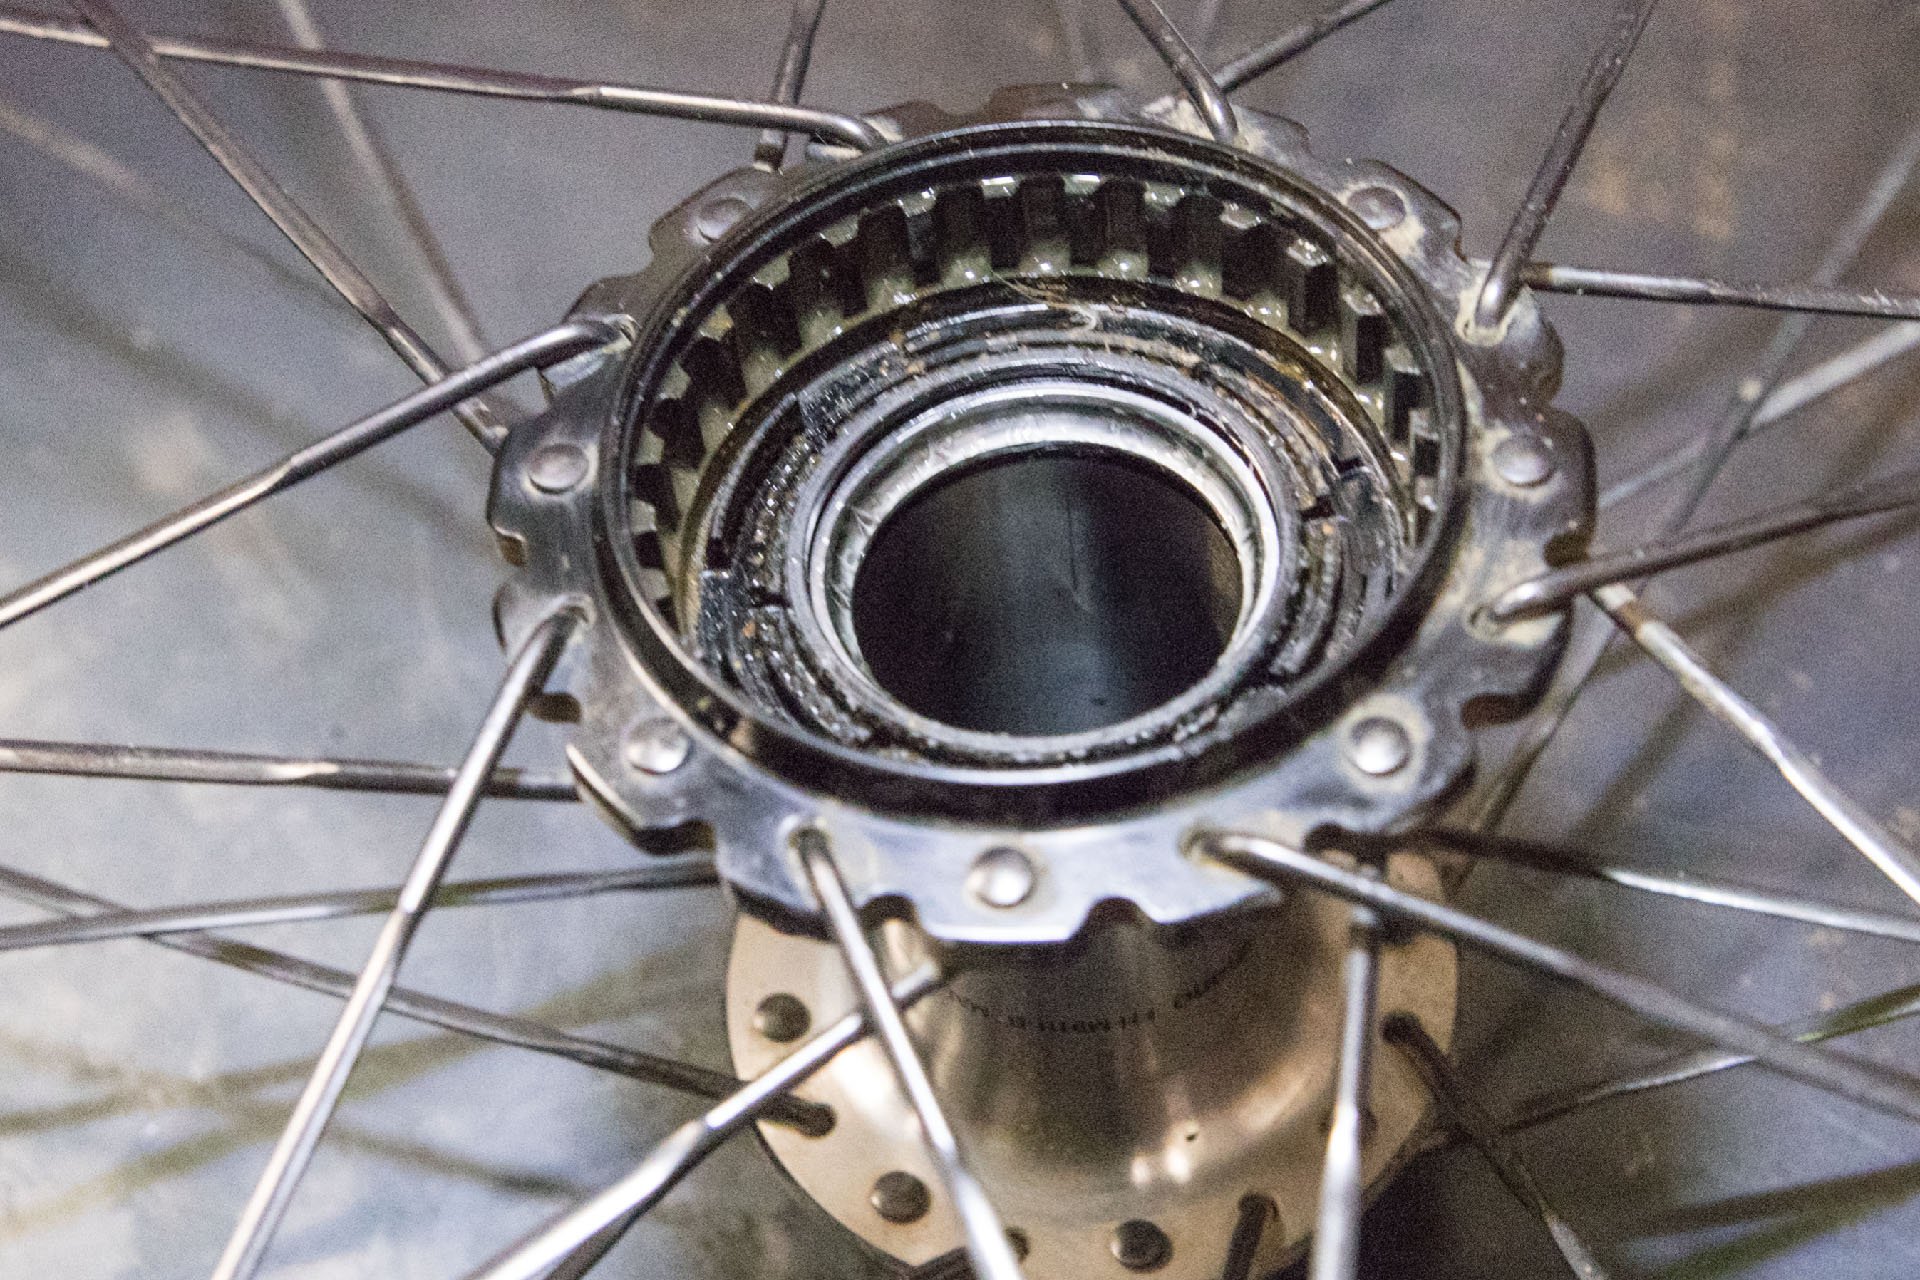
The right cap, on the freehub side, can be pulled off using a 17mm cone wrench. It has a splined fit on the axle and does not rotate. After that a pin tool is required to remove the C-ring with outer dust cover. And then the parts can be removed by hand by carefully.
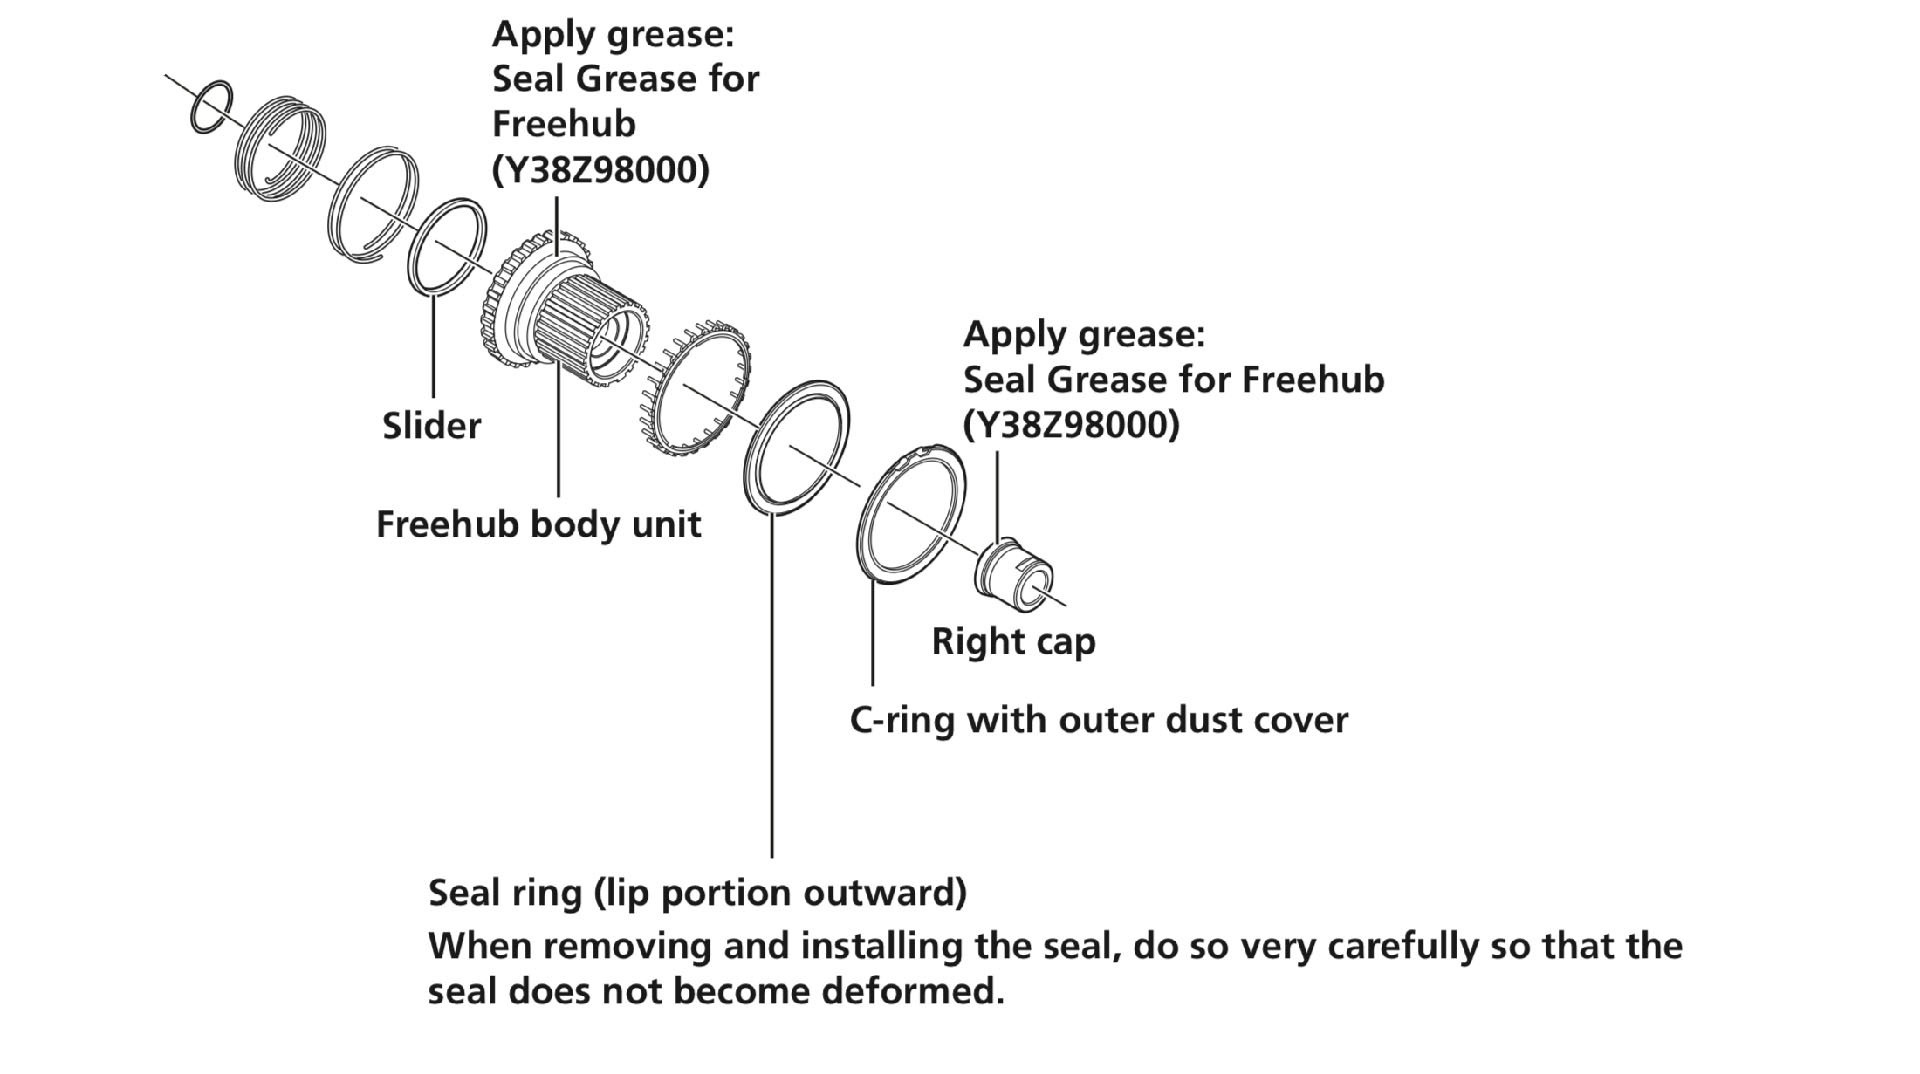
Much of the important info is here, particularly the order of assembly. There are some finer points however, like the location of the seal grease in this image. Scroll for the axle's exploded view.
Once the freehub mechanism has been removed the axle can be pulled from the drive side.
An experienced mechanic will lay out the parts in the order they were removed for ease of assembly. If you are like me, and sometimes neglect that level of organization, or spill your beer on everything and leaving it in disarray, the Shimano online manuals for these procedures are a godsend.
The C-ring requires a set of snap ring pliers, or a very fine set of needle nose pliers used very carefully. Once that is removed the freehub parts come off by hand for the most part.
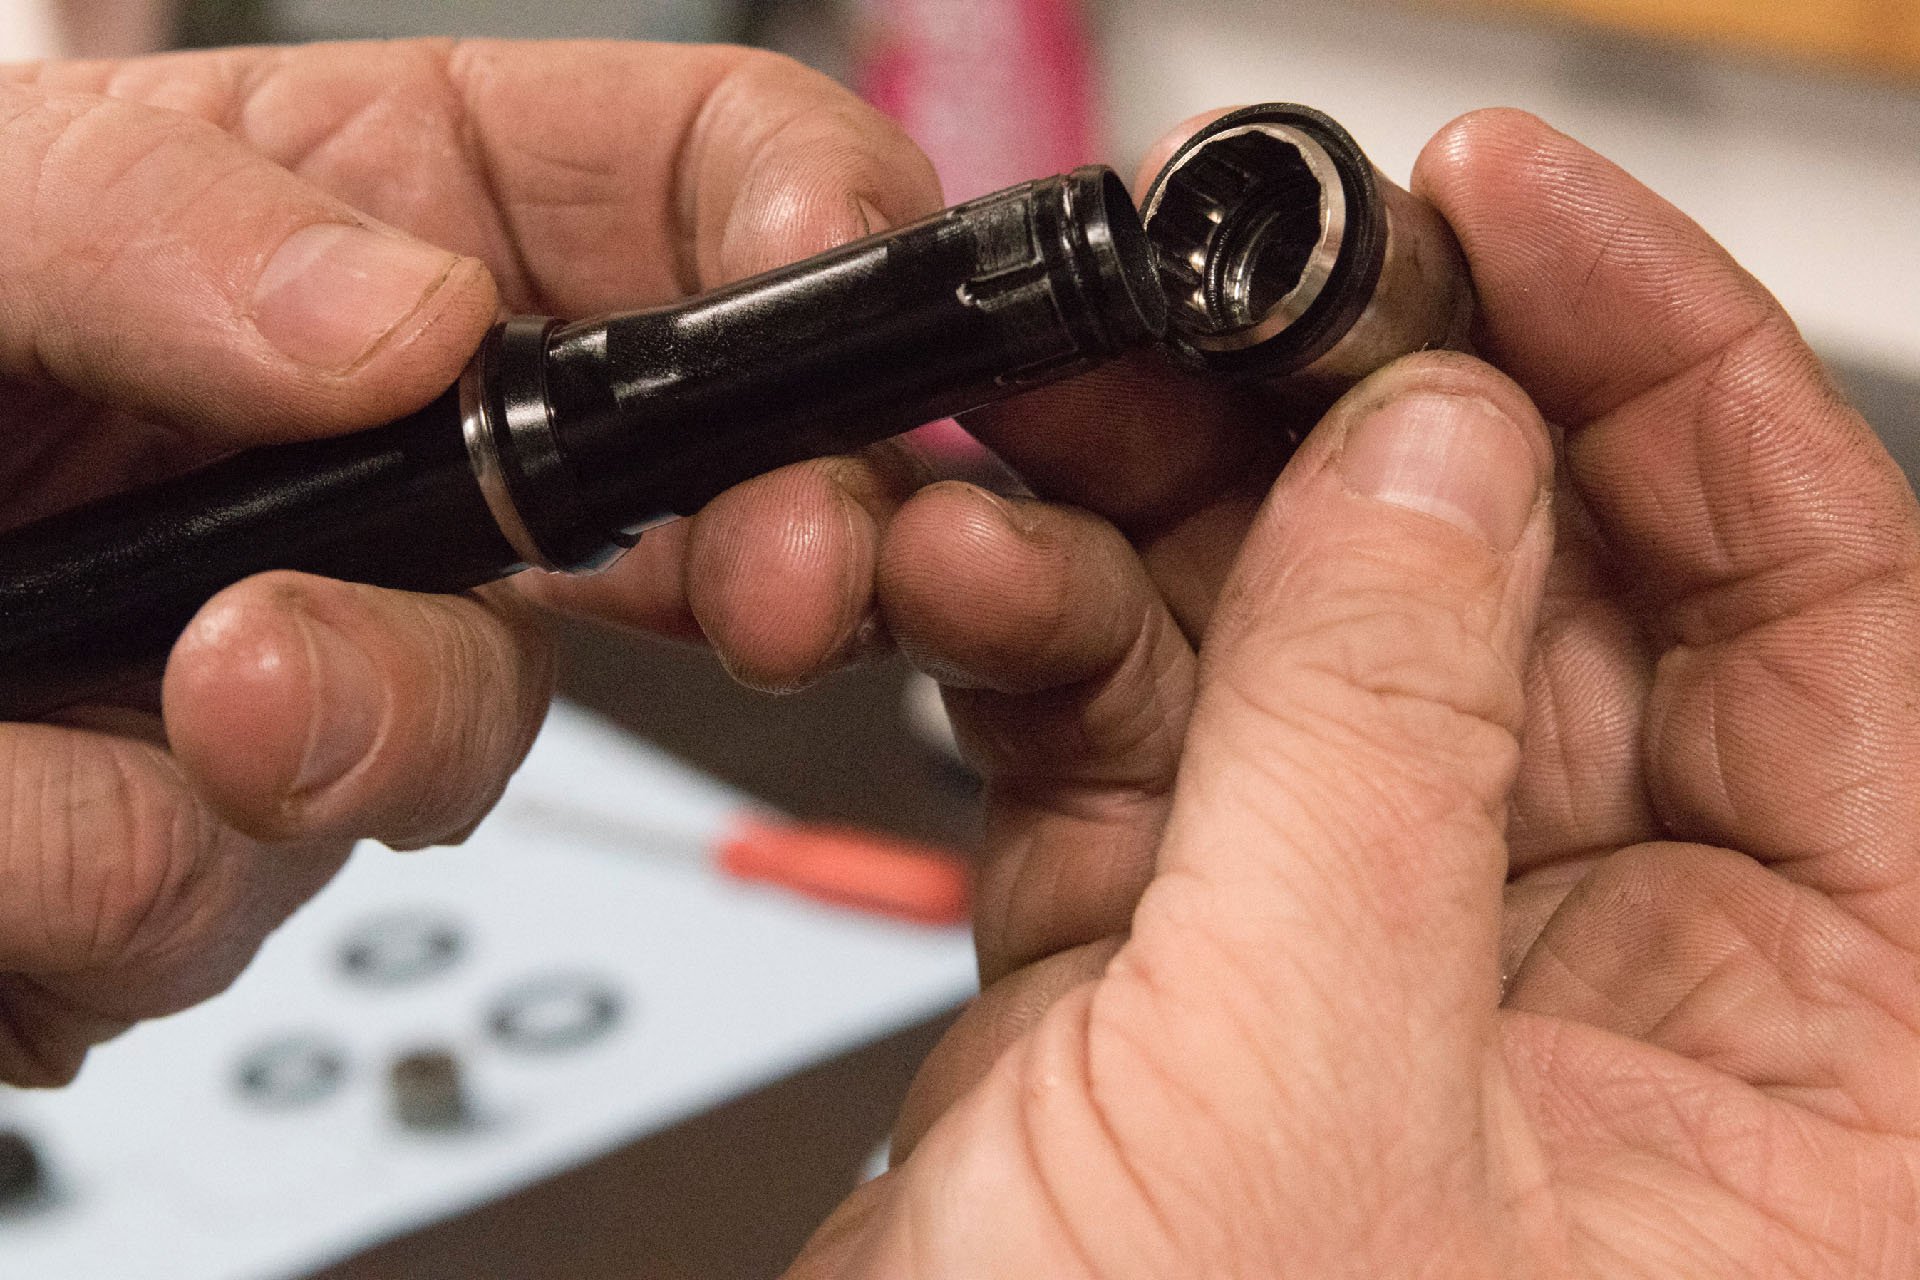
The splined cap on the drive side of the rear axle pulls off. You may need a 17mm cone wrench to get some purchase. After THIS the freehub parts come off by hand. An 18mm cone wrench is also needed for the rear hub.
Like your dad's electric razor when you were a kid, taking the rear hub apart is an easy operation. Putting everything back together requires some precision, assuming you want everything to spin when it's supposed to and engage when it isn't.
There are two springs here; the 'coil spring' and the 'spring.' The coil spring is a smaller diameter with a hook to engage it in one of 8 points inside the hub. The spring nests in a groove around the coil spring. I told you this was easy.
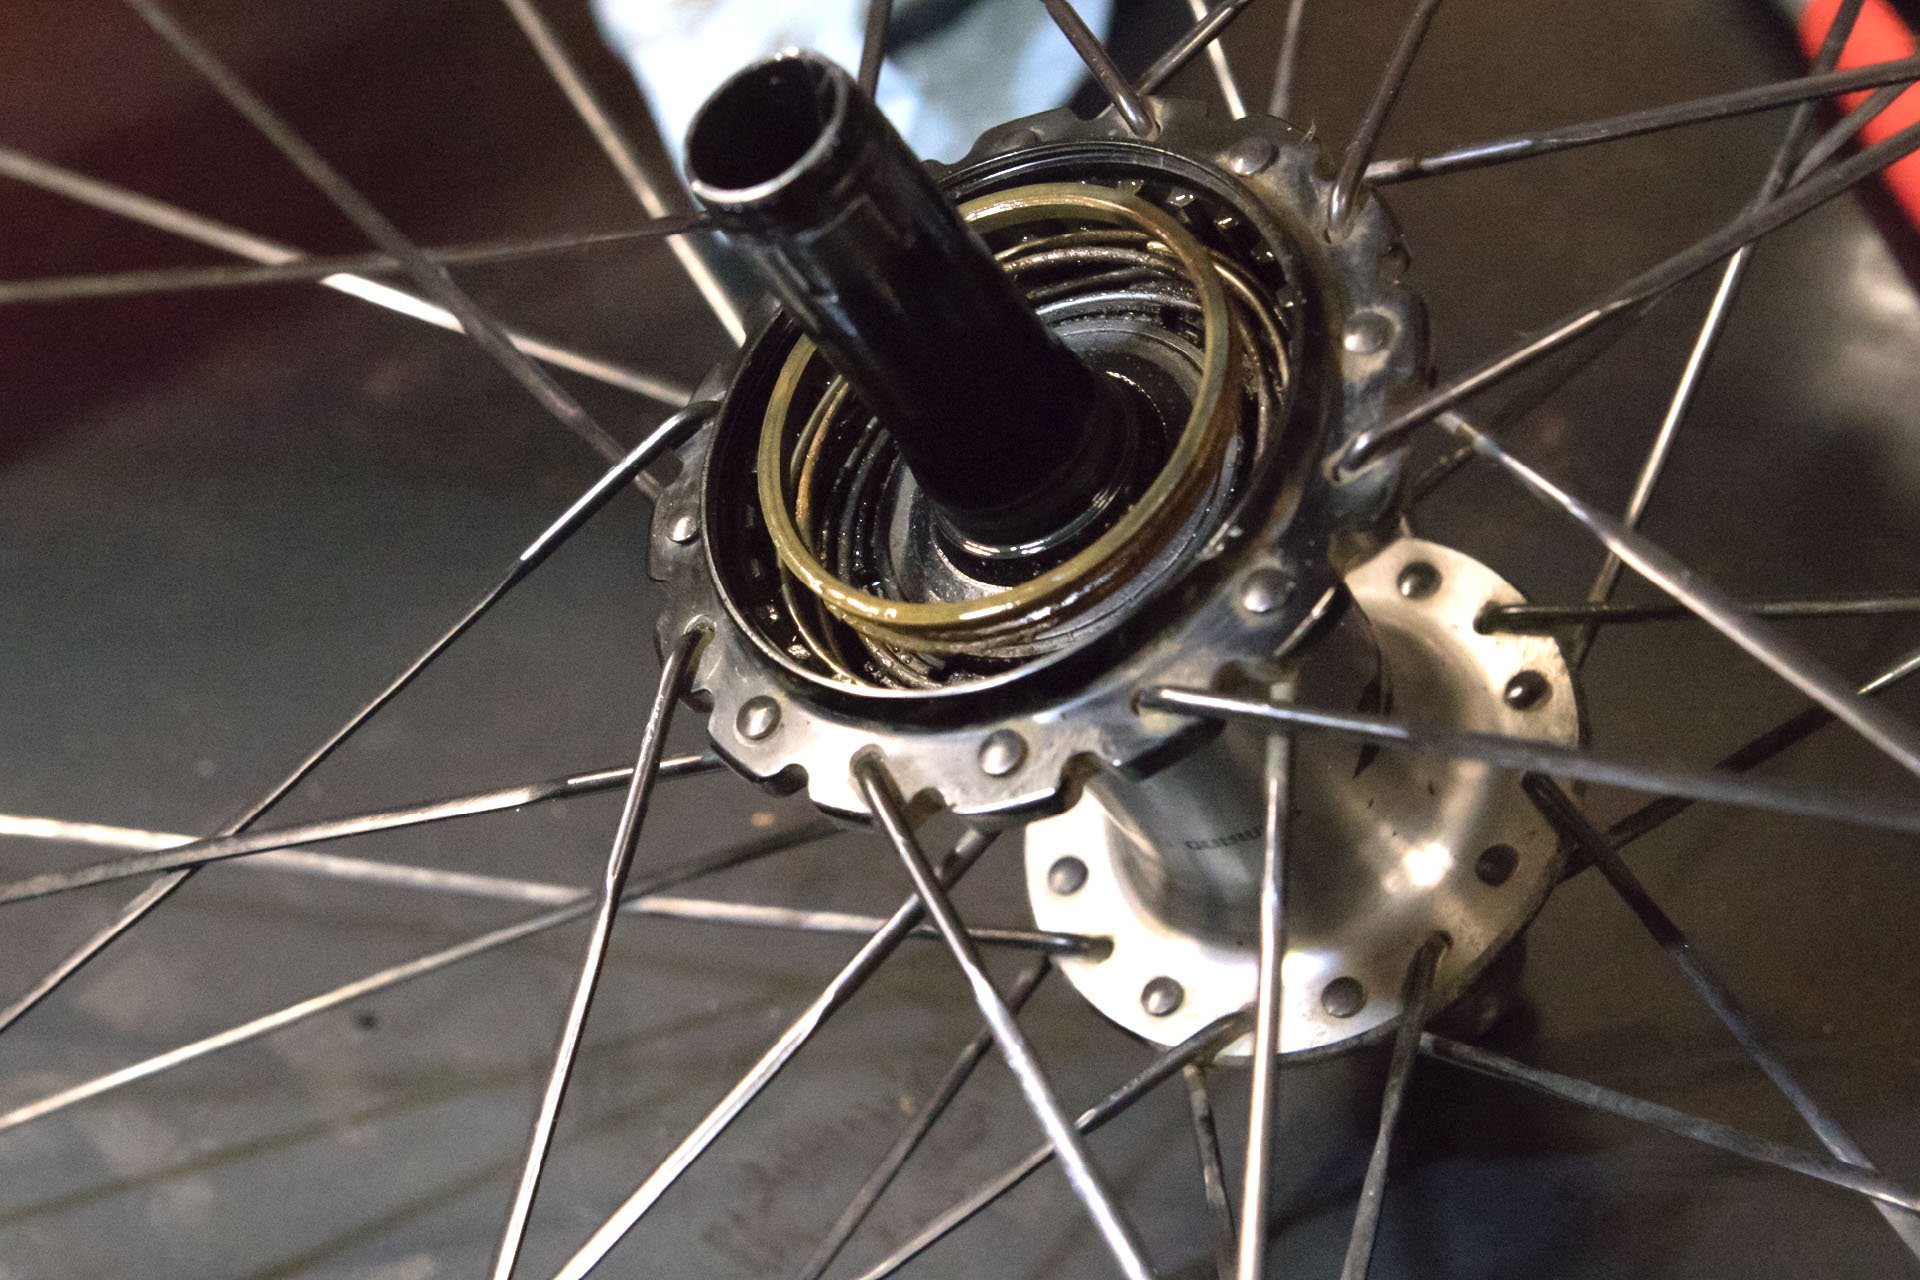
Once the springs were removed, a small amount of moisture was visible. This part of the hub is specified to be assembled without any lube.
Once the springs, seals and the the freehub are removed, the seals can be popped and the bearings removed so everything can be cleaned and expected. As with the front hub, the grease was still in good shape despite my irresponsible and intentional use of the hose sprayed carelessly after most muddy rides.
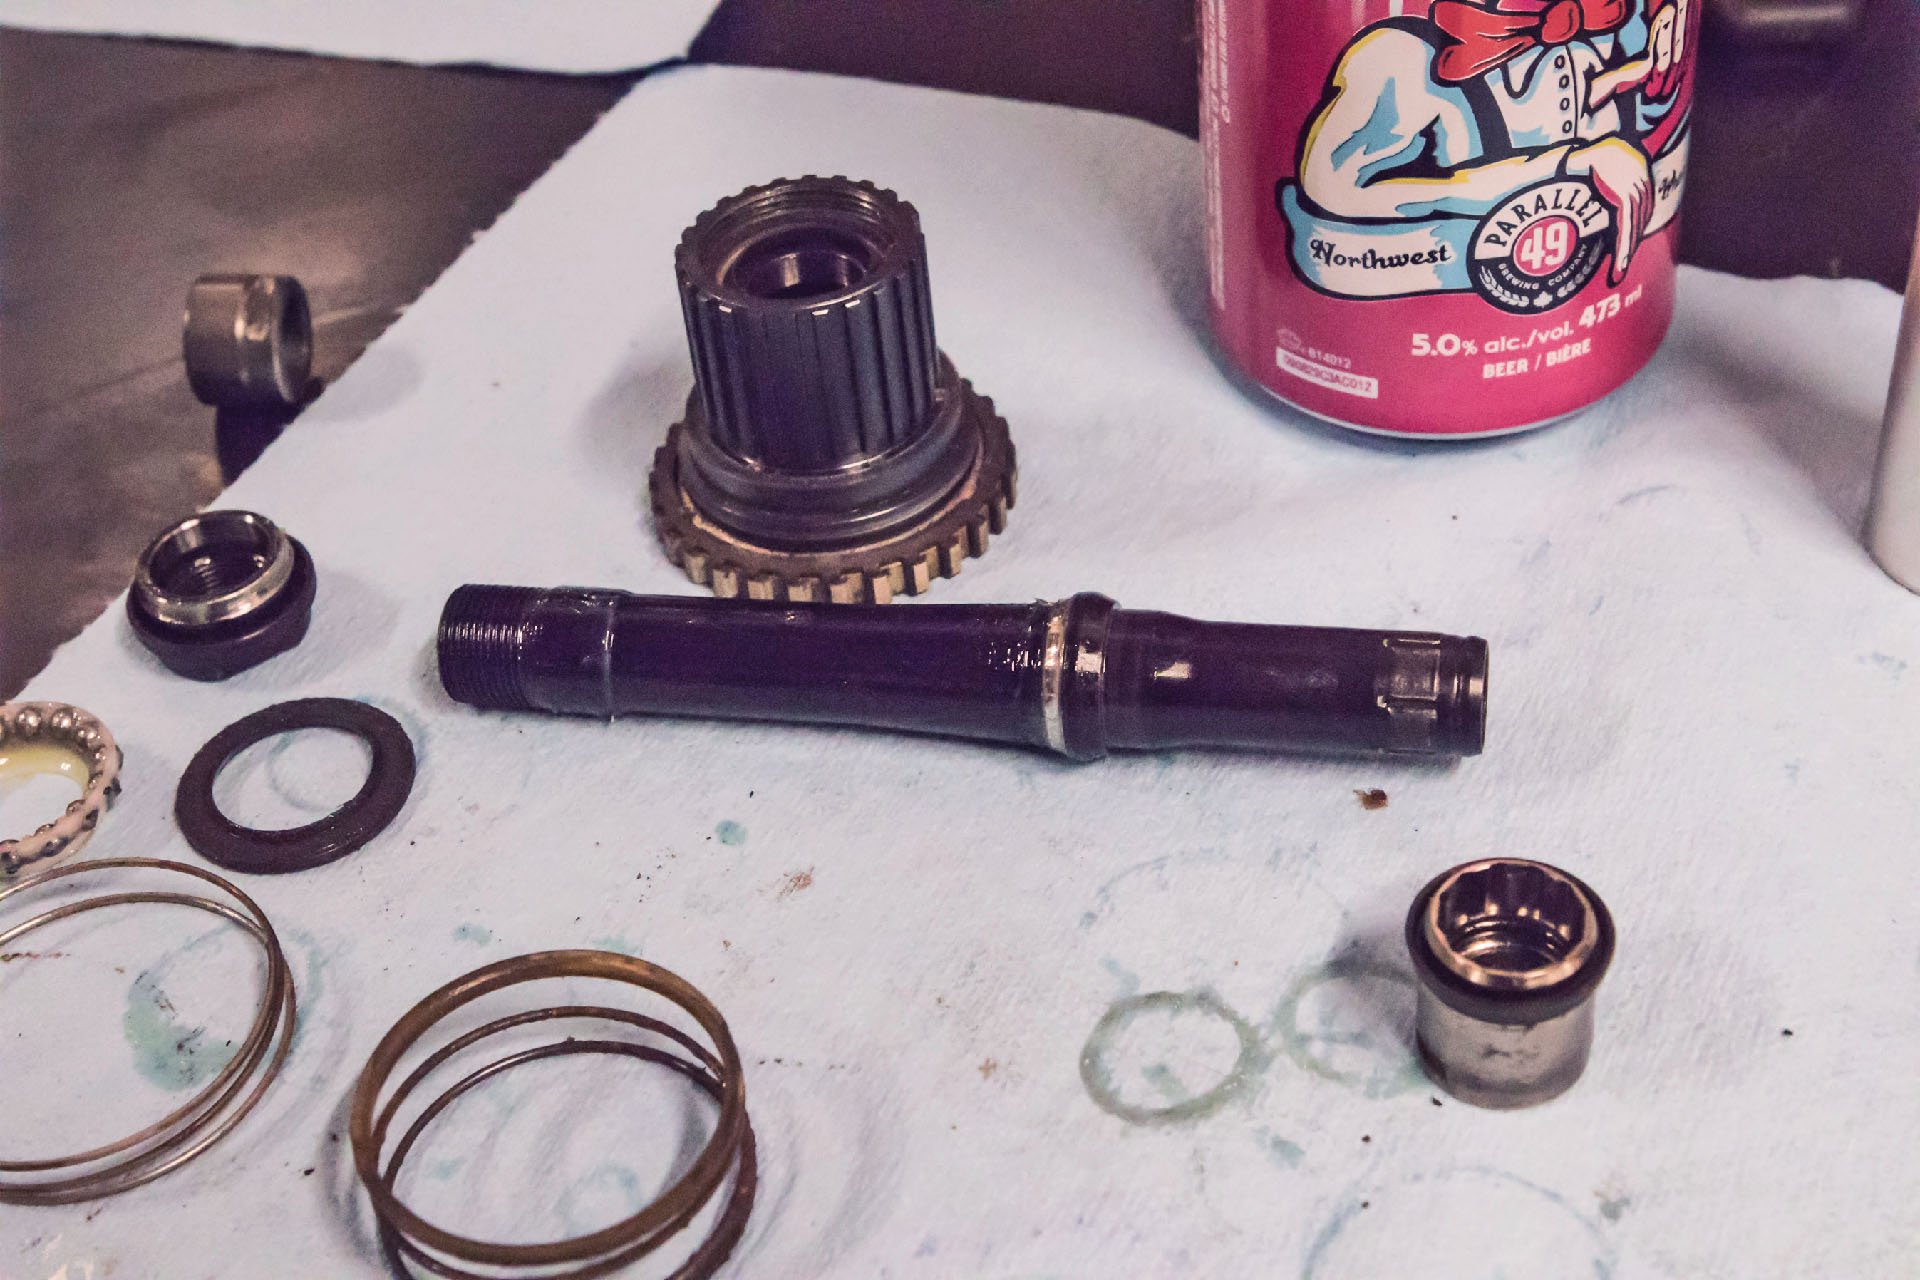
All the bits.
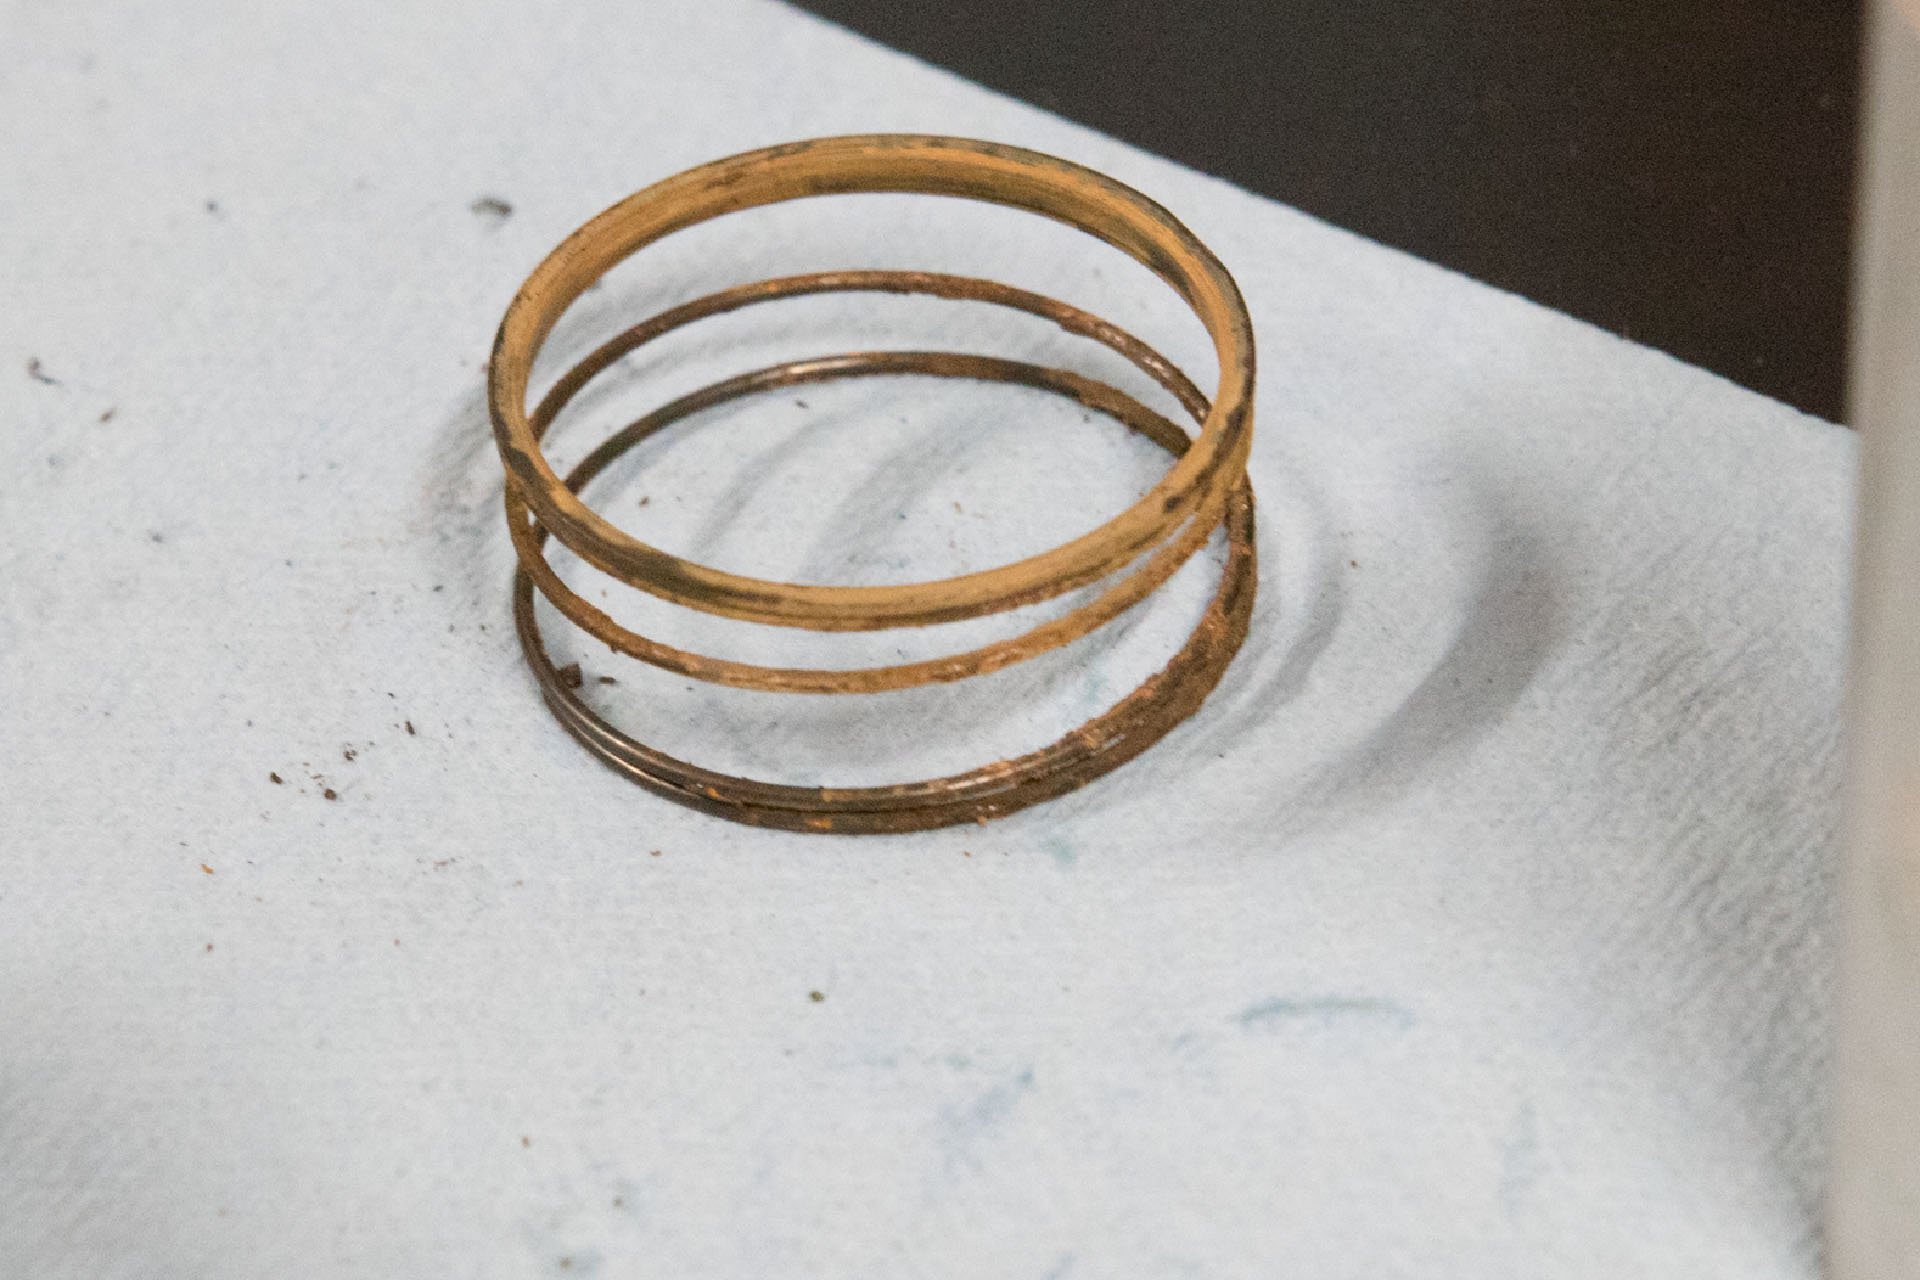
This spring, which is the coil spring, showed some signs of corrosion, which may explain my malfunction?
Another reason to do this teardown was to try and determine the source of an odd, weather dependent malfunction. On a very chilly ride on a very snowy evening, my freehub stopped engaging. It freewheeled perfectly, only it did it in both directions. The snow depth prevented us from pedalling to the top so we were pushing our bikes up for over an hour. The lack of movement allowed something to freeze in a disengaged position. Obviously this isn't the sort of thing that's likely to happen unless conditions are perfect, but it's something to be aware of nonetheless. Fortunately for me very little pedalling was needed on the descent because I wasn't about to urinate on that beautiful XTR hub.
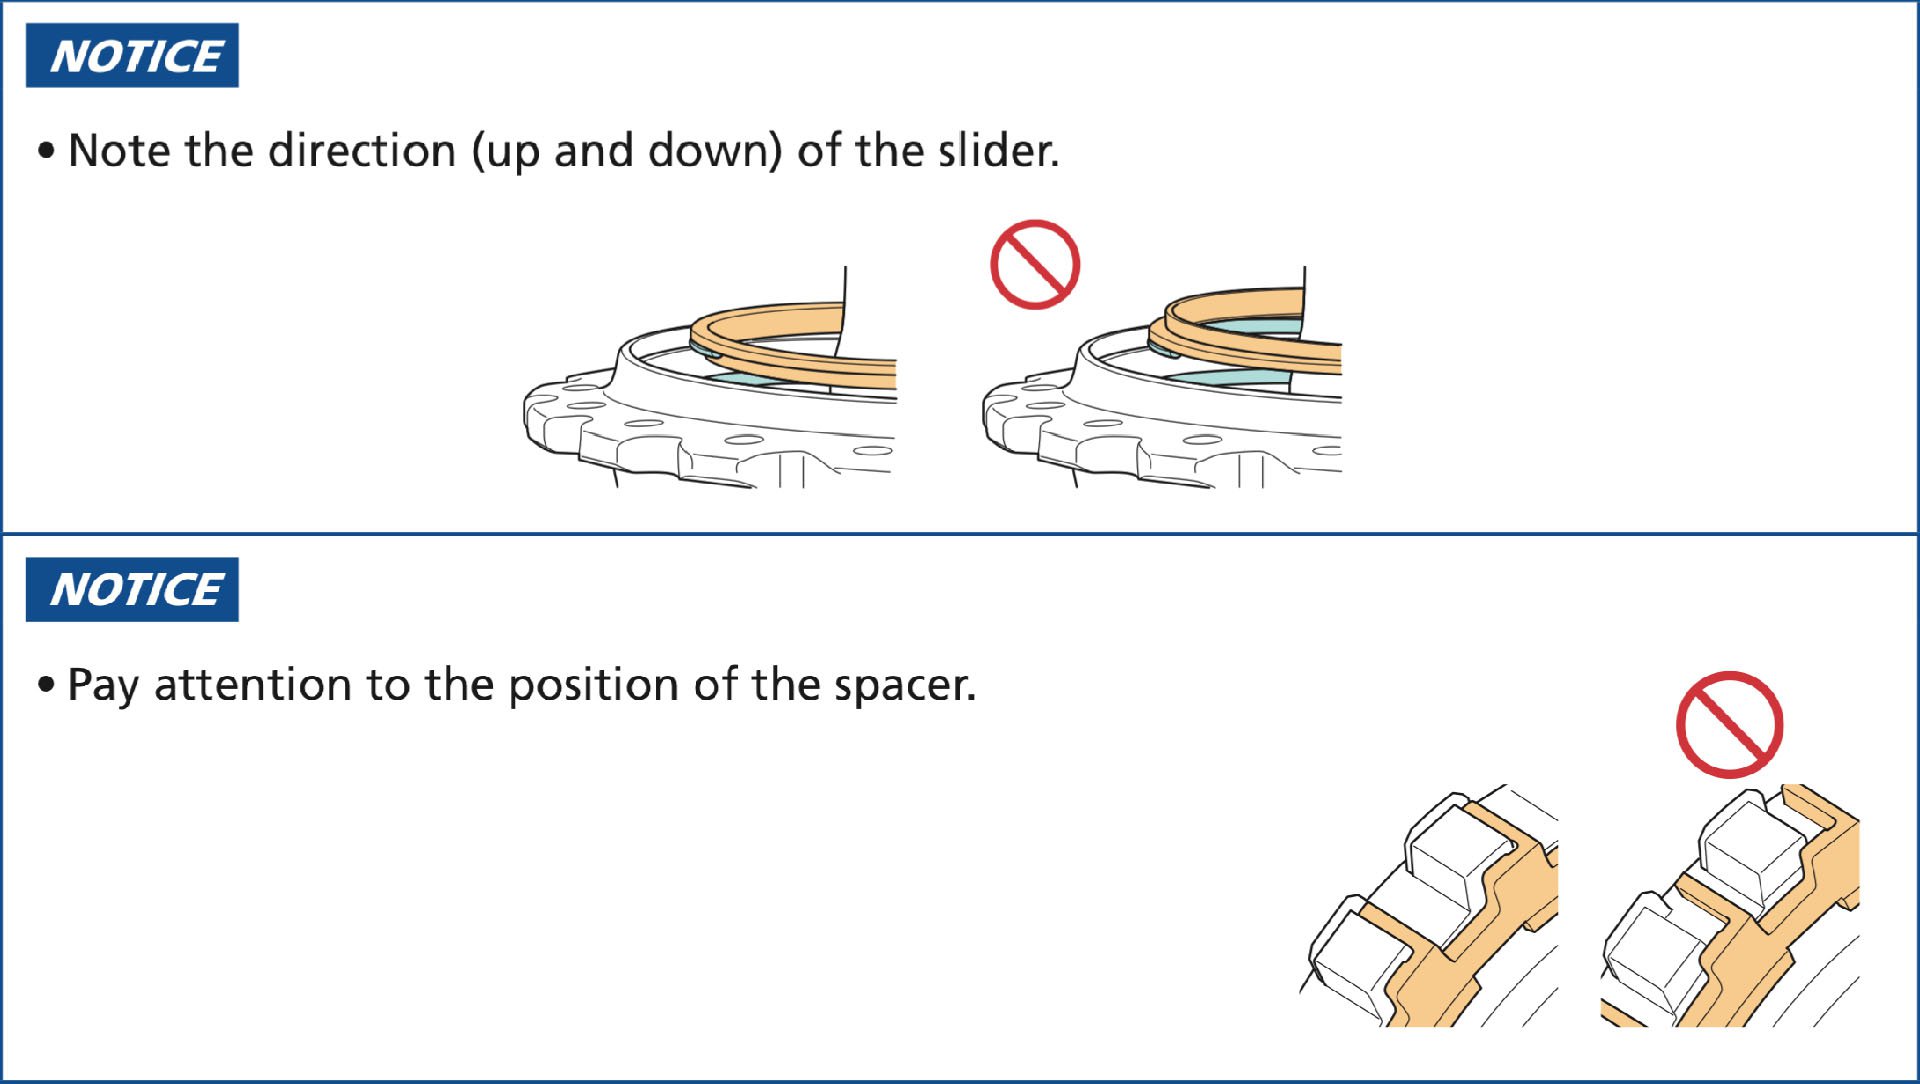
Shimano does a nice job identifying where punters like me might put something in wrong.
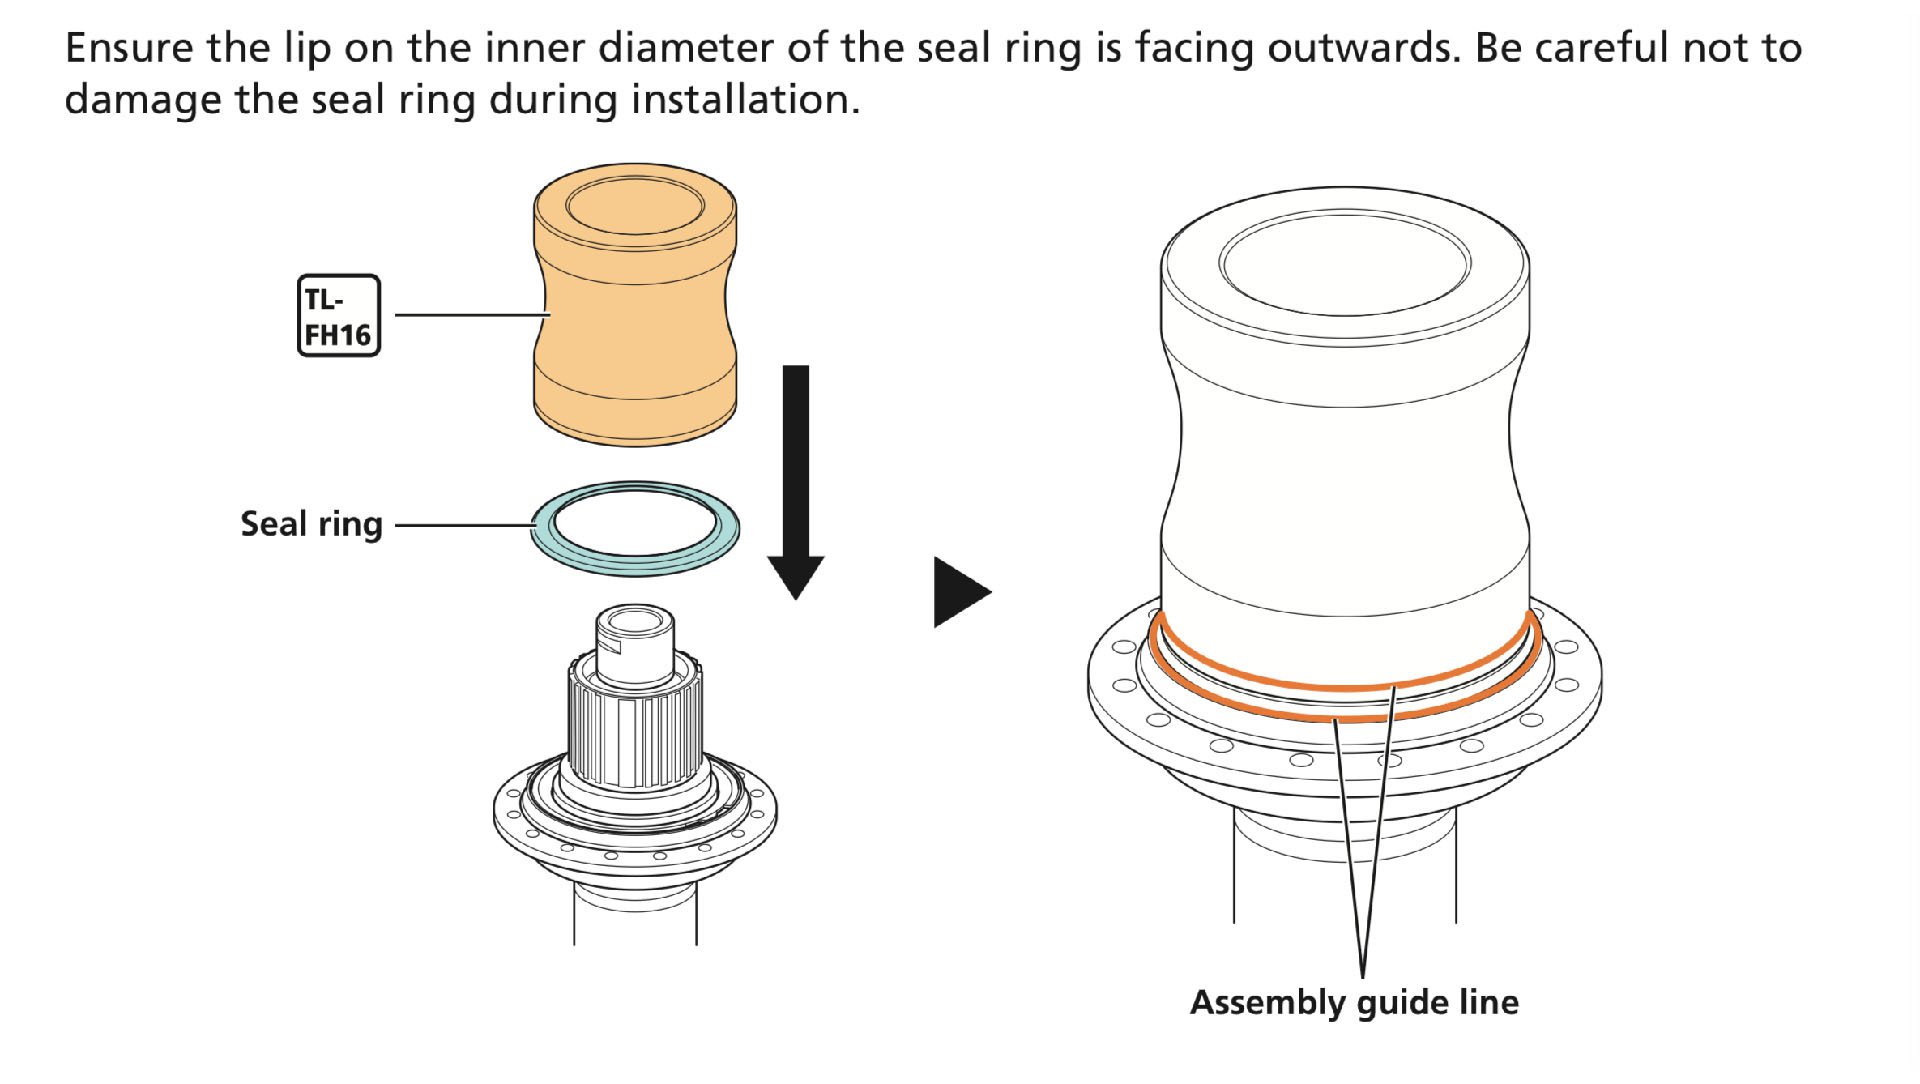
Another bit that needs to be be the right way up.
There are a couple of tricky moves in the final stages of reassembly, or at least ones that need to be executed correctly or your hub may explode. Probably not explode actually but Shimano is pretty serious about you getting this stuff right, which is what you want from a user manual.
A hush comes over the crowd as the master gently lowers the freehub into place. He's just about there ladies and gentlemen.

And finally the prettiest seal press ever gets called into service! This curvy anodized aluminum beauty does a great job, but you'll likely have something around the house that will do the job in a pinch.
That's it, that's all. Cartridge bearings have their upsides to be sure, but pulling bearings can be a nightmare, not to mention finding the size and type you need (Chris King for example) in far flung locations can be impossible. Fear not cup and and cone hubs!
Back in business.
This procedure differs very little for XT and SLX hubs and with a some TLC these hubs from yesteryear will easily last long enough for your axles, wheel size and headset standard to all become obsolete.
Stay tuned for an in depth look, with XTR Product manager Nick Murdick and a special guest, at why Shimano, continues to use this traditional hub design while virtually every other manufacturer has gone to cartridge bearings.


Comments
fartymarty
4 years, 1 month ago
Cam, for me the upside of cartridge bearings is I don't need to replace the hub (and wheel relace) if the bearing race gets pitted. This is why I moved away from Shimano hubs 20+ years ago and have never looked back. Admittedly my hamfistedness has decreased in those 20+ years but I don't see a reason to ditch my Hope hubs which are simple and are forward, backwards and sideways compatible. It will be interesting to hear Shimanos comments on their use or cup / cone bearings.
Reply
Cam McRae
4 years, 1 month ago
This is indeed the downside. And not having the stress of leaving your hubs too long so problems occur. The counterpoint is that the bearing seals are very effective here and based on my experience thus far, you'd have to be pretty neglectful to mess them up badly.
There are indeed some interesting comments from Shimano about the pros and cons.
Reply
twk
4 years, 1 month ago
I don't see why the bearing races couldn't be replaceable parts tbqh -- why not just make them a press-fit just like a cartridge bearing? This especially makes sense the hub body is aluminium anyway, while the races are steel. But apparently that's not the case?
Either way, I too prefer the set-and-forget nature of quality cartridge bearings.
Reply
Dan
4 years, 1 month ago
This was oddly satisfying to read.
Reply
UFO
4 years, 1 month ago
"some TLC these hubs from yesteryear will easily last long enough for your axles, wheel size and headset standard to all become obsolete"
HAH! love this, sneaky jab
Reply
bart
4 years, 1 month ago
Have had the privilege to ride XTR hubs last year. Was on DT Swiss 350's prior and I can't believe how much less rolling resistance there is in the XTR's. Through flowy sections of trail I am carrying more speed and having to pedal much less. It was not something I was expecting from the new XTR group but probably one of my most favorite improvements.
Reply
Ben Pye
4 years, 1 month ago
Hey Bart, I found the same thing. There's a section on my local trail that I always had to pedal on to get up a small rise after a small decent and coast. The first time into that section with the new XTR hubs, i had to apply the brakes at the top of the rise to make the next corner. Nothing changed on my bike except from going from 11 spd to 12 spd XTR. The hubs definitely carried me that distance and at higher speed.
Reply
pdxkid
4 years, 1 month ago
Left side fixed cone. Thank you! No need for an axle vise clamp thingy.
Reply
John Keiffer
4 years, 1 month ago
My road bike with 105 hubs is pitted in the front hub. I can feel the vibration through the bars. The wheels still spins just fine, by my bike shop is just telling me to replace the wheel which is quite disappointing. Another issue I have is that when I use the through axels when installing the wheels the discs never seems to line up the same. So wheel changes always have me fiddling with my disc brake adjustment. I'll be looking forward to the Shimano article you mentioned...
Reply
Cam McRae
4 years, 1 month ago
That sounds like an unusual problem to me. I assume you're talking about your mountain bike with discs but misaligned after simply removing your wheel or some more elaborate intervention, like bearing replacement?
Reply
John Keiffer
4 years, 1 month ago
Well I'm actually talking about my road bike. But yes, after patching a tube for example, the discs often need to be adjusted even if it seems like they would be going back in the same place. There must be some amount of pinching that happens when tightening the through axel, and this pinching introduces some binding and changes the alignment just enough to cause irksome rubbing.
Reply
Andy Eunson
4 years, 1 month ago
I used to have that misaligned disc issue with old quick release hubs. The problem went away with DTSwiss hubs so I figured out that the locknuts on the older disc hubs weren’t square with the opposite side. Back in the rim brake days it wasn't an issue. My solution was to mark the dropout and hub locknut so that the hub went back in the same orientation as when I aligned the discs. Newer better built hubs did not have the problem.
Reply
John Keiffer
4 years, 1 month ago
I have thru bolts without quick releases. I just tighten them down with a 6mm allen key. Again, this is on my road bike though. No biggy.
Reply
timeless
3 years, 6 months ago
Through bolts have a tendency to "walk" a bit when being tightened, and push themselves out of the dropout, thus causing an angular malalignment and disc rubbing. A solution is to push hard down on the wheel while tightening, and alternate tightening each side a small amount at a time.
Reply
Truleofthumb
4 years, 1 month ago
Has anyone come across this info from a guy on mtbr that claims he is missing a spacer on the freehub mechanism and now his hub acts like what the scylence hubs were supposed to do?
https://forums.mtbr.com/wheels-tires/shimano-scylence-information-1126885.html
Reply
Paul Watt
4 years, 1 month ago
My XTR hub just went silent one day. Very odd, but pretty cool. Even with my ear to the hub I can't hear any clicking at all. I've also had the same problem Cam described. I was walking the bike up a snowy trail, and when it came time to drop in, the hub freewheeled in both directions. It started working about halfway down the trail.
Reply
Paul Watt
3 years, 3 months ago
Late update here! The above mentioned hub failed completely, freewheeling in both directions. I got a replacement hub, and now, 3 months later, it started making a horrific ratcheting sound and stopped working. I talked w the guys at Corsa, and they said it was probably smarter to go to a DT Swiss 350 if I wanted to have any sort of reliability, which I do.
Reply
Nick Black
3 years, 10 months ago
Iv'e had two of the xt m8100 rear hubs fail on me. Started a thread if you want all the info.
https://forums.mtbr.com/wheels-tires/multiple-xt-m8100-hub-failures-1139315.html
Reply
Please log in to leave a comment.