Part 2 of 2
7 (or so) more Ways to Pamper your Bike During a Pandemic
There is no level playing field right now; many people are off work and busier than usual dealing with kids' schooling, some of you are working more than usual (thanks to all of you), and some of you find yourselves with more time on your hands than ever before, and few outlets for that time. People are baking bread, making yeast impossible to find, sorting their old photos, cleaning out cupboards and garages (I just did a number on mine although here at nsmb.com it's mostly business as usual), and getting to shit they have neglected for years. This is a nudge to get busy on your neglected mountain bike, the one that is currently whimpering in the corner if your access to trails is shut down.
If you missed the first instalment of this, make note of the first task below, since it should have been first, and then check out the first article. And then come back here. Etc. 5 Ways to Pamper your Bike During a Pandemic
Clean your Damned Bike!
Obviously this is the job to perform before you do anything else, and I neglected to lead off with it when I did my first list. If you live in an apartment or don't have access to a hose and cleaning location, this task may be a royal pain in the bum. There are solutions involving less water and portable sprayers, but having your own hose, or access to one is the best case scenario.
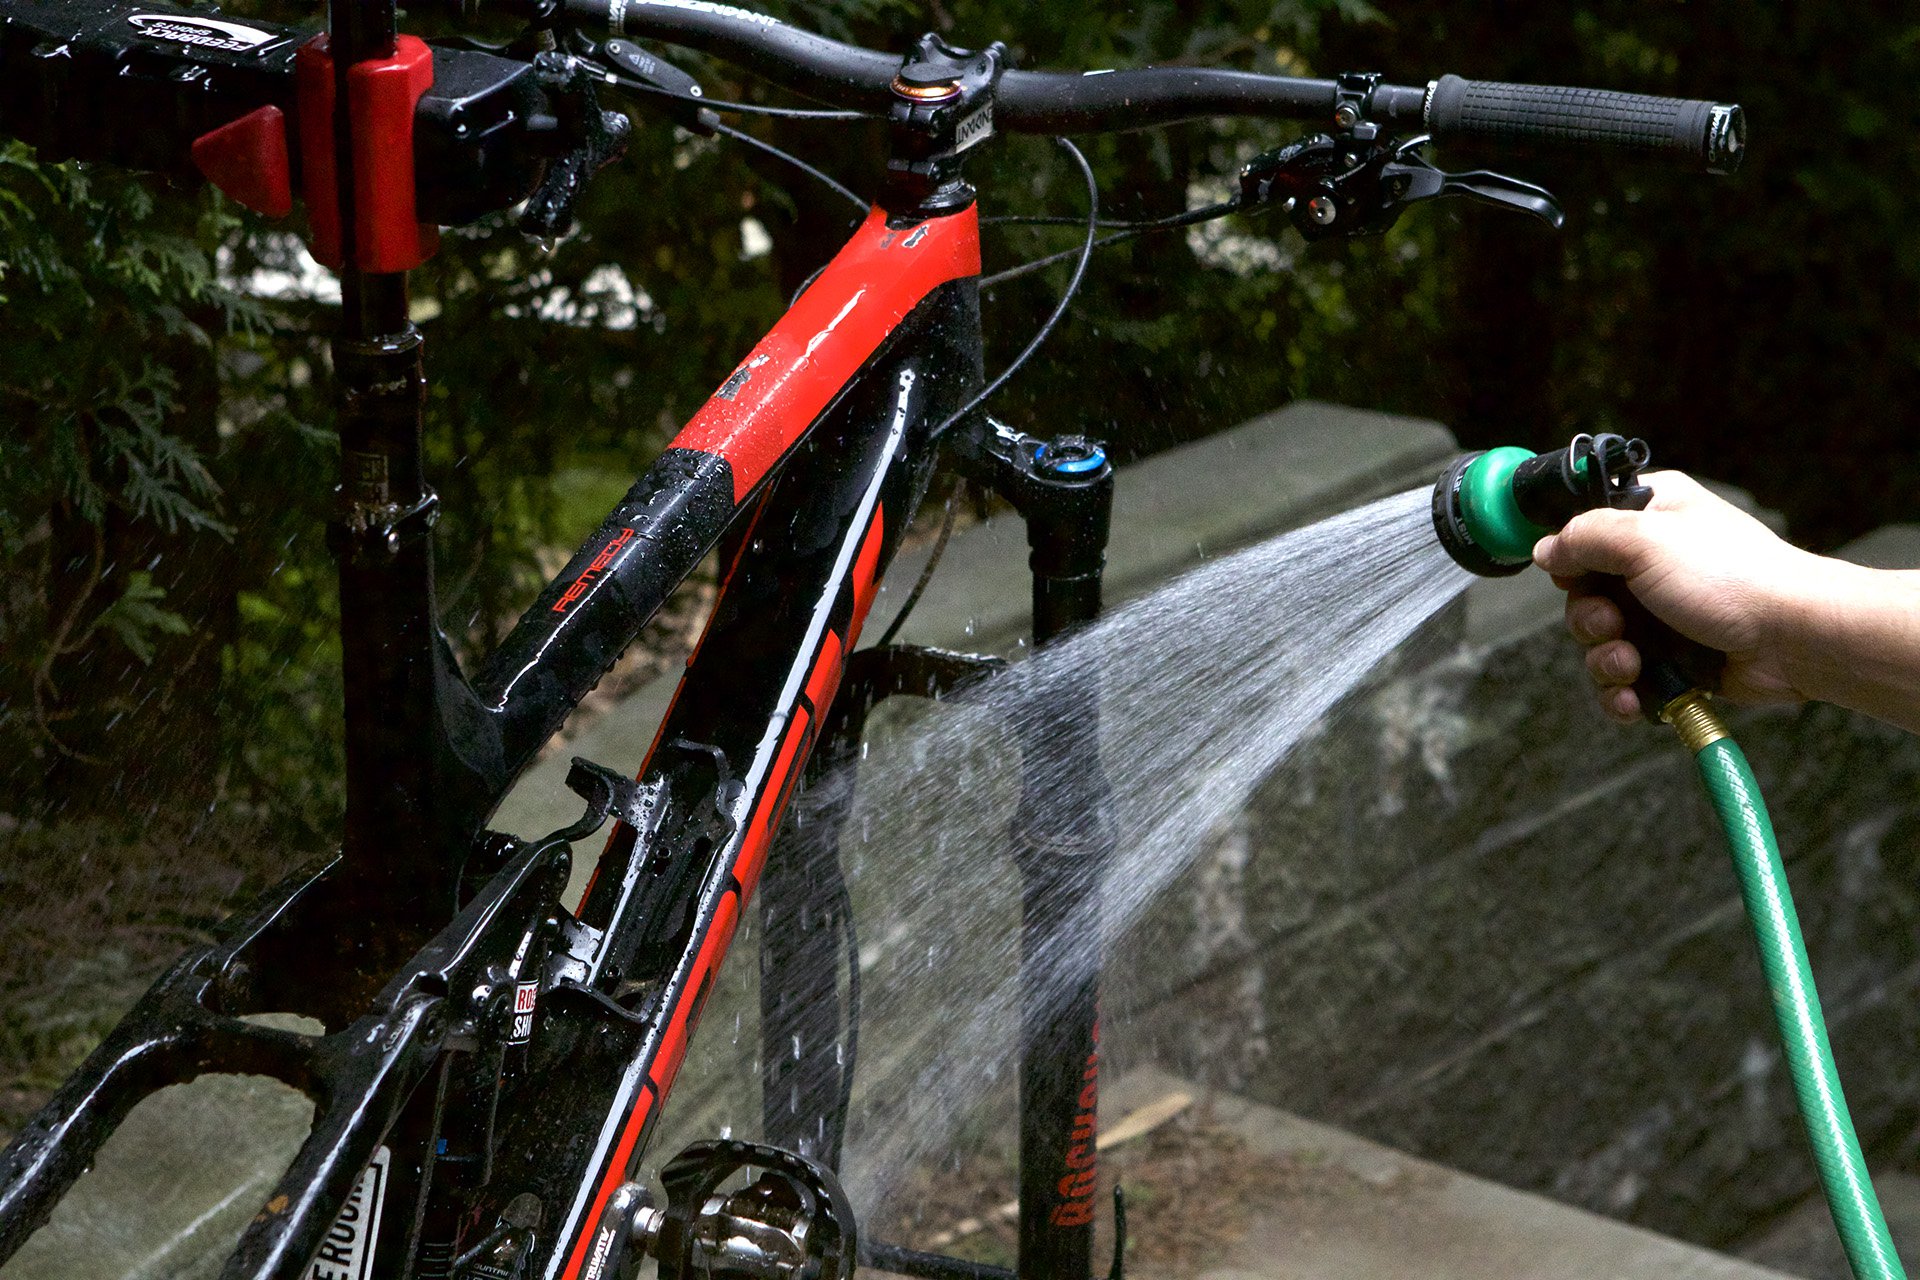
Shower your bike as much as possible rather than using a jet setting, but avoid your suspension seals and bearings as much as possible whatever setting you use.
Why clean your bike? Clean bikes are faster, and lighter, and quieter. I can't explain why but I know this to be true. It's also a great way to observe general wear and tear and rubbing or other scuffs so protection can be added in those locations. It can also alert you to imminent disaster in the form of a cracked cable housing or a squished or rubbed or cut brake line. As a wise man told me, it's a chance to touch every part of your bike.
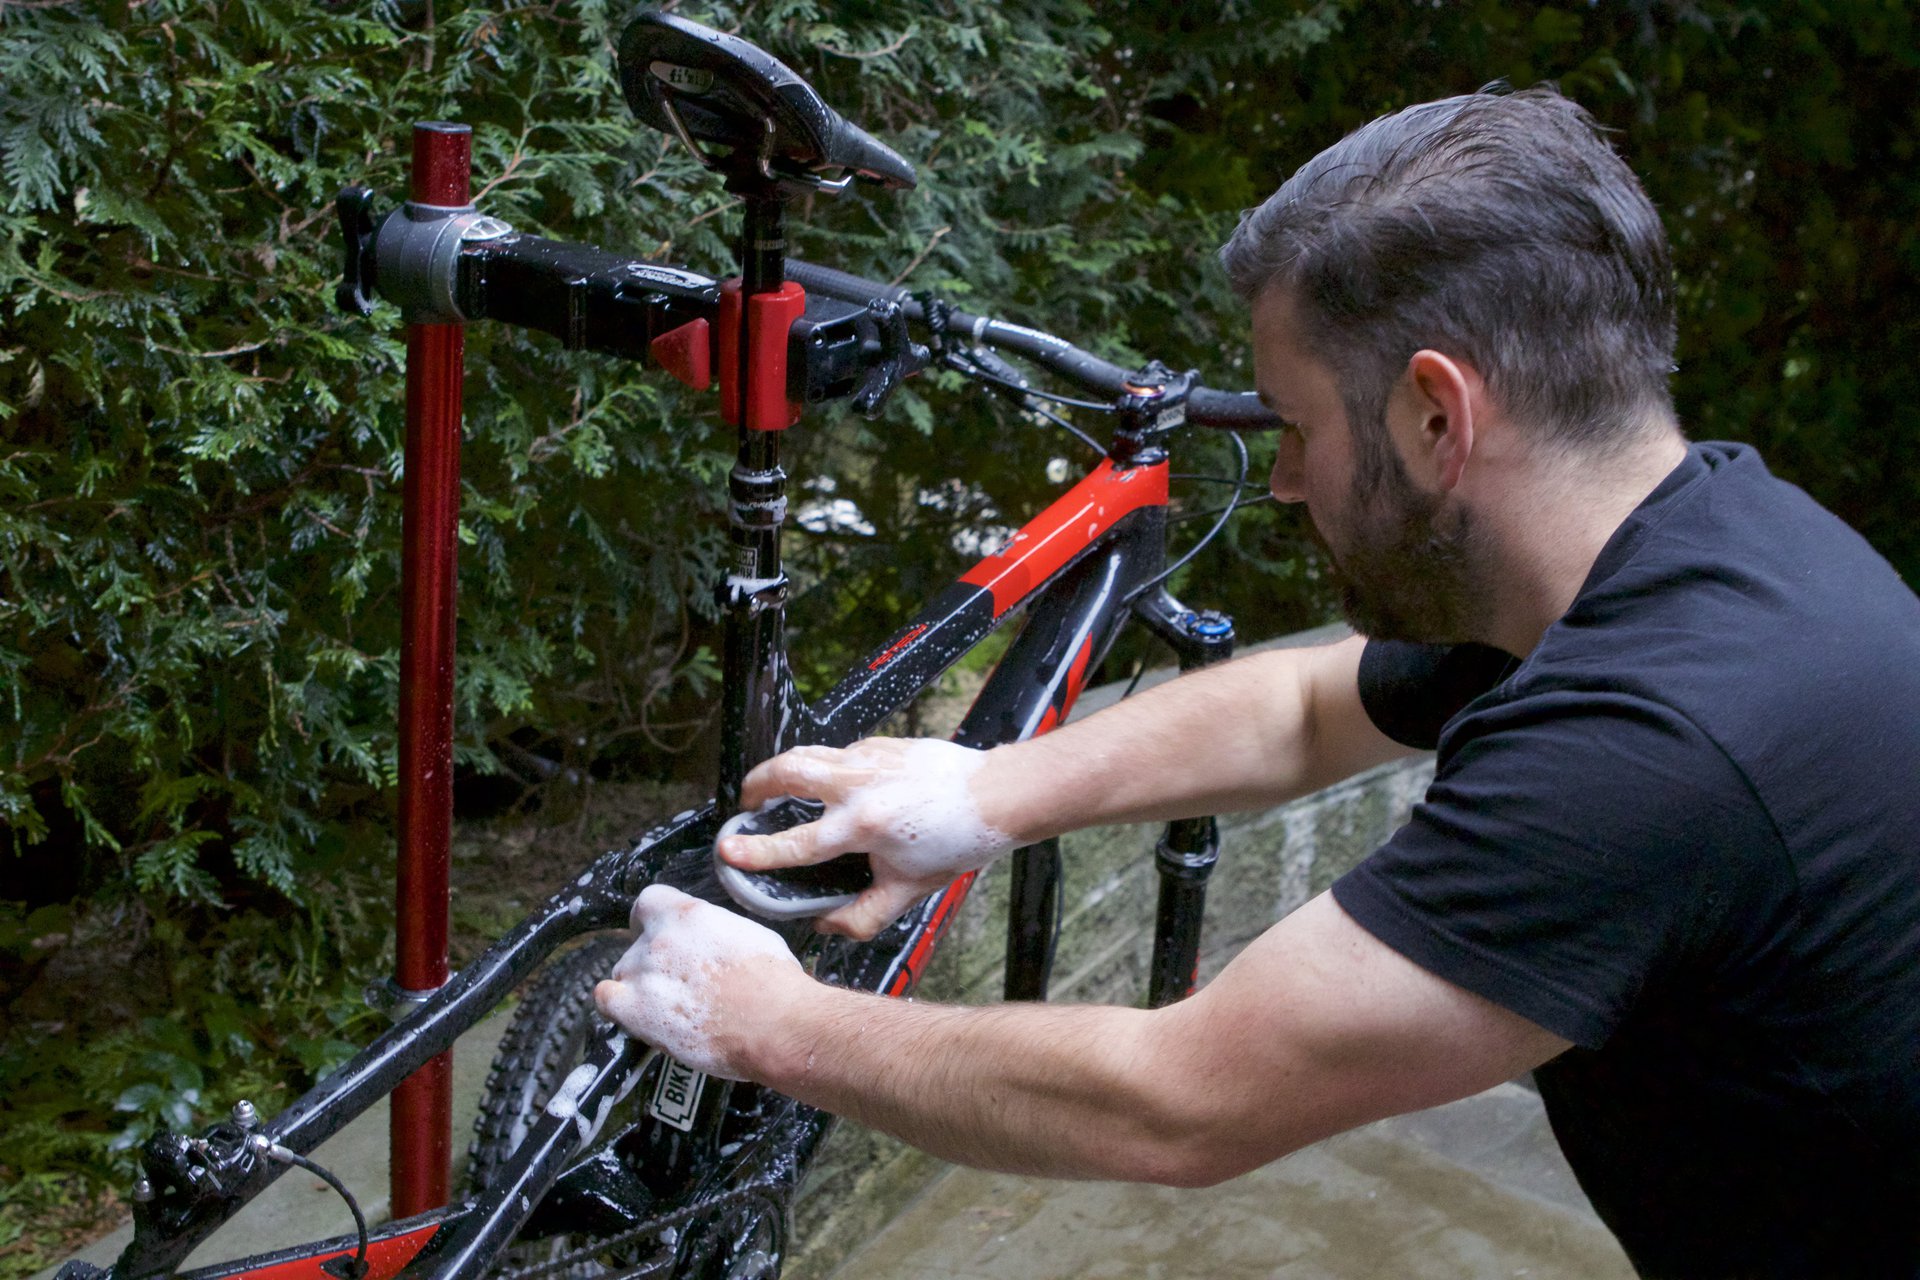
After the dirt has been moistened and loosened, it's time for some soap.
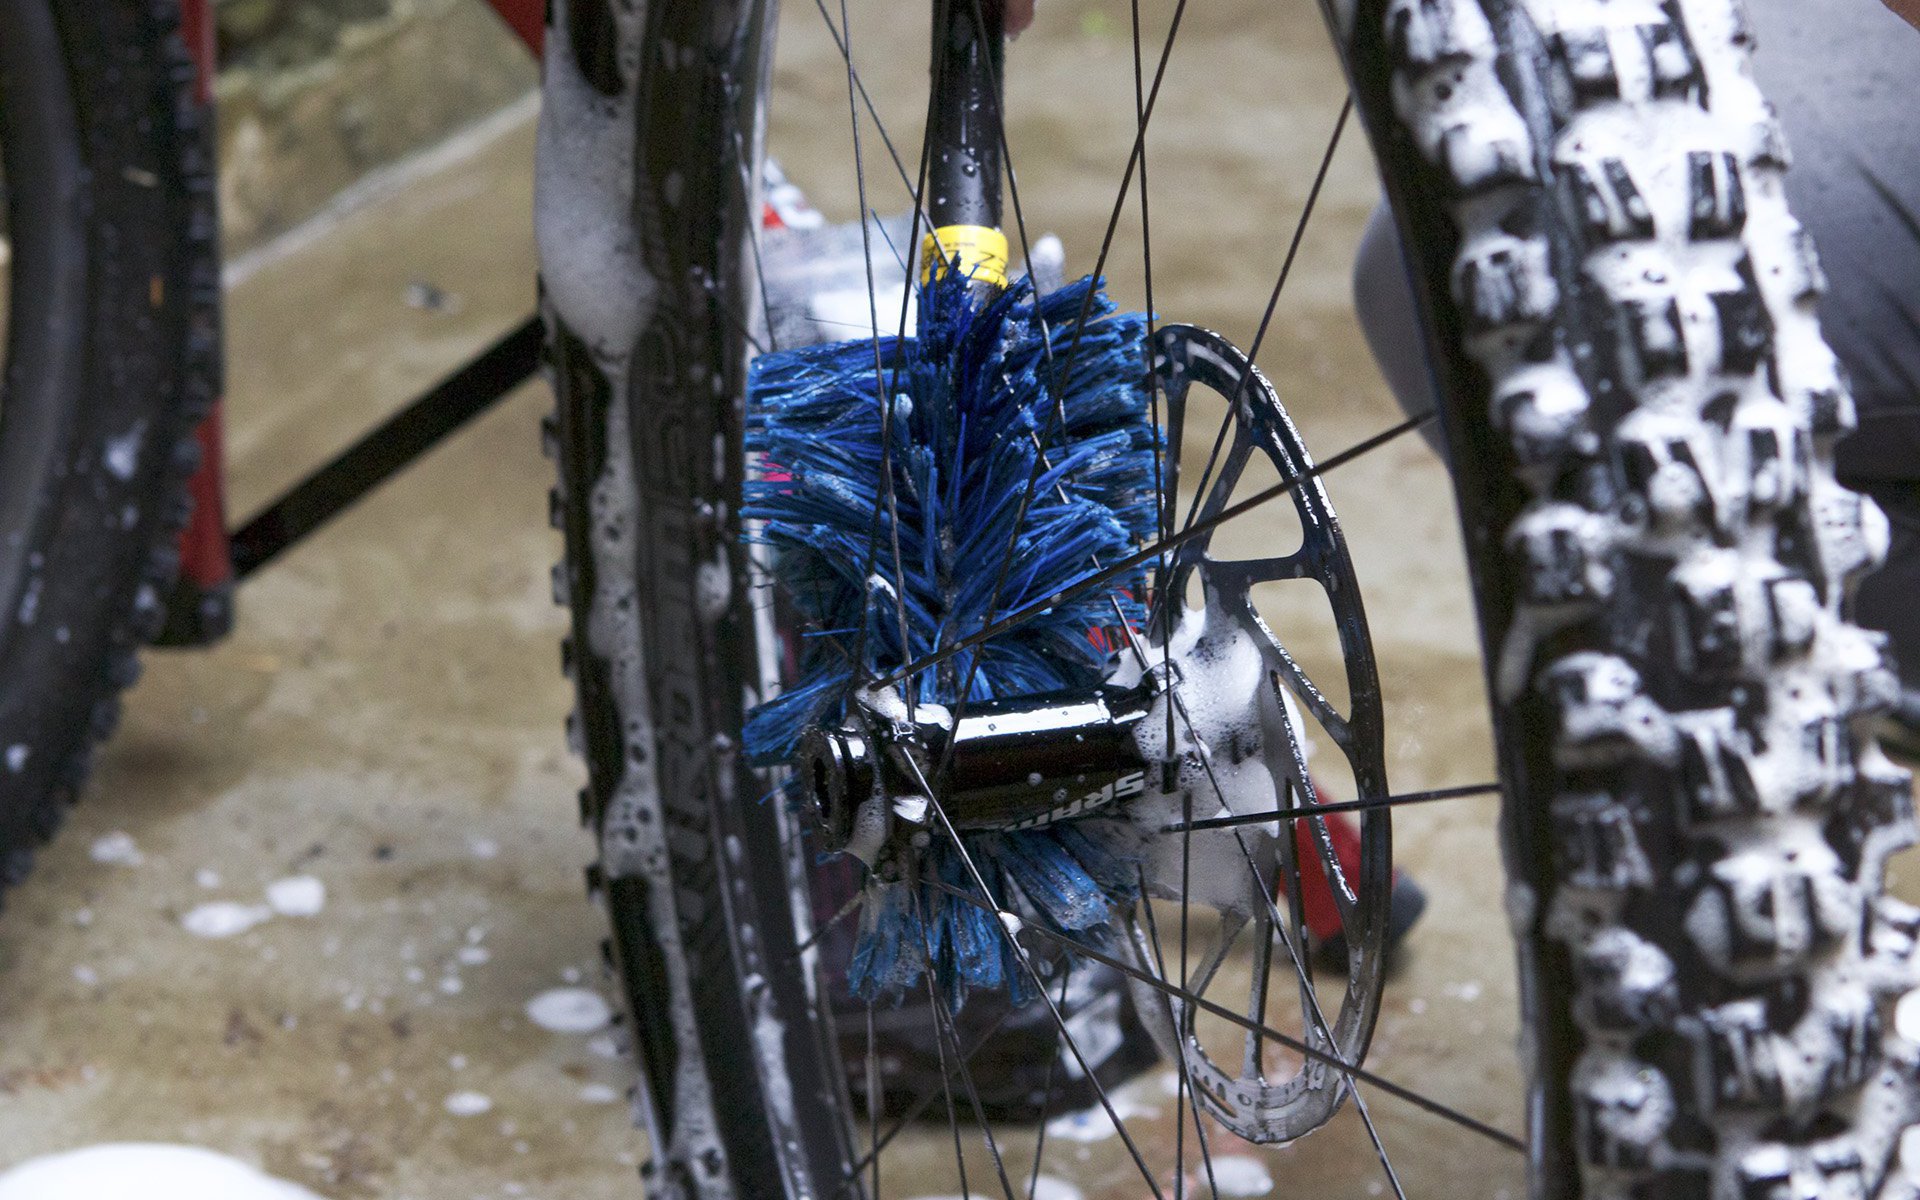
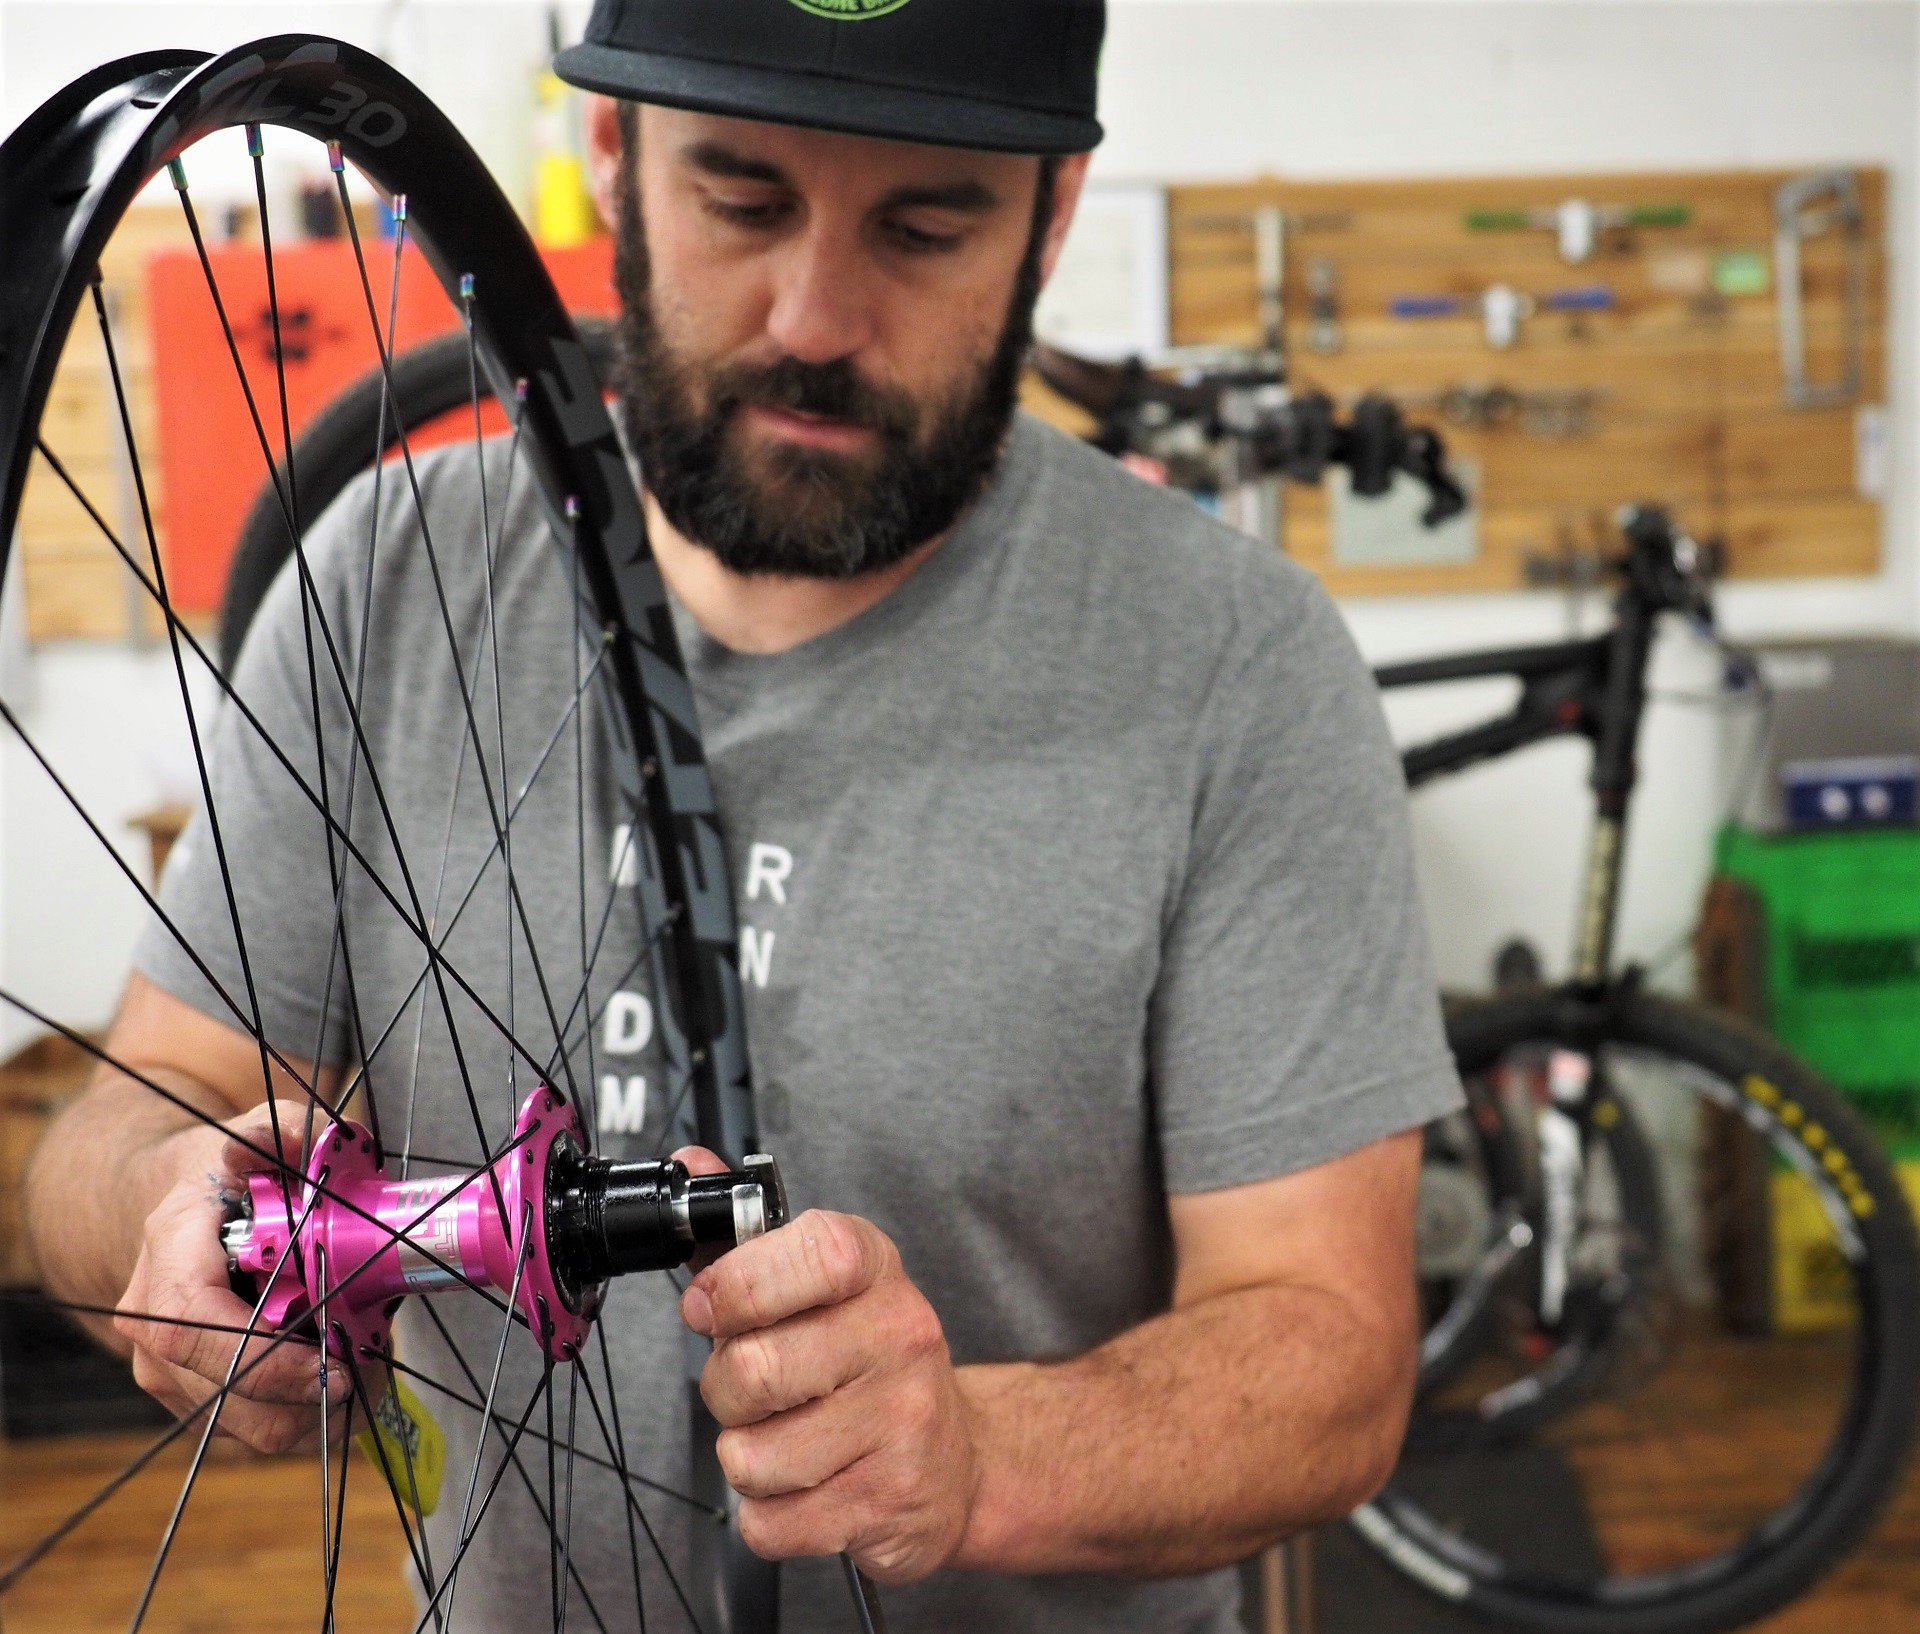
Luckily, Jeff Bryson of wheelthing, then working as an EWS mechanic for Jesse Melamed and Rémi Gauvin, went through his procedure with me for an article two years ago. Some of the take homes were, spend a little money on good brushes, remove wheels if you want to get serious, use the shower setting rather than jet, and avoid spraying directly into bearings and suspension seals. If you want to make your bike sparkle like new, finish off with a silicone spray.
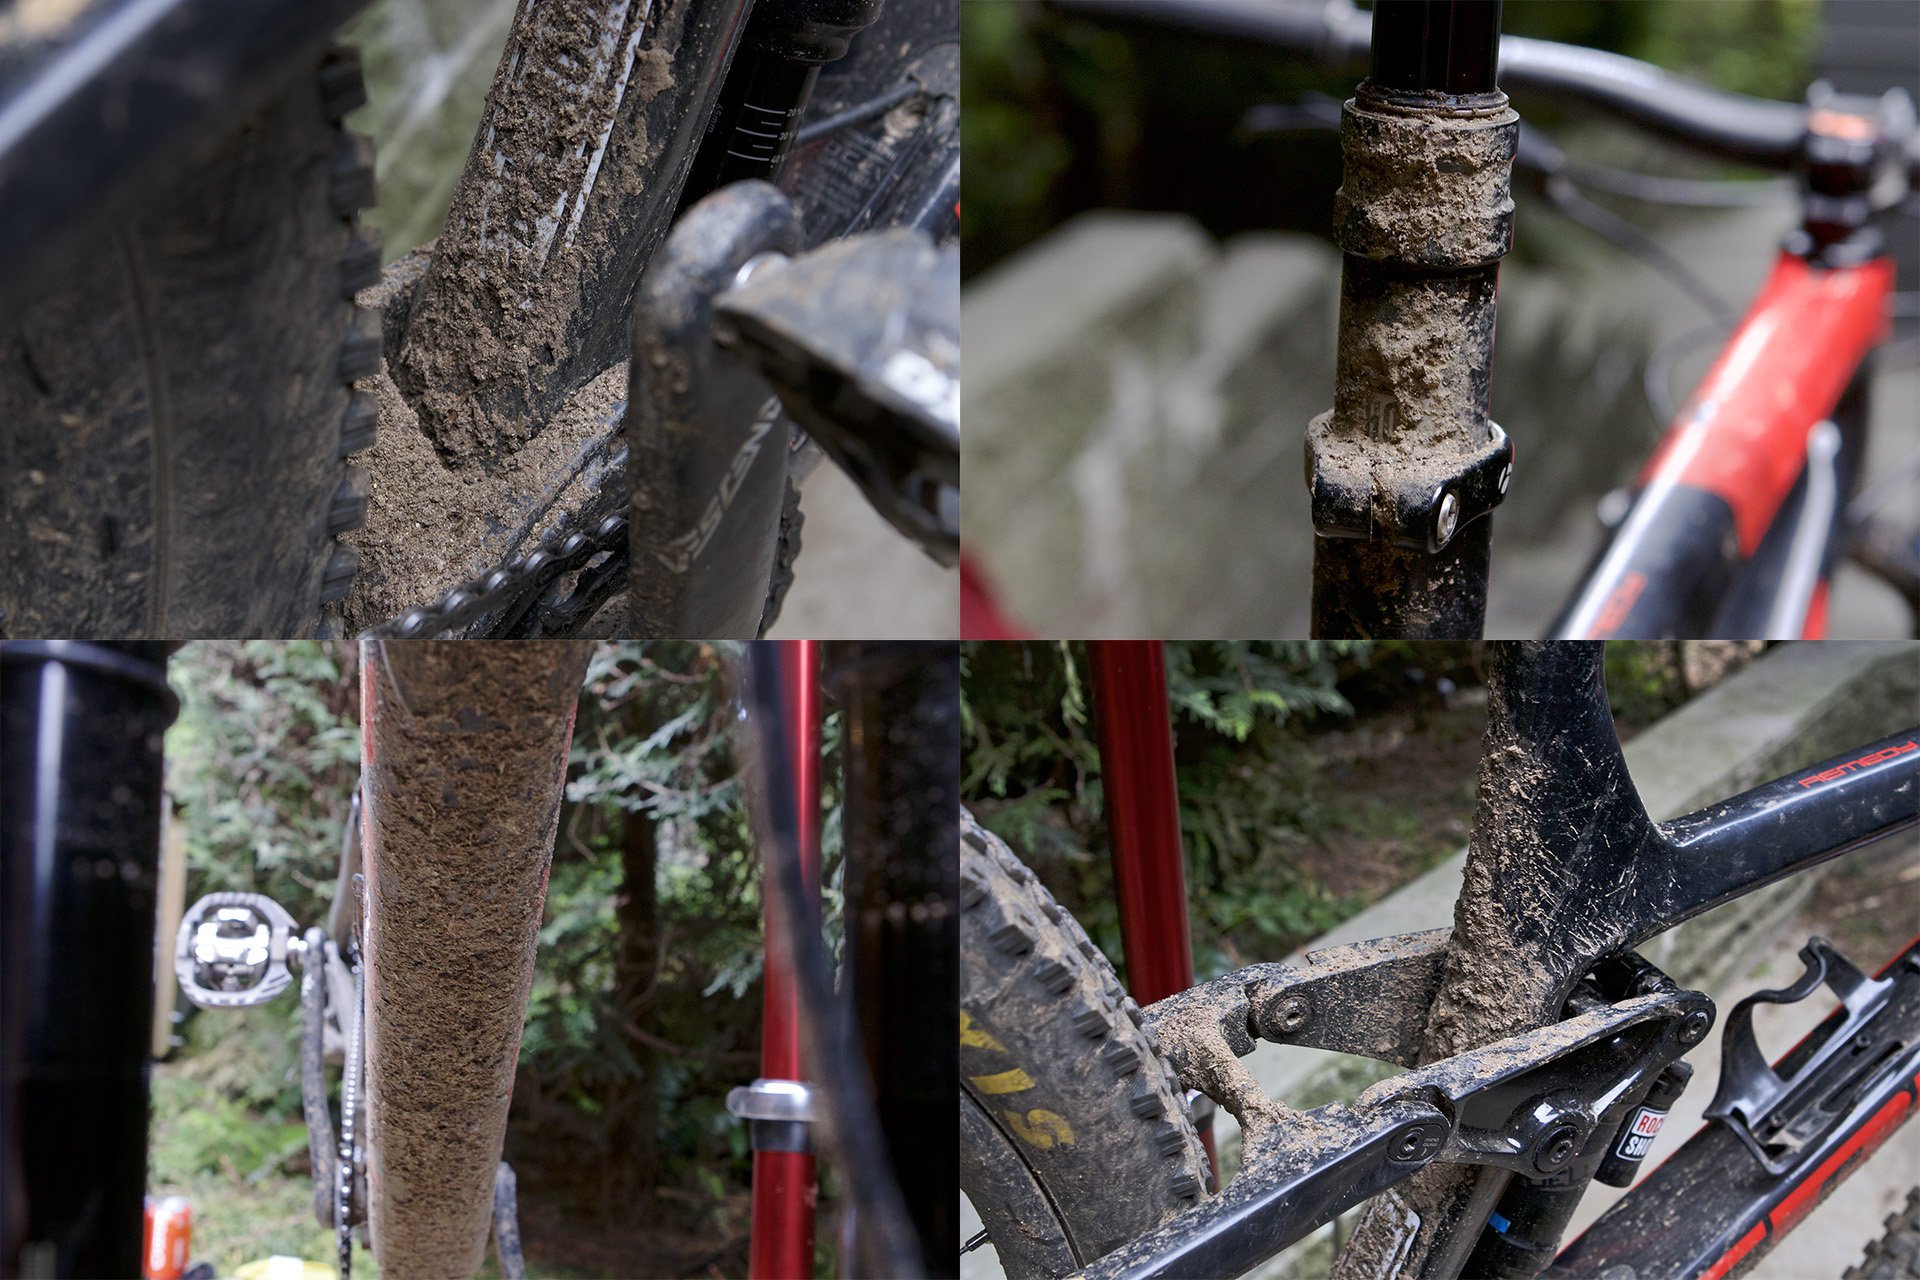
Jeff's bike started off like this...
and ended up like this, with the final polish coming from spray-on silicone.
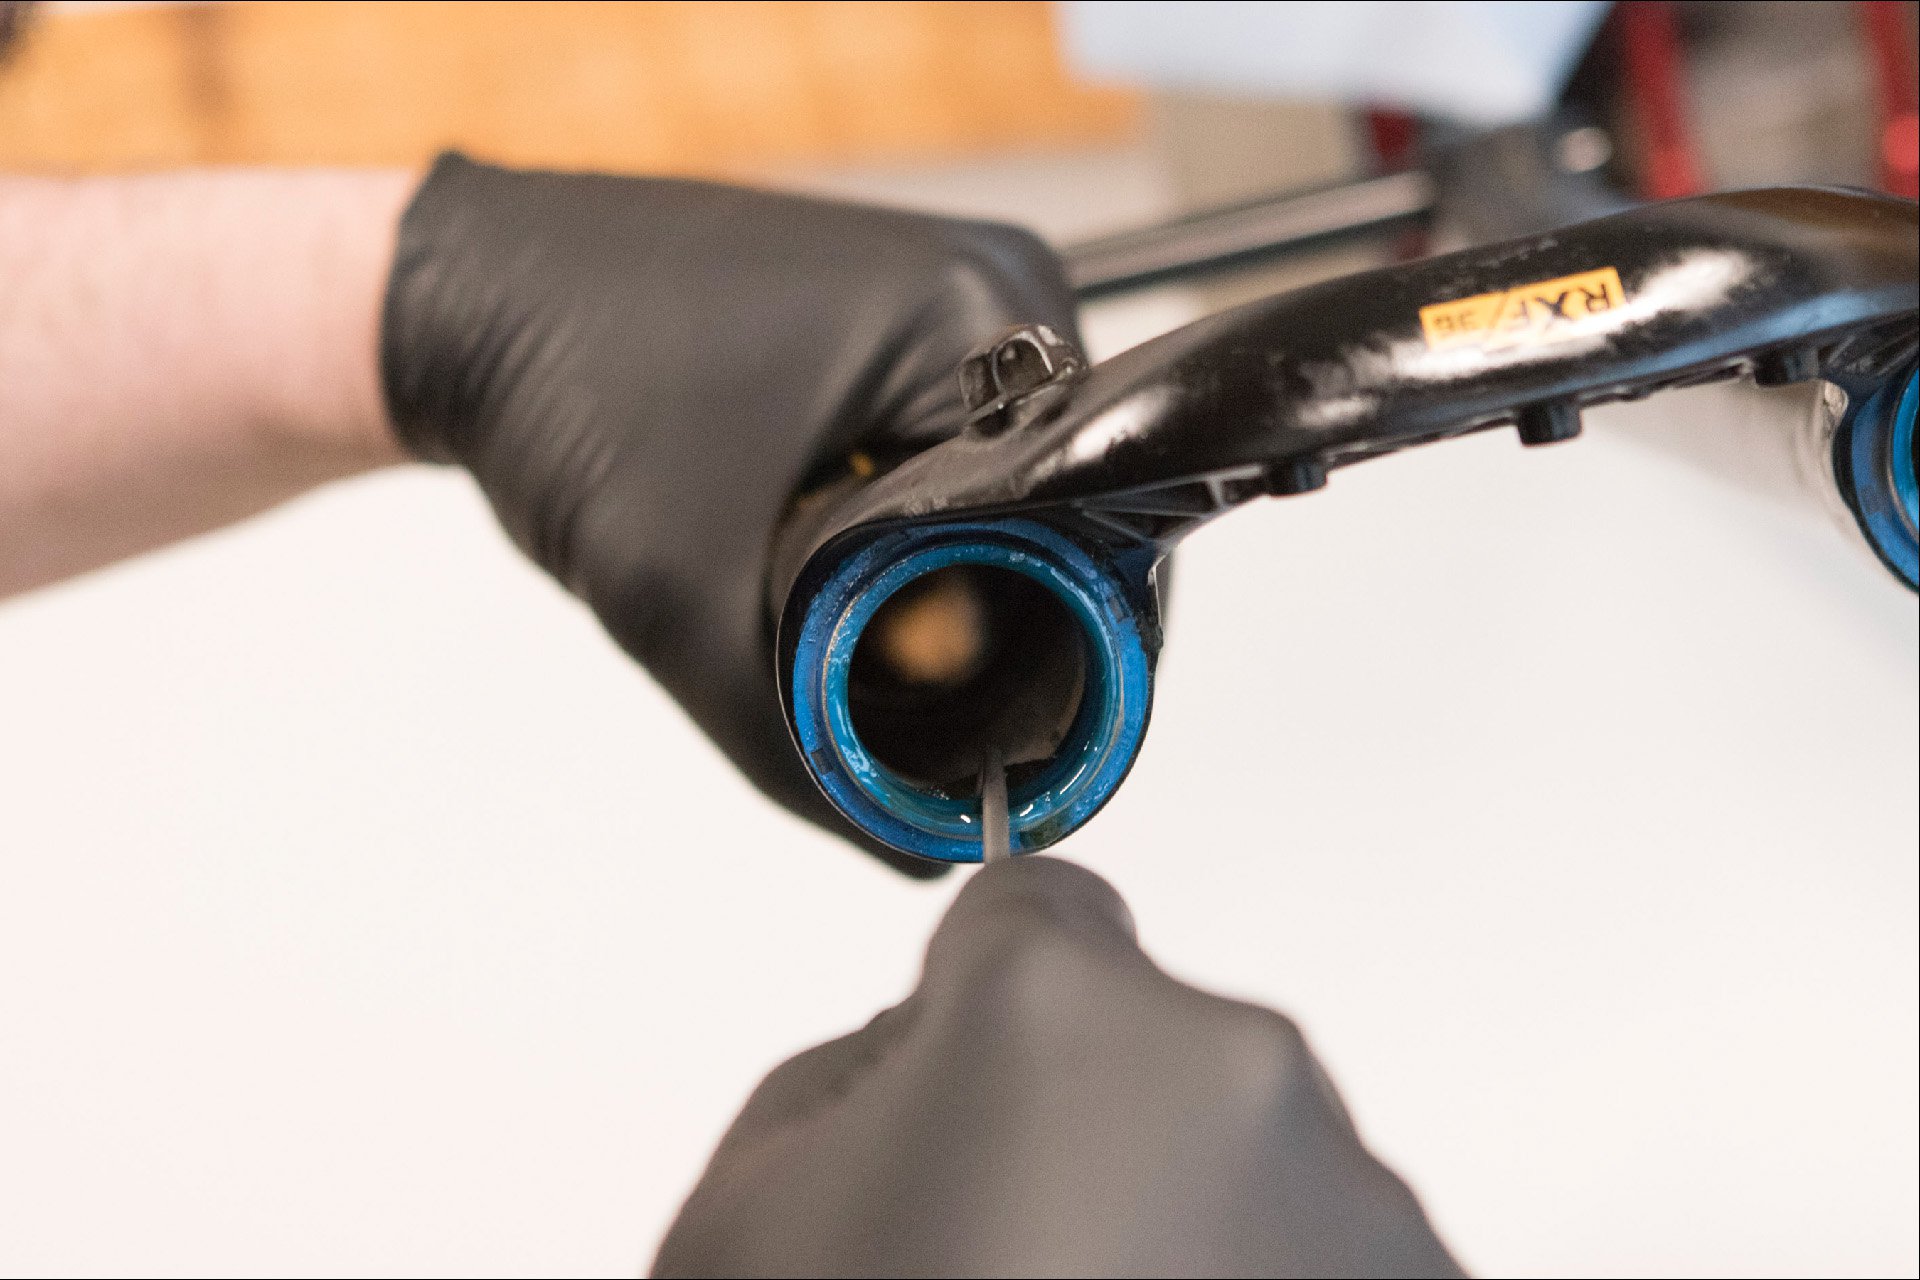
Do a Lower Leg Service on your Fork
Dropping your lower legs and doing a basic service is the sort of job most home wrenches can tackle. There are few special tools needed, mess is manageable,, and there isn't much finesse or brute strength required. You will need some grease and some fork oil of the appropriate weight for your fork. Not having those is pretty much a deal breaker but you can find some alternatives recommended by the google if you are desperate.
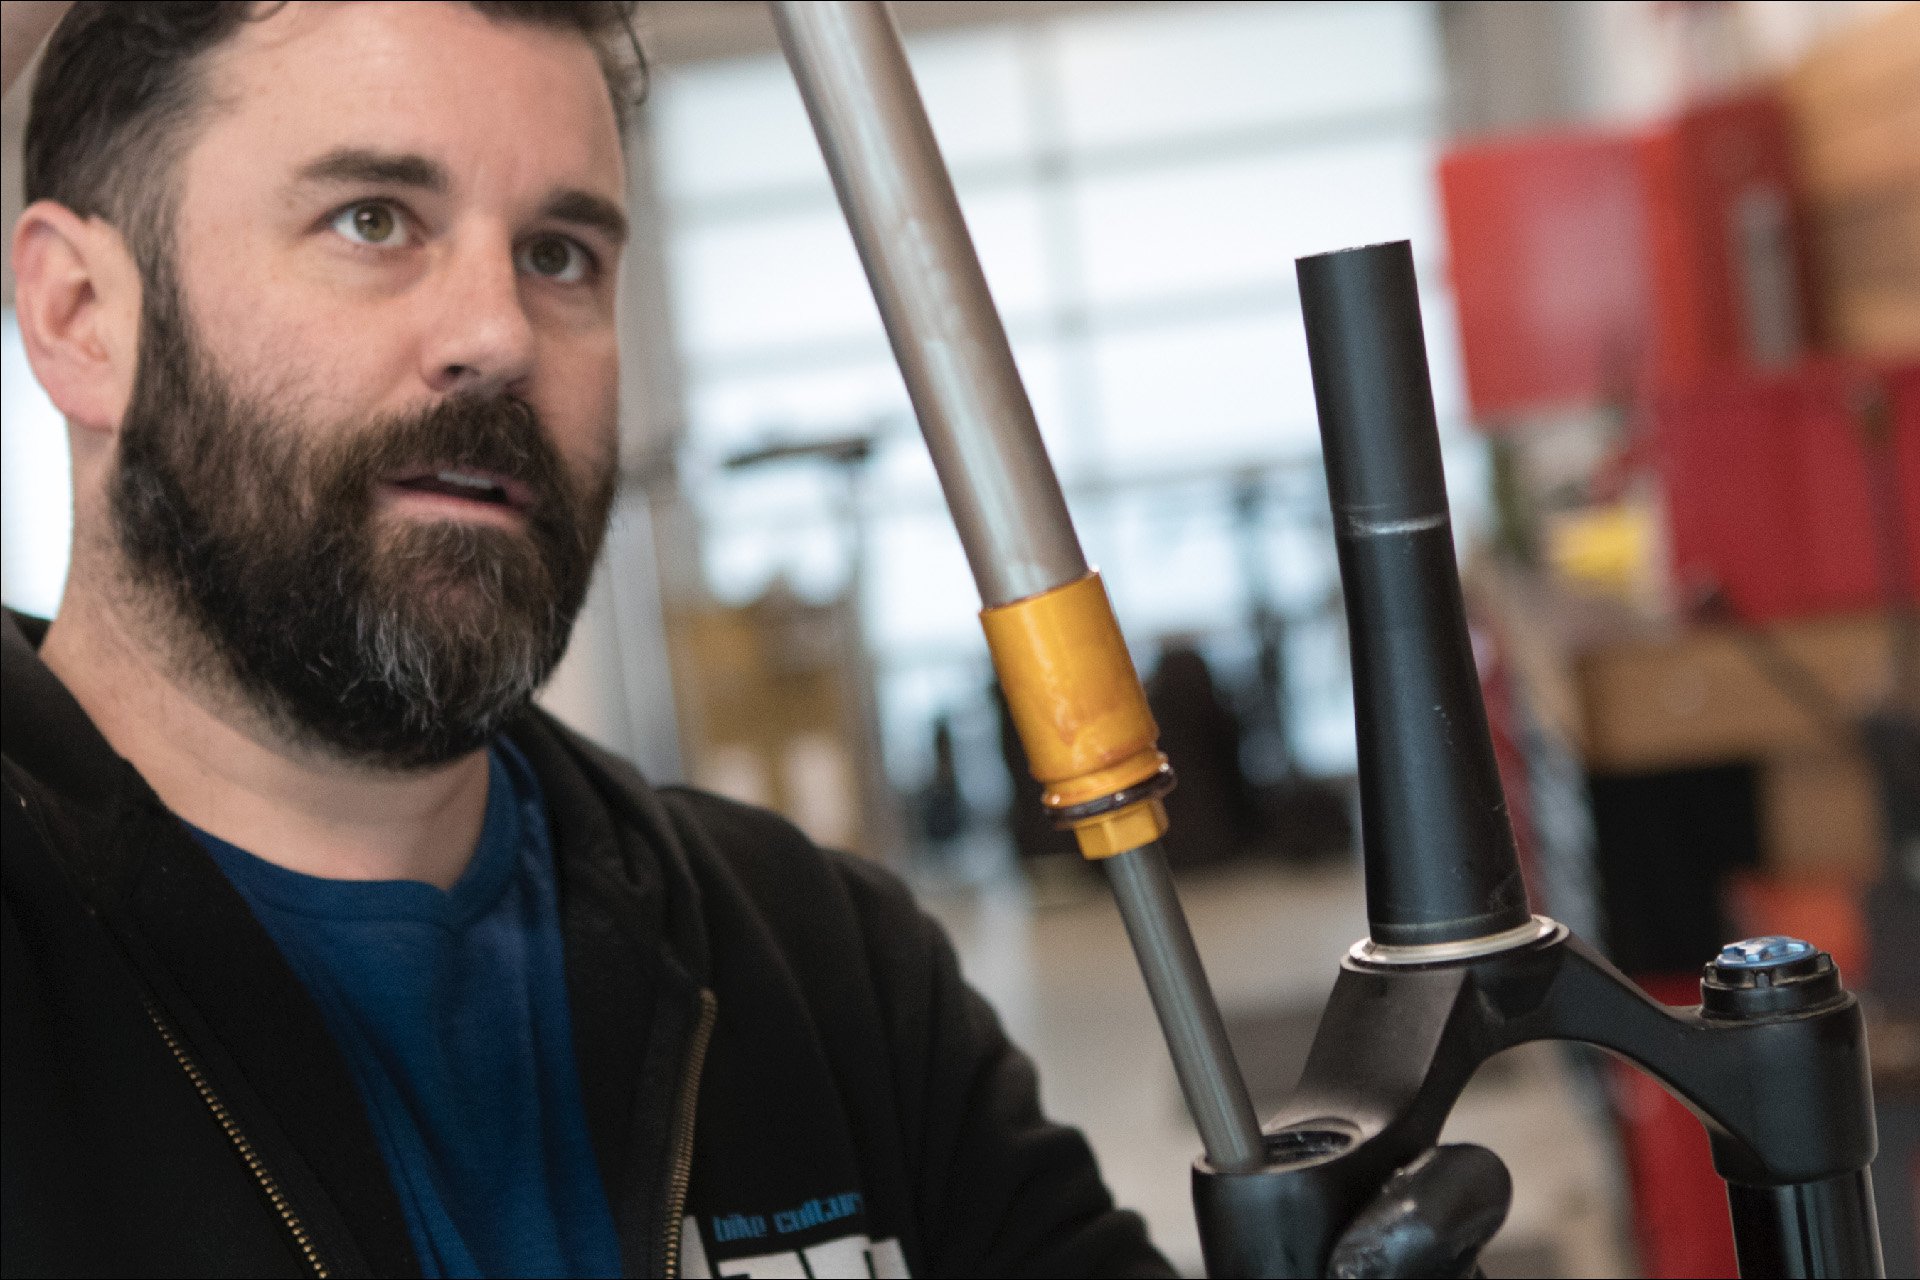
Some people are going to want to leave this to an expert like Jeff, and I can get behind that.
Two of us dropped our lowers recently (that sounds so very wrong) to test some new internals, (maybe worse) and it wasn't very messy or time consuming (!). It's one of those satisfying jobs where you just have to follow the steps in a video or a how-to with images and text. And while our operations included an air spring service, neither of us took more than an hour while figuring out a few new things and taking a few photos (individually at an anti-social distance without sharing tools, in different floors, but in the same general location).
If you loved to play with lego or take stuff apart when you were a kid, you'll likely be incredibly satisfied after completing this task.
I won't pretend to know all the specific tools you'll need for most forks, but for the Fox 36s and Rockshox Pikes and Lyriks that I have worked on rarely and inexpertly over the last few years, there are only a few tools that may not be at hand. Not all are essential but each one makes the job a little smoother.
- Internal retaining ring pliers to remove and replace C clamps
- Needle nose pliers
- Torx T10
- 1 downhill tire lever
- A pick
- A soft mallet (rubber or plastic)
- plastic or wooden dowel
- A cassette tool for recent Rockshox forks
- A 32mm 28, 26, or 24mm non-chamfered socket for Fox forks or order Rockshox
- A vise with some non-marking clamping options (I'm pretty creative with this - but don't be if you are fussy)
- A work stand - both to hold the bike and, if the fork is to be removed, to clamp the steerer while the fork is being worked on
- A syringe or graduated cylinder to hold and dispense suspension fluid
- Something to use as an oil pan (a frisbee works in a pinch)
- Shop towels
- A torque wrench (optional if you are experienced and can interpret torque numbers or if you are a loose canon)
- Shock pump
NOTE: I'm not claiming this is an exhaustive list for any single fork, and certainly not for every fork or every operation. The service documents or videos on your manufacturer's website will give you an exhaustive list and include more non-essential but helpful items that every decent mountain bike shop should have. In fact I wish these documents were more forthcoming and what is mandatory and what alternative tools will work in a pinch.
Do it. It will make you feel good.
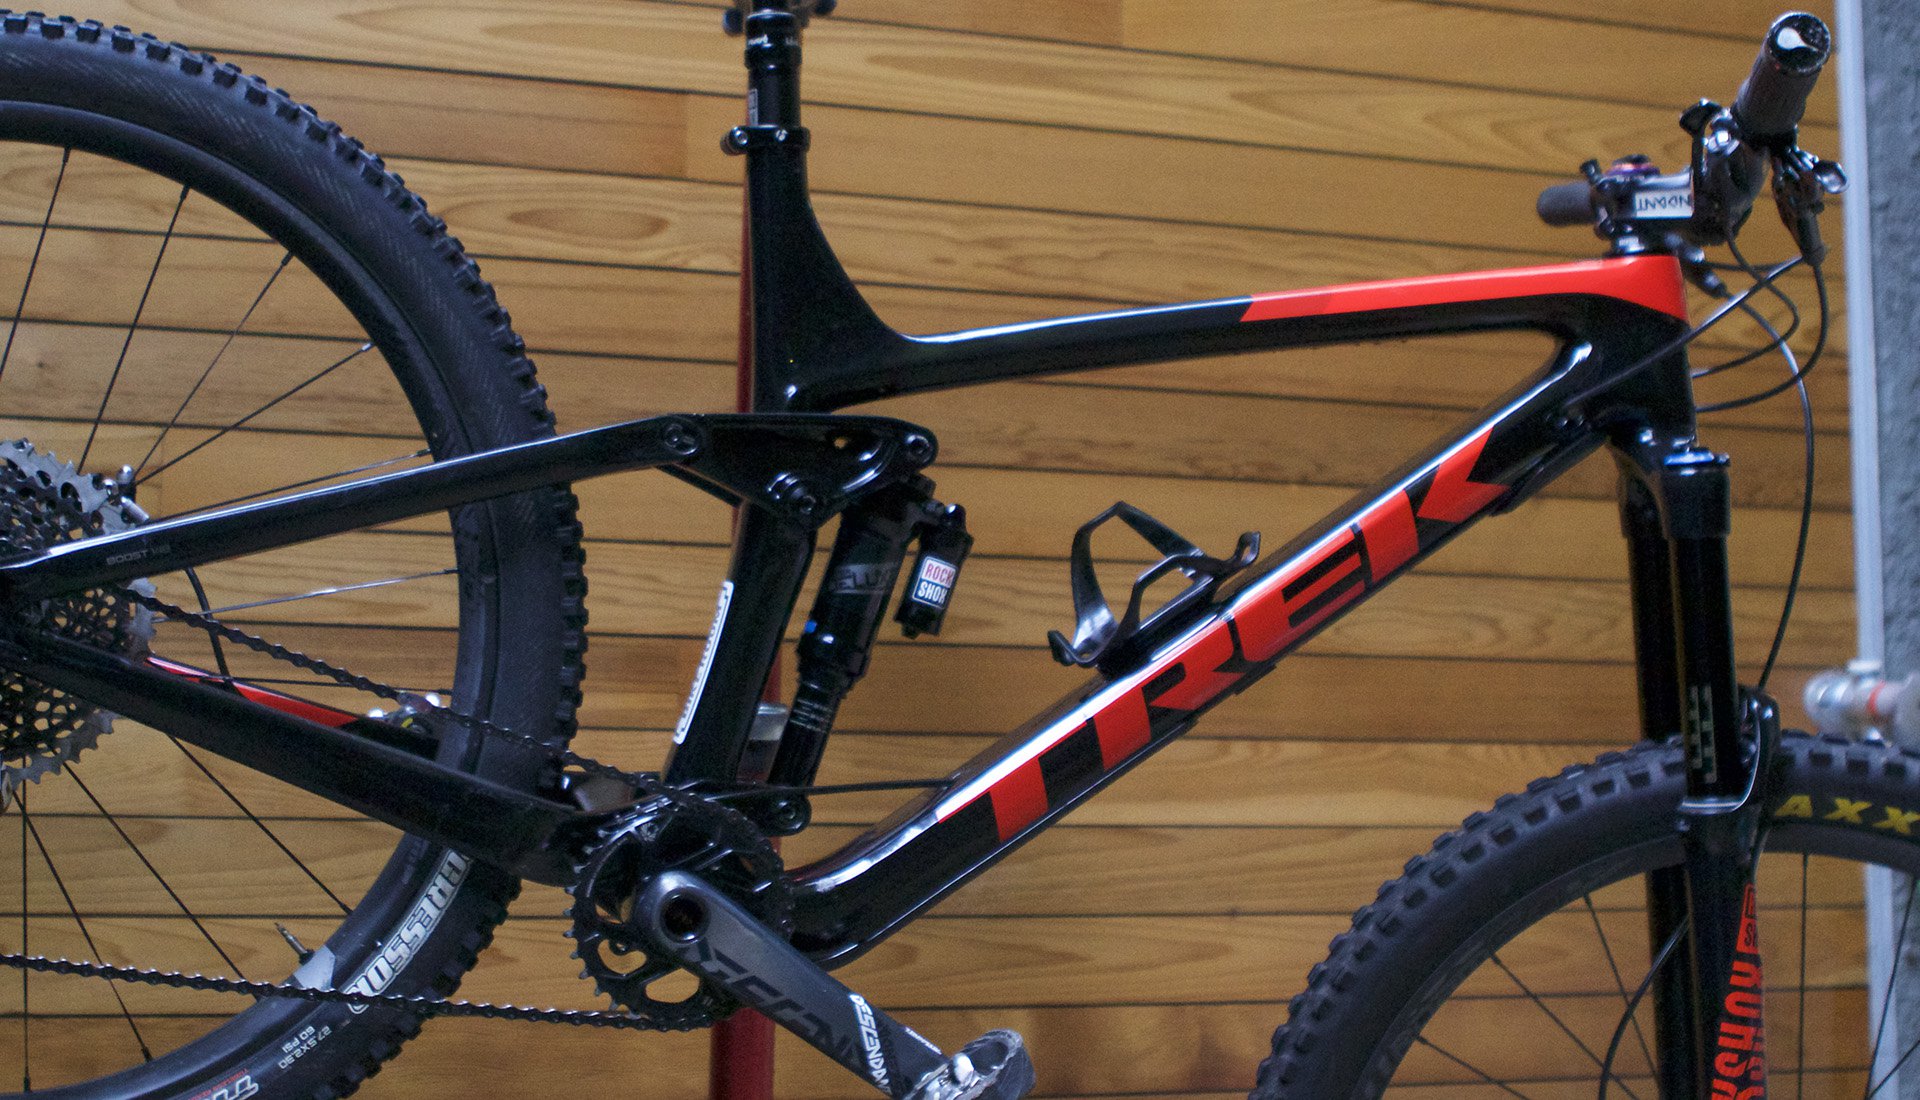
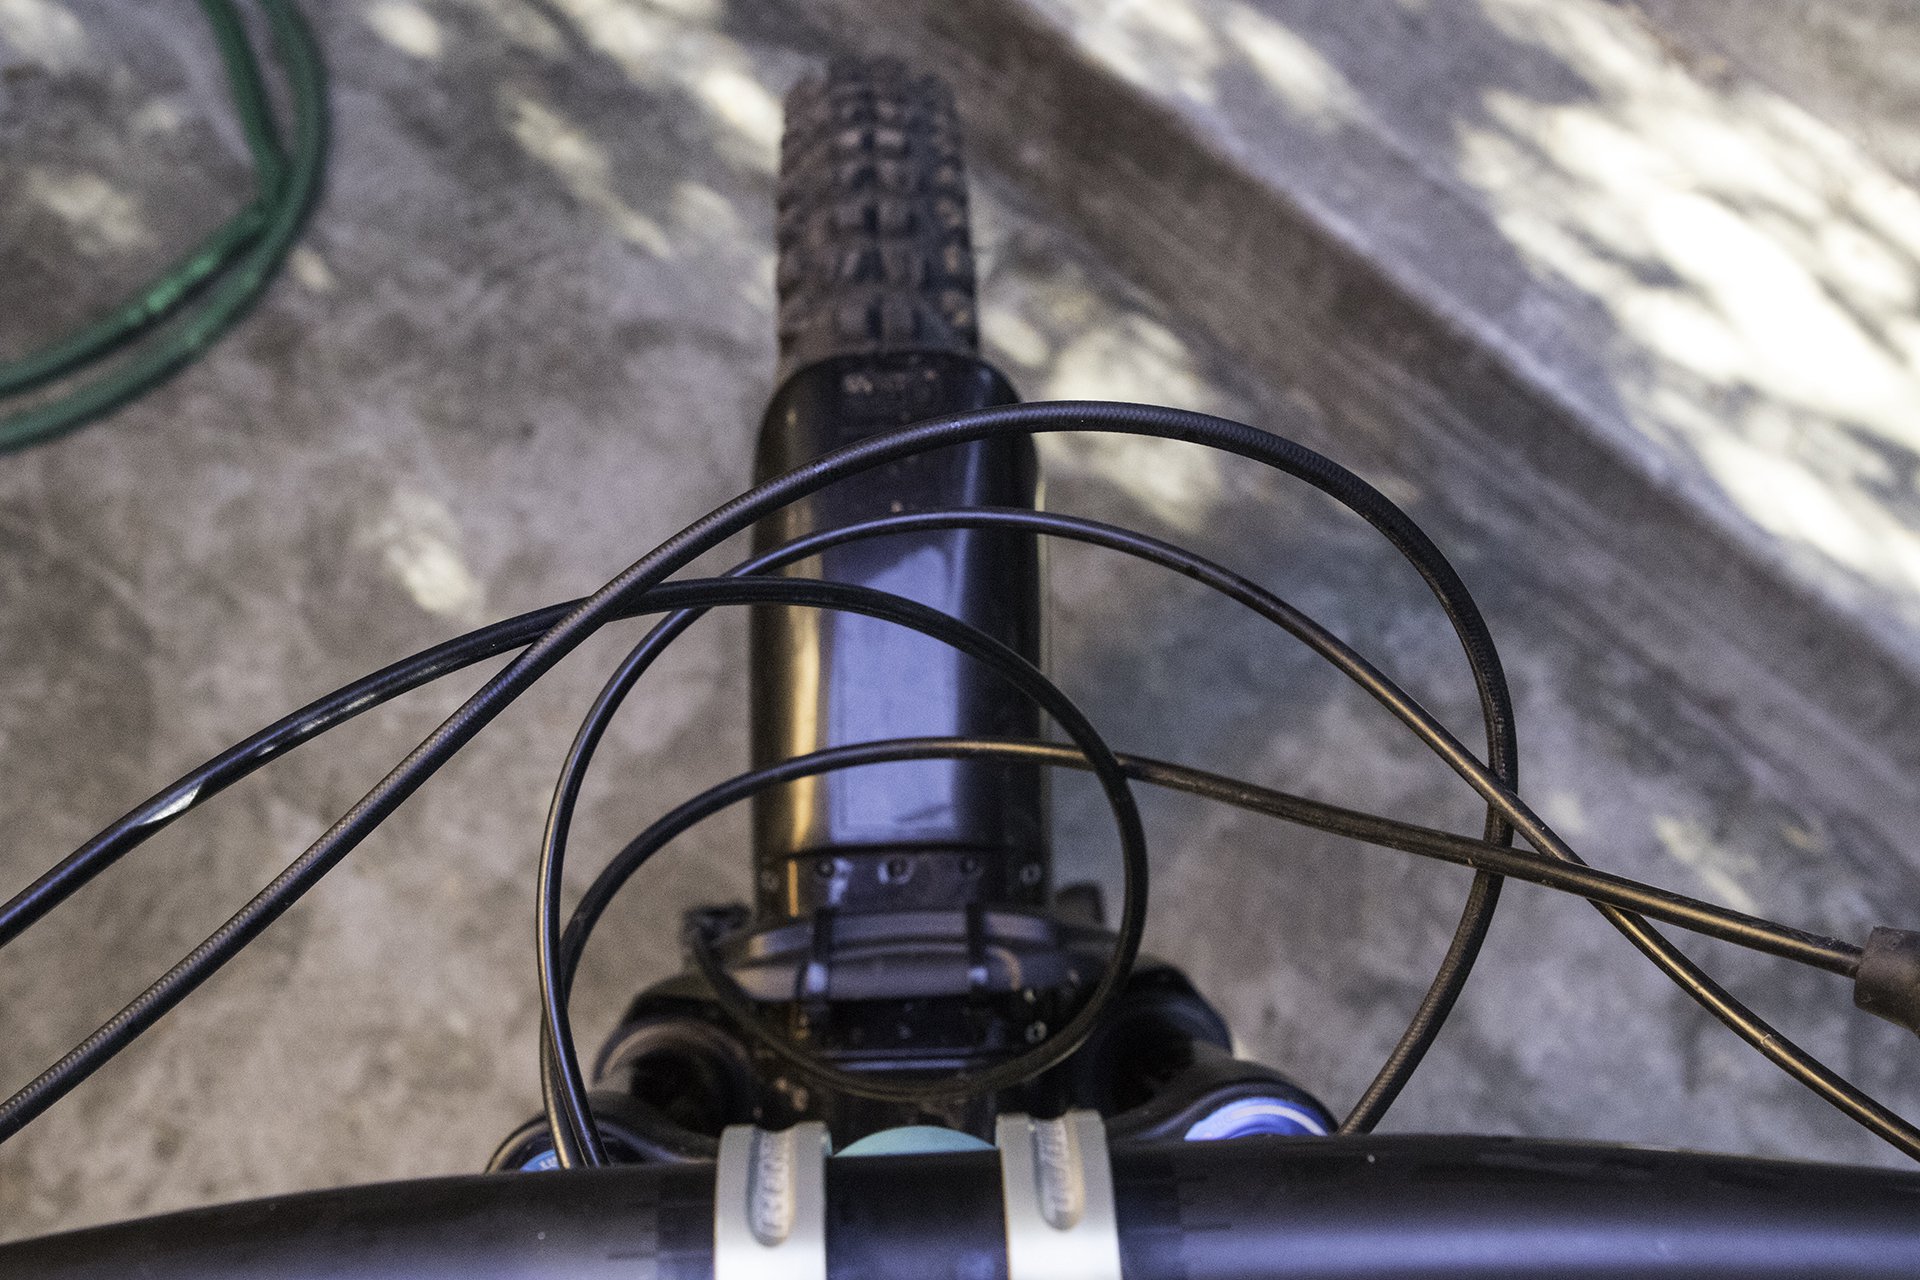
Replace Cables and Housing
Has anyone every performed this task and said to themselves, "I did that way too early!" Every time I swap out a derailleur cable or a dropper cable, there is an immediate performance boost and less effort required at the controls. I am partial to Shimano 4mm housing and the accompanying cables, but any good quality product will do. Internal routing makes this a more significant task, especially on older frames without internal guides, but since you are replacing housing, you can use the old housing to fish the new housing through (if you don't have a double headed screw of some sort to attach them, a little electrical tape works fine). I won't claim to be an expert at replacing cables, but it's a task I have done often for more than *cough* 35 years.
This is not cable porn.
Getting the housing length perfect might be the trickiest bit. I try to cut housing as short as possible and to match the arcs of the brakelines (which I also prefer as short as possible). If you suspect your housing is too long, detach the cable you are replacing from the anchor bolt and pull it out. Trim the outgoing housing and insert it into the dropper or shift lever's barrel adjuster. Then turn your bars in each direction to see if there is tension or if the housing pulls out. If there is no tension at your determined limit (are you doing x-ups or tail whips?), trim some more off and see how that feels. Once you are done, measure the cable extending out of the frame. For seat posts, push the housing into the frame until the housing is flush with the seat collar and then measure only the exit near the head tube. The derailleur housing can measured at the exit near the derailleur hanger and at the head tube, or it can be pulled through until it's flush at the rear and again measured only from the head tube exit.

This however, looks pretty close to perfect, courtesy of Jeff not me.
The first cut for the new housing can be made by estimating from the outside of the frame, with a little extra length left for safety, and the final cut can be made by measuring and cutting the lengths to match the old housing. Always lube the entire cable with some light oil and I always pull it back and forth in the housing to distribute the oil before the cable is attached. If you don't have any cable ends, some solder or super glue works well and doesn't need to be removed to re-lube the cable. Frayed cables may cause your riding buddies to shun you.
More Ideas for Keeners
If you've done all this and want to do more to make your bike purr, not to worry. You can rebuild your freehub mechanism, swap or repack the bearings in your hubs. You could rebuild or service your dropper post (this is getting easier all the time), and Andrew Major has torn down a large number of them, and while his articles aren't how-tos per se, they give you an excellent idea of what it takes for each post. Your headset bearings could be repacked or replaced and I think I'm running out of ideas without buying new stuff or venturing into rear shock service, which I have never attempted, or a fork damper service, which is also above my pay grade.
If you are really bored, consider taking your bike apart completely and staging an exploded view photo for Instagram. And then doing a time lapse of putting it all back together.
Yep. This is Jeff Bryson showing us how it's done again.
Checking, streamlining and re-provisioning your pack or on-bike carry system is another task that never comes too soon. My stuff can always use a clean, multi-tools sometimes require some oil, bacon strips run low, and I use parts like quick links without remembering at the time to replace them. The flask always needs a top up, but it doesn't come on every ride. I'm not a monster. A beer has been joining me most rides lately however as I scheme to spend more time in the forest, alone or with one buddy at a distance, during this era of restricted mobility.
Working on your bike is one way to stay positive, but there are many more. Banging on pots and pans every evening at 7:00 is a great one for our family in these unprecedented times as well.
Hang in there an stay safe everyone.


Comments
Bikeridenow
4 years ago
Is it just me or is NSMB getting better while PB gets worse? Anyways, I'm loving this content.
Reply
Cam McRae
4 years ago
Thanks for the props! (But we like a lot of what they do as well!)
Reply
Kelownakona
4 years ago
NSMB kills it with content and writing for riders. It's the discerning mountain biker's virtual home.
PB is fine but its the low brow, child friendly equivalent.
Anyway, how I am pampering my bike is leaving it alone from getting a beating for once and lockdown learning how to ride a unicycle. 2 weeks in and I can do 4metres!!!
Hoping some of that balance will pay off when we're back on the trails :)
Reply
Vincent66
4 years ago
Thanks for this very useful content !
That blue brush on the first picture looks exactly like what I need. Where can I get one ?
Thanks !
Reply
Please log in to leave a comment.